Grant’s Built-In Billy Bookcases
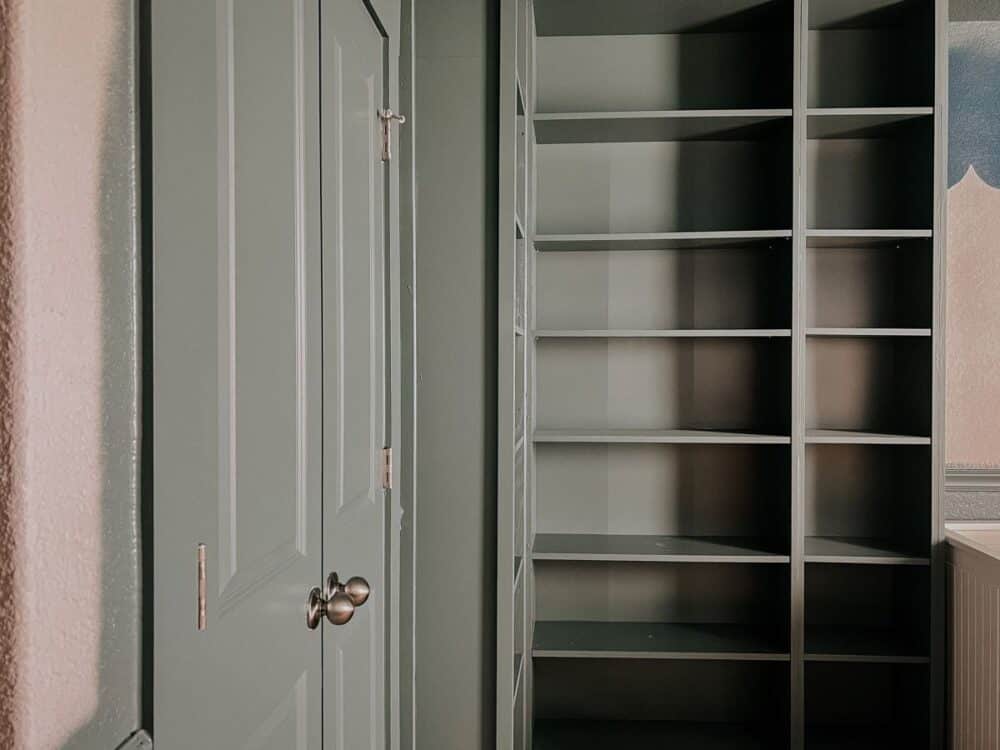
One of my favorite ways to add a ton of function to any space – especially a kids’ room – is to add some built-is. And, when it comes to affordable, DIY-able built-in bookcases I think we can all agree IKEA’s Billy bookcases take the cake.
I’ve been mentally planning Grant’s room makeover since before we even moved into this house, and I’ve always know that I really wanted some built-in bookshelves in this room. We added built-in shelves to Jackson’s rooms in both our first house and our second house, so it’s safe to say it’s one of our go-to moves for adding storage and function to a kids’ space.
Plus, it looks so dang good.
This post is sponsored by Wagner SprayTech.
I can hardly believe how different Grant’s room looks from when we started. Before, it was mostly a blank slate. But now? It’s quickly turning into one of my very favorite spaces in our house!
Let me catch you up if you are new here:
- We’re currently doing a makeover in my 3-year-old’s room. Here’s a post with the plans and mood board.
- So far, I’ve added a chair rail all around the room, along with some built-ins.
Today, I’m going to cover how we made the Billy bookcases look built-in, and how I painted aaaaall of the stuff in this room as quickly and painlessly as possible.
How to Make Billy Bookcases Look Built In
Your first step to adding Billy bookcases to your space is to determine how many you want and in what configuration. I talked a bit about planning the layout of these in this post, so I won’t cover it again here.
We used two 15″ Billy bookcases and one 31″ bookcase. We also used the height extenders on all three of them. You’ll notice in the process photos that we had a mish-mash of colors happening. We had originally planned on white bookcases, but they were sold out with no “back in stock” date, so we decided to pivot.
And oh man, am I ever glad we did!
Step One: Prime Your Bookcases (optional)
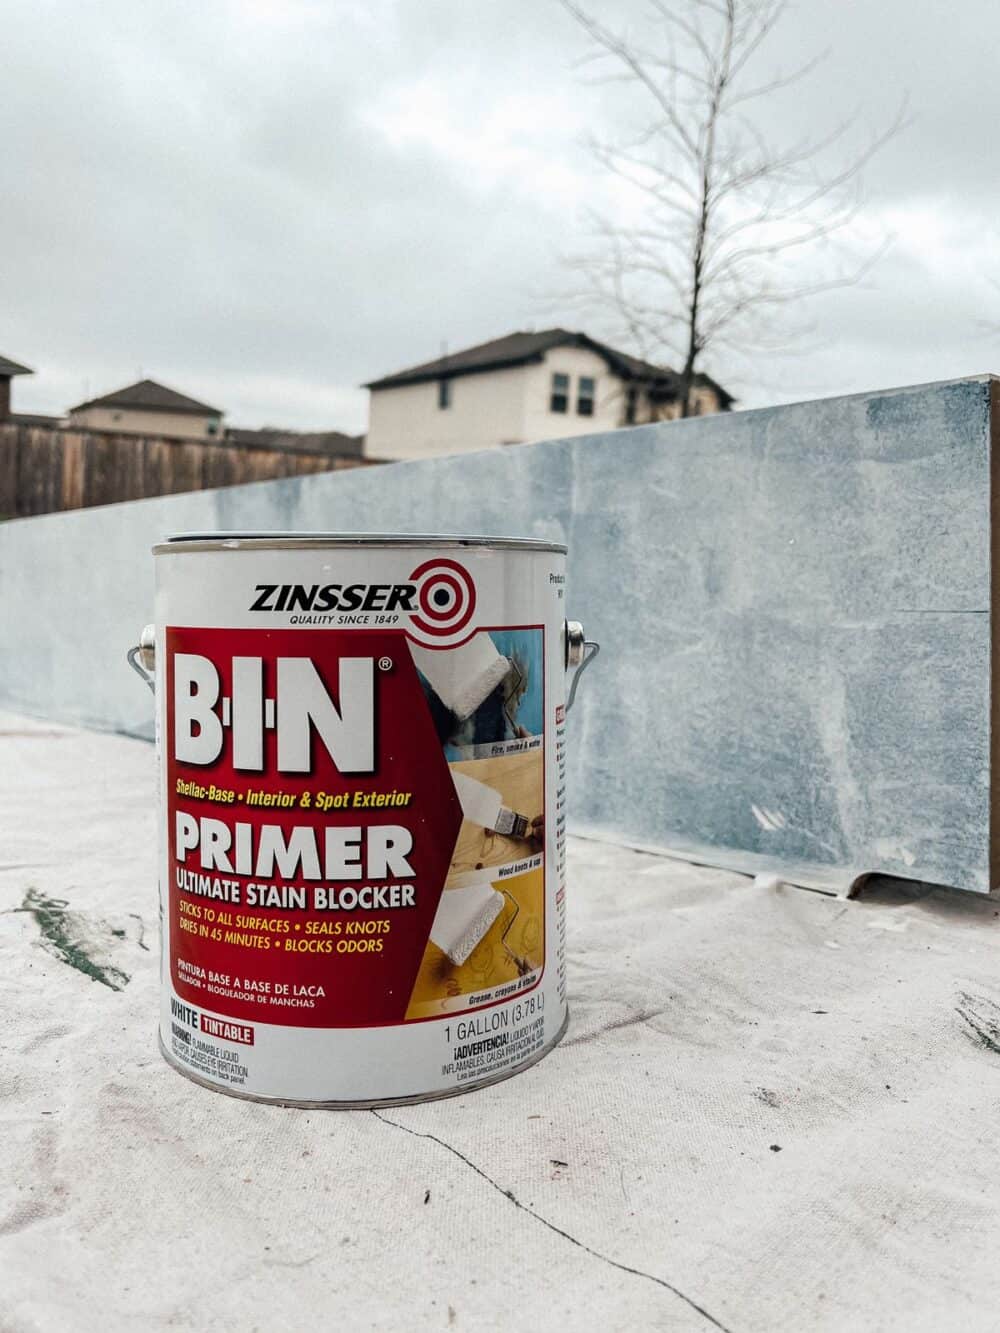
If you plan to paint your bookcases like I did, you should prime them before installation.
You should use this primer and ONLY this primer on them. If you want more details on why, or have questions about how to paint laminate furniture, check out this post. But, just trust me. This is your primer.
I recommend priming outside prior to installing the bookcases, because this primer is stinky and it’ll be a lot less painful to deal with outside.
Once they’re primed and have dried, it’s time to start installing them!
Step Two: Build a Base
Now, measure the height from your floor to your ceiling. From that, subtract the height of the bookcases and height extenders. That tells you how much you need to raise up the bookcases in order to have them actually reach the ceiling.
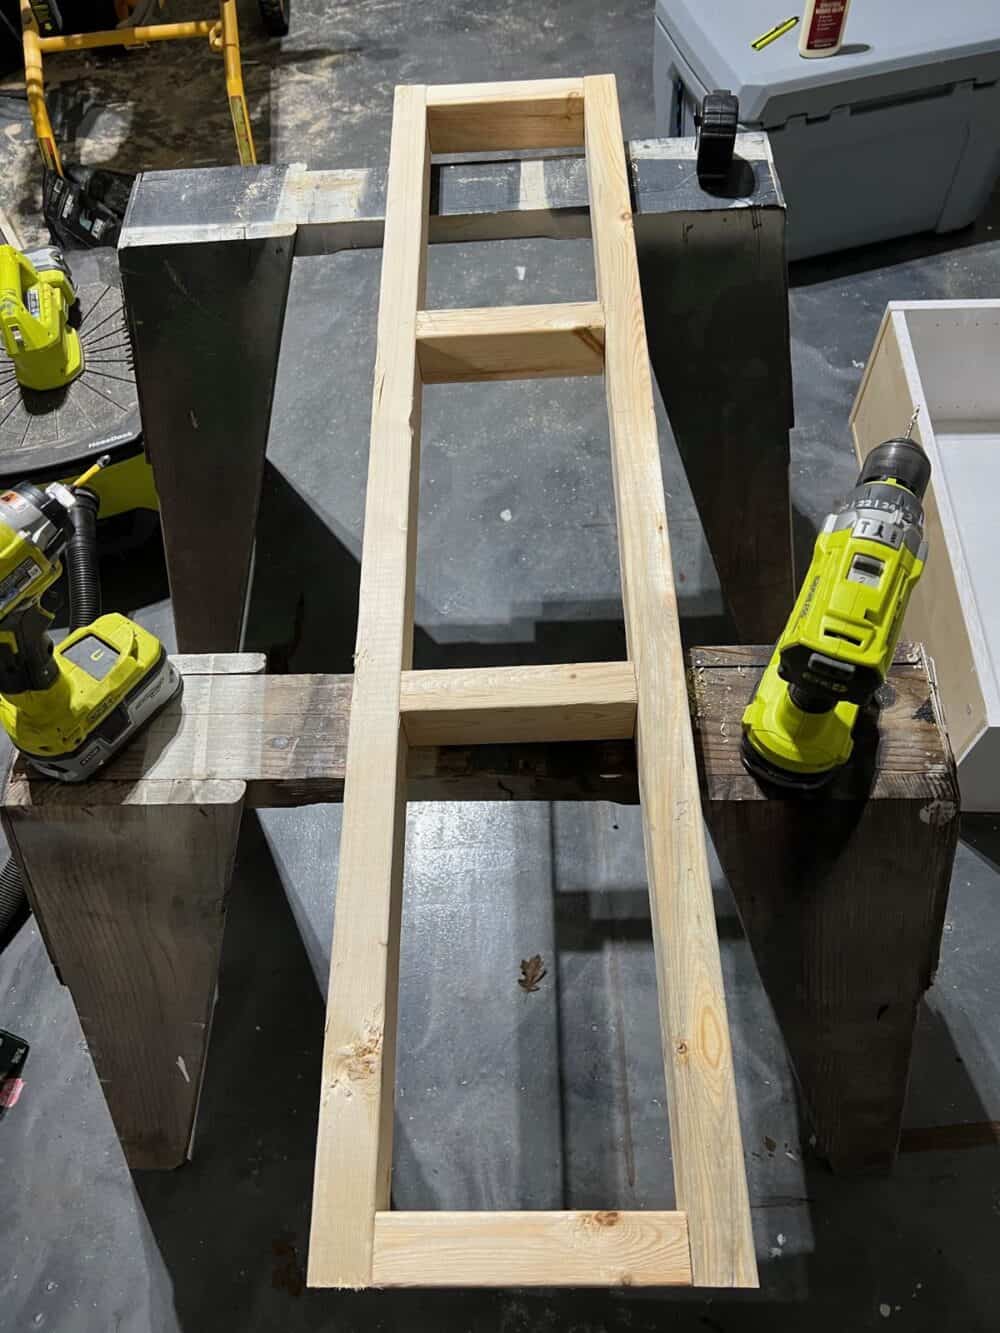
For us, it was just a couple of inches. If we were installing crown molding, we likely could have skipped building a base. But, since I just wanted simple trim around the top we needed to raise the bookcases up a bit. I used 2×2 boards to build a rectangular base that perfectly matched the layout of the bookcases. We attached that to the subfloor using long screws and made sure everything was nice and secure before adding the bookcases.
Step Three: Add + Secure Bookcases
Next, you’ll put your bookcases on top and anchor them to the wall. You don’t need to attach them directly the the base, because they’ll be attached at the top and will have trim all around, so they’re not going anywhere.
Use the anchors that come with your bookcases to anchor the bookcases to the wall – we anchored the bookcases themselves, but not the height extenders. They’re attached directly to the bookcases, plus have trim all around them, plus they’re wedged up between the bookcases and the ceiling and don’t actually have room to tip over.
They feel pretty dang secure to me.
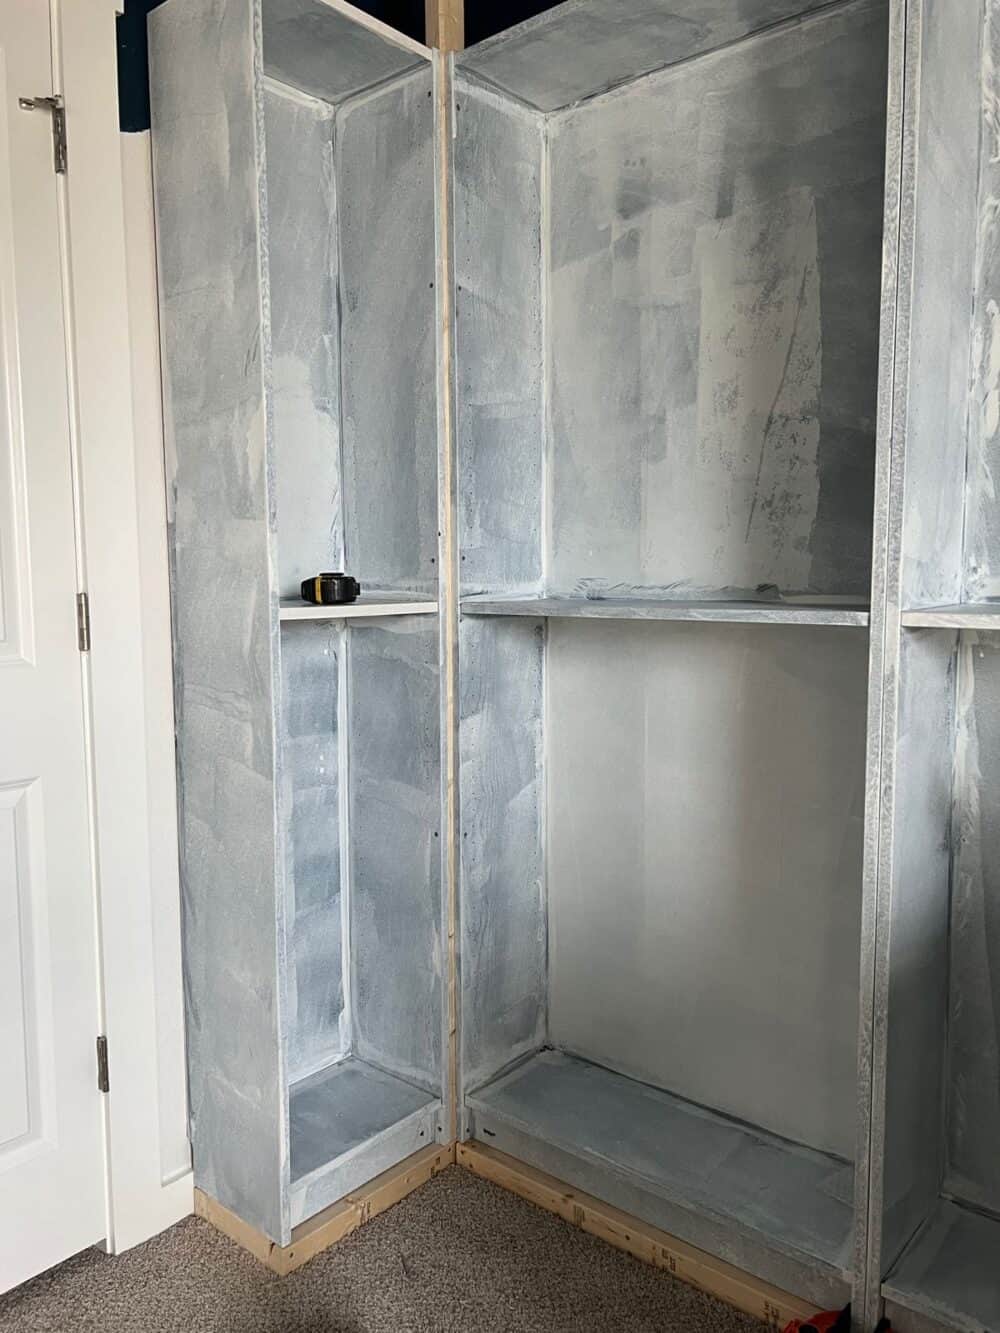
You’ll note in the image above, we also added a scrap 2×2 board in the corner between the two bookcases to add a little stability and hide any possible gaps. We attached both bookcases directly to that piece of wood using screws, and once it was all painted it blends right in!
We also attached the two connecting bookcases to one another using screws.
At this point, all of your bookcases should be in place and fully secured to the wall. But, in the words of Grant it might look a little “wild”. Don’t stress. It’ll get there.
Now comes the fun part!
Step Four: Add Trim
Trimming out the bookcases is where things really start to come together and feel more polished.
It’s also a really fun part because you can do whatever you want here. You can do fancier trim and make it really elaborate. You can keep it simple. Or, you can do something in-between!
Here’s how I trimmed out my Billy bookcases:
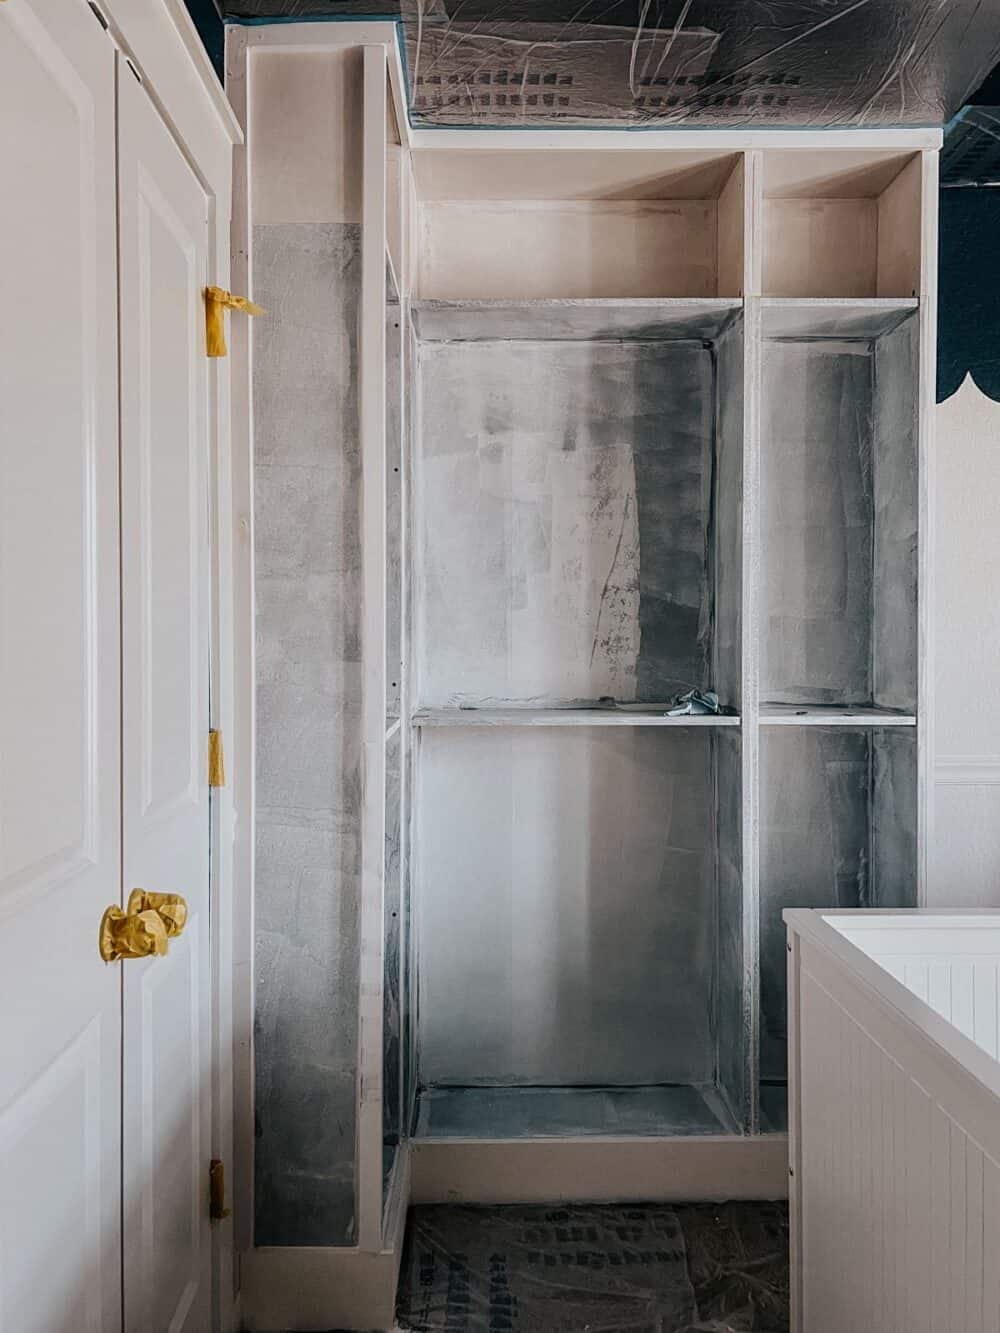
- 1×6 boards along the bottom
- 1×2 boards along the top and the sides connecting to the wall.
- I also added a second set of 1×2 boards along the front of each side to create an inset panel look. It’s really polished-looking and I’m so glad I added that extra piece!
Once you’ve added the trim, caulk and wood filler will fill in all the gaps and make it look super professional and finished. This is my favorite part of any project because it’s when things really feel like they’re coming together!
Step Five: Paint the Billy Bookcases!
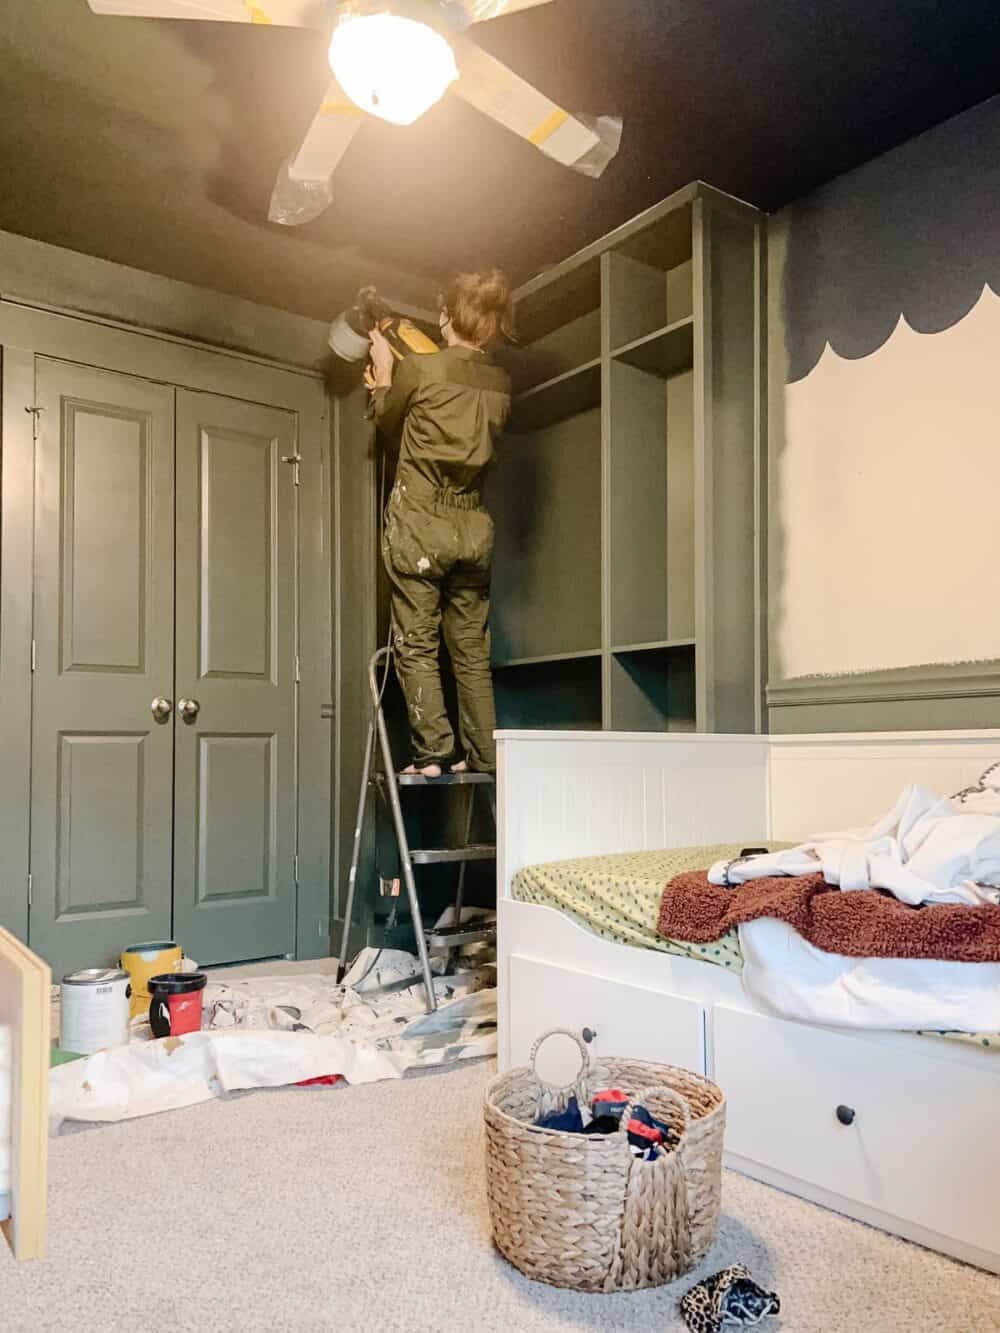
And finally, if you’re painting, now is the time. I originally planned on just doing white trim and white Billy bookcases and only needing to paint the trim. But I had to pivot and, my goodness, I’m so thankful that happened.
Because these bookcases were meant to be green. I painted them Current Mood by Clare, and it’s a really gorgeous deep green that feels a little blue-ish in some lights and a little gray-ish in other lights.
I used my Wagner FLEXiO 3500 to paint the bookcases – and I wouldn’t recommend doing it any other way, ever!
Why?
Let me run you through a few reasons a sprayer is the way to go when painting built-ins (even indoors):
- There are tons of nooks and crannies that are hard to reach with a brush.
- No brush strokes or roller marks.
- It’s SO MUCH FASTER.
- You’re less likely to miss small spots.
- It creates a much more professional-looking finish.
- Did I mention it’s faster?!
With my sprayer, I was able to get beautiful and even coverage with just one coat. It took me less than an hour to paint the bookcases, plus another 30 minutes or so to prep beforehand.
Painting that by hand would have taken me ALL DAY. Literally. Plus, I would have had to do at least two coats – which means a few hours of dry time in-between.
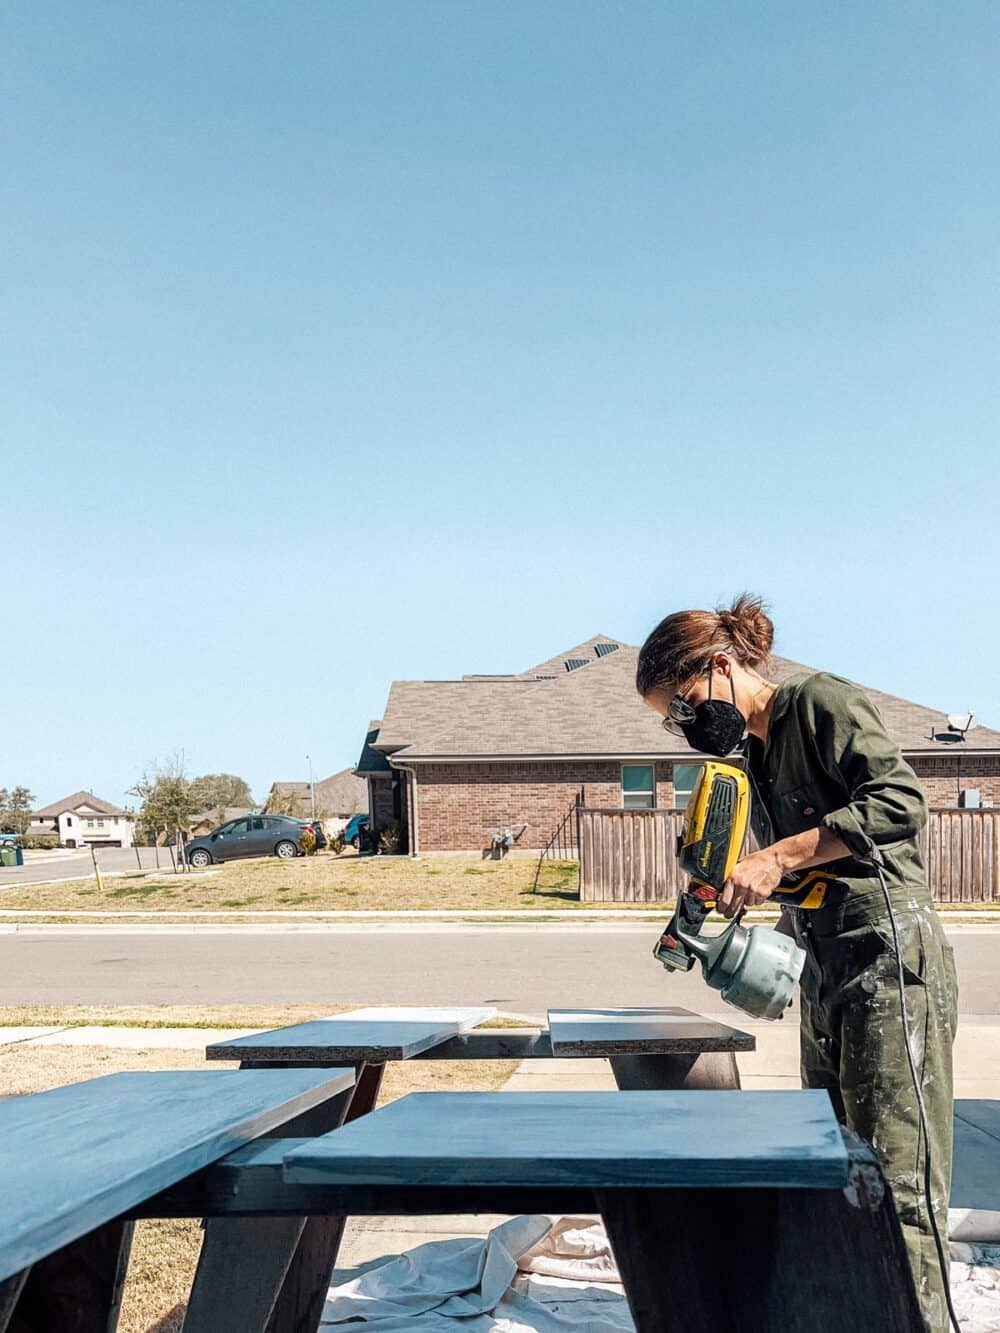
A few tips…
Using a paint sprayer indoors might feel intimidating (I was so nervous!), but it’s 100% worth in for a job like this, I promise. Here are some tips and tricks for making prep work easier:
- Use this tape with a dropcloth attached. It’s so much faster and easier to use. Just be sure to tape down the dropcloth on the other three sides – the air from the sprayer can move it if you don’t!
- Take the time to tape off things like door handles and hinges meticulously. It feels like it takes forever but it’s so much faster than having to go back and paint it by hand!
- Cover up any furniture that you can. There will be tiny droplets of paint that might land on things within a few feet of whatever you’re spraying, and paint dust will settle all over the room. All of this is cleanable, but it’s easier if you don’t have to clean it!
- When you’re spraying, be sure to spray straight forward (not at an angle, if you can help it), and keep the sprayer about 8-12 inches away from the bookcases. This drastically reduces overspray and mess!
I recommend having some of this latex paint remover on hand for any mistakes. I definitely had a few spots where I got paint on the carpet, or where some droplets got onto Grant’s bed. This stuff cleaned it right up with no trace left!
Painting the Rest of the Room
Of course, in my case, the bookcases weren’t the only thing that needed to be painted. This was a huge painting job because I needed to paint the bookcases, the ceiling, all of the doors and trim, and the bottom third of the walls.
But, honestly, with my Wagner painting tools it wasn’t painful at all.
I used my FLEXiO 3500 on the ceiling, the baseboards, and the chair molding. After I was finished, I told Corey I’m not sure why I ever painted a ceiling by hand before! It was shocking how much faster it was to paint it with my sprayer, and the finish looks beautiful. In the future, I think any ceilings I need to paint will definitely be done with a sprayer!
Painting the Baseboards
I also loved painting the baseboards with the sprayer. It’s a little riskier, because it’s so close to the carpet, but I found a really good groove that made it simple. Here’s the process I used:
- Grab a flat piece of cardboard (I cut off the flaps of a large-ish cardboard box).
- Wedge the cardboard between the baseboard and the carpet. You should be able to feel it slipping under the actual baseboard.
- Spray the baseboard, being careful not to get too close to the edge of the cardboard. I found it safest if I only sprayed the middle 50% of the cardboard. I left about 25% on either side every time.
- Pull the cardboard out, scoot down, and repeat!
As you work, the cardboard will get pretty full of paint. I recommend switching it out for a fresh piece after each wall. If you move carefully and steadily, you won’t make a mess with this method! And, it looks way better than painting by hand.
Painting the Walls
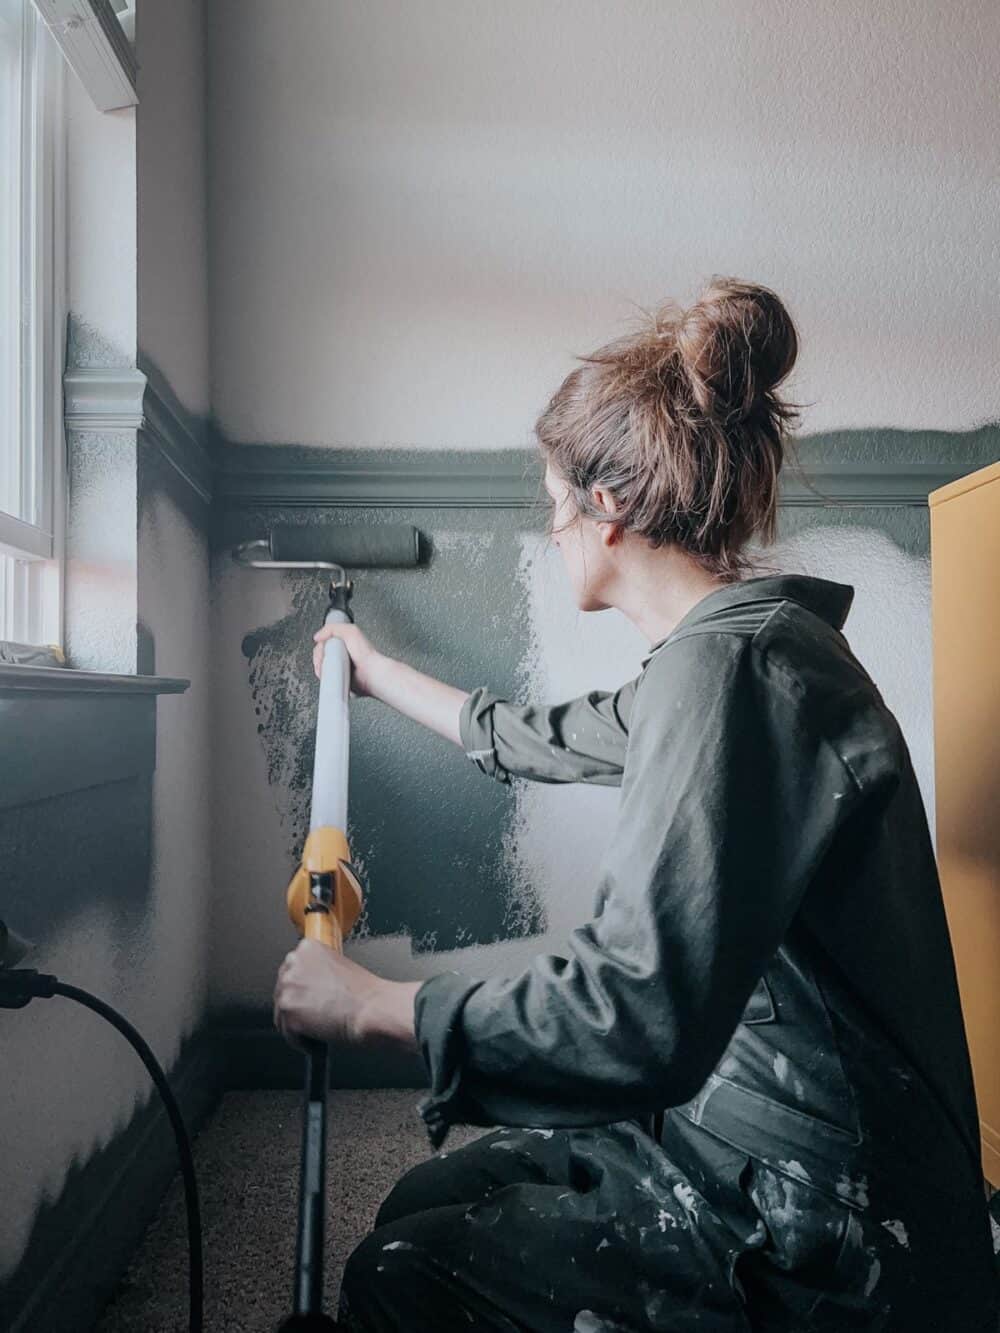
For the walls, I used one of my favorite tools for a small, quick painting job: Wagner’s EZ Roller!
If you’ve been here for a while you’ll know I have a bit of a love affair with my Wagner Sidekick Power Roller, but sometimes it’s a lot to bust out for smaller painting jobs. The EZ Roller is a bit of a hybrid – it’s small and super quick to clean, but it’s still way faster than a regular roller!
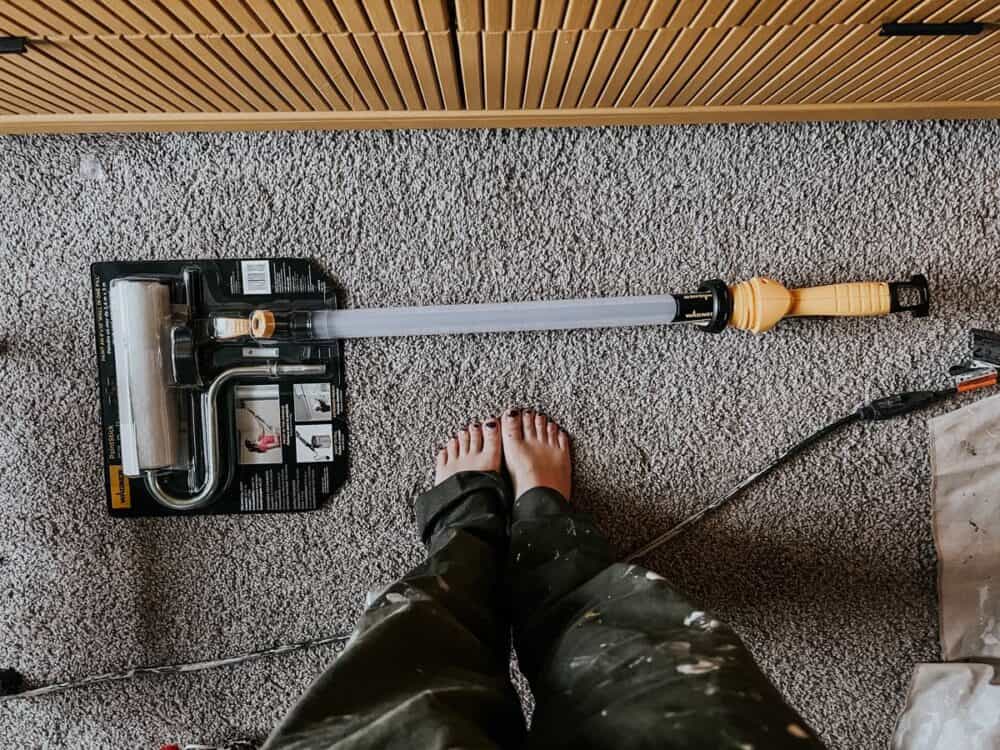
The EZ Roller stores paint in the handle, so as you work you can simply pump more paint directly to your roller without having to stop and refill a hundred times. It’s also nice and long, which makes it so much easier for painting all the way up walls!
I used this on the walls all the way around the room and it took me maybe 30 minutes per coat to get it done.
I know what you’re thinking and, no, it’s not a pain to clean! When you’re done, you just empty out any remaining paint and then bring it over to a bucket (or a sink) of warm, sudsy water. After taking apart the roller part and removing the roller cover, you clean those by hand. It only takes a few minutes, then you’re ready to clean the part that holds the paint. You just pump the water through the handle a few times to clean out the interior, and that’s it! It was really fast to clean and worth the extra effort considering how much time it saved me overall!
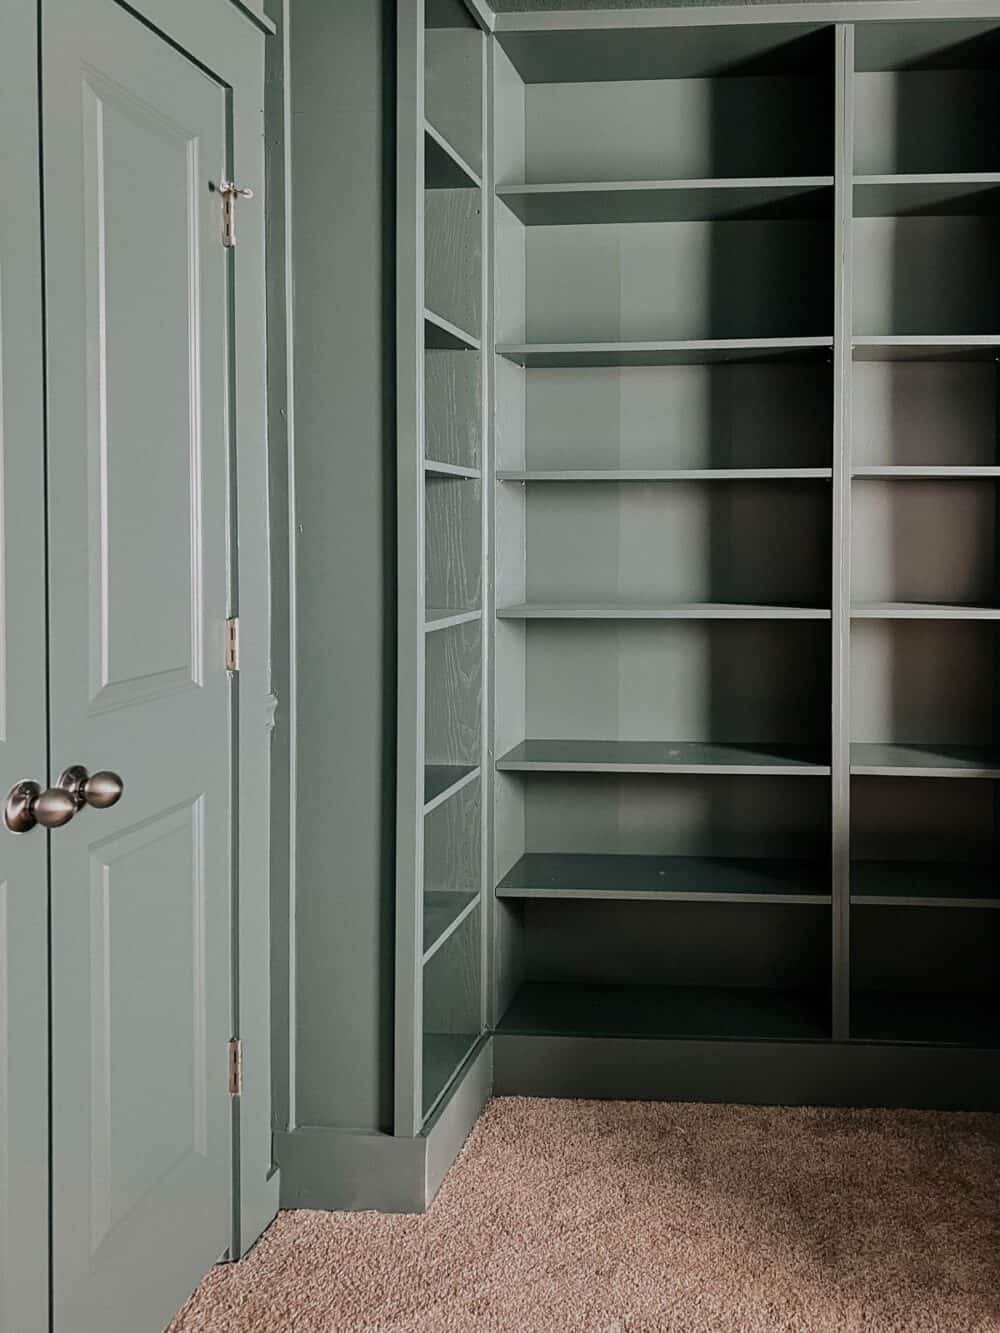

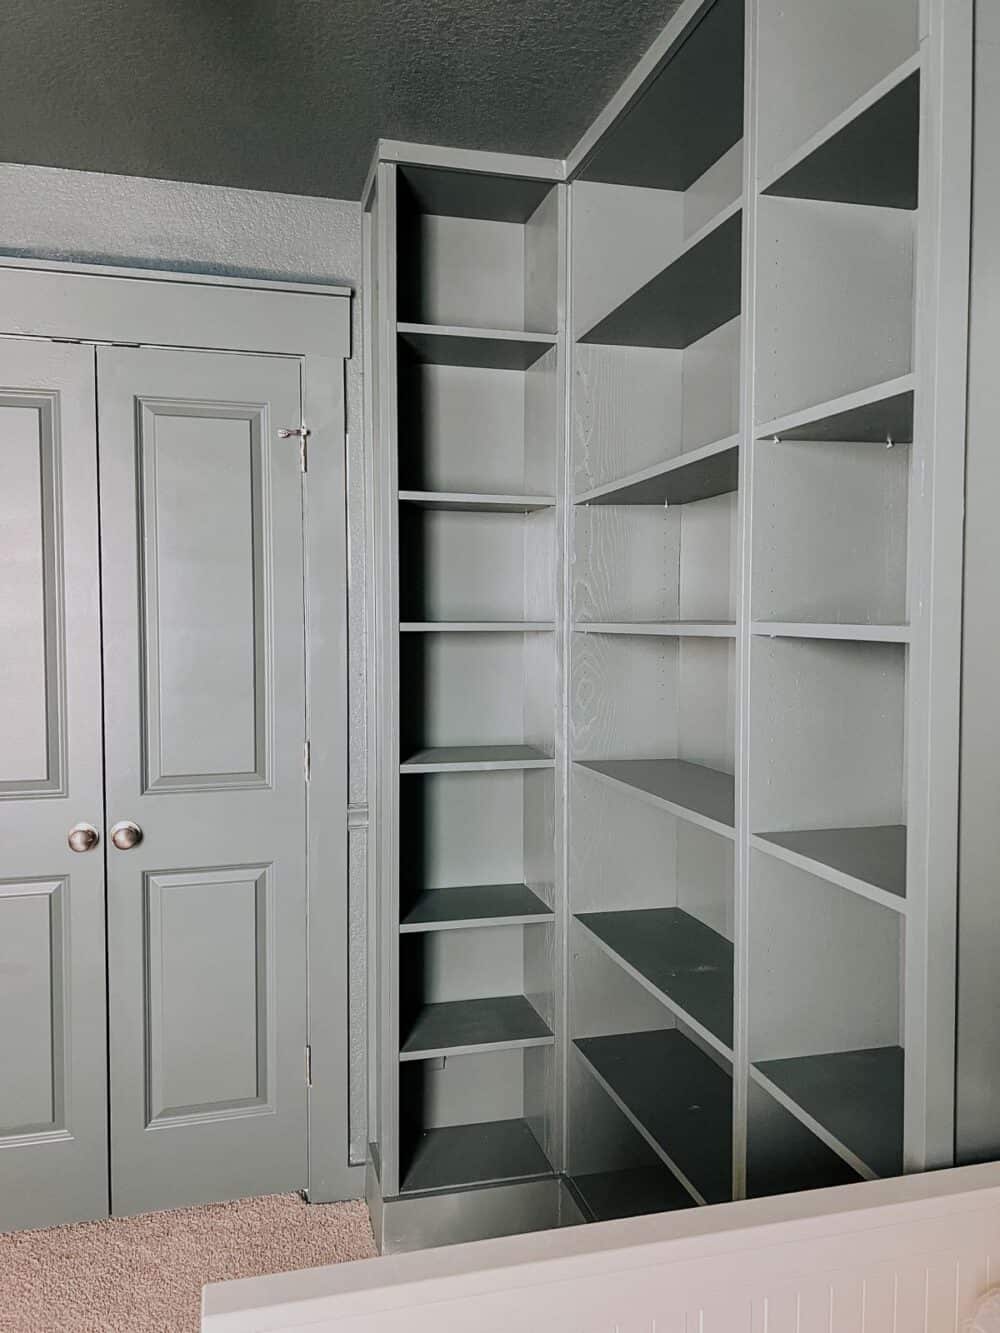
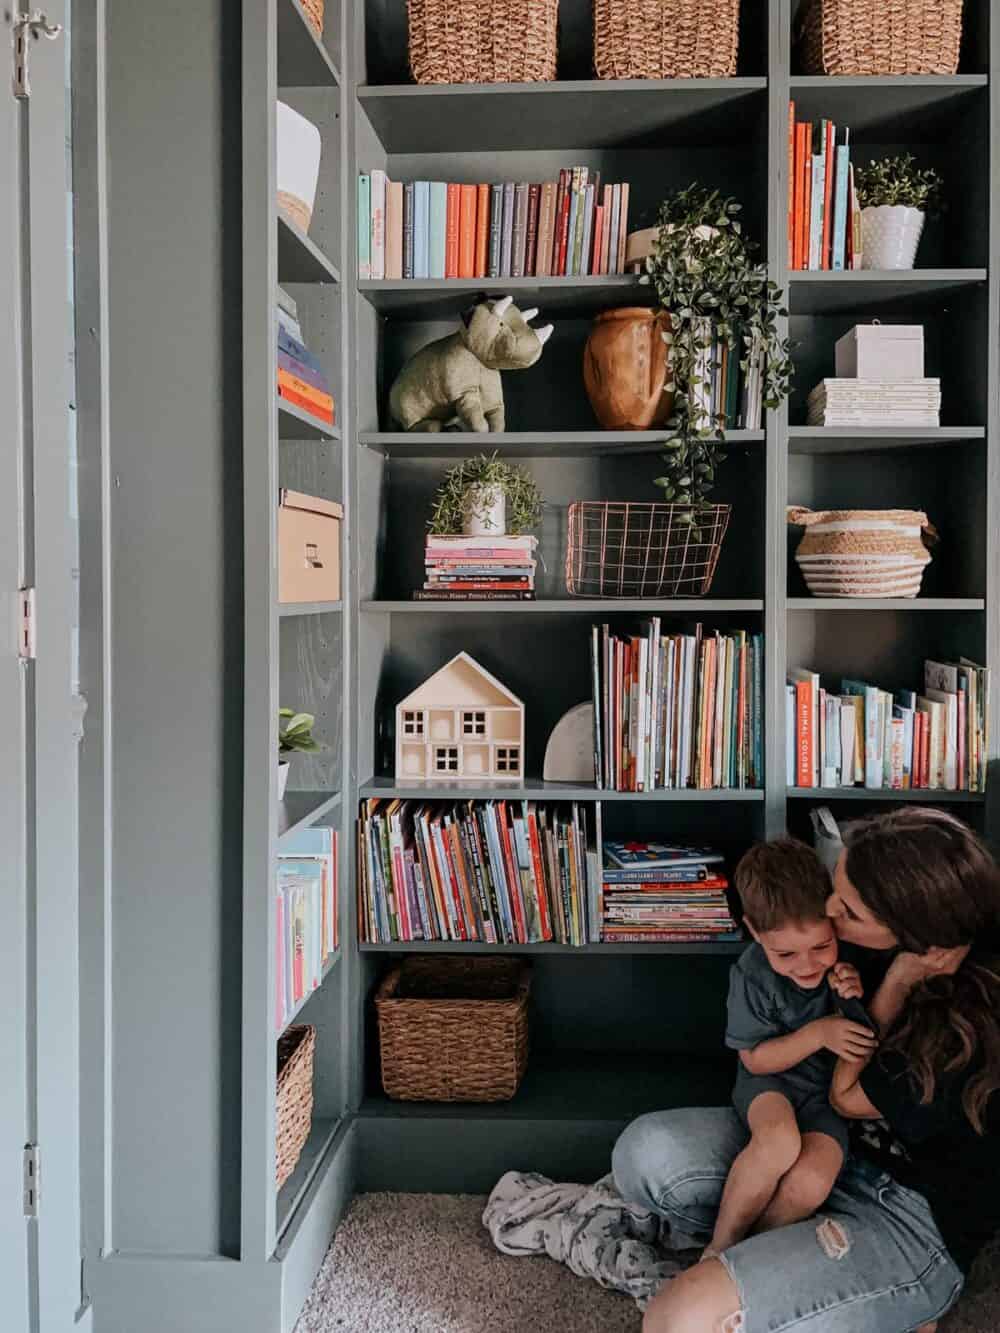
And that’s every detail of how we got to this point in the process. Things are feeling good and I’m feeling reeeeally antsy to share the wallpaper with you and start working on some of the finishing touches in here!
If you have any painting jobs coming up, be sure to check out Wagner’s tools that can make everything so much easier! As a reminder, I used my Wagner FLEXiO 3500 on the bookcases, trim, and ceiling, and my EZ Roller on the walls.
Stay tuned for the next step….wallpaper!
