How’s it Holding Up? Volume 2
I share a lot of favorite things and do a lot of projects here on the blog. But sometimes, I forget to circle back and tell you how things are doing over time. And really, how things hold up beyond the first few weeks and months is the most important part of deciding if you want to tackle a project or purchase something new, right?!
So, I like to set aside some time every once in a while to address how some things you ask about frequently are doing in our home. You can see volume 1 right here.
I asked on Instagram what you’d like to be updated about, and what you see below is what was most frequently requested! If you have something you’re dying to know about, drop a comment below. I’ll make sure to add it to the list for next time around.
the camper playhouse
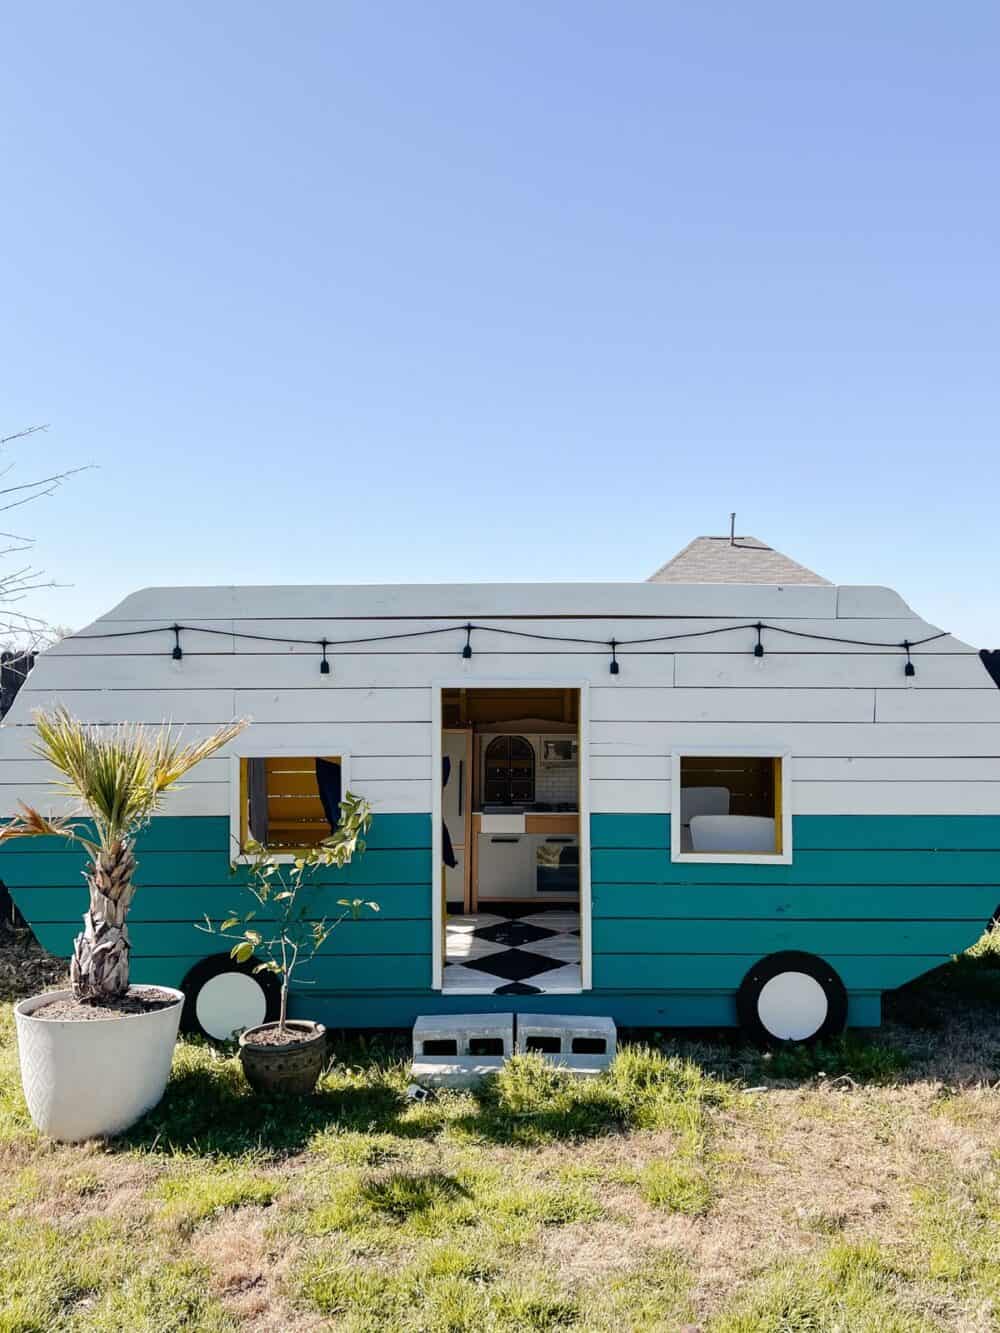
I actually have a couple of posts/updates on the camper playhouse coming in the next few weeks! But, the short version is that it’s doing great! It has a few siding boards that are pulling away from the camper, and I need to get out there with my drill and screw them into place. Other than that, it’s in pretty much perfect condition…and very well played with!
The kids still absolutely adore this camper and it still makes me smile every time I look out my back window and see it. I’ve been working on putting together some detailed plans for you, too. So, if you’ve ever thought about tackling it yourself, stay tuned!
The short version? We adore it. We’d build it again a hundred times over. It’s held up beautifully!
The Entry Closet
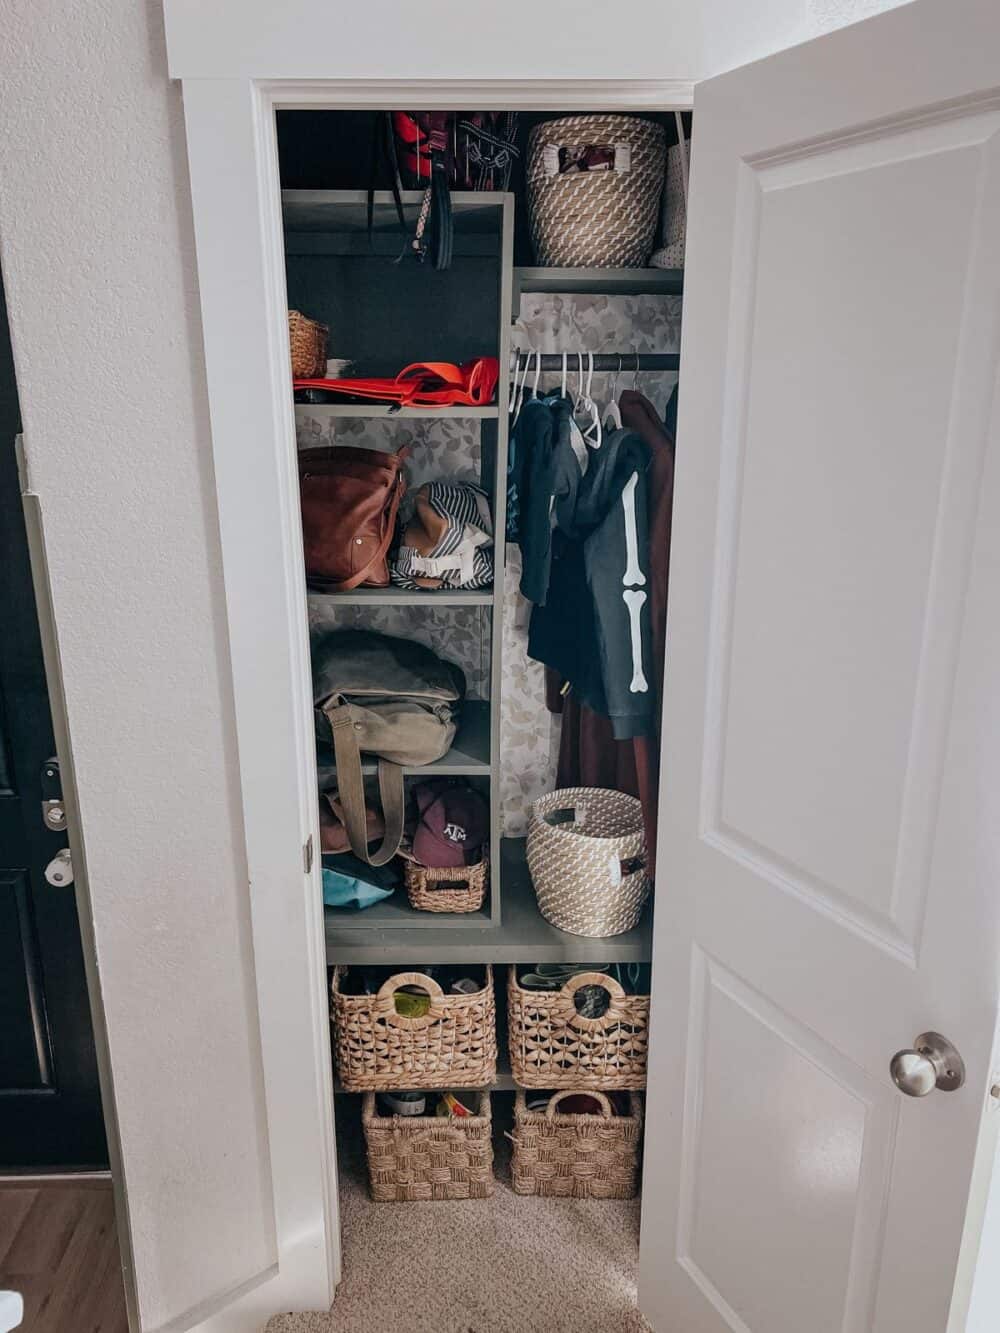
Ohhh, this closet! If you’re part of my Instagram community, you might remember that this closet gave us some trouble. I tried painting it, Corey hated the color. Then, I tried building a shoe cubby for it, but it was too big to fit in the door. I finally landed on a built-in system of shelves, and it is working great for us!
If I’m being fully honest, the system for organization in here isn’t as well-honed as I like. That, or my children are just animals. Jackson’s backpack often gets stuffed in the wrong spot, shoes end up on the shelves instead of the baskets, and 80% of the time it’s still a bit of a mess.
But, it’s mostly organized chaos and it’s still easy to find everything we need! I did a quick clean-up of it before I took photos for this post. So, the image you see above is the post-straightening version. But, it wasn’t too much worse than this to start!
I’m still very glad I built this organization system in here, and I’d do it again for sure. I need to spend some time training the kids on how to best use it, but we still love it overall!
The one thing we did in here that I think we could skip is adding the motion-activated lights. I love them, and they worked really well. But, my kids rarely remember to close the door, which means the lights ran out of charge really quickly (since they turned on every time we walked by). I think once the kids are a little older and better at remembering to close the door, we can start using them again! For now, they’re still in there but they haven’t been charged in a long time.
Our DIy epoxy countertops
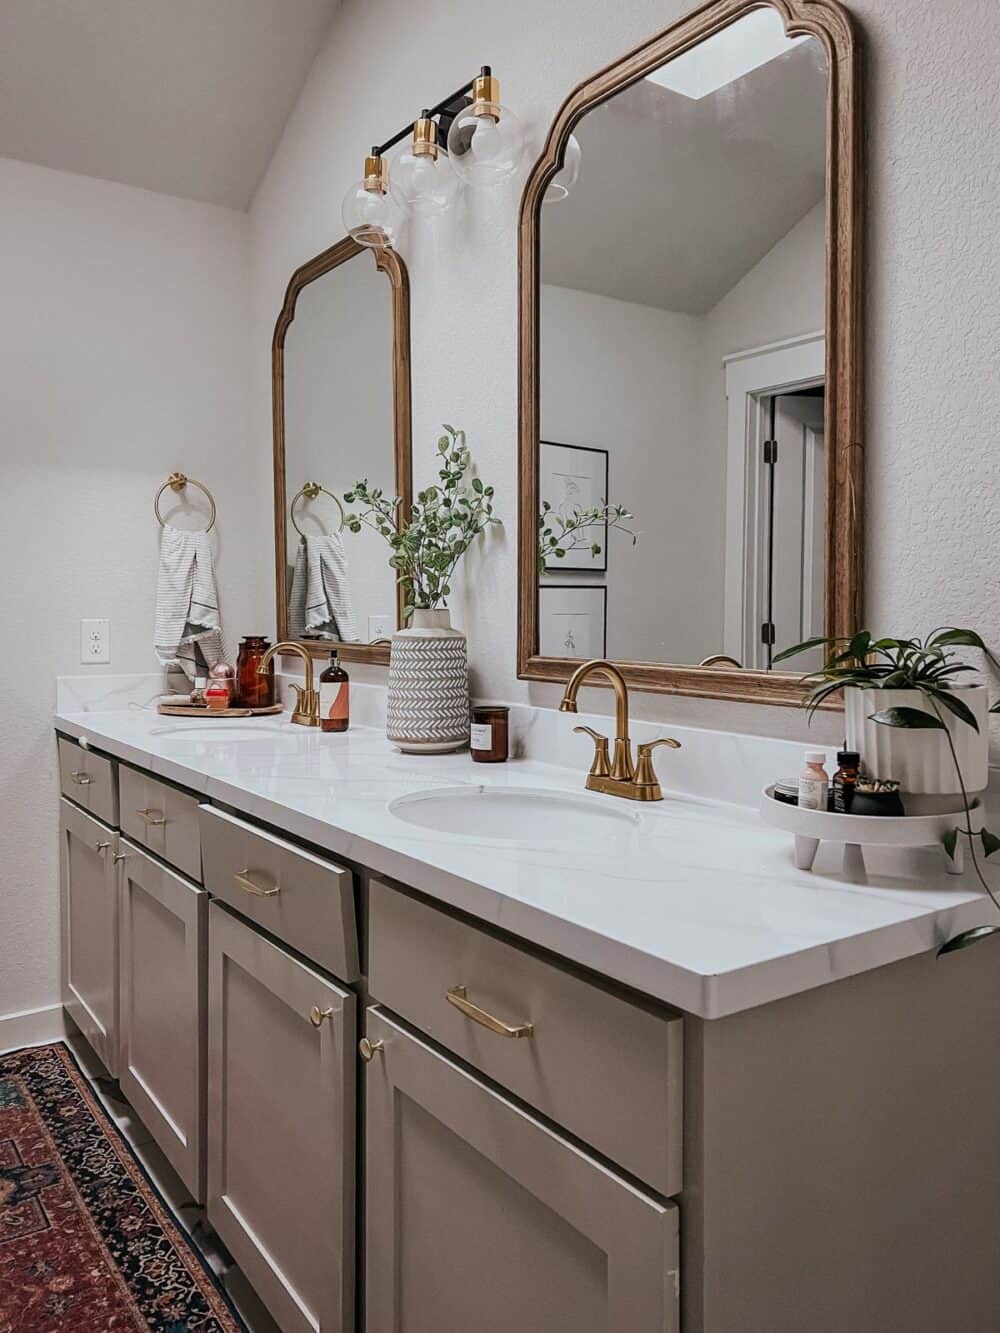
I’m still head over heels in love with the epoxy countertops I added both to our primary bathroom and the boys’ bathroom upstairs! It was such a simple and affordable solution for countertops I hated.
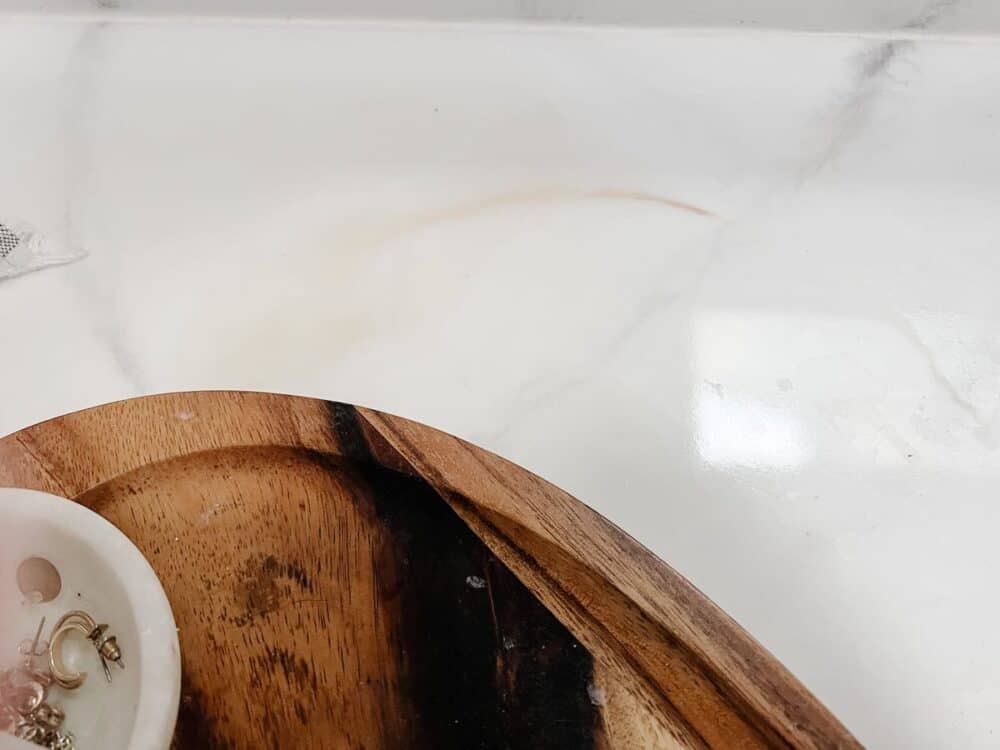
The countertops in our bathroom have a couple of small stains on them. They’re from places where something spilled and I didn’t catch it until it had sat there for a while. For example, one of the stains is from some apple cider vinegar that spilled. I got what I could see but some seeped under the tray on my counter. So, who knows how long it sat there. Whoops!
Any counter can get stains from things like that, so I don’t consider this a downfall of these in particular. It’s just one of those things that can happen with lighter colored counters!
If you try this project, I’d just remember that spills should be cleaned up quickly and you shouldn’t use any harsh cleaners on them. Glass cleaner is what I usually use! As long as you are generally careful with them (no hot things directly on the surface, clean regularly), they’ll hold up really great!
Other than the two stains, our counters look just as great as they did on the day I did them. They’ve held up really beautifully and I can wholeheartedly recommend them to anyone who hates their counters as much as I did!
peel & stick wallpaper in the entry
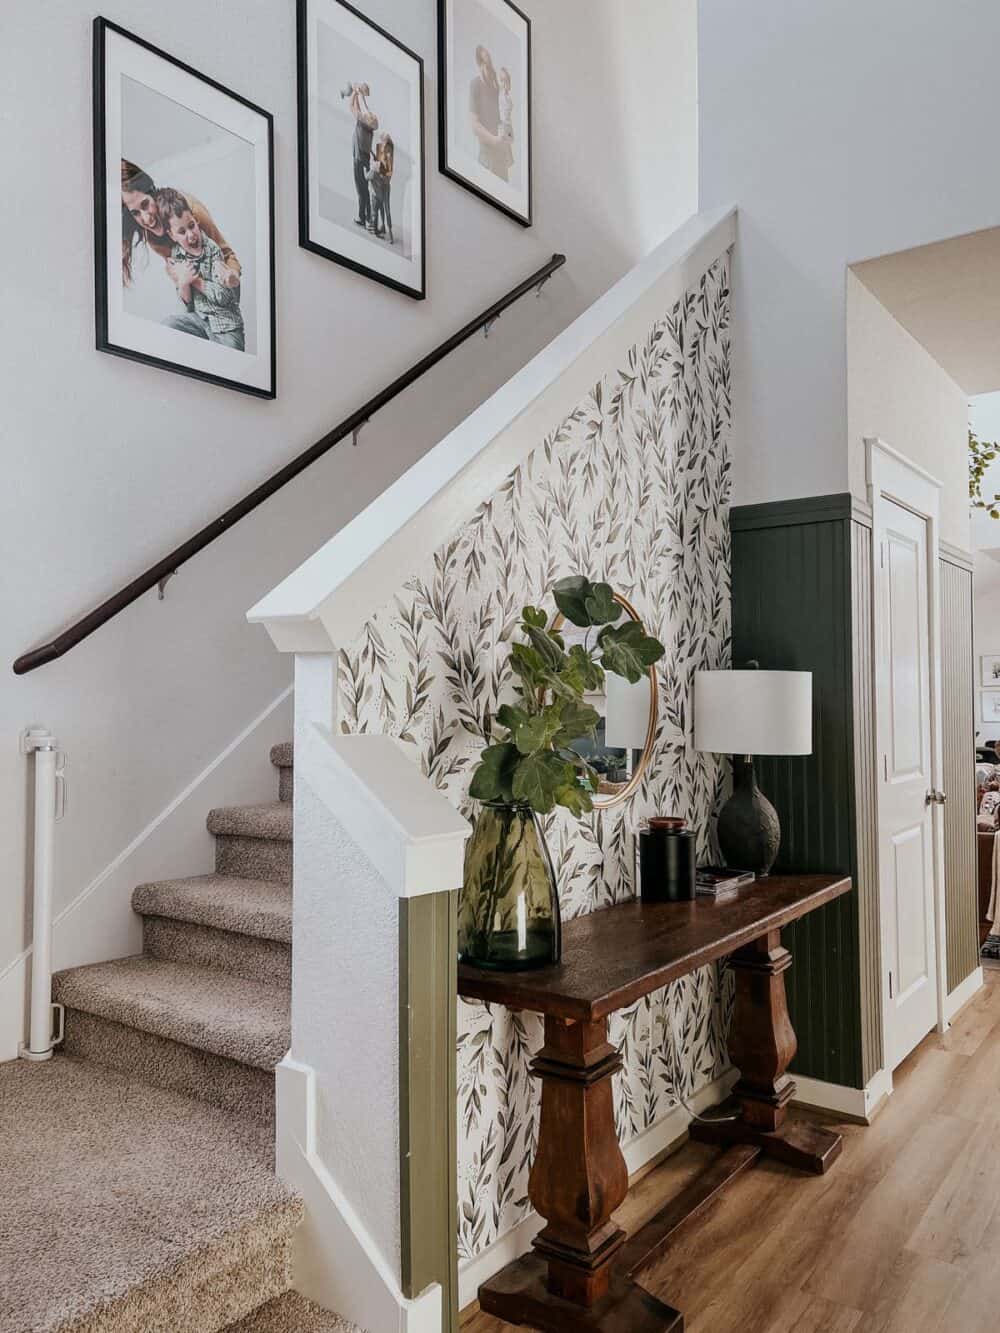
I have mixed feelings on the peel and stick wallpaper in our entry. Honestly, it looks perfectly fine most days. It isn’t peeling away from the wall. There are a few minimal wrinkles that you might notice if you squint and tilt your head. But, overall it looks fine.
But on humid days, the bubbles become more prominent and some of the corners peel up. It’s not perfect, which totally doesn’t bother me in and of itself. But, it’s clear that peel and stick isn’t the best choice for this space!
I think my lesson learned here is that peel & stick paper is just not a great solution for textured walls. I think if our walls were smooth, it would have no issue staying put. The paper itself is really high quality, and I’d recommend it to anyone with smooth walls!
But, for textured walls, pasted wallpaper is really the only way to go. I mentioned in my 2022 goals that I’d like to rip this paper out and give the entry a refresh…I just haven’t decided what I want to do yet! So, stay tuned for an update in that area, because as soon as I nail down a design plan, the wallpaper is going.
The side yard vines
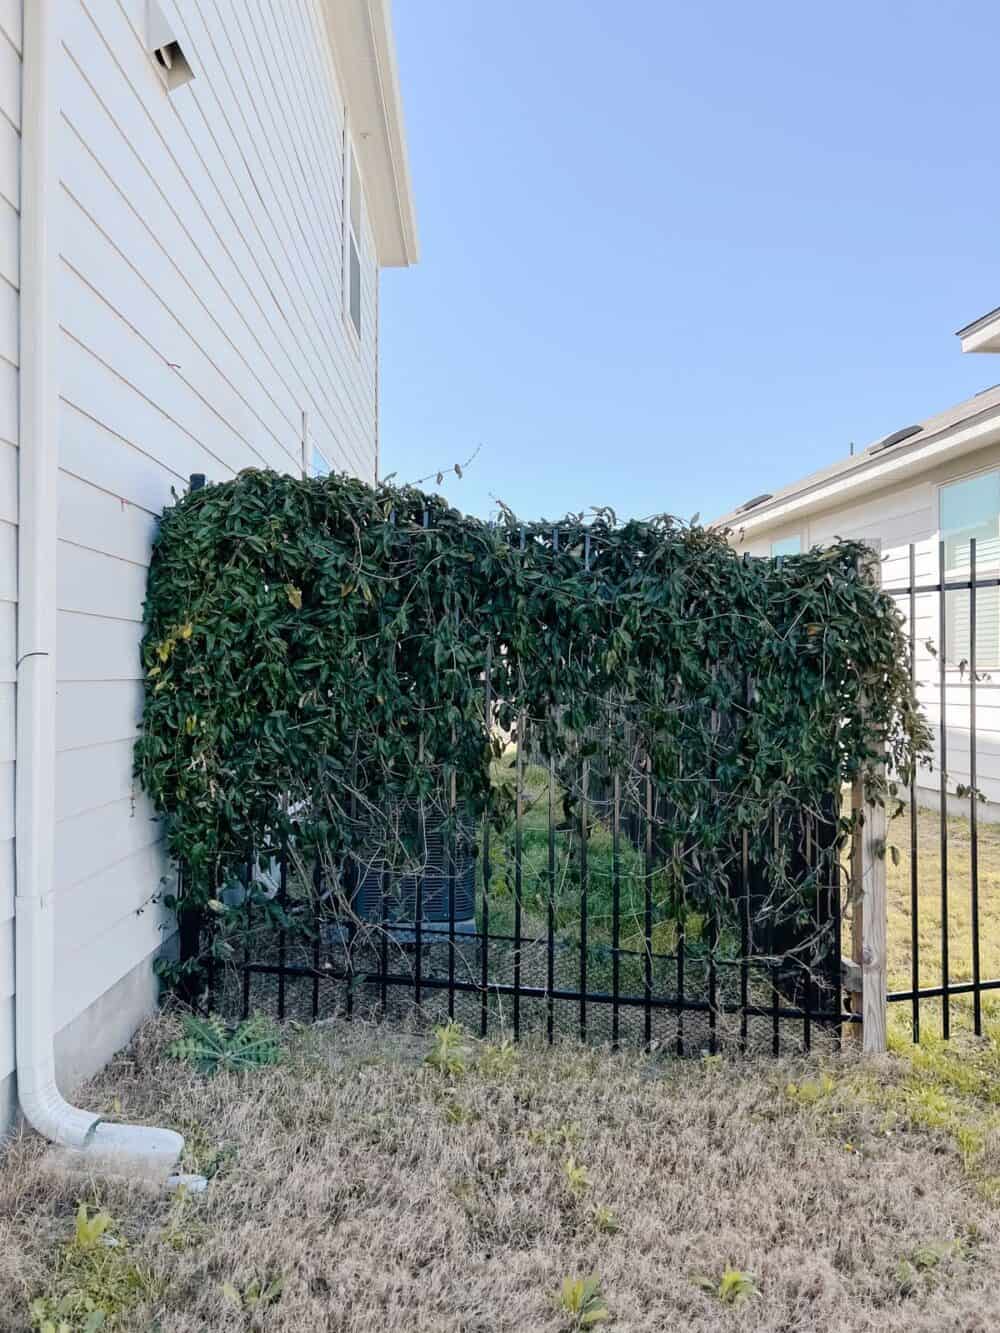
I planted two of these Tangerine Beauty vines on our side yard fence in the summer of 2020. They were tiny and I figured it would take years and years for them to fill in and look beautiful. But, nope! They grow like weeds and our fence makes me smile every time I see it!
Currently, they’re still looking a little sad as they come out of their winter slump. But, within the next couple of months they’ll start growing and blooming again, and it’ll be show-stopping! These vines survived the harshest winter of my life last year, so if that doesn’t speak to their hardiness I don’t know what would.
In fact, I just recently snagged another Tangerine Beauty vine to add to our back patio. I’ll share more details on him later, but it’s safe to say I adore these vines and can’t get enough of them. I’ve tried a few other varieties of vines without much luck, so I’ll be sticking to these for the foreseeable future.
All the cabinet drawers
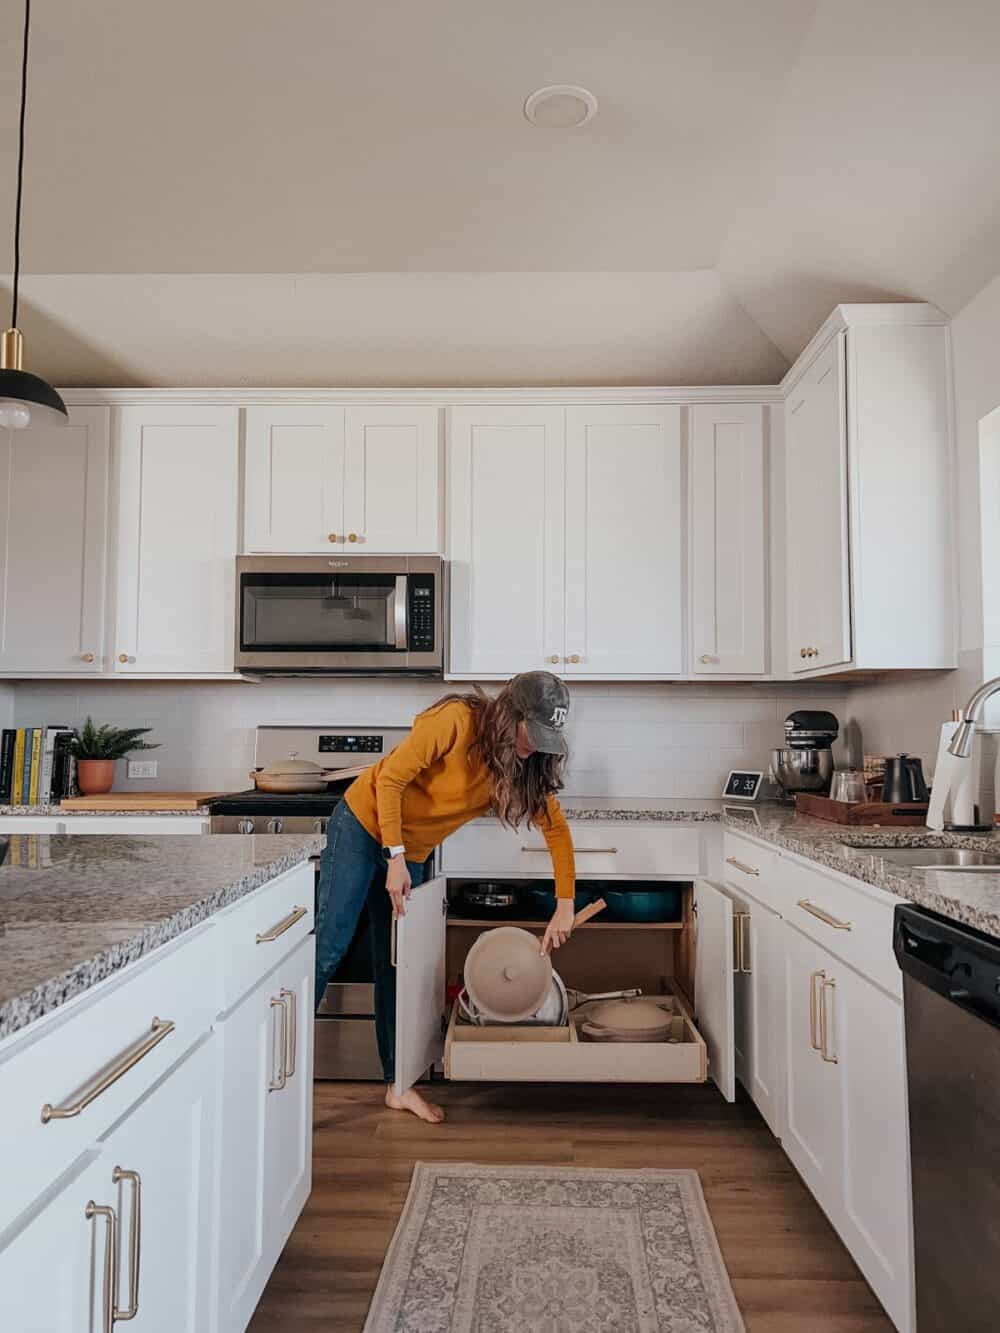
Lots of you wanted an update on the drawers and organization we’ve built for our cabinets. We’ve got two drawers in one cabinet that hold some small appliances, and a big drawer in another cabinet that hold our pots and pans.
We’ve also got a DIY spice rack in one drawer and a DIY silverware organizer in another! There were requests to talk about all of them, so let’s break it down one by one.
Cabinet organizers
- The double-drawer cabinet: This was the first DIY cabinet organization project I tried, so it’s definitely had the most time to break! It’s been almost two years since we installed these, and they are still working really great for us! We haven’t had a single issue with them, and they’ve been really versatile. We used to store baking supplies, bread, and chips down here. But, when I organized our pantry we switched it to small appliances. Having two drawers in this one large cabinet is really nice, and lets me keep things more organized than if it was just one. 10/10 would do it again!
- The pot & pan drawer: This little organizer was suuuuch a game-changer for our kitchen and II can’t recommend it enough. It has held up really well so far, and our pots and pans have stayed perfectly organized since I installed it three months ago! It even inspired us to replace some of our old pots and pans with something a little nicer (several of them were $20 pans from Target we bought in college).
- The spice drawer: Another project I’m so, so glad we did! I don’t cook all that often (Corey is the chef of the family), but every time I do, I genuinely smile when I open this drawer and see all of the organized spices. This was such a simple project and it has made such a difference. The spices still look just as organized as they did on the day we did it!
- The silverware drawer: This is the only one of the bunch I’ve had to tweak a little. We still love it and are using it in the drawer, but I learned that just slipping it into the drawer wasn’t going to work all that well. It kept sliding up ever so slightly as the silverware shifted, and things started making their way under the organizer. Over time, it started to get worse and stuff was migrating to different sections of the organizer on the daily. I pulled everything out and added some glue to the bottom of the organizer to secure it in place. We haven’t had a single issue since then, so I’m calling it a win!
the kitchen island
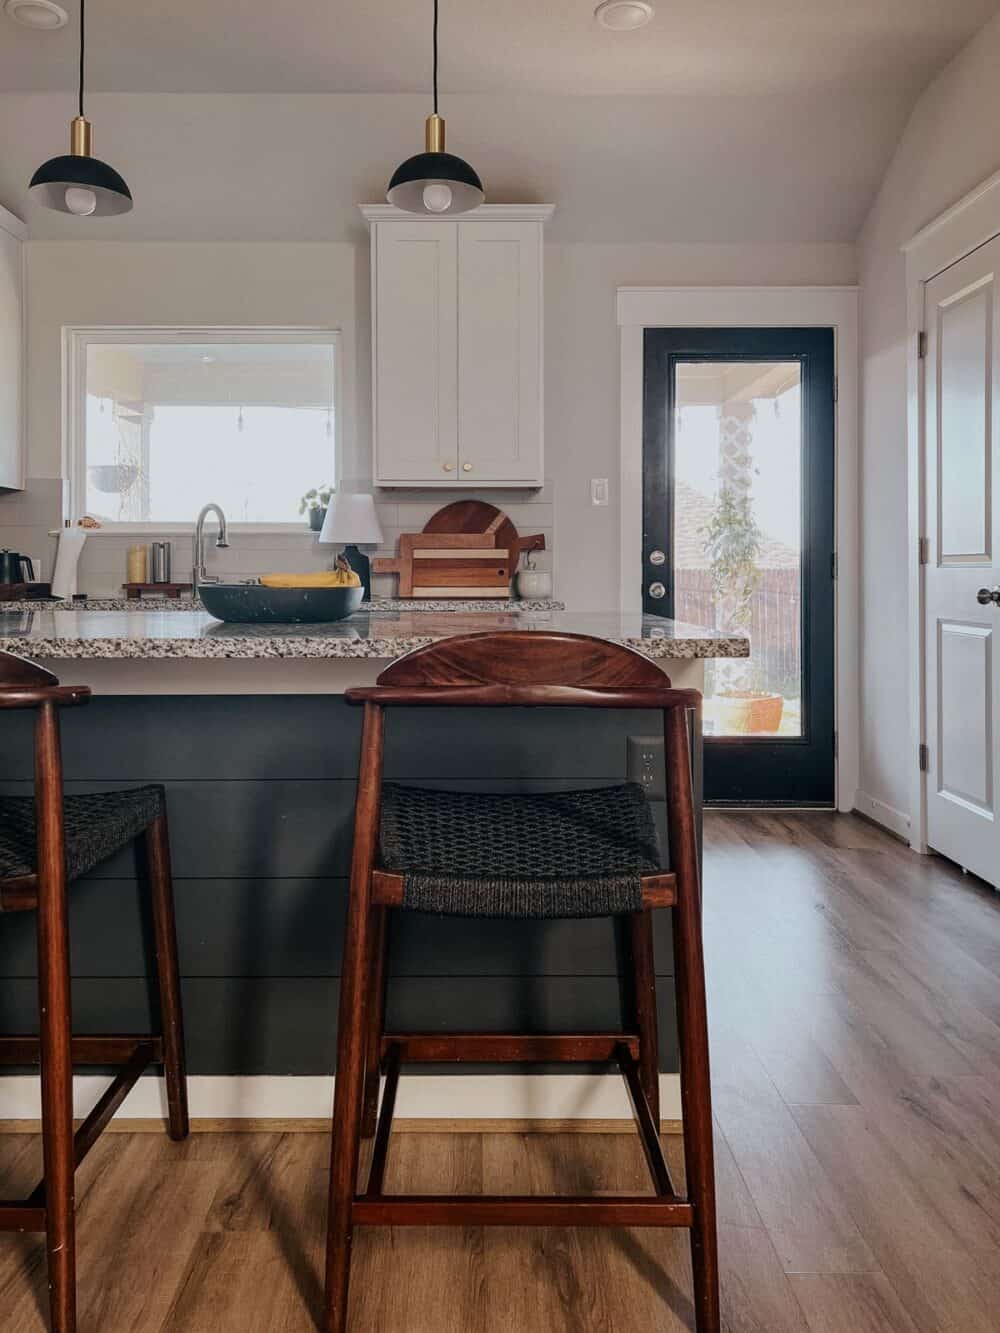
A few of you wanted an update on the shiplap & paint we added to our kitchen island. I know that a lot of times, people feel nervous about painting a kitchen island because of how often tiny feet are kicking at it (and potentially scuffing the paint)!
Our island still looks great, and I’m still so glad I decided to paint it. The shiplap adds a little bit of character to an otherwise pretty boring kitchen, and the paint really warms things up. I wouldn’t have chosen white cabinetry in here if we’d have had the chance to design our kitchen, so the paint is key for me in feeling like our kitchen isn’t too sterile!
I think a project like this is such an easy and low-stress way to make a few updates in your kitchen. I’d recommend it to anyone who wants to add a little life to their space! As long as you choose a high-quality paint, it should have no problem holding up to the wear and tear of daily life. I wipe mine down once a month or so when I notice that it’s starting to look dirty, but on the whole it stays looking great all the time!
And that’s it! I’m covering a few more items y’all asked about in my Instagram stories today (so this post isn’t an actual novel), so be sure to head over there if you want to see more!
