
How to Paint Laminate Furniture
Want to refresh that faux wood laminate furniture without breaking the bank? With the right prep and technique, a few coats of paint can give your piece a whole new life! Here’s how to paint laminate furniture the right way.
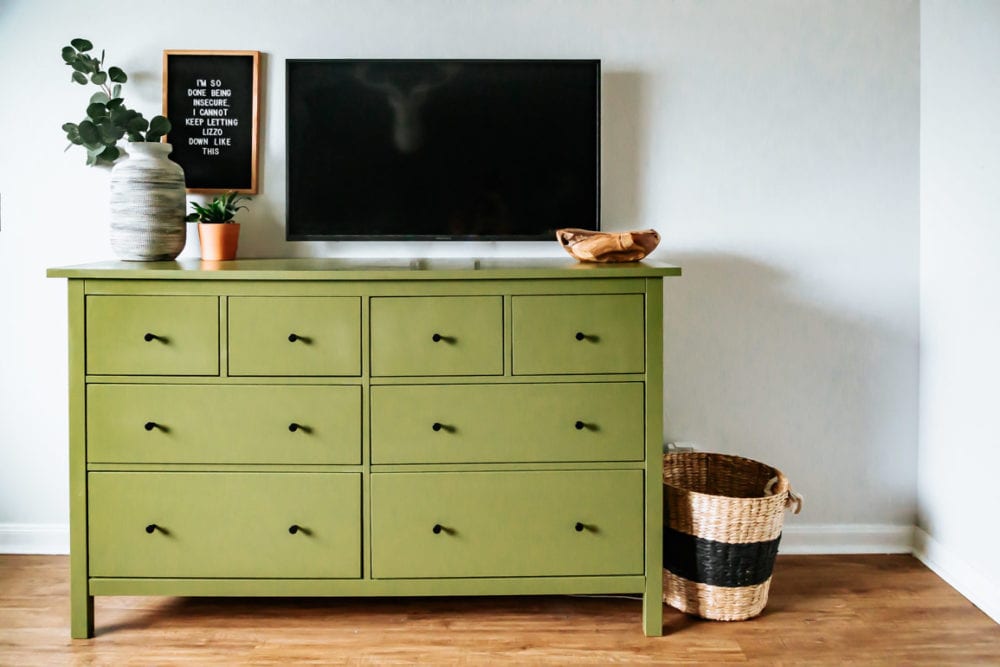
It’s no secret that I love a good furniture makeover. There’s nothing more satisfying to me than taking an old, tired piece that I’m getting bored with and giving it a totally new life with a fresh color.
But, if the furniture you’re dealing with is laminate furniture, it can be a little tricky. Why? It’s super smooth and shiny, paint doesn’t stick to it (like, at all). If it’s not done properly, you’ll end up with a big, ugly mess. Thankfully, I’ve got a foolproof technique for how to paint laminate furniture and get it right every time.
What is Laminate Furniture?
Laminate furniture is essentially fake wood. Much of what you buy at places like IKEA or Target is made of laminate. It’s a veneer generally made of synthetic material that’s bonded to layers of particleboard to create a wood look. It typically can’t be directly painted on – if you try, the paint will just bubble up or peel right off.
Supplies You’ll Need
There are a few supplies that are absolutely key when you’re paining laminate furniture. It’s a little more finicky than regular wood furniture, so don’t skip paying attention to this part!
If you’re painting laminate furniture, you’ll need…
- Sandpaper or sanding blocks
- Zinsser BIN Shellac-Based Primer (The #1 most important thing!)
- Small foam paint roller
- Painter’s tape, possibly (I like this kind)
- Paint (I highly recommend an Enamel paint meant for cabinets!)
If you’d like, you can use a paint sprayer to paint your piece. It will eliminate and potential brush strokes and will go faster. However cabinet enamel is usually really great about self-leveling, so painting by hand should be fine!
Painting Laminate Furniture Step-by-Step
Step One: Prep Your Furniture
You’ll need to start by deeply cleaning and lightly sanding your furniture piece. This is one of the most essential steps of this process, as it’s what ensures the paint will actually stick long-term! I’ve made the mistake of skipping the sanding part before, and the paint peeled right off. So, don’t skip it! Also, this is a great time to remove any hardware from the furniture.
I recommend cleaning your laminate surface by simply wiping with a wet rag. If it’s really dirty, you can use something like this pre-paint cleaner, but most of the time just water is fine.
After it is clean and try, you’ll want to use a fine grit sandpaper to do a light sanding. I recommend using 220-grit sandpaper and just sanding by hand. An electric sander could remove the wood veneer and ruin your furniture piece. You aren’t looking to remove any paint here, just scuff up the surface a bit. After sanding, be sure to wipe off any remaining dust or debris before moving on to the next step.
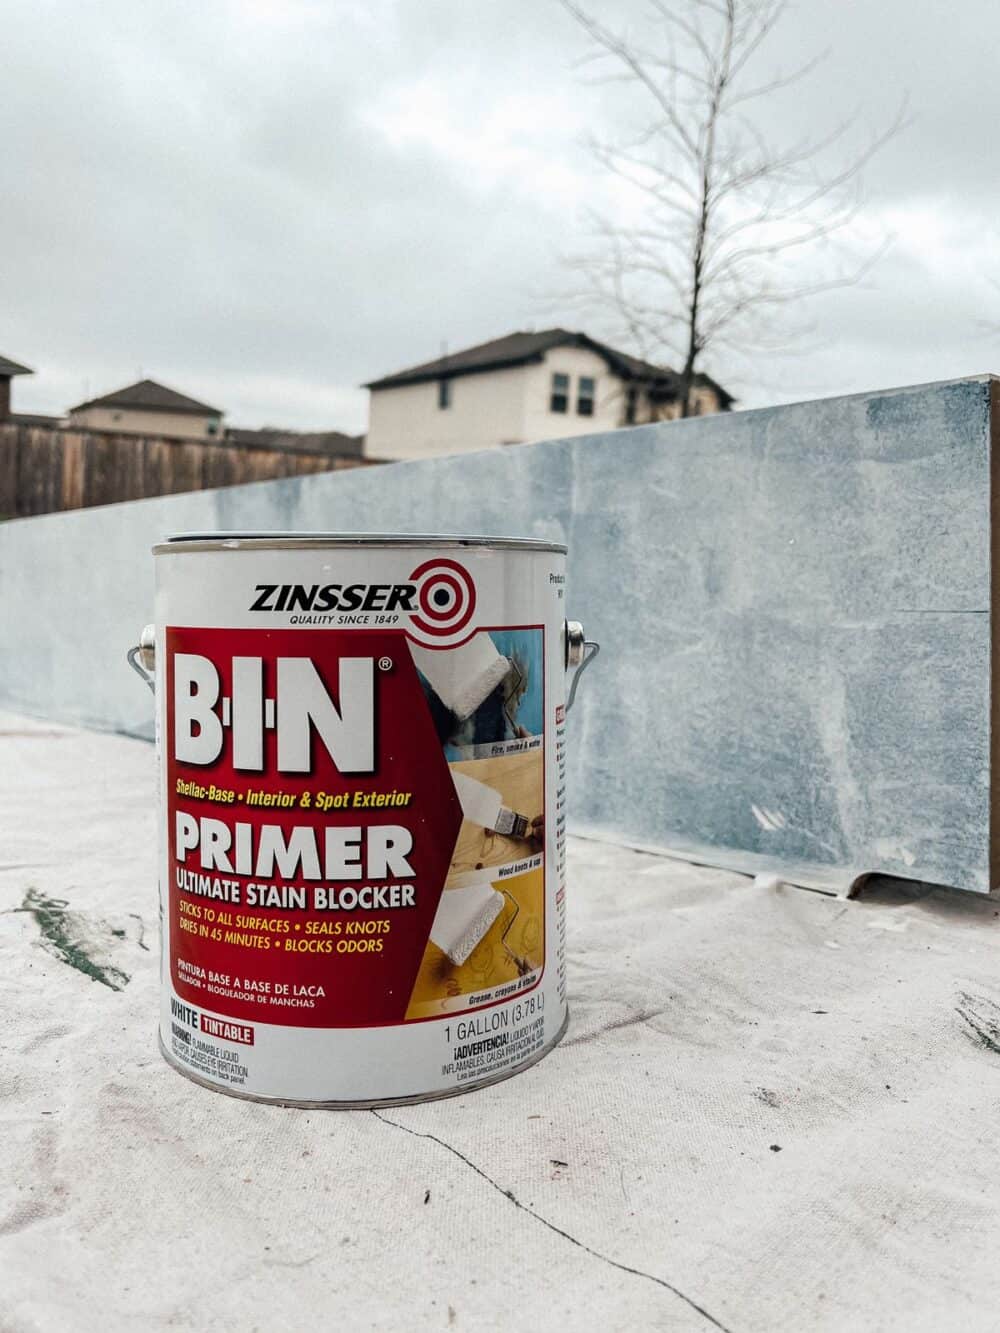
Step Two: Prime!
Right with cleaning, priming your laminate furniture is the most important step you can possibly take. I highly highly recommend using this exact bonding primer. It’s shellac based and is meant for really tough-to-paint surfaces.
Use your foam roller to put two coats of primer on the furniture piece, sanding lightly in-between each coat. This will really help with the adhesion of paint to your piece, and it has the added bonus of covering any stains that might be on your furniture! You can use a paint brush to get any hard-to-reach places, and be sure to check the dry time of the primer to ensure it has plenty of time to cure before painting.
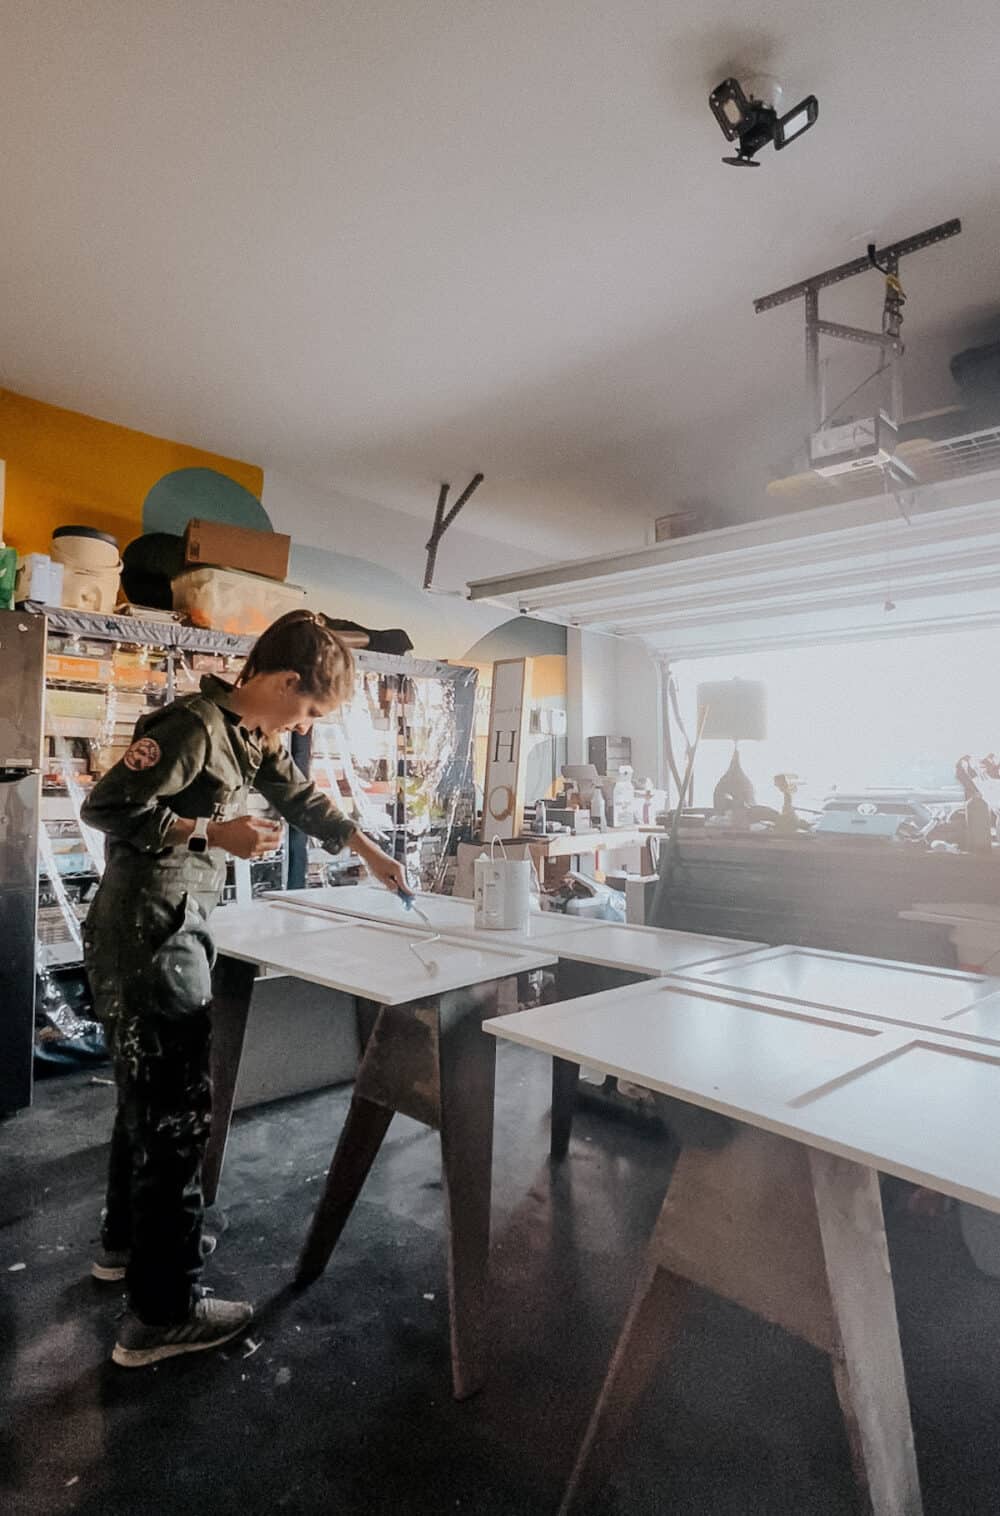
Step Three: Paint
Once you have a fully primed surface, you’re ready to start painting. You can use your foam roller again, or a paint brush. You can also use a paint sprayer for a super smooth finish. Just remember that if you’re working with an oil based paint, the sprayer will be much harder to clean afterwards!
I mentioned this above, but it bears repeating: I recommend using a cabinet paint to paint laminate furniture. Something like chalk paint or latex paint will work just fine, but a cabinet enamel is less likely to chip, won’t need a topcoat, and is less prone to peeling!
After your first coat of paint has dried fully, you can do a light sanding with 220 or even 400 grit sandpaper. This helps with adhesion and getting an even smoother surface! Allow the second coat to dry fully before returning the drawers or going back to using it as normal. It’s really important for the paint to fully cure!
Quick Tips For Painting Furniture
A few things to keep in mind as you work on your various paint projects:
- If you’re painting a laminate dresser, be sure to tape off the inside of the drawers and the dresser if you don’t want those to get paint on them as you work.
- Remove all drawers from your furniture before painting them!
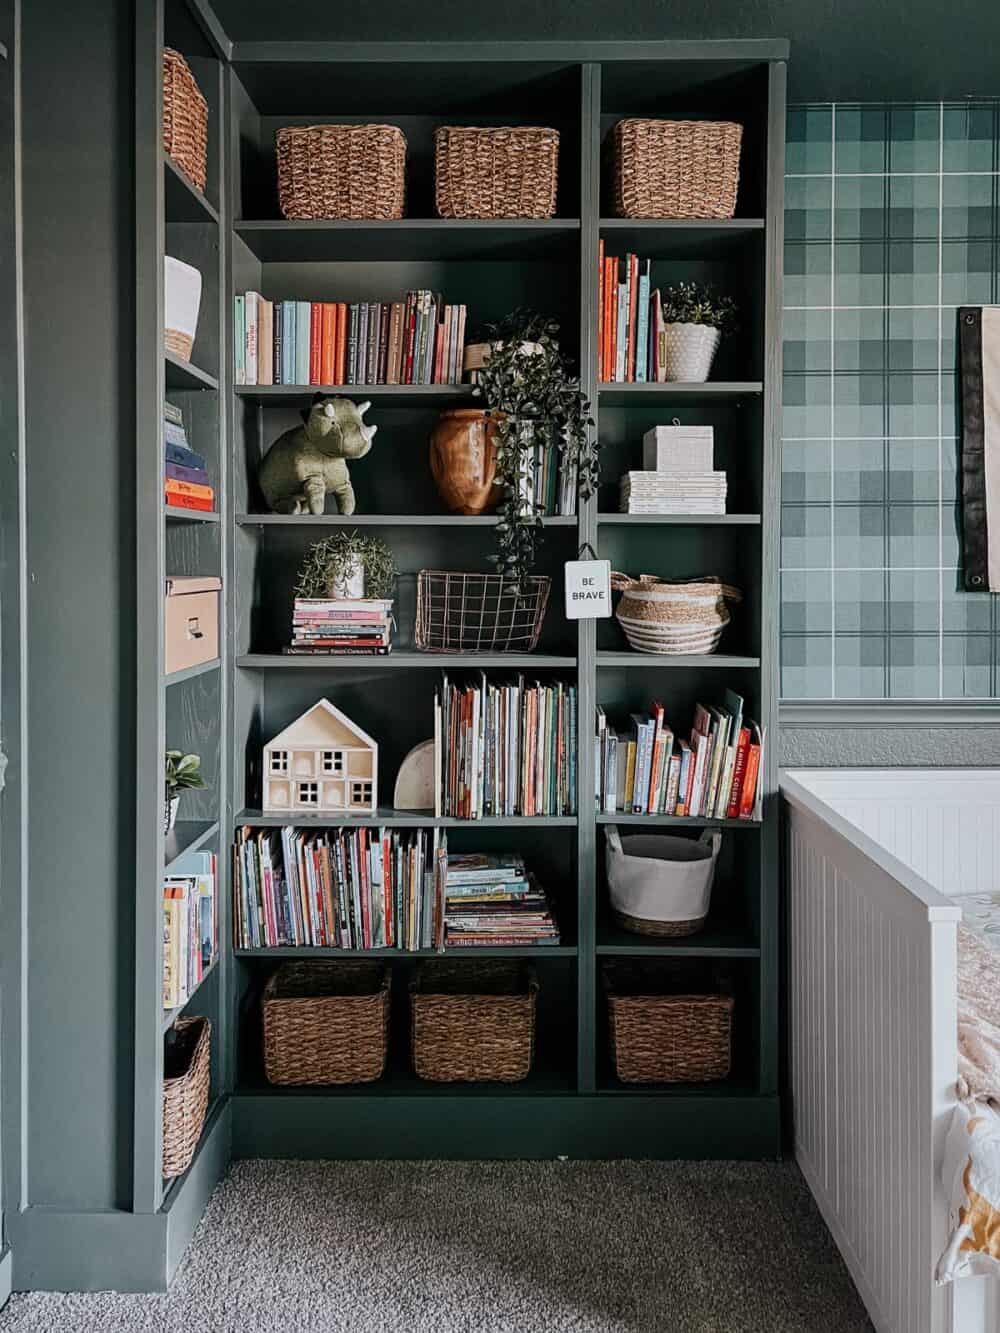
- Keep a close eye on paint drips and runs in places like corners and in details on drawers. This is especially relevant if you’re painting a bookcase!
Examples of Painting Laminate From the Archives:
- DIY Built-In Billy Bookcases
- How to Paint Laminate Cabinets
- Painting Our Kitchen Island
- Painted Laundry Room Cabinet (I didn’t sand this one, and it peeled!)
- 15 Gorgeous IKEA Dresser Hacks
Can you please share the exact brand and shade of the green dresser? Thank you!!!
The Ikea Hemnes furniture isn’t laminated though, it’s solid wood.
May I share on our Facebook/IG page with credit and links to you of course? We love to show our shoppers who buy laminate furniture at our sales how to redo them properly!
Of course!
Hi,
Was the paint you used water based or oil based? If it was water based, was it funny with the old based primer?
Thanks,
I used latex paint – and it goes over oil based primer just fine!
Hello,
I have a bureau, night stand and a tall bureau and they are made out of compressed plastic and laminate. I think the furniture was popular in the 60’s maybe. I like the size of the draws but the color is a horrible yellowish cream with gold handles.
Please help me with any ideas to transform these bureaus.
Thank You
Amy
how long after you painted the second coat of paint did you start applying the sealer?
Depends on your paint! It should say on the back of the can how long you should wait.
Just checking to see how the paint held up over time.
It has held up beautifully! No issues at all.
Do you mind sending me a link to the exact primer you used? I am seeing a few and want to pick the right one. Thanks!
Hi! It’s linked near the beginning of the post. 🙂
Hi there,
I’m looking to paint the malm dresser, I’m looking at following your advice but using a roller. I really wanted this dresser to have a really glossy finish. Do you know how I could go about this?
thanks
You can buy a semi-gloss paint and seal using a finish with a glossy sheen!
Hi! I have the Ikea Lack coffee table, the dark brown one (https://www.ikea.com/gb/en/p/lack-coffee-table-black-brown-40104294/), which got some “love” over the years from my children and now it’s all scratched up. How would you suggest I go about to giving it new life? I’ve never done any upcycling project before so I’m looking for some idea which doesn’t need fancy tools or a lot of experience. I hope you can help me 🙂
Funny I just bought this White stained dresser from Ikea yesterday. We saw it in a model home & took a picture of it, because we loved it so much. Good to know that I can paint it with no problems.
Yes! It’s surprisingly simple!
This Ikea Hemnes dresser isn’t laminated. It’s made of solid pine and covered with white stain and clear acrylic lacquer. You could have just sanded and painted it.
There are two different white HEMNES dressers. The “White stain” version of the Hemnes is made with solid pine and stained. However, this is the “white” version, which is made with ABS plastic.