
How To Make Custom Wood Signs For Your Front Porch
Last updated on October 6th, 2020 at 06:35 am
Learn how to make gorgeous custom wood signs for your front porch this fall! If you’ve wanted to make a sign for your front entry but didn’t know where to start, this tutorial will show you exactly what to do.
*****
Hey friends! Friendly reminder that I’m on maternity leave and have some friends popping in to share some guest posts. Today you’re hearing from Chelsea from Making Manzanita – she’s absolutely amazing and you’re going to love the project she’s sharing. Be sure to check out her blog when you’ve got a minute – she’s always blowing me away with the amazing projects she tackles in her fixer-upper!
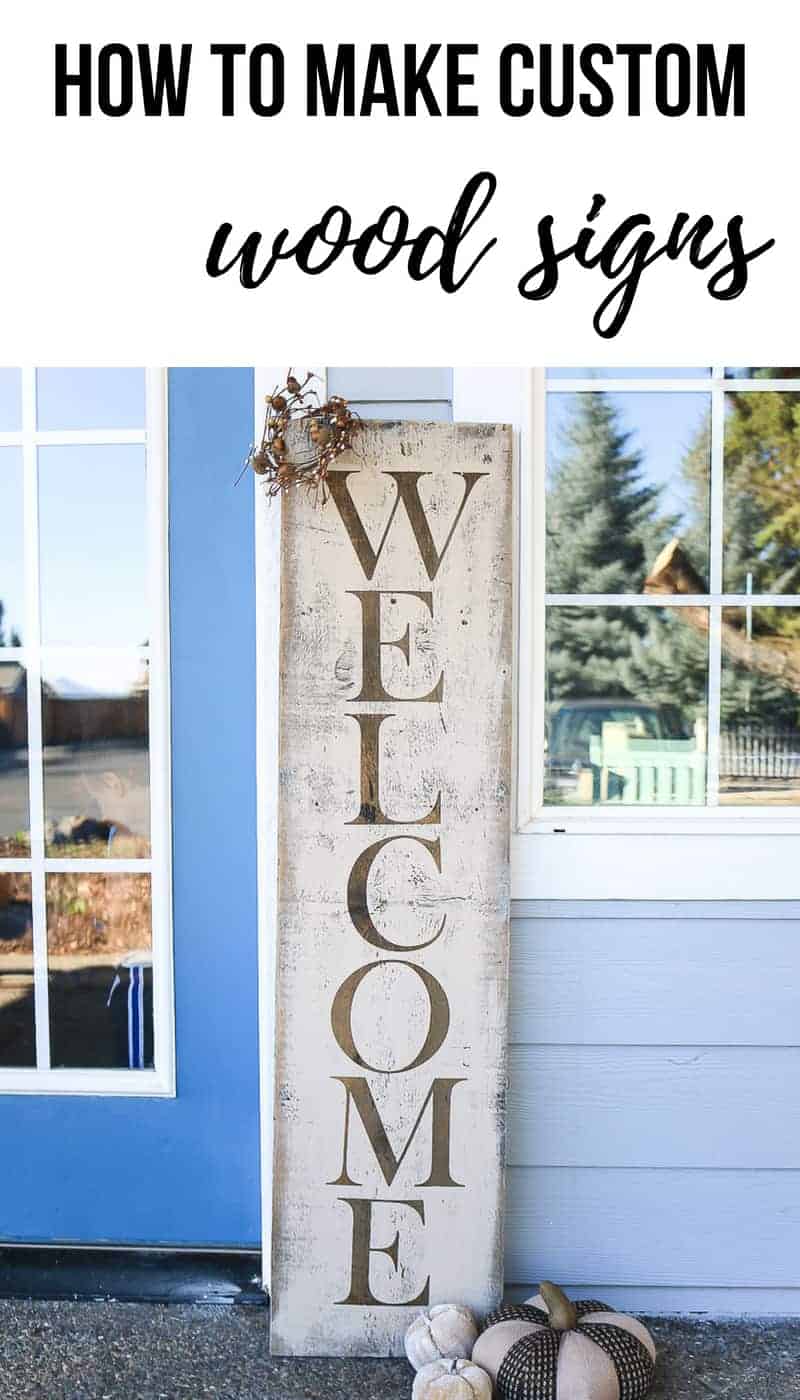
Hi there, Love & Renovations crew, Chelsea from Making Manzanita here! I’m so excited to be joining you today to share with you one of my favorite things to do – make custom wood signs! I’m going to be sharing some awesome sign making tips and tricks with you as I show you how to make custom wood signs for your front porch with this adorable rustic welcome sign that is perfect for your Fall porch decor!
This post contains affiliate links. Click here to read my full disclosure policy.
DIY home decor is, of course, something that I love (and I know you do too if you’re reading Amanda’s blog). I love that you can save money by making your own decor. I seriously need a shirt that says “why buy when you can DIY?” The best part, though, is you can customize things so they are just what you want! Making custom wood signs is no exception. You can literally make a sign say anything you want, in any size, with any font…you get the point.
But, the key here is making the signs look professional enough that you’d be proud of it and want to use it in your home. DIYing just for the sake of DIYing is pointless if it looks like two-year-old made it. I’m going to show you some tips of the trade so you can easily make professional custom wood signs. It’s so easy that yes….my two-year-old actually DID help me with this sign. You’ll see his little helping toddler hands later in the pics.
What tools do you need to make custom wood signs?
If you’re going to make a sign, the tool that really makes it all a breeze is a cutting machine. I have the Silhouette Cameo, but the Cricut is another popular brand that does virtually the same thing. I use my Cameo to make custom stencils with cheap adhesive contact paper – it doesn’t matter what it looks like because you’ll paint over it, so get the cheapest stuff you can find to save a bit of money!
But, do I really need to buy a cutting machine?
I get it, they are expensive. You may be hesitant to pull the plug and buy a cutting machine, but I can tell you that my Cameo has paid for itself time and time again with everything I’ve been able to make with it! Custom wood signs can run ya $50+ a piece if you were to buy them. Not to mention, all the other things you do make with your cutting machine, like vinyl heat transfers to make t-shirts or stickers for organizing your spice cabinet.
If you really don’t think that a cutting machine is worth the investment for you, there are definitely some good hacks of how to make signs without stencils. In fact, Amanda shared how to make this DIY wood sign and doesn’t use a cutting machine at all! I love this tip!
Psst – here’s another really fun DIY sign idea!
Ok, let’s jump right in and learn how to make custom wood signs!
Supplies needed to make a sign:
- Wood – I used a large piece of reclaimed wood (actually it’s the back side of this Hello Sunshine sign)
- Chalk
- Silhouette Cameo
- Adhesive Shelf Liner/Contact Paper
- Mod Podge, Matte
- Acrylic Craft Paint
- Foam paint brush
- Regular paint brush
- Spray Sealer
Step 1. Plan your wooden sign.
Every great thing starts with a plan, right? You’ll need to design what word you want to paint on your sign. I decided on “Welcome” because it is versatile enough to keep out on the front porch all year round if I wanted to!
Measure the height of your wooden sign, subtract a few inches for the spaces top, bottom and in between the letters and then divide by the number of letters in your word. Now, this is how tall you can design your letters. Keep in mind the width of the letters too!
For this sign, I decided that I wanted a majority of the wooden sign to be painted and just the letters to be the pure reclaimed wood, so I applied the letters and painted over them. If you just wanted the letters to be painted, you’d apply the opposite to your sign.
For our rustic fall sign, we used:
- Font: Baskerville Old Face
- Size: 625

Step 2. Cut your stencil.
You can design the letters within the Silhouette Studio program on your computer. I was able to cut out about 2 letters at a time on my 12×12 cutting mat. Since I just need the letter portion for my sign, I could overlap the letters a little bit to help save some space and use less contact paper.
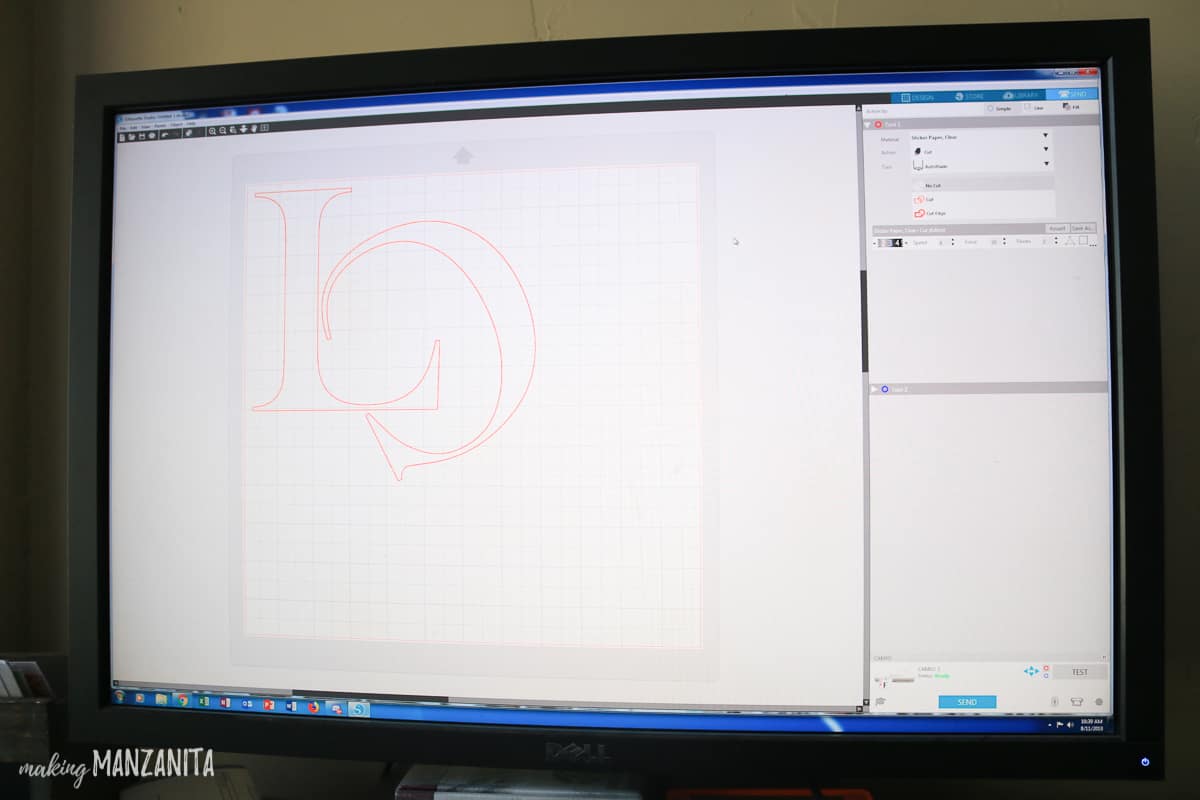
If you’re also using contact paper for your stencil, here are the cut settings I use:
- Material: Sticker Paper, Clear
- Action: Cut
- Tool: Autoblade
- Blade: 3
- Speed: 4
- Force: 33
- Passes: 2
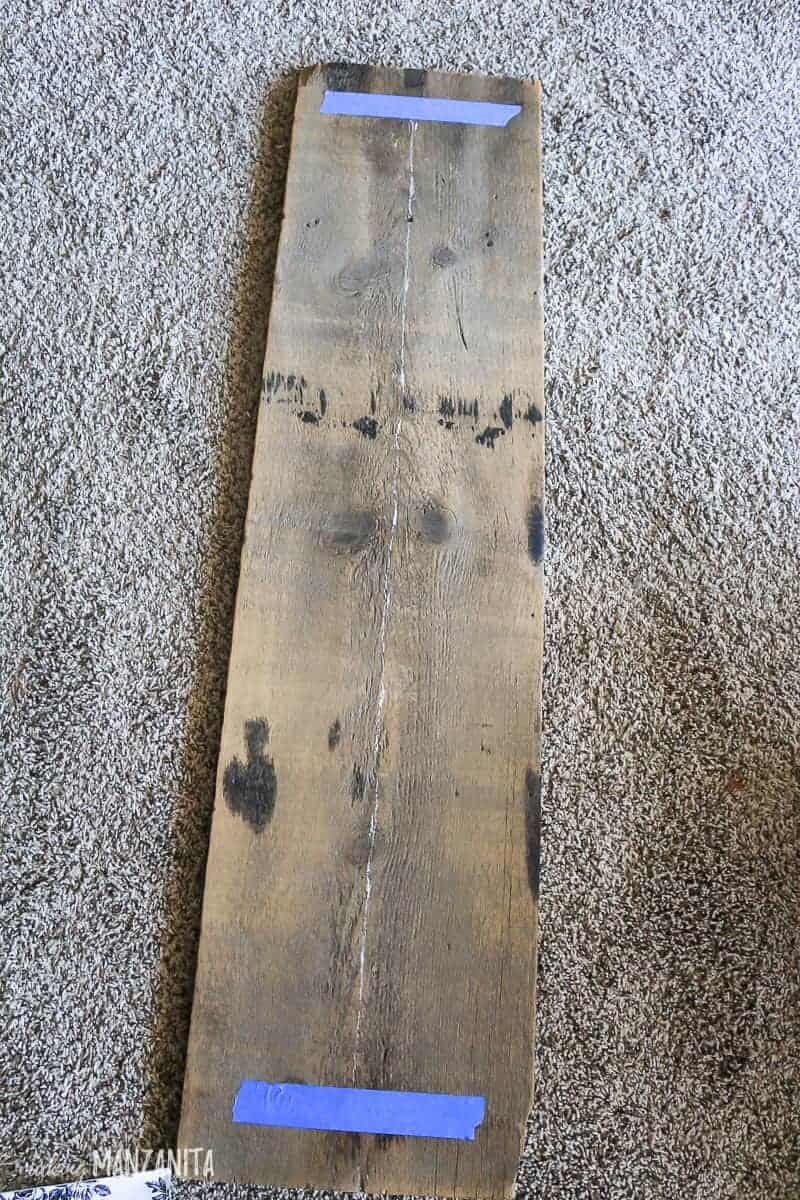
Step 3. Mark center of wooden sign with chalk.
When you’re going to make a wood sign, you definitely want to be sure things are always centered and straight. I find that using chalk to mark the wood works great! You can just wipe it off when you’re done!

Step 4. Add letters.
Next, keeping things aligned in the center, add your letters to the wooden sign.
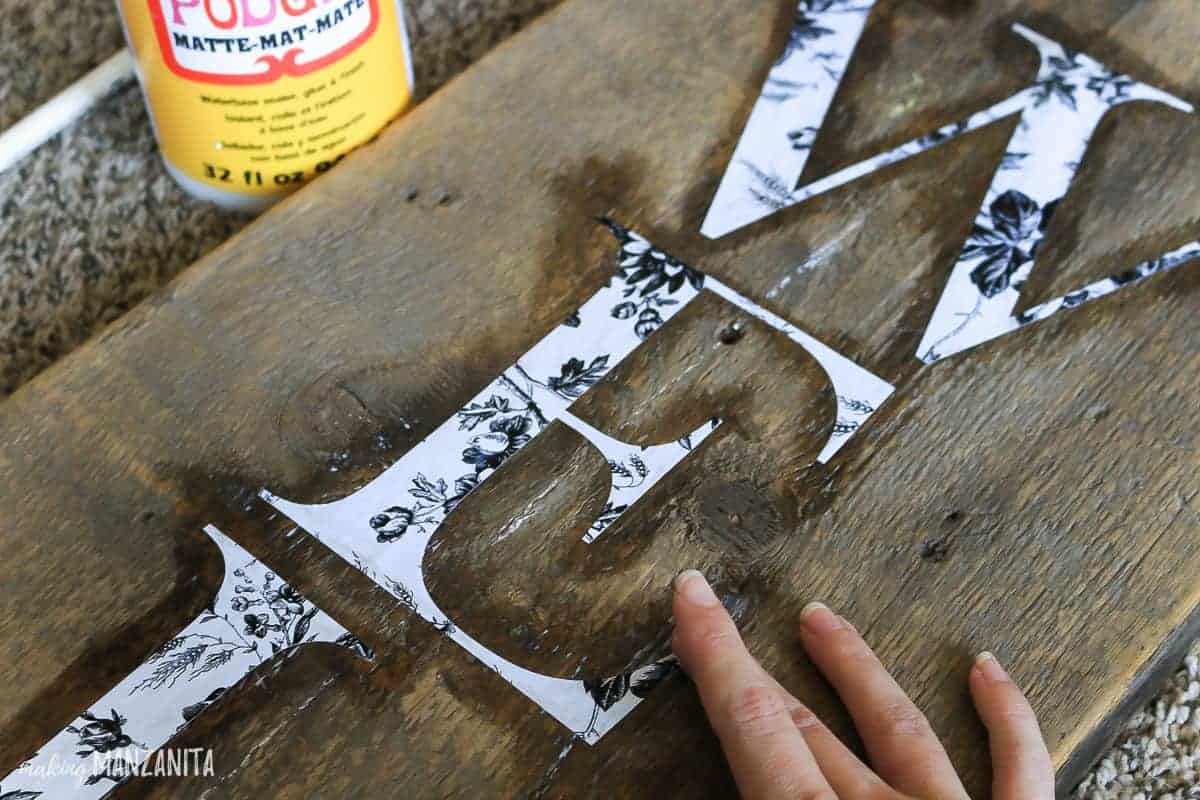
Step 5. Seal letters.
Now, this my friends….is the Willy Wonka Chocolate Factory golden ticket. If you’ve ever stenciled wooden signs before, you know how frustrating it is when the paint bleeds under the stencils. The answer is Mod Podge! You just wipe a little Mod Podge over the stencil and it seals the contact paper to the wood. Voila!
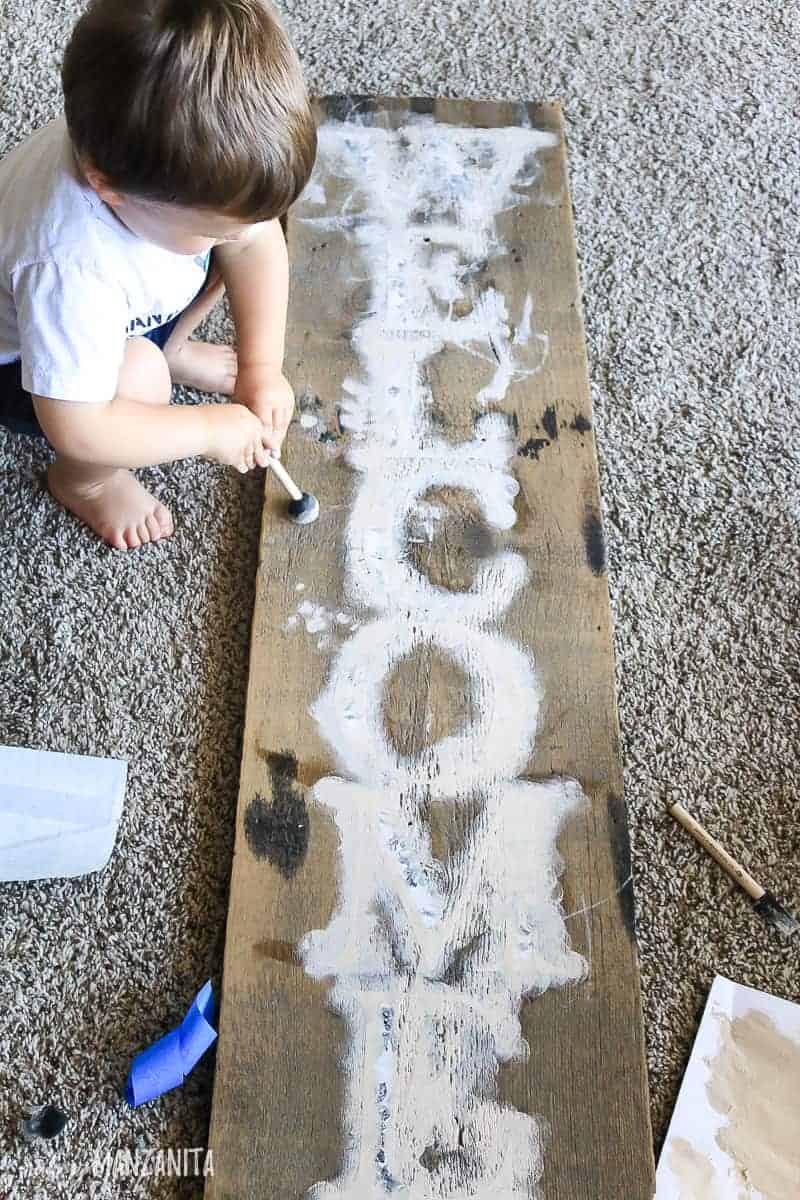
Step 6. Paint over letters on borders.
Once the Mod Podge is dry to the touch, you can start painting. There are tons of really cool paint lines out there nowadays, but for custom wood signs I always use the good old acrylic craft paint. It’s super duper cheap and works like a charm. For this sign, I used Folk Art’s Linen color. It’s a pretty light tan color.
Start by painting over the borders of the letters. I used a foam stencil brush and sort of bounced on the wood rather than doing brush strokes. This will also help prevent stencil bleeding. This is where your little ones can help out. Since you’re going to be painting the entire sign and the letters are already on the sign and sealed, there’s not much damage little toddler hands can do. My little one loved helping out!
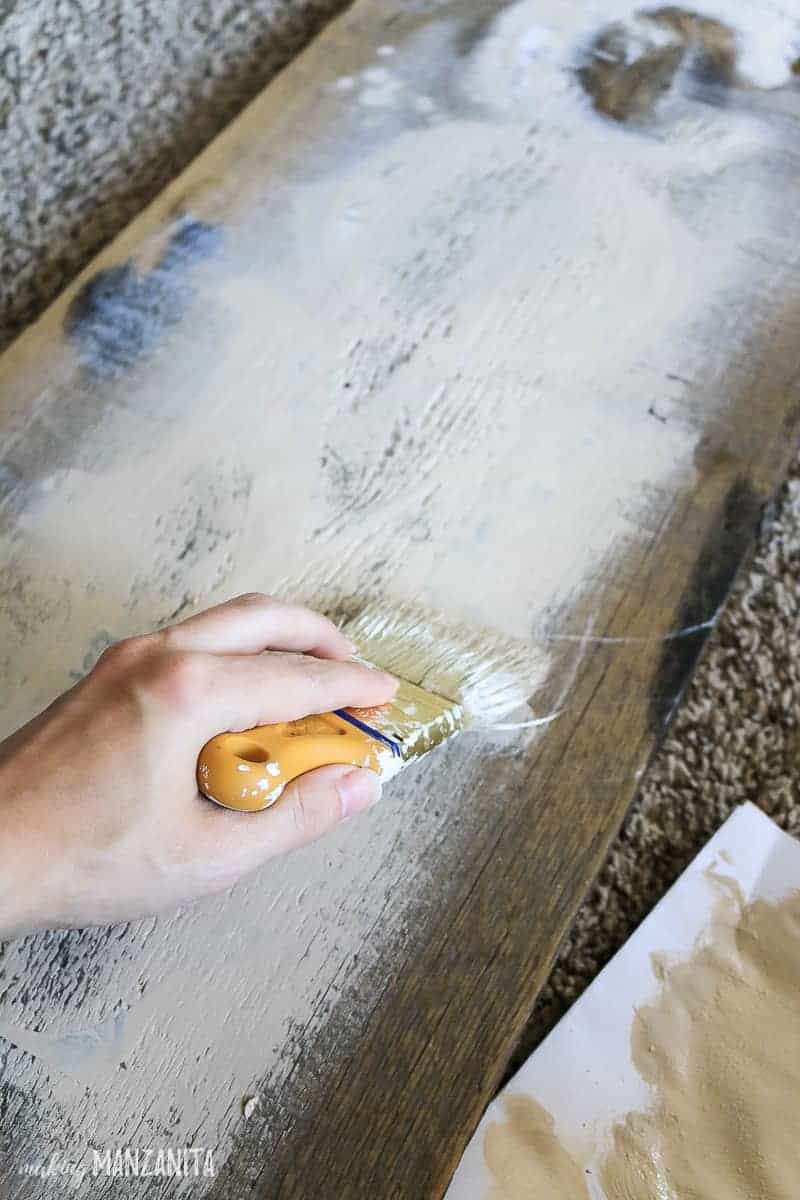
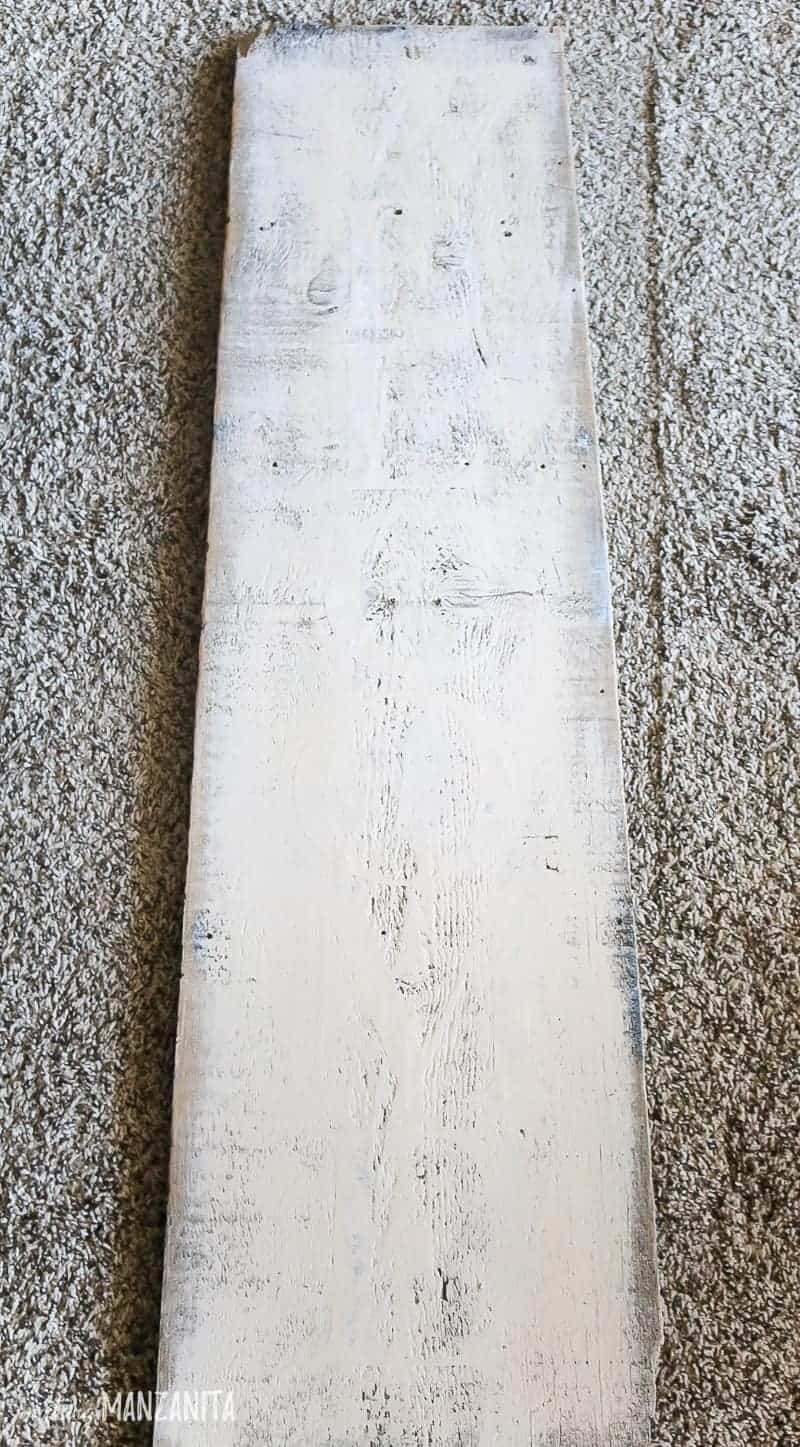
Step 7. Paint the rest of wooden sign.
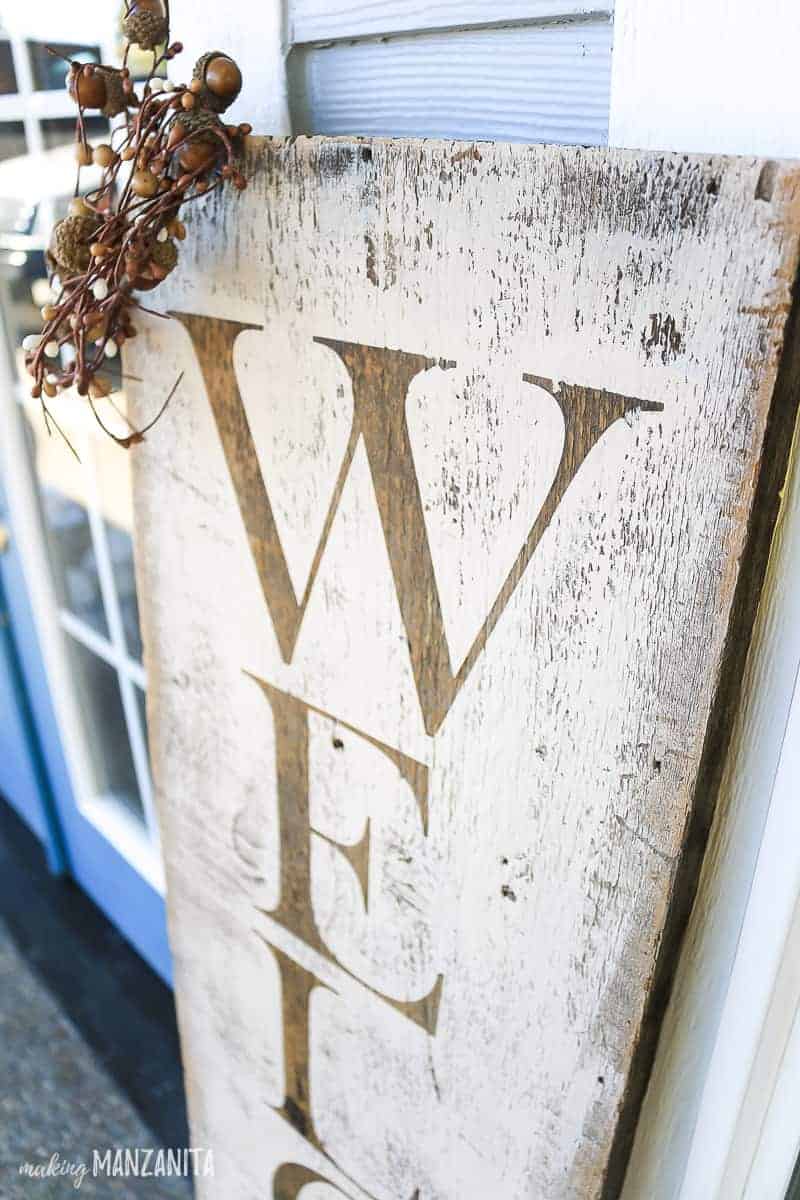
I wanted a rustic look to the sign, so I grabbed an old bristle brush for the remainder of the wooden sign. I used a dry brush technique for the rest.
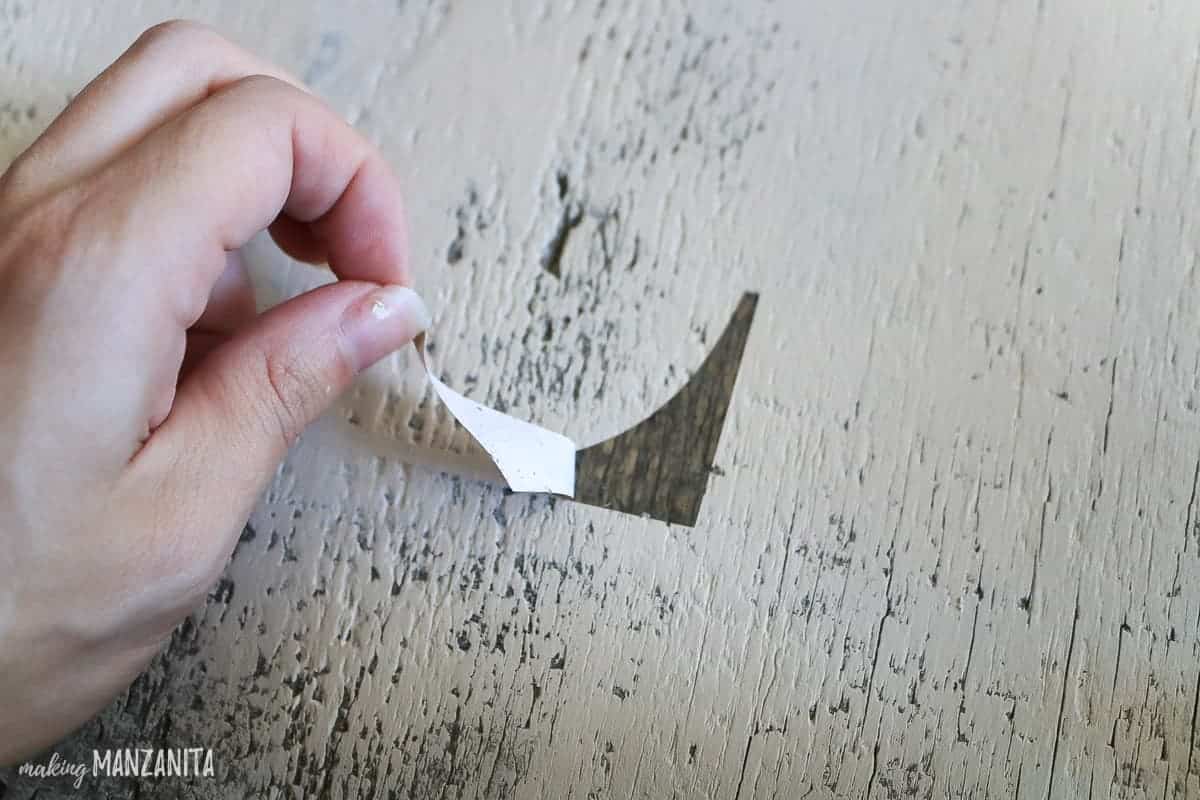
Step 8. Remove letters.
Once the paint is dry to the touch, you can peel up those letters and look at those beautiful crisp paint lines! If you’re having troubles grabbing the letters up, tweezers work well!
Step 9. Seal sign.
Last, but not least…seal that sign of yours. This is a must if it’s going outside. I’d use this acrylic spray sealer, but you could also use a polycrylic for a more durable seal. This sign will hold up the best if it is under a porch and not in the direct elements of outdoors.
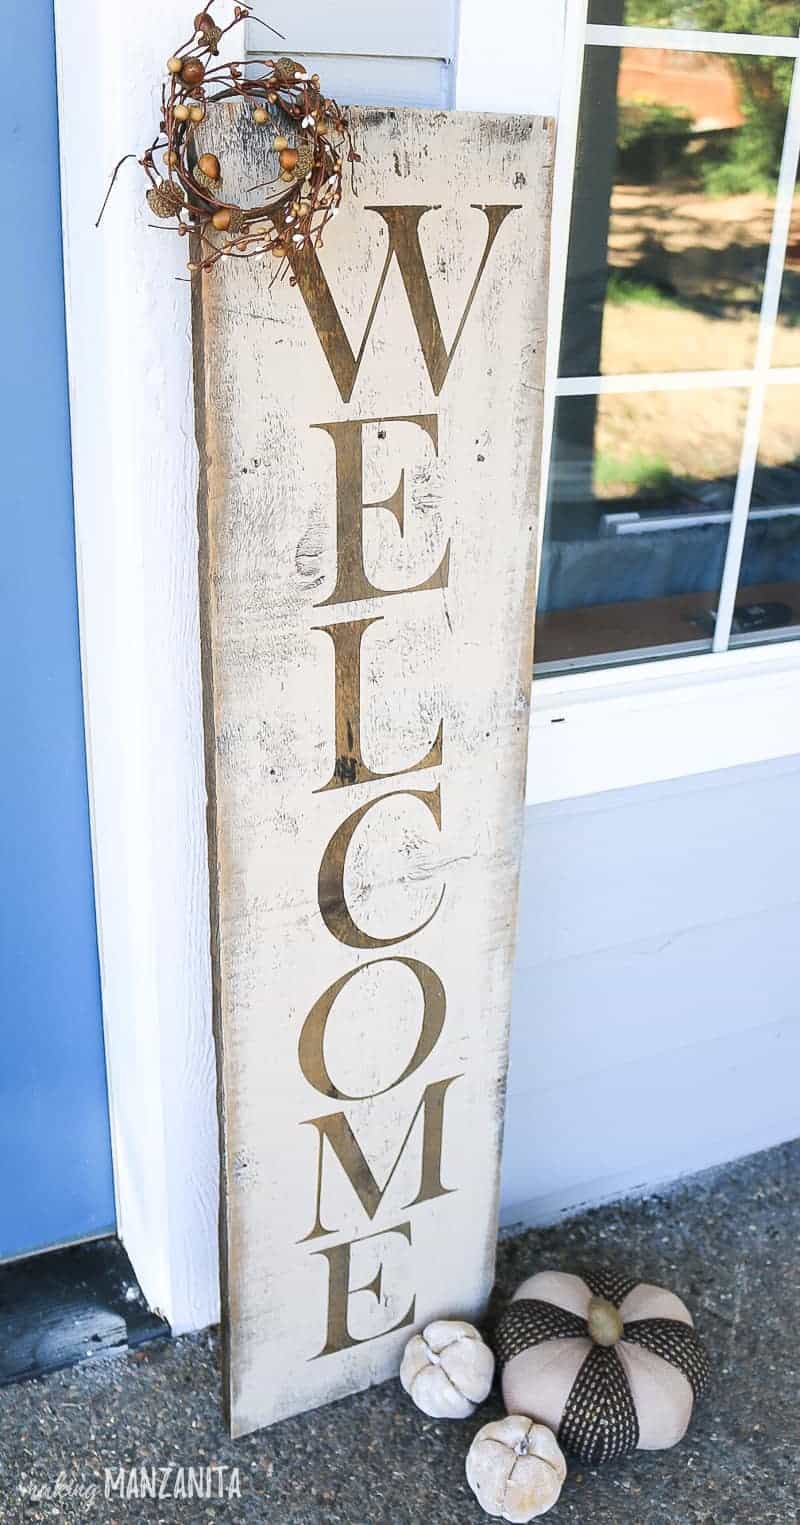
Step 10. Beautify your front porch with your new custom wooden sign!
Now just take the pretty little thing outside and beautify your front porch!
I can’t wait to get our porch decorated for Fall a bit. This sign is the perfect jumping off point for the rest of the porch decor.
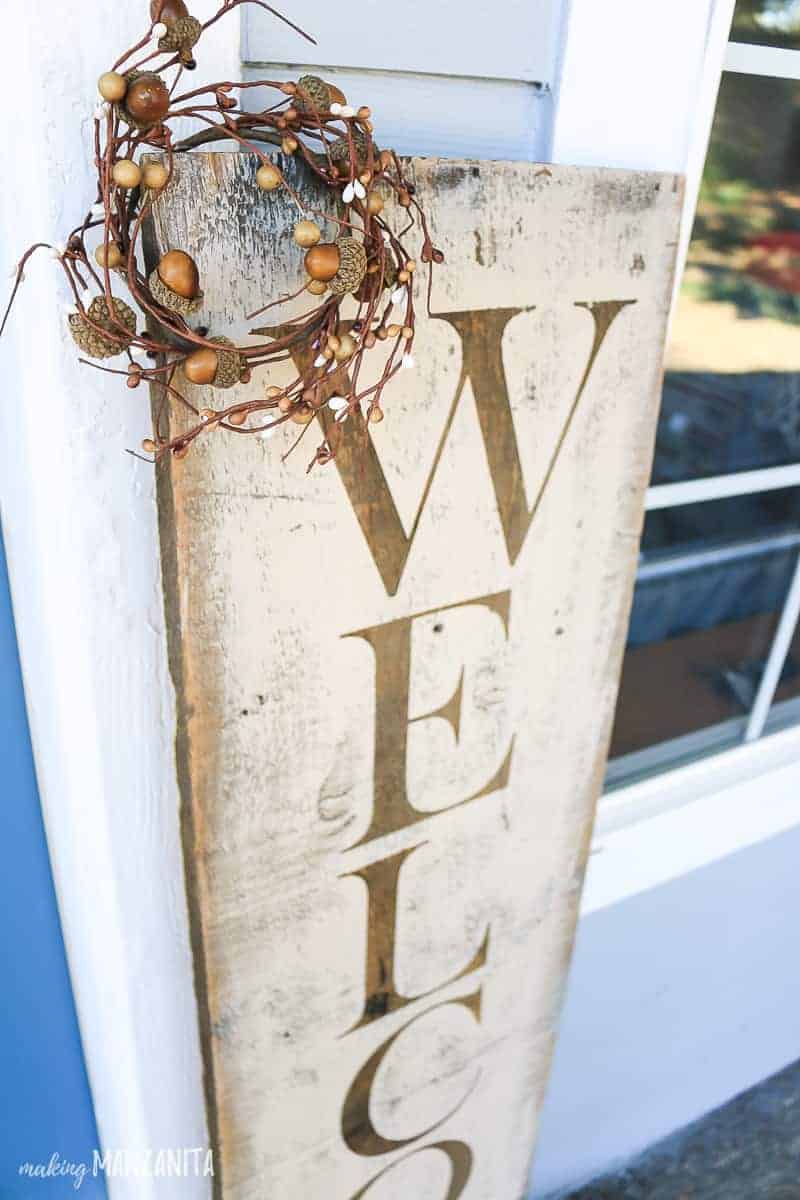
I simply added a little fall candle ring to the top corner of the sign for some extra festive character.
There ya have it! You too can make easy custom wood signs by investing in a versatile cutting machine to make your own stencils. The options for all the different signs you can make for your home are ENDLESS! I’d love to know what kind of sign you’re dying to make?? Let me know in the comments below!
RELATED PROJECTS
- DIY Wood Carved Sign
- DIY “Gather” Sign (No cutting machine required!)
- Another no-cutting-needed sign idea
- DIY Chalkboard wall hanging
- Easy DIY ruler growth chart
So I really loved the look of the paper lettering. Could u leave that on there with just the mod podge and seal it?
Sure! It wouldn’t hold up as well to the elements if it’s not on a covered porch, but I don’t see why it wouldn’t work.
What crochet would you recommend to a beginner?
Hi Marsha – are you asking about a Cricket? Or crochet? Not sure I’m following the question!
How would you anchor this so the wind doesn’t blow it over?
You can grab a mirror anchor on Amazon if you’d like to attach it to the side of the house!
The link for the sealing spray leads to acrylic paint instead. Any idea what the product was supposed to be? Thanks!
Whoops! Not sure what happened there. This should be the correct link. Thanks for letting me know!