DIY Wood Carved Sign
I used my X-Carve router to make this adorable DIY carved wood sign – it was my first time making a sign like this and I wanted to share my tips, tricks, and lessons learned!

This post is sponsored by Inventables and contains affiliate links.
If I have learned anything over my years of writing this blog and learning DIY and home improvement as I go, it’s this: I’m capable of way more than I think I am.
Honestly. It sounds a little cheesy, but it’s so true.
I used to say I’d never be comfortable building furniture. That was Corey’s wheelhouse. And that I couldn’t hang things unless he was home, because he was better at it. And that I could install wall trim because I didn’t really know how.
But then I started to just TRY. And since I started to just give things a go, I have painted our entire house, hung picture molding throughout our bedroom, hung our bedroom curtains, and so much more aaaaall by myself.
And, can I let you in on a little secret? If I can do all of this stuff, so can you!
We tend to shy away from things that are outside of our comfort zone because it’s oh-so-scary. But, I’ve learned that the greatest growth happens when you just gently put your toe right over the line. Start in a place where you’re kind of comfortable but just a little bit nervous and try it. Then, the next time, push yourself a little further.
Next thing you know you’ll be doing ALL SORTS of things and your comfort zone will reach far beyond what you ever expected!
Why am I talking about comfort zones and confidence on a post about a DIY wood carved sign?
Because, my friends, this is a project that intimidated the heck out of me before I got started. And when it was done? I felt so good and so proud and so excited!
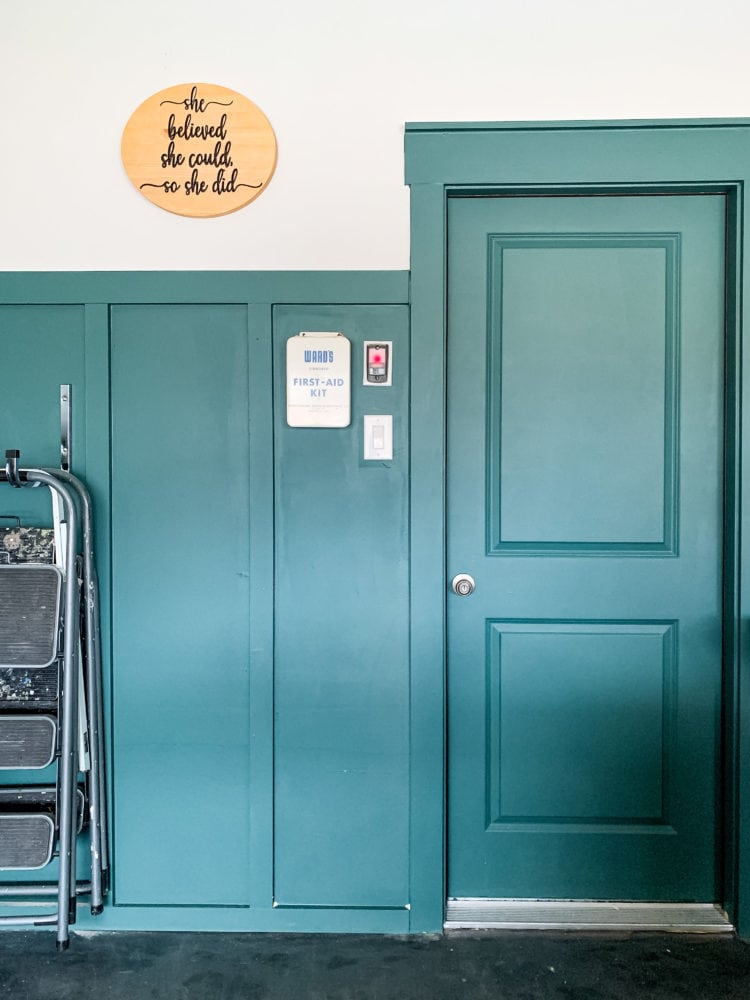
DIY Carved Wood Sign
Here’s a rundown of how I used my Inventables X-Carve to make this gorgeous DIY sign. Plus, the super simple trick I used to make the letters look sooooo crisp and gorgeous!
Tools & Materials
- Inventables X-Carve 3D Carver
- 1/8″ Straight End X-Carve Bit
- 60-degree V-Bit
- She Believed She Could SVG File
- 1″ pine wood (I used an 18″X24″ project board, but you could easily adjust the size to fit whatever you’d like)
- Power sander with 120-grit sandpaper and 220-grit sandpaper
- Black paint
- Small paint brush
- Sealer (I used spray Spar Urethane, since it’ll live in my garage)
Carving the Design
This was my first time really carving out intricate words like this where it would truly matter how clean the cut was. I was pleasantly surprised with the results! I used my 60-degree V-Bit to make the cut. The one I had on hand was a 1/4″ one, but I would love to try a similar design with an 1/8″ bit to see if it produces even better results!
The beautiful thing about using the X-Carve for a project like this is that once you’ve set it up, you pretty much just hit “carve” and it does the rest of the work for you! It’s so satisfying to just sit back and watch it carve out your gorgeous design while you get other things done around the garage. Or, I don’t know, have a dance party.
Don’t know what the heck an X-Carve is? This post will help!
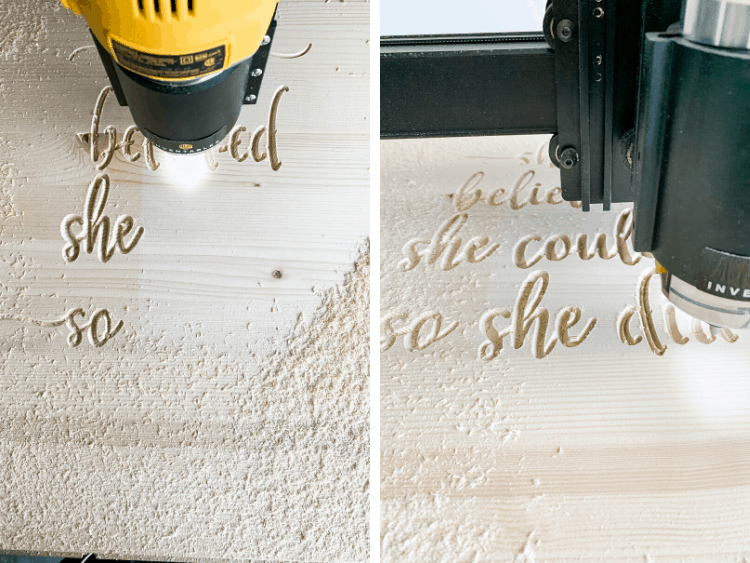
Once the letters were carved out, I switched over to a 1/8″ straight bit to cut out the circle. I thought it would be fun to try a shape other than a plain rectangle for the sign, and I think it added a lot to it.
Just as a quick reality check, it was only a few months ago that I was afraid to even touch this machine much less be changing bits, troubleshooting, and doing an entire project myself from start to finish.
Now? I’m already itching to get back out there and try something else!
The Finishing Touches – Paint & Stain
Once the sign was fully cut out, I removed it from the X-Carve and sanded down all of the edges and the top. I also grabbed a small piece of sandpaper to catch any small rough edges inside of the letters. It was pretty smooth already – it needed very little finishing work!
I sanded the whole thing with both 120 and 220 grit sandpaper. Then, it was time to add the finishing touches! I used an artist’s brush to paint the inside of the letters black. I’ve heard you can put contact paper over the design before carving so you can paint without needing the extra step of sanding. I might try that next time! Once it was dry I sanded the top of the board to remove all of the extra paint.
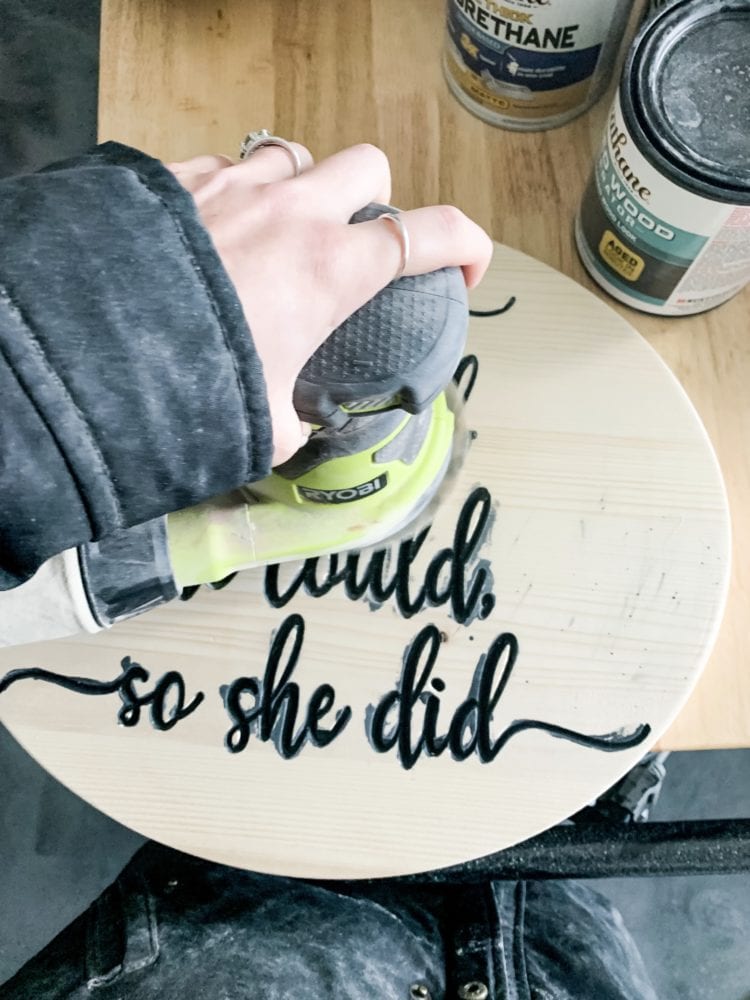
I worried that this approach would feel really labor intensive, but it was so quick and easy. After I sanded the extra paint off, I finished the top off one more time with 220-grit sandpaper, and then I stained it using Varathane’s Summer Oak. I wanted something really close to the natural color of the wood so the letters could really shine, and this was the perfect stain color!
Once the stain dried, I sealed the sign using Spar Urethane. This will live in our garage and be relatively exposed to the wild weather changes we have here, so I wanted to make sure it was protected. If you’re finishing off a sign for indoors, I’d suggest this poly!

I hung it in about 2 minutes using these nifty little hangers, and I was good to go!
And now, I have this adorable little reminder of the fact that I can do so much more than I think I can hanging up in my garage. I imagine I’ll be staring at it often as I work up the nerve to try new and more complicated projects on my X-Carve.
related posts
X-Carve Projects
- DIY Wooden Baby Teethers
- DIY Bread Boards
- DIY Carved Wood Pumpkins (my first ever solo carve!)
- Adorable DIY Wood Christmas Tree for Kids

This is really nice especially for your first project. I have found if you seal the wood before painting it eliminates paint bleeding where you dont want it.
keep up the good work