5 Must-Have Workbench Accessories (Even for Beginners!)
Today I’ve got a fun garage workshop update for you! Corey built an amazing DIY workbench with all sorts of great workbench accessories, and I’m showing you all the details – and how it’s going to be a game-changer in our shop!
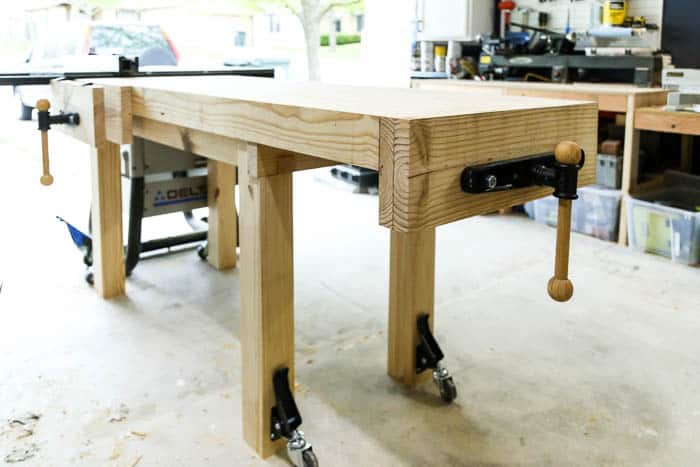
We’re long overdue for a garage workshop update, my friends.
Ever since we moved into this house almost a year and a half ago, Corey and I have been working to make this (small) two-car garage functional for us as a workshop. It’s been an interesting transition (we used to have a full workshop separate from our garage!), but we’re slowly getting there.
Two things that are severely lacking in our garage are storage space for specific tools (like drill bits, etc.) and good working space. We have a couple of workbenches along the walls, but they’re full of tools and when we need to actually finish something or put something together, we usually end up working in the driveway.
Not anymore, my friends. Not anymore.
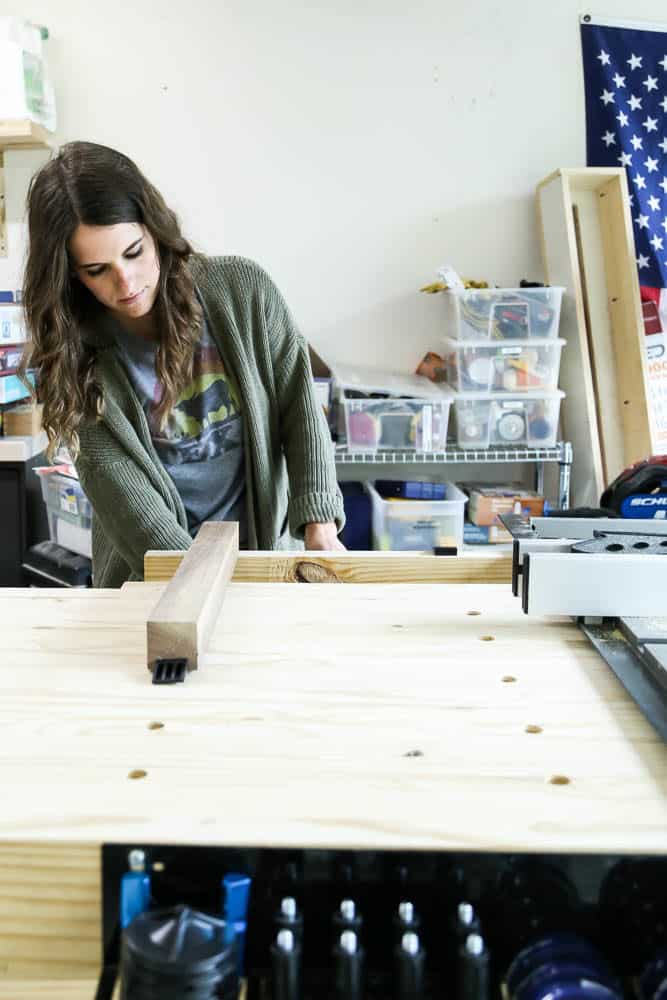
This post is sponsored by Rockler, but all opinions and enthusiasm about learning woodworking come straight from me! Thanks for supporting the brands that support Love & Renovations!
Woodworking isn’t the main part of what we talk about around here, but it is a huge part of what we do, and it’s an area I’m always trying to grow in. As someone who loves to work on my home, I think it’s important to constantly be growing and learning in all things DIY – including woodworking.
You know I love to share accessible ways that you can get into woodworking and building too (check out my Power Tools for Beginners series if you’ve never seen it!), so today I wanted to share some photos of the new workbench that Corey built and chat about the amazing accessories he added to it to make it something that even my super-beginner self is excited to use.
I might not have a lot of knowledge about how Corey built this amazing workbench (and, let’s be honest, I don’t know if any of us really wants to get into all of those details for this particular project!), but I do know that I love to watch him work on these projects with Jackson! There’s almost nothing better than seeing him patiently teach Jackson how to. work with his hands, and I love how excited Jackson is to help out.
Pssst – Need some ideas for keeping your garage workshop organized? This post all about workshop organization will help you out!
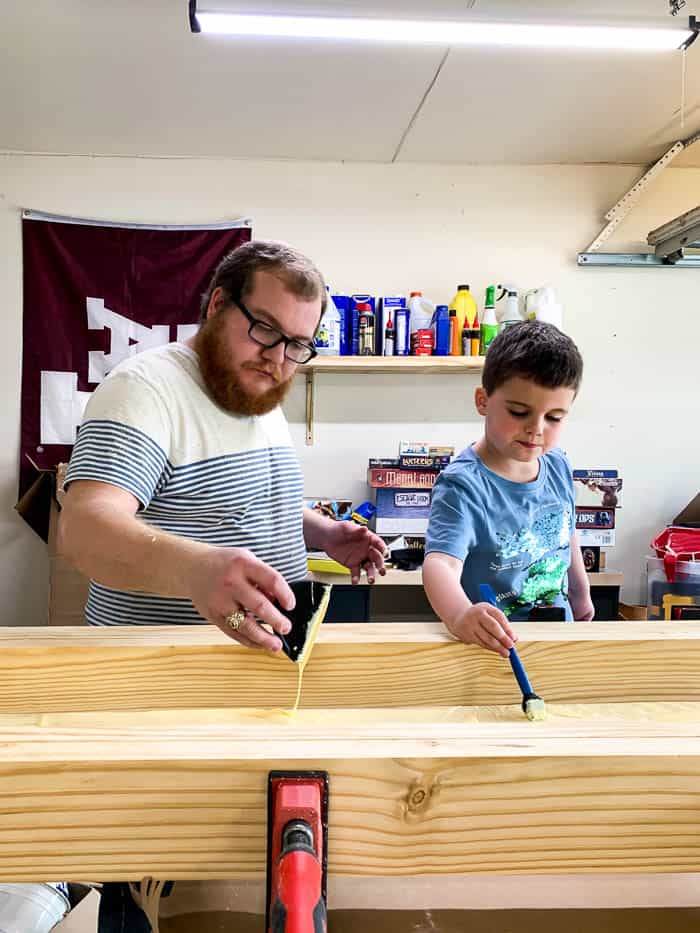
These are definitely some of the moments I hope Jack treasures as he gets older, and I hope our passion for working on our home can instill a love of creativity in him too!
Also, the free child labor is nice too, no?
I’m kidding. But seriously – Jackson loved to help Corey work on this, and I have visions of him helping us complete many projects on this workbench in the years to come.
Before we dive into the fantastic workbench accessories that every workshop needs (including yours!), I want to give you a few resources for workbenches if you don’t already have one. Or, you know, if you don’t have a husband who can whip one up for you over a couple of weekends.
(I know, I’m a lucky one!)
affordable workbenches & Workbench kits
- This workbench may have been complex to put together, but we’ve built some simple ones before! This quick tutorial for a basic workbench should be perfect for you if you’re looking to DIY something that isn’t difficult.
- These components are completely customizable to help you build a workbench really simply and affordably. Choose the legs and stretchers that work best for the size you need, then add in wood to customize. There are lots of options, and tons of support on their website for how to build yours.
- This workbench leg kit will allow you to build a workbench of any size in less than an hour. Super easy to put together, and incredibly affordable.
- This workbench shop stand is the epitome of easy-to-use – it’s a pre-made base for your workbench so all you need to do is add the wood.
- The Material Mate is a great, flexible option if you want something that can be easily stored and function in the same way as a workbench. I talked a lot about it in this post, so go there for more details!
- Finally, if you’re willing to spend a little more and you want something more along the lines of what we have, this is the workbench for you. It’s easy to assemble, and comes pre-equipped with several of the cool accessories I’m about to show you – which really off-sets the cost!
Got it? Great! Once you’ve got your workbench (and, if you’re doing any woodworking, painting, or basic DIY, a workbench is a good idea to have!), you’re ready to move on to the accessories.
Accessories are always the best part, right?!
5 Must-have workbench accessories
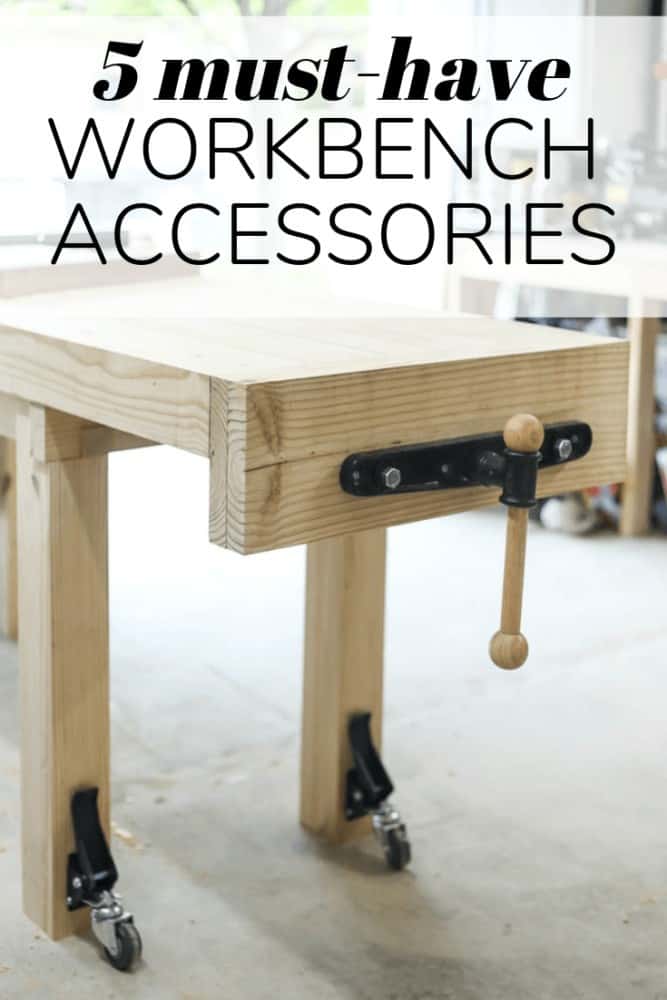
Heeeeeere’s where things get fun, my friends.
You may think that workbenches and workbench accessories are meant for fancy woodworkers who know how to build fancy things. But they’re not.
Workbenches are for you and me, my friends.
People who like to refinish furniture, sand and stain some shelves, and may dabble in a little building every once in a while.
Allow me to demonstrate with a few of my favorite accessories from our new workbench:
1. Face & Tail Vices
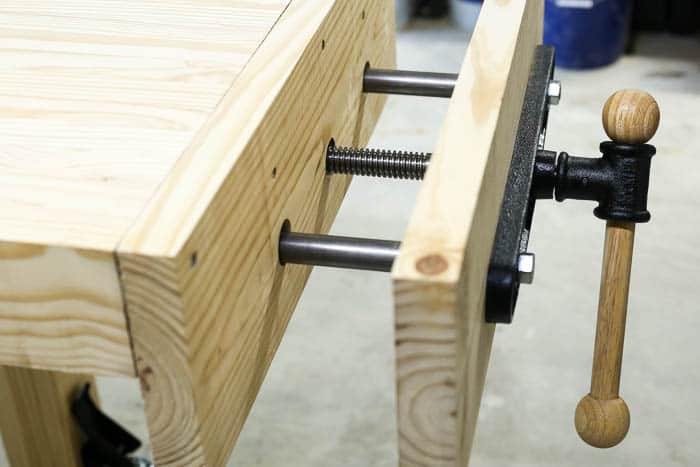
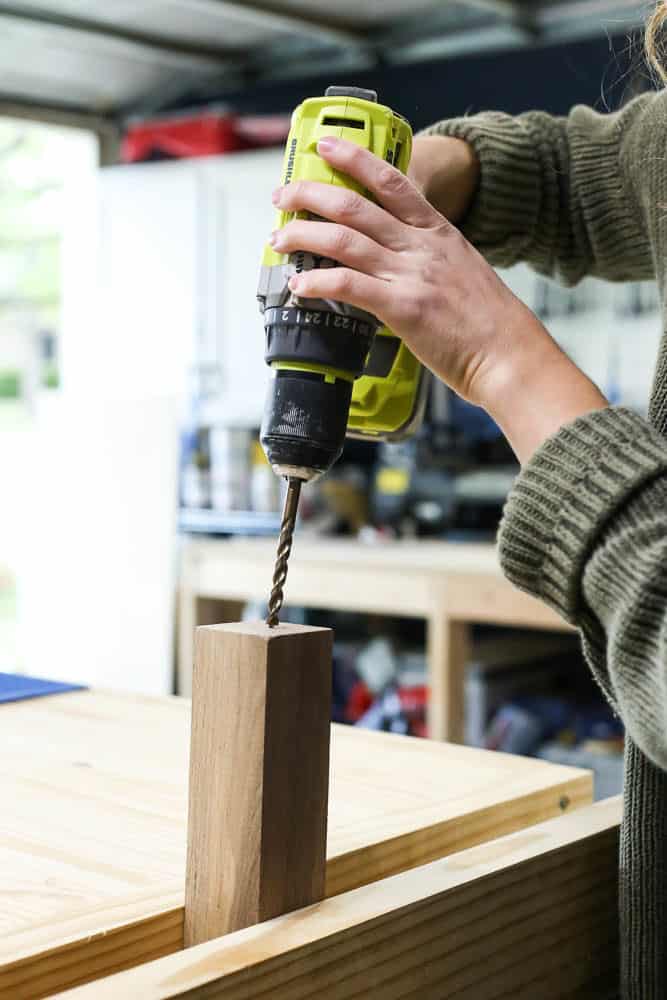
A vice is basically a giant clamp that helps you hold unwieldy things in place while you’re working on them. It acts as an extra set of (really strong) hands to help you hold something steady while you sand or cut it. It consists of a large clamp and two pieces of wood – you loosen it up, slide whatever you’re working on into place, and then tighten it until the piece doesn’t move.
A great example for what you’d use a vice for is drilling. If you’ve ever been trying to drill a hole in something and had the piece of wood move on you, you’ll know frustrating it can be. Not to mention, it can ruin the project! A vice can hold that wood still while you work, so you no longer have to wish that you were able to grow a third arm.
It’s also great for things like hand-sanding pieces that need more detail work, or working with hand tools.
We have this vice for the end of our workbench and this one on the side. They’re an investment, so you may want to consider one of the workbenches with them already added in if you’re looking to save some money.
2. Bench cookie kit
Adding cookies to anything is always a good idea, right?!
(Sorry. Couldn’t resist.)
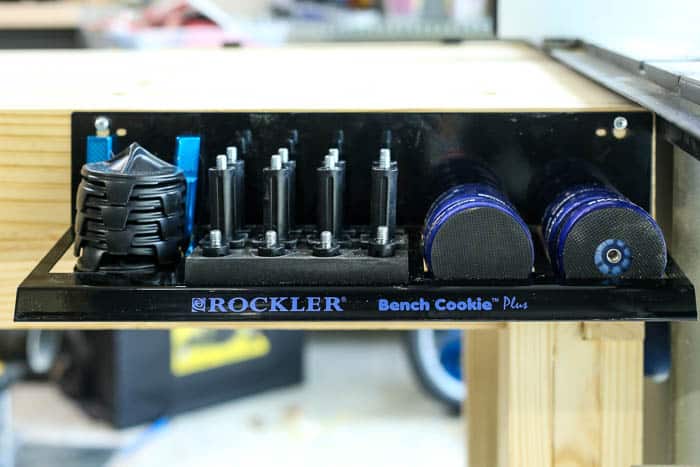
Bench cookies are probably one of the most handy things you can possibly add to your workbench. They’re basically another option to help you hold things in place while you work, but they do a little more than just that.
Bench cookies basically look like small hockey pucks with grip on both sides. You can lay them flat on the table, or raise them up by inserting risers into holes that you’ve drilled in the top of your workbench. They act as a non-slip surface for your project.
For example, you could use them at the highest setting to hold a piece of wood off your workbench so that you can use your jigsaw without hitting the tabletop (this is going going to be life-changing for me!).
Or, you could use them at a lower setting to help hold a smaller piece in place while you sand it.
Or, you could add the finishing cones to the top so that you can hold your pieces in place and finish both sides without damaging the finish. This would be a life-saver for things like painting cabinetry!
We have this bench cookie kit, and this storage center to help keep it all in one place.
3. Bench dogs
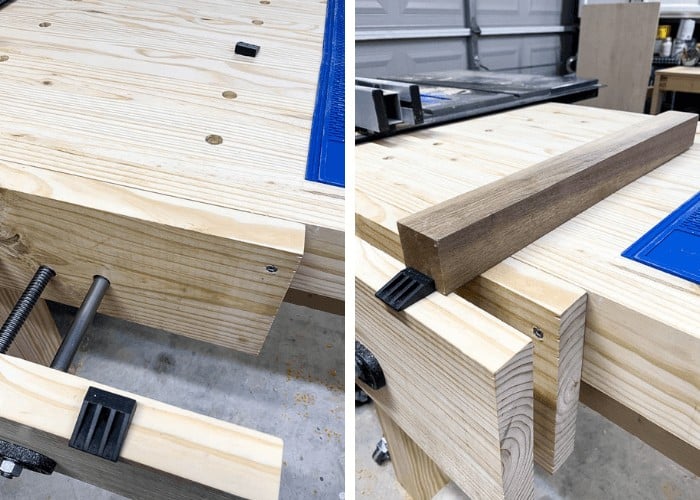
Another really useful thing to have when you’re trying to hold things in place are bench dogs. They’re like small wedges that fit into holes in the top of the workbench (similar to the bench cookies!) and they help hold pieces of wood in place while you sand, plane, or route.
While the bench cookies are good for providing a non-slip surface for larger pieces (think a drawer, a cabinet, or something you’re manipulating a lot while you’re working), bench dogs are better used for single pieces of wood or more flat pieces that need sanding or planing.
For example, if you’re sanding down one board to turn it into a shelf, or if you’re prepping a board to create a DIY bathtub tray, bench dogs would be really helpful to hold it still while you work.
Rather than clamping it to the table from above and below like most clamps, they just block it from moving side to side (and you can use the vice on the side of your bench to adjust the sizing).
The bench accessory kit that we got these in also includes a silicone mat (which I’ll expand on in a minute), along with some clamps that can be added to the top of the bench. We also got these round bench dogs, which are just shaped a little differently and are a little more sturdy, for when you’re working with more heavy-duty things.
4. casters
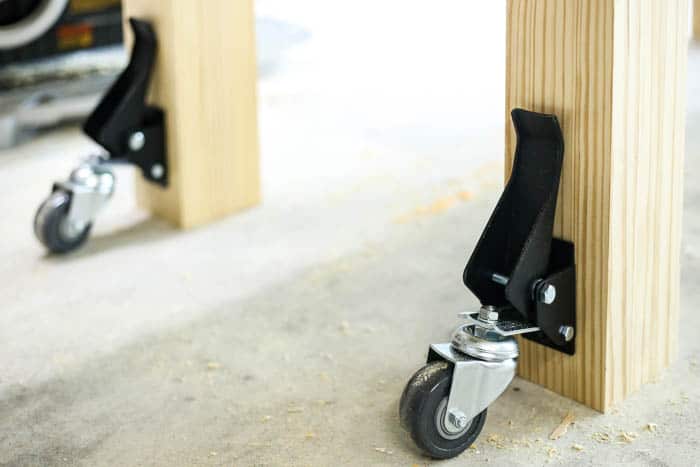
Whether you’re purchasing a pre-made workbench or building one like we did, I highly recommend that you make sure your workbench has casters.
Most of us aren’t working with limitless space in our garages or workshops, and it makes life a lot easier when you can just roll your workbench out of the way when you don’t need it. Workbenches are incredibly heavy, and without casters they’re basically impossible to move. By adding wheels, one person can easily wheel it out of the way, which makes life much easier when you’re cleaning up the shop!
Most workbenches that you can purchase (and workbench kits) include wheels already, but I wanted to be sure to include them here because you can usually add them if they don’t! It’s a really simple hack to make your workbench more functional, and you’ll be glad you did it.
5. A Silicone Mat
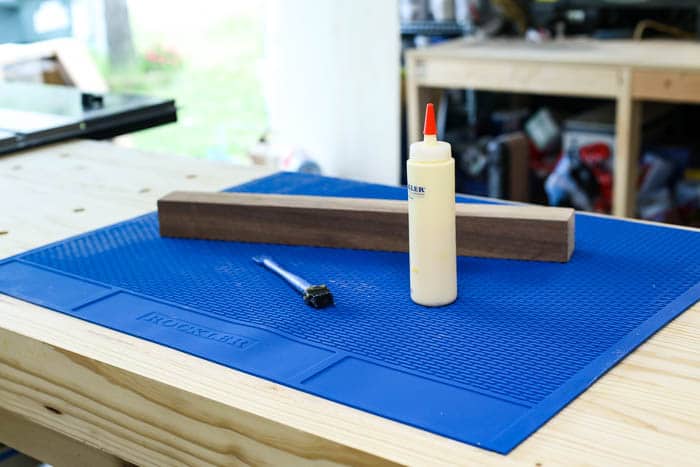
Finally, one of the most basic (and really helpful) accessories you can have for your workbench is a silicone mat.
When you’re working with glue (hot glue or wood glue!) or when you’re staining and painting a piece, you’ll want to protect your workbench top. This is a really simple way to do that, while also helping to hold whatever you’re working on in place.
I see myself using this a lot when I’m working on gluing projects – especially with the hot glue gun! Here’s the silicone mat that we have – they’re extra large and they’re also interlocking, so you can buy more than one if you have a really large bench.
If you’re just getting into building things like I am and still feel a bit like a newbie to the woodworking world, it can be frustrating when you struggle with some of the most basic elements of a project – like holding it in place while you sand it!
Adding a few simple accessories to your workbench or work area will go a long way towards simplifying this part of the process and making your projects a lot less frustrating. And I don’t know about you, but when I’m learning a new skill I’ll take any advantage I can get!
If you want to get all caught up on our garage workshop renovation, I’ll link the posts below! It’s a great resource for how to turn your garage into a functional workshop, and you know I’ll keep updating you as we inch closer to getting this space where we want it to be!
Want more workshop tips?
- Here’s what the space looked like when we first got started (we’ve come a long way)
- We started by installing some basic work benches for large tools and a dust collection system to keep things clean (this is vital!).
- Then, I organized my paint and painting supplies.
- We added some metal pegboards along one wall to help keep things off the table tops and easy-to-access.
- And (most recently) we added a super simple mini work space on one wall with some storage underneath.
I hope I’ve convinced you that you don’t need to be a woodworking pro to treat yourself a little in the workshop with some workbench accessories to make life easier. I highly encourage you to do a little browsing on Rockler’s site if you’re looking to add some more functionality to your shop. I’m always amazed by what we find there! They’re one of our very favorite brands, and we have a few other projects with them coming your way this year, so get excited!

I’d love to hear more about how to get kids involved in the workshop!
That would be a fun post to write!!