One Room Challenge Week 4: We’re Getting There!
We’re taking part in the One Room Challenge and we have 6 weeks to whip our dining room into shape! Our dining room design plan is slowly coming together, and with only two weeks left in the challenge, we’re starting to question if we’ll cross the finish line!
Um, hi, are you kidding me?
Week four? How did that happen? I only have TWO WEEKS LEFT to whip this dining room into shape?
I’m in trouble, y’all.
Welcome to week 4 of the One Room Challenge. Don’t know what I’m talking about? It’s a fun little challenge where bloggers all collectively lose their ever-loving minds and try to renovate an entire room in just 6 weeks. It’s complete insanity and I don’t know why any of us do this.
But here we are. Doing it.
So, let’s dive in and chat about what happened this week. As always, you can check out this week’s video below, or if you’d prefer to just read about it keep on scrolling!
Oh, and if you’d like to catch up on all of the craziness so far, here you go:
- Week 1: Plans and the “Before”
- Week 2: Installing a Hidden Trash Can + Bar Cabinet Decisions
- Week 3: Tiling the Bar + Getting Started on the Banquette
And that brings us right back to week four – here’s the video!
Making Progress on the Built-In Seating
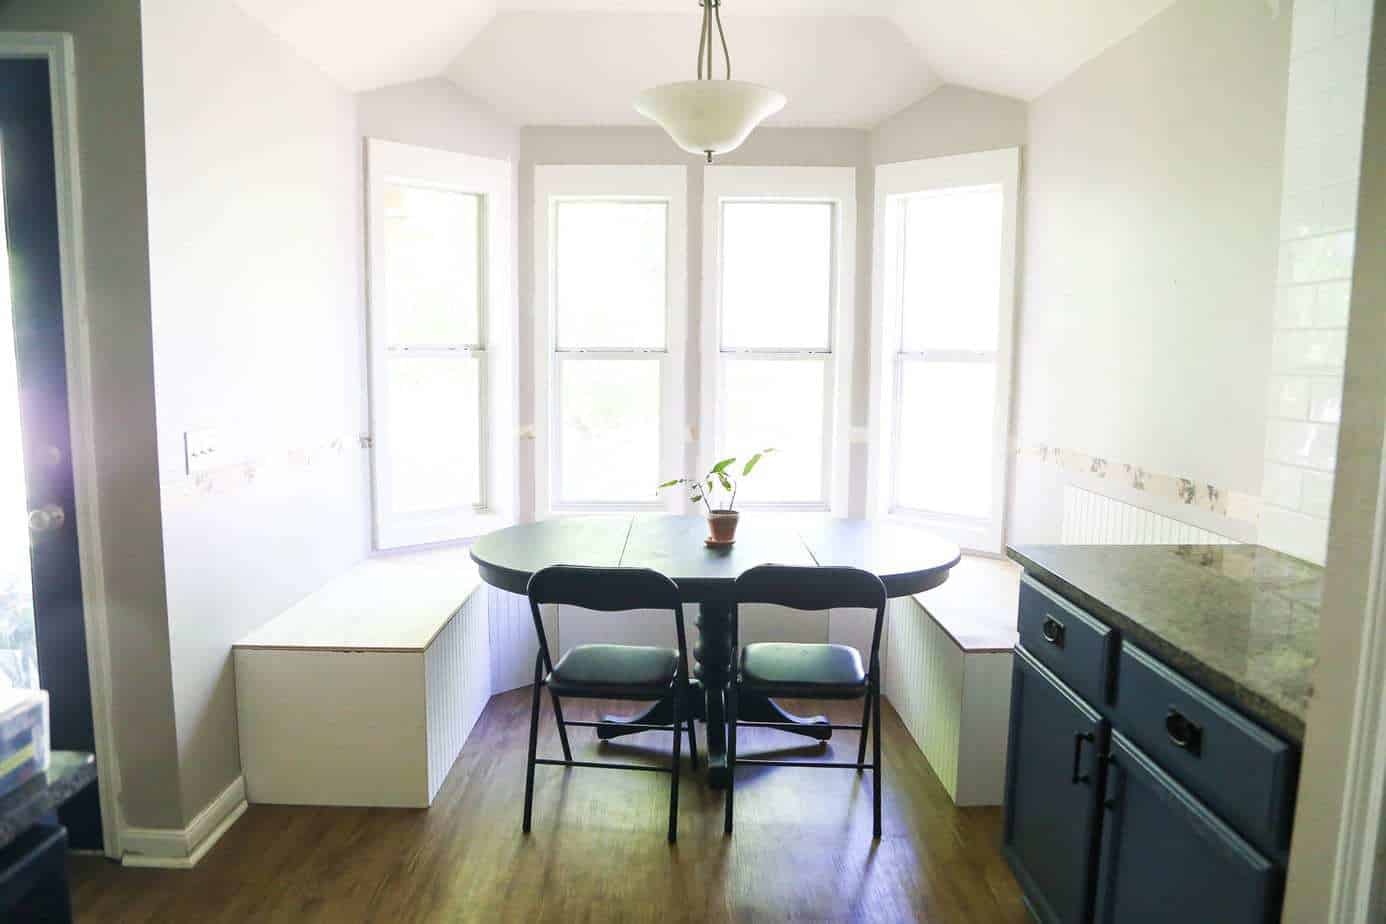
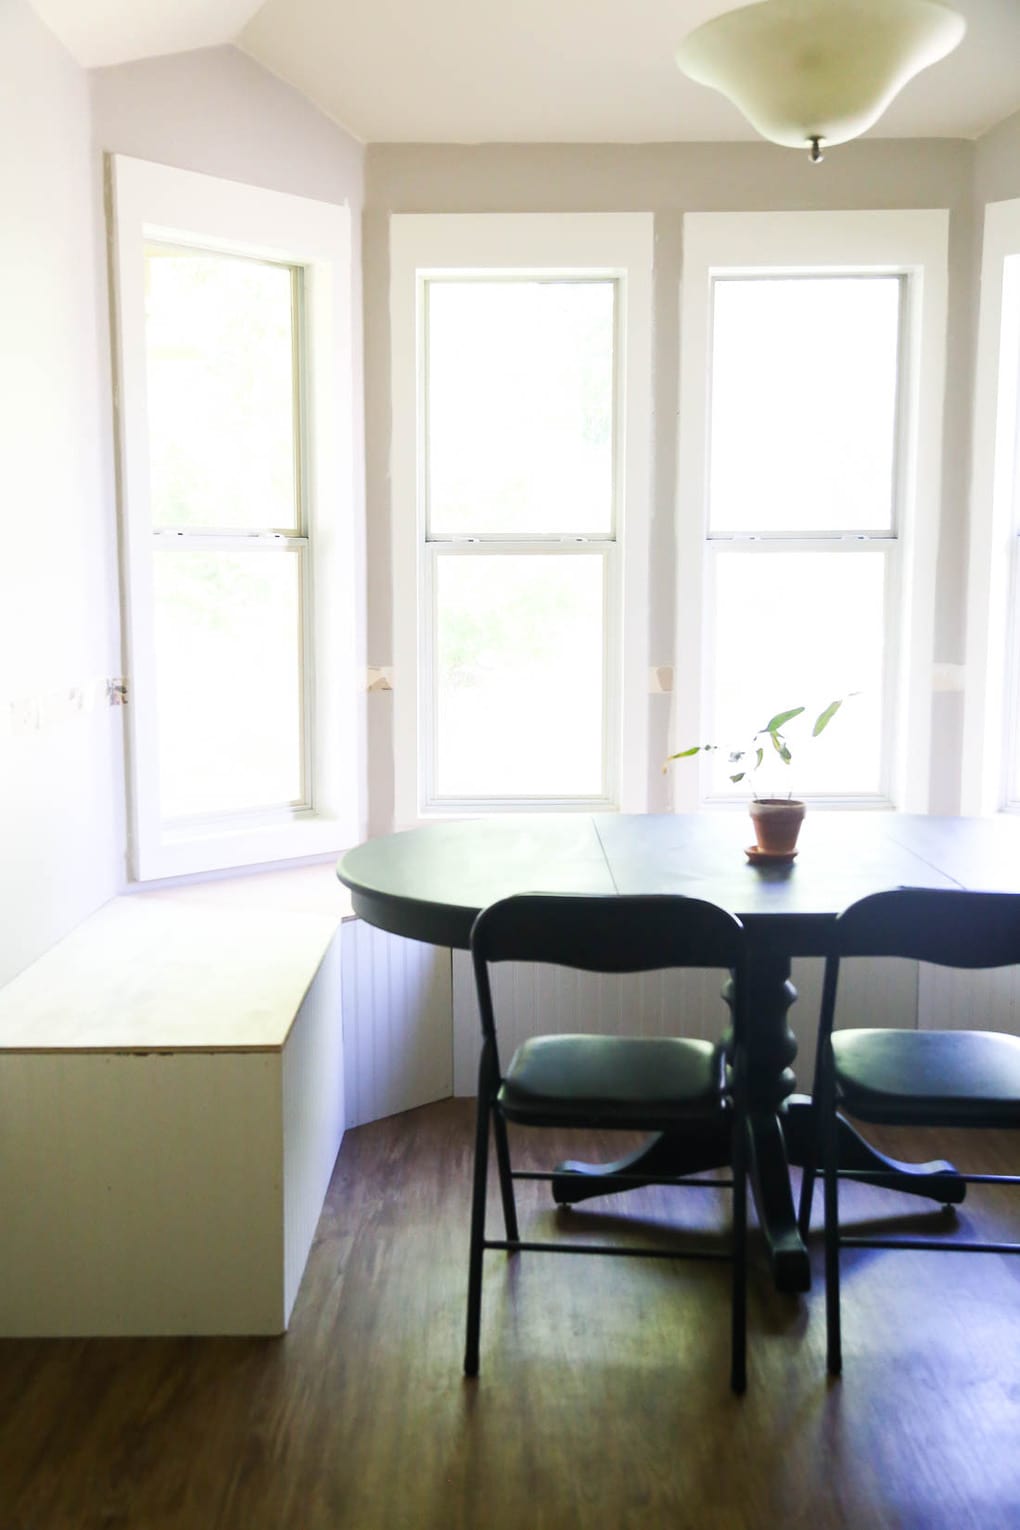
The big focus this week was (still) our DIY banquette in the dining nook. We had hoped we’d be far enough along to actually reveal the finished product this week, but alas, these things take time – and we don’t have enough of it. We did make some serious progress this week, though, and you can actually sit on the bench now, which I consider a total win.
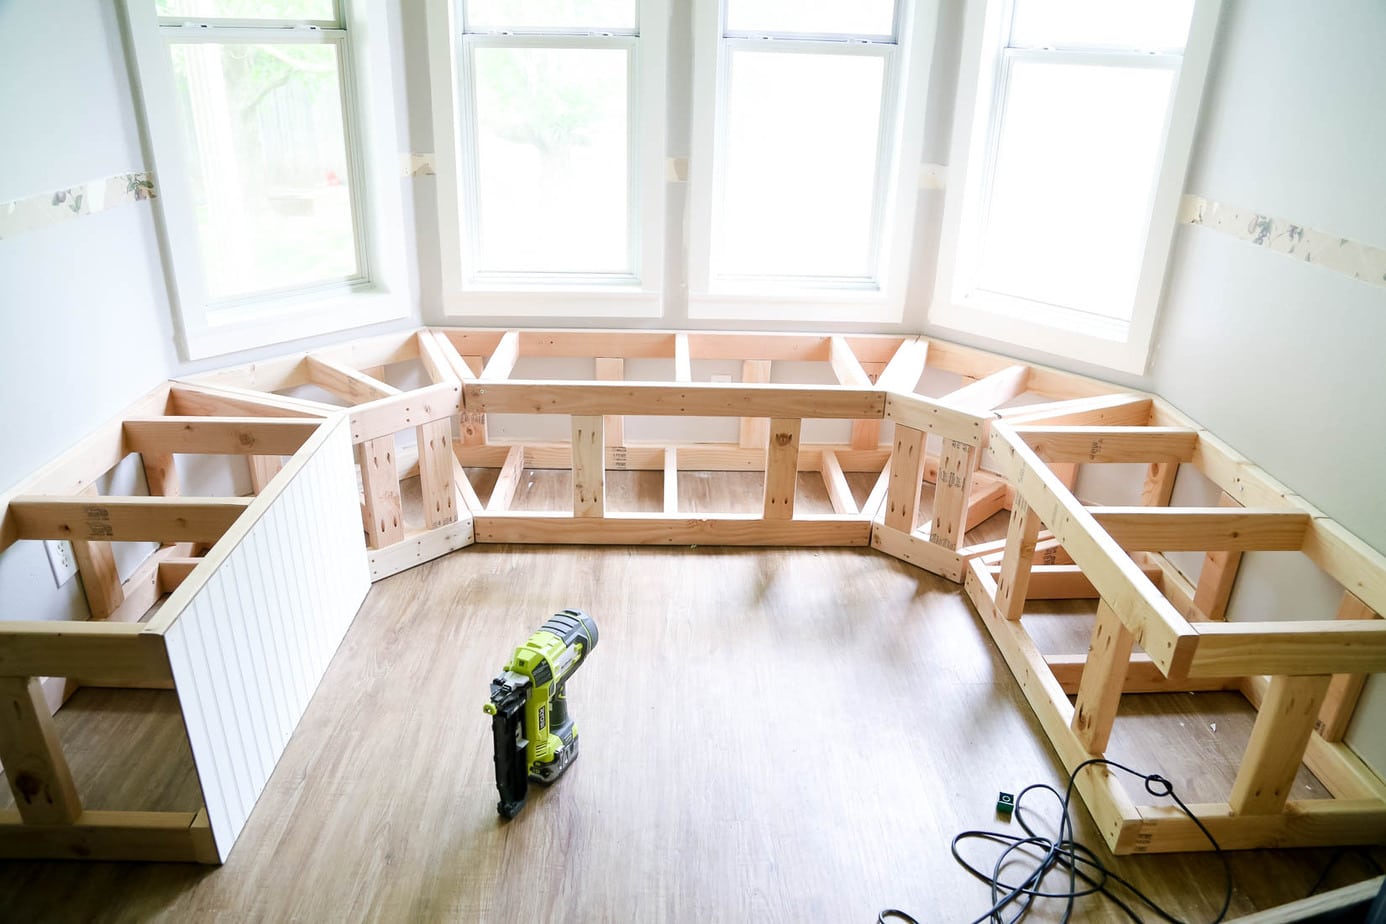
I’m still planning on a post dedicated just to this behemoth of a project once it’s all said and done, so I’ll save the tutorial-type stuff for then. But, as you can see, this week we managed to get it all covered up so it looks less like a weird skeleton of a bench and more like, well, an actual bench. It’s still a bit sloppy looking thanks to the lack of trim or paint, but just know that soon it’ll be looking a lot more polished.
As you can see, we chose to cover the front of the bench in beadboard. The reason for that is that we’ll also be doing beadboard on the lower half of the walls (you’ll see in a second that we’ve already started on it), and we wanted a consistent look throughout – since it’s such a small space, we worried that if we trimmed out the banquette using a different approach it might be too busy visually, so we stuck to the same treatment all the way around.
Plus, let’s be real – this was way easier.
Once the front of the banquette was covered in beadboard, Corey cut down some 1/2″ plywood to act as the seat. This was a complicated (and frustrating) process involving many angles, lots of re-cutting, and a bit of cursing here and there. The next step will be to finish installing the beadboard along the bottom half of the walls, trim everything out, and paint it. Much of that I am able to do on my own, so I’m hoping to knock as much out on that during the week so that I can hopefully write up a full DIY post for you about this beauty early next week.
Keep your fingers crossed for me.
Tiling the Kitchen Backsplash
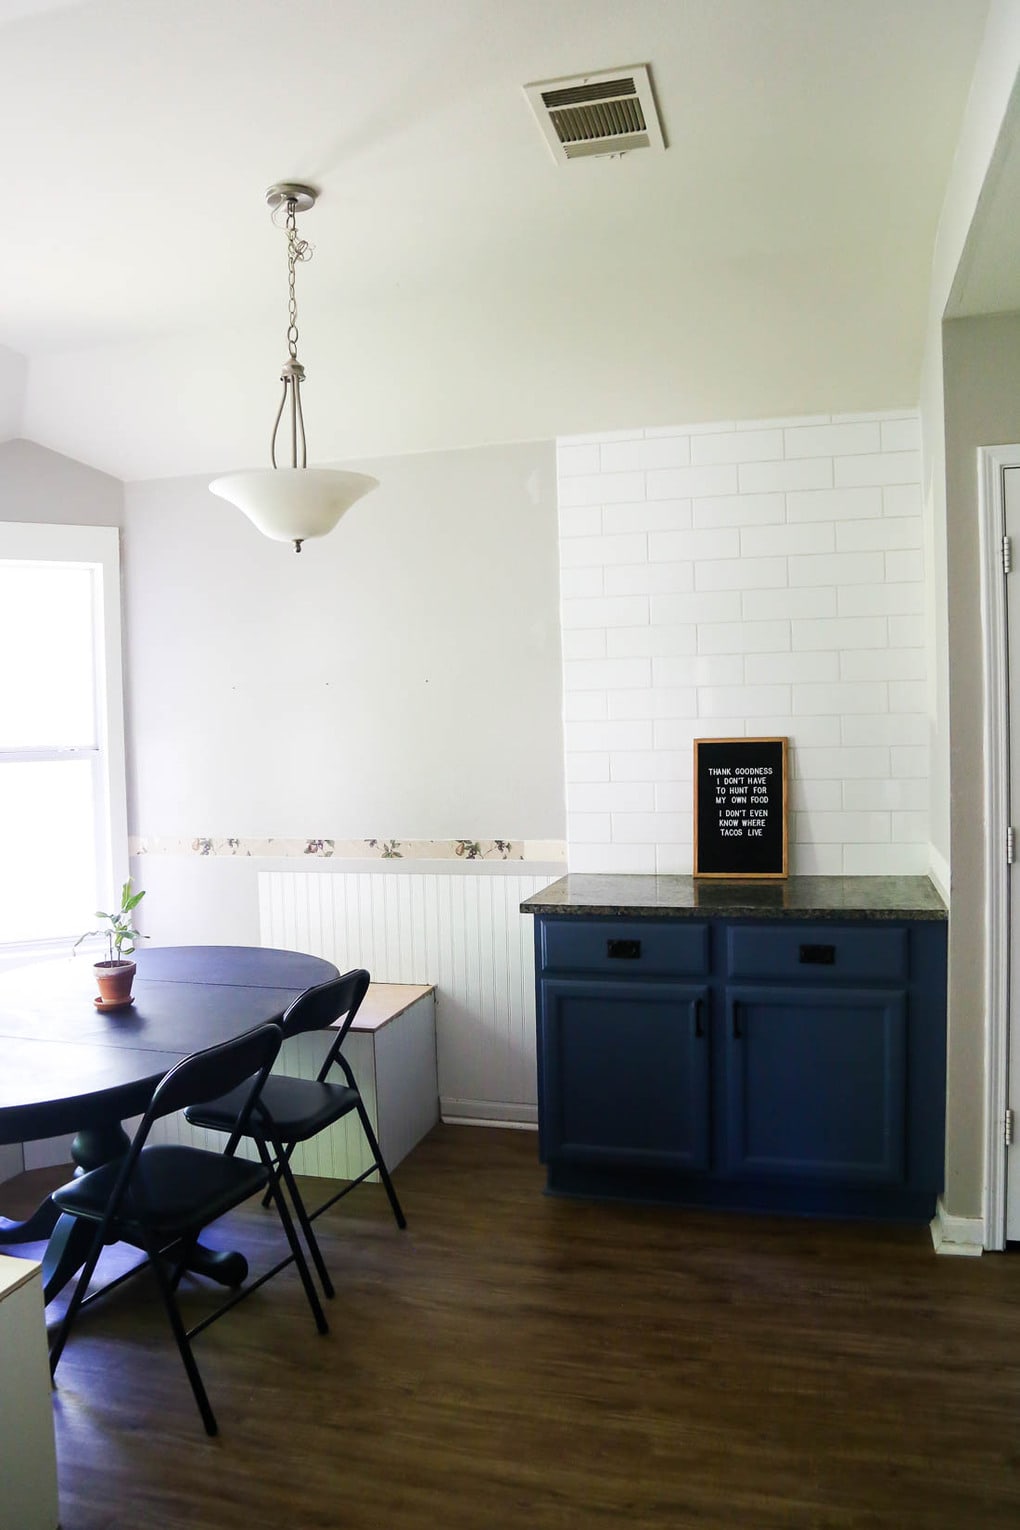
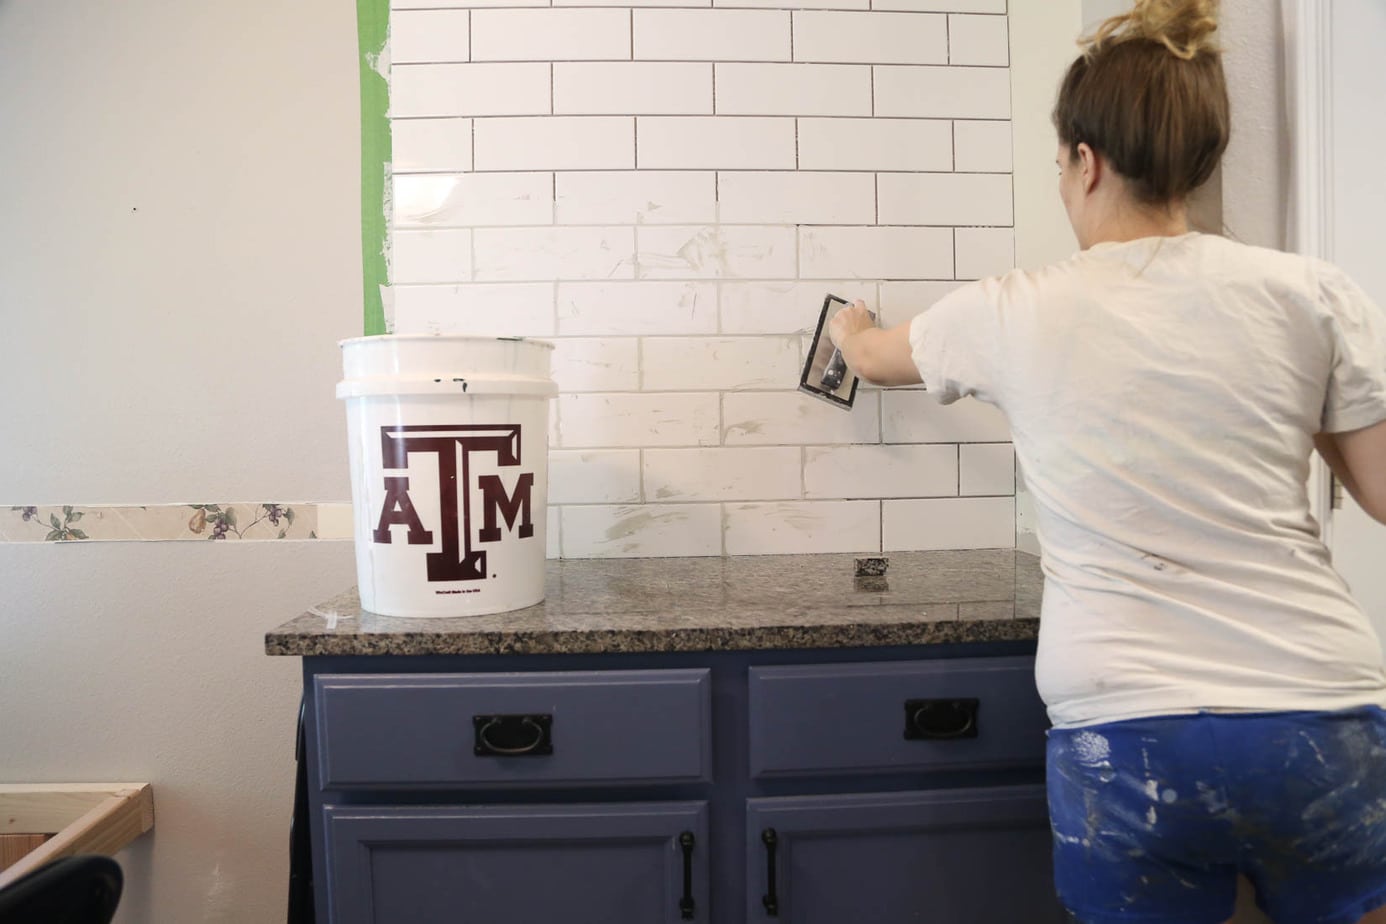
The other major thing we worked on this week was getting the kitchen backsplash tiled! As I’ve explained before, we aren’t technically working on the kitchen for this renovation, but since they’re all one big room we wanted it to look cohesive and so the kitchen is kind of getting brought along for the ride. Last week, you saw that I had prepared the kitchen by demoing all of the old tile, and this week my mission was to get it all done.
And, thank goodness, the tiling is one thing we can officially cross off of our list!
As a reminder, the lovely folks at Jeffrey Court are sponsors of our One Room Challenge project and they provided tile for this renovation. I poured my heart and soul into getting this project done this week, and it was so worth the effort. The kitchen backsplash is officially completely tiled and grouted! We still need to finish putting outlet covers back on, but we went ahead and replaced all of the outlets and light switches while we were at it (the old ones were yellowed and pretty gross). Once that’s finished, the kitchen side of this renovation is done-zo!
If you want more info on the tiling process for the kitchen, just hold on a little longer! I’ve got a massive post in the works all about how to tile a kitchen backsplash. Hopefully, that’ll be ready to go in the next week or so!
So, What’s Left in this Dining Room Design?!
Here’s a quick reminder of our to-do list for this space:
Remove cabinetry in the bar areaHide the trash canTrim out windowsTile bar area- Add open shelving to the bar area
Build banquette seating- Trim banquette seating
- Paint banquette seating
- Add beadboard to the lower half of walls
- Wallpaper upper half of walls
- Add some amazing lighting
- Accessorize
Oh, and while we’re at it, we’re also replacing the kitchen backsplash
If it still looks like we have a lot left to do in the remaining two weeks…that’s because we do!
Thankfully, many of the items left on our list are pretty easy to knock out in a hurry. The biggest projects that we have left are to finish out the banquette and the beadboard, and then wallpapering. My goal is by the end of this weekend we’ll be done with the banquette and beadboard. Then, I can start wallpapering early next week! That’ll leave our last week of the challenge for the smaller projects like adding shelving, installing the light fixture, and accessorizing.
We’ll see what happens though. Basically, at this point, I’m just keeping my fingers crossed that we’re able to get it done in time!
Don’t forget to check out all of the other amazing bloggers linking up to the One Room Challenge! I’ve been following along on some amazing renovations so far.

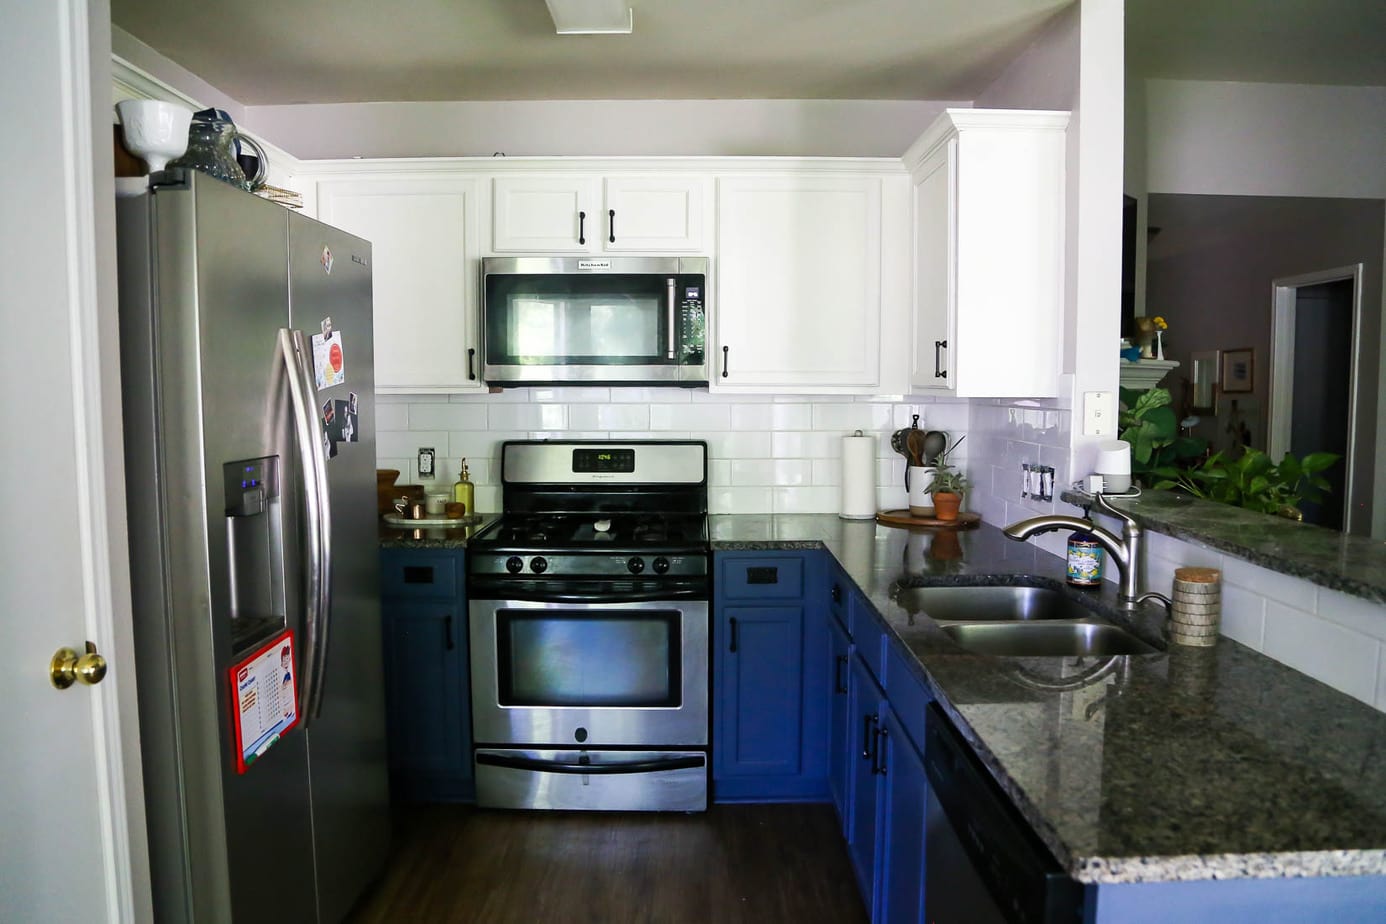
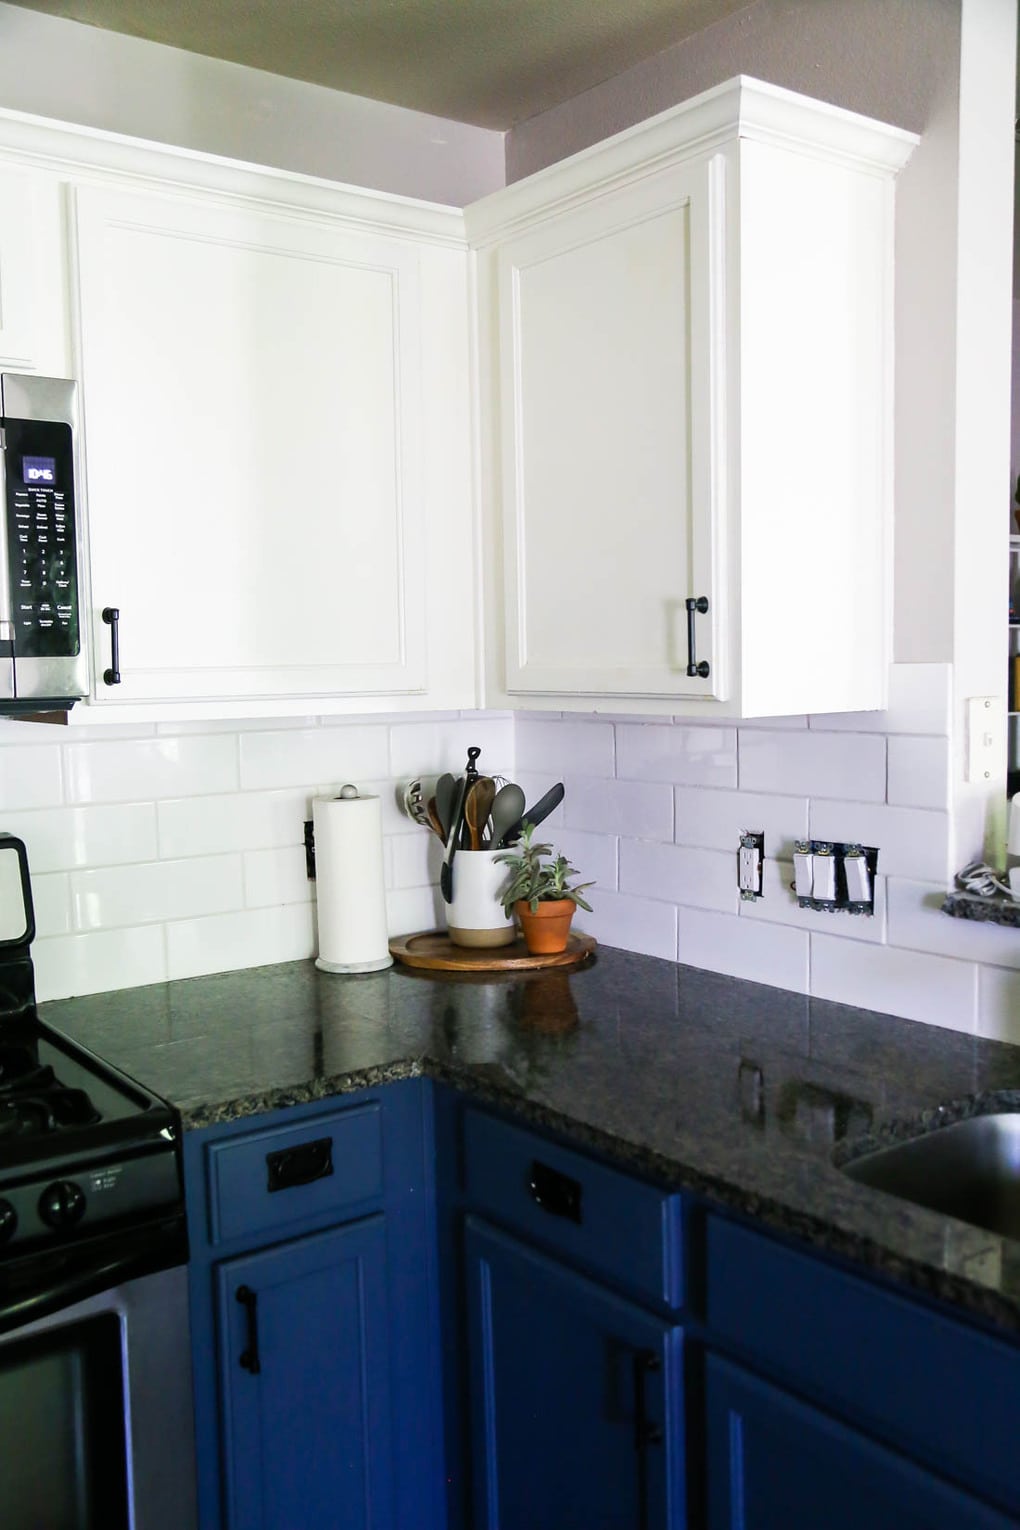

Great job on the kitchen backsplash, but I have to say those cabinets really caught my eye. They look stunning – great choice for the kitchen.
Hi Amanda!
I am super confident you can make it for the grand ORC finale – everything is looking great so far.
Since your house is small – have you considered making the banquette do double duty as storage – as to not complicate things on your short timeline: maybe just a frame on the underside of the bench-lid (kind of like this https://www.pinterest.de/pin/545005992386885894/) would work to make it stay in place but still removable
Sunny greetings from Germany
Jenn(ifer)
Hi Jennifer! Thanks! That was actually in our original plans for the banquette, but due to the time constraints, we had to nix it at the last minute. 🙁 Ah well – I’m learning about minimizing my possessions more than ever in this house, which is a great thing!
too bad – I figures the super simply solution to making it happen might help. You are very right though – it would just be another place to maximize on STUFF 😉
(Though it made me think of Monica hiding the Christmas presents in friends… – maybe you know that one)