One Room Challenge Week 3: Tiling and a Banquette Skeleton
It’s One Room Challenge Week 3! This week we built the framing for our DIY kitchen banquette seating, worked on some tilling projects, and tried not to lose our minds in the insanity of renovations!
This post contains affiliate links. Click here to read my full disclosure policy.
Are you ready for another hodge-podge update of all of the random things we accomplished in our dining room renovation this week? I’m excited to say that, unlike last week, we’ve actually made some big progress this time around!
If you need to catch up, you can see the introduction to our dining room renovation right here, and check out this post to see how we added a hidden trash can and started some demo. If you want to check out the other bloggers participating in the challenge, just click here to see the linkup!

Before I dive into the updates, let me give you a quick rundown of what the plan is for this room – it’s hard to picture what’s happening if you don’t have the full picture, so here’s a brief (HA!) to-do list for the dining room renovation:
Remove cabinetry in the bar areaHide the trash canTrim out windows- Tile bar area
- Add open shelving to the bar area
- Build banquette seating
- Add beadboard to the lower half of walls
- Wallpaper upper half of walls
- Add some amazing lighting
- Accessorize
- Oh, and while we’re at it, we’re also replacing the kitchen backsplash
Okay, ready to see what we did this week?
First up, here’s our week 3 video with a quick peek at all of the updates:
Kitchen Banquette Seating Update
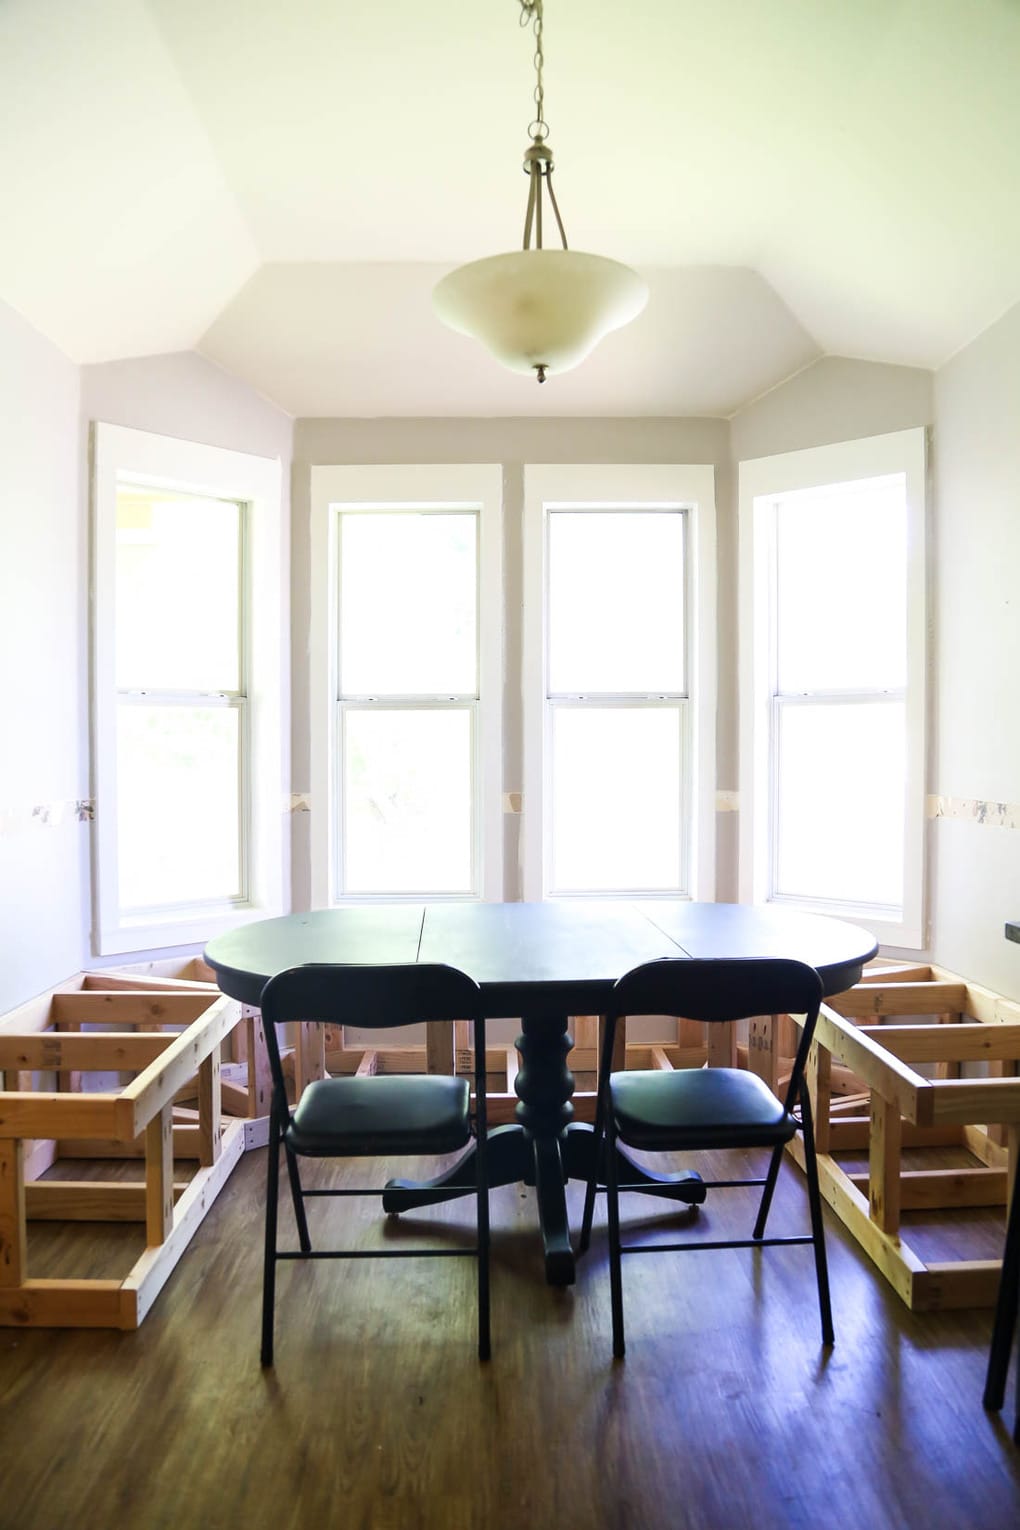
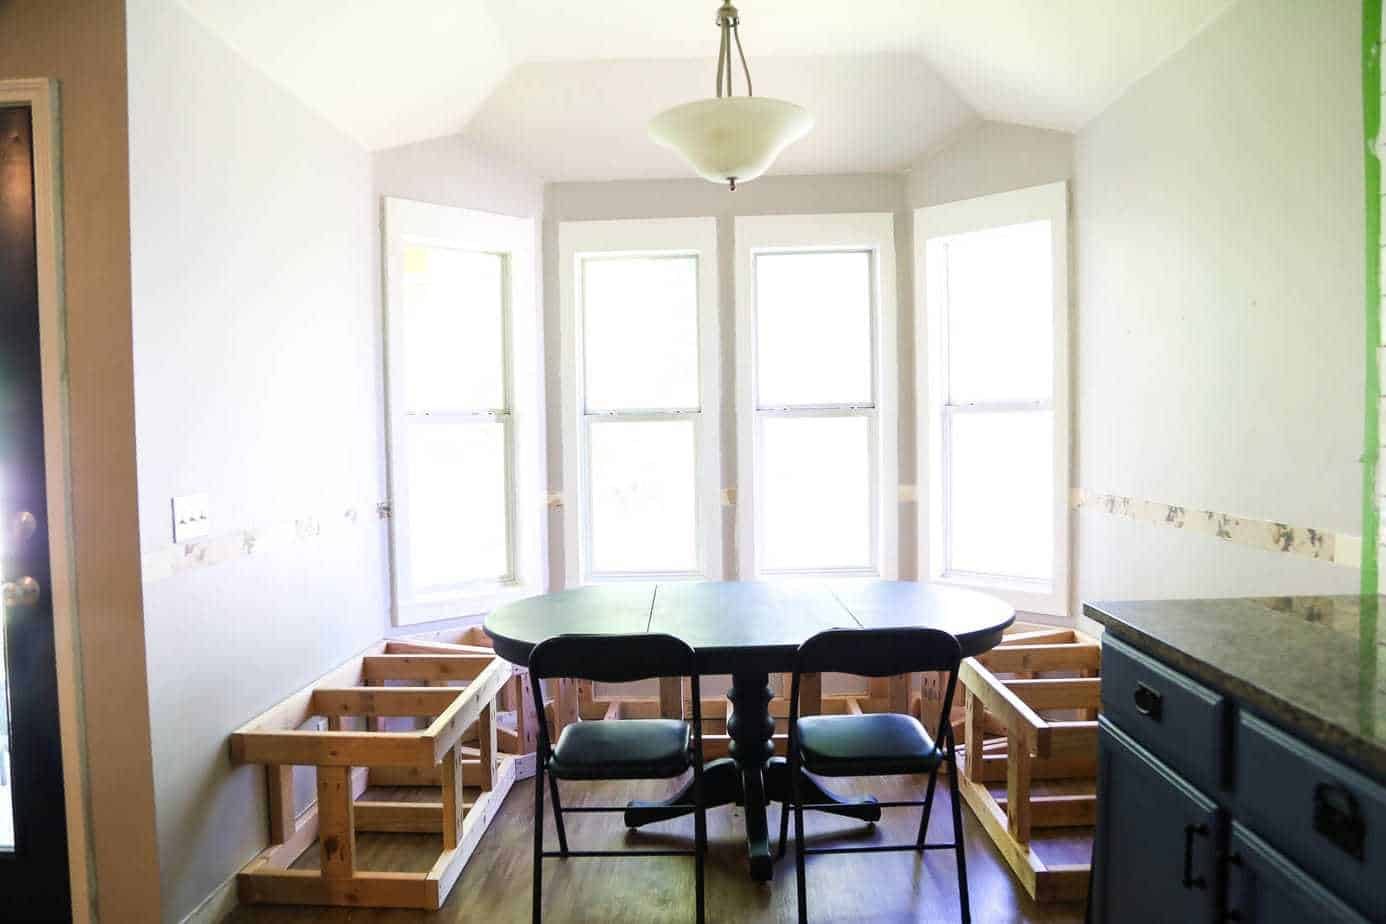
Okay, so the first thing to talk about is the most impactful part of the whole renovation – the built-in bench seating we’re doing in the bay window! We’re working with Home Depot for this project (I still have to pinch myself every time I get to type out that sentence), and I have a feeling that once it’s done, it’ll be a big contender for “favorite project of all time”. We’re still far from finished, but we’ve made some major progress and I’m really excited about how it’s coming together.
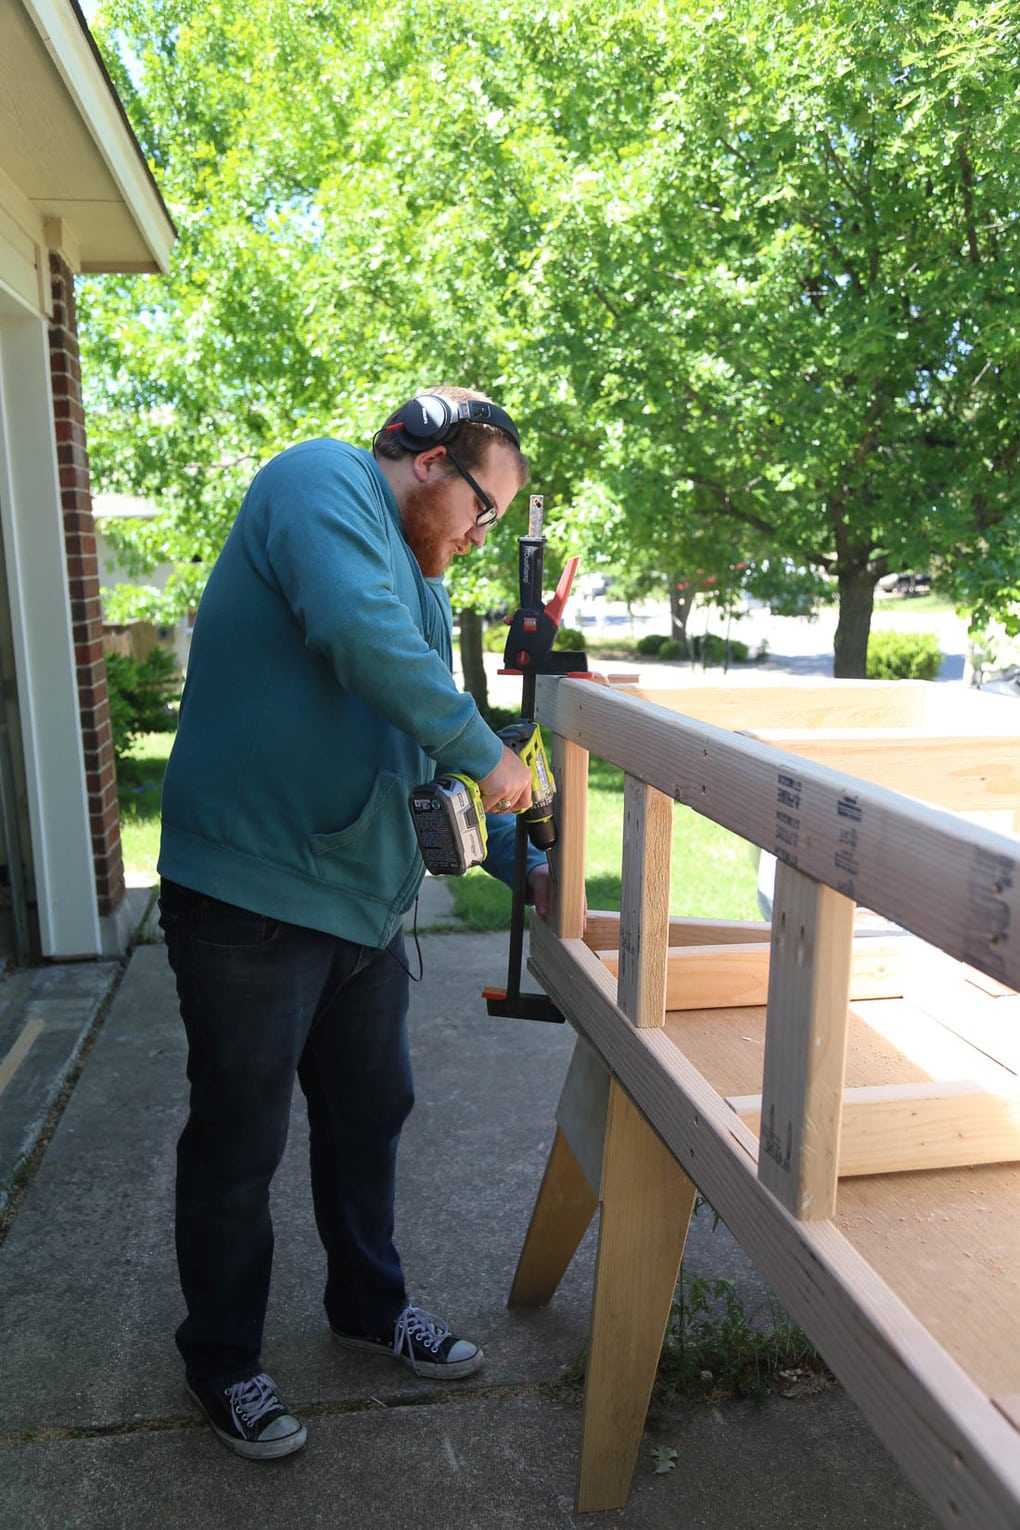
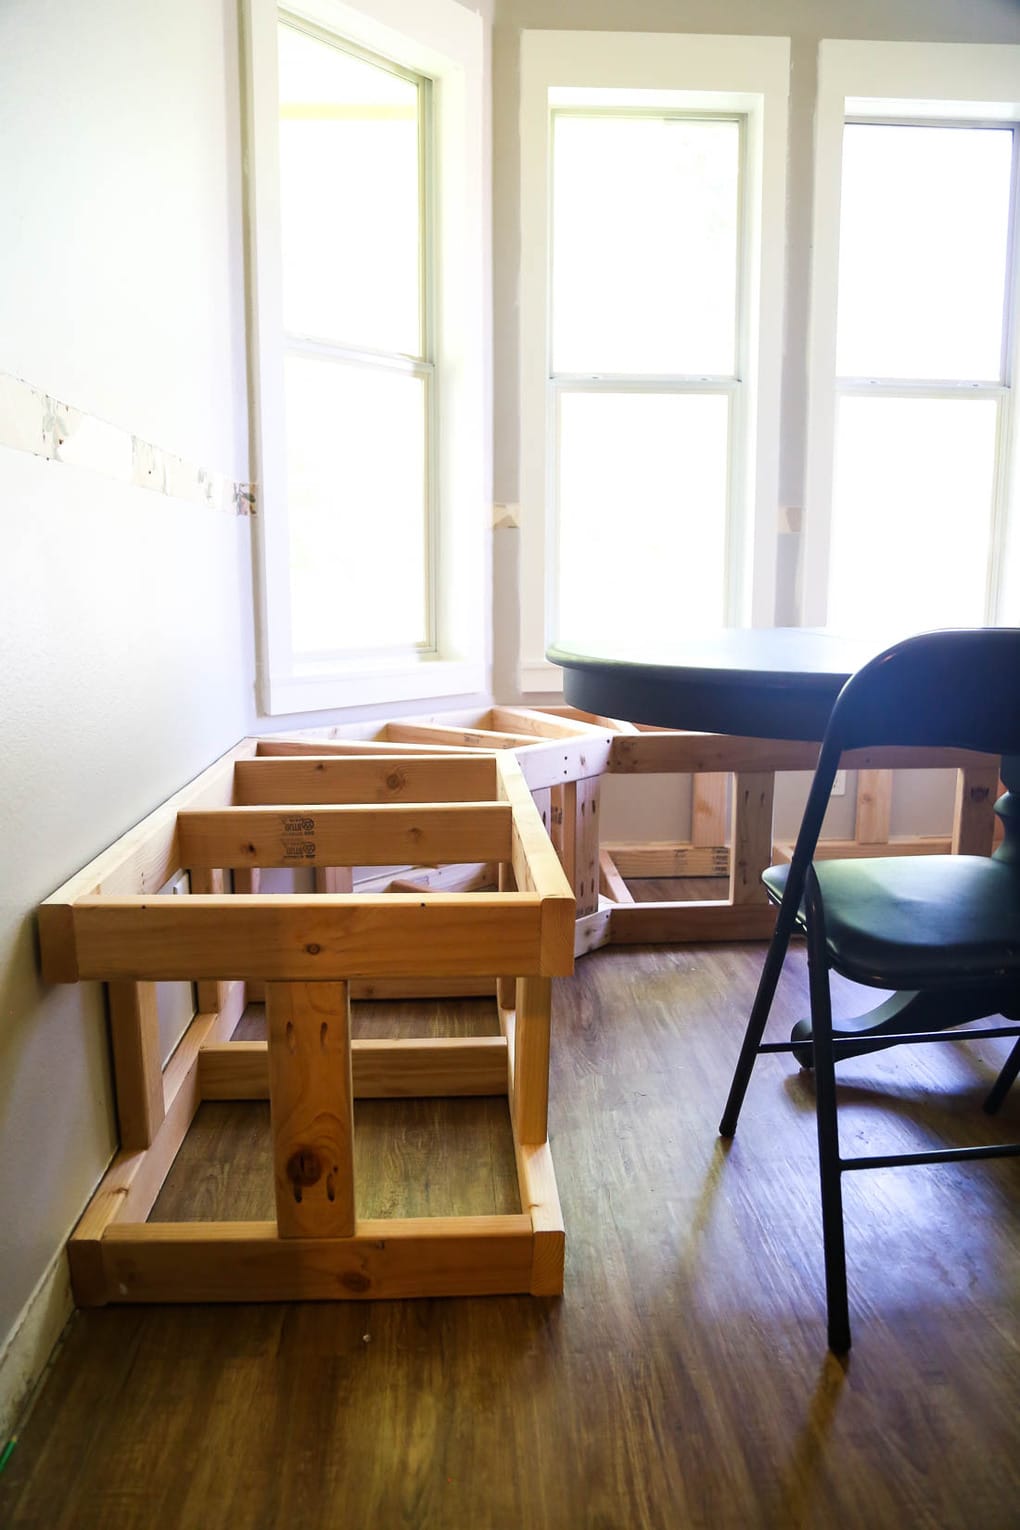
This week, we built all of the framing for the banquette seating. You can see a bit of what that process looked like in the video, but basically, Corey is a genius and I just sat back and watched while he worked. I’ll be doing a post in a few weeks with the full details on putting together this bench seating, so I won’t get into the nitty-gritty here.
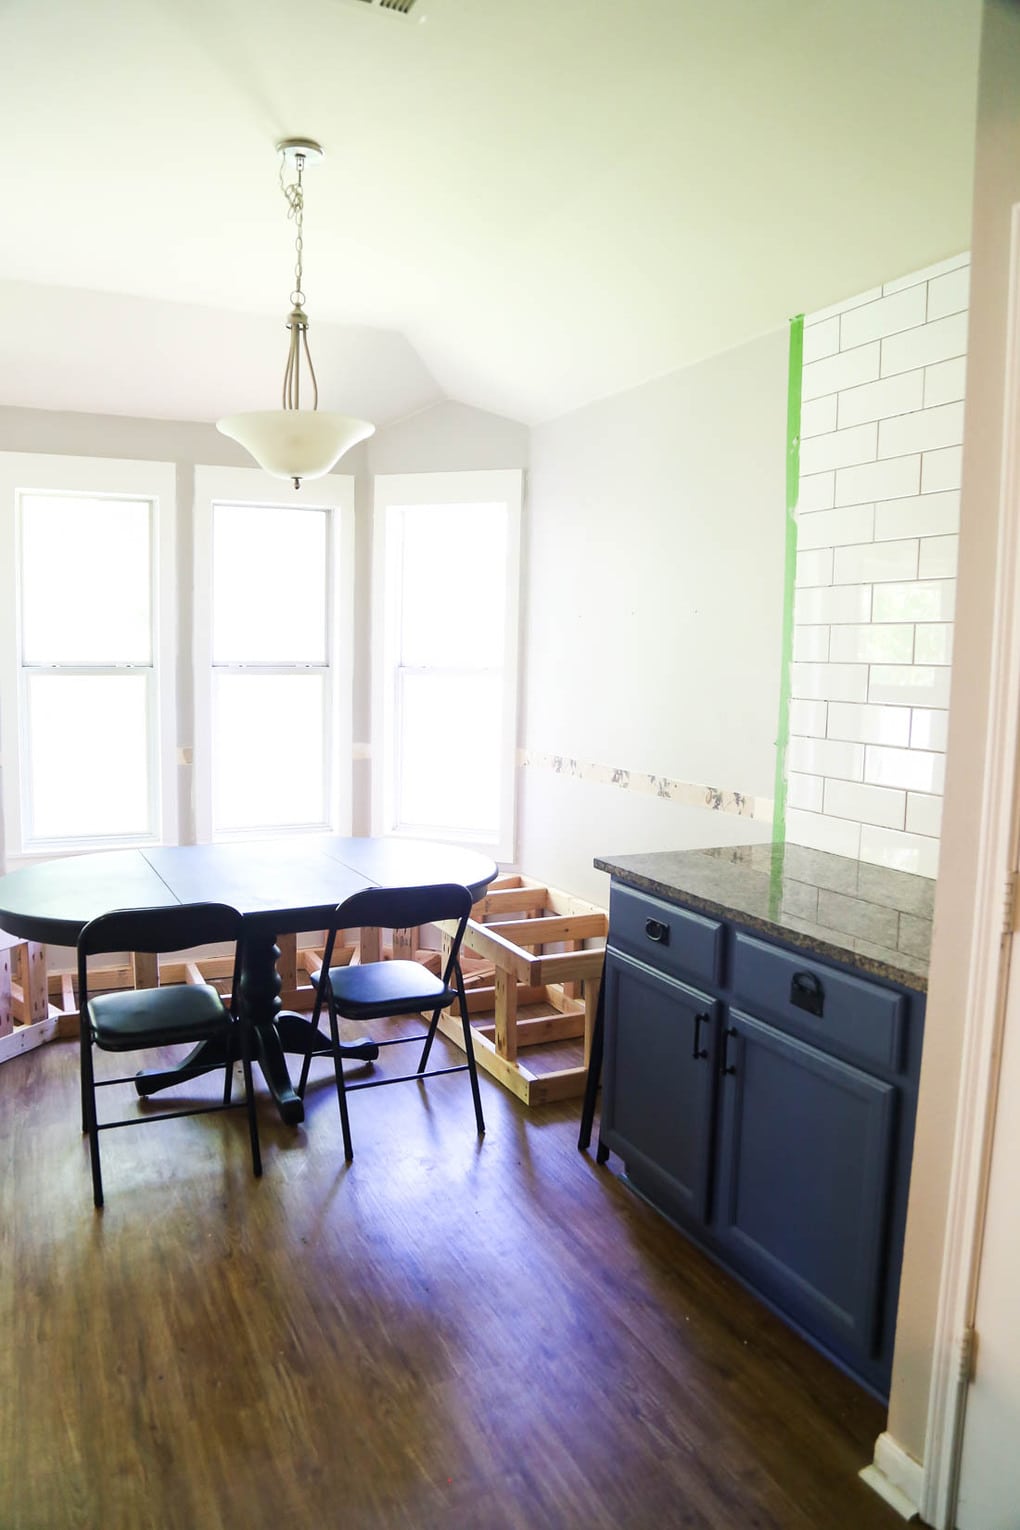
The bench seating will wrap under the windows and come all the way up the sides of the table. We made sure to have the benches extend a bit past where the table will sit because this table is not our forever table. We grabbed it off of Craigslist for a whopping $100 shortly after we moved into this house and gave it a quick makeover to make it fit into our house a bit better, but it’s rickety and too small and not the exact style we want in here. However, a new table isn’t on the docket for this renovation – we’ll be taking that on sometime down the road, so this table is it in the meantime. All that to say – we wanted to leave ourselves open to being able to have a slightly wider table if we want to, so the sides of the benches come out a bit further than they need to.
We also made the benches a bit on the deep side so that we would have room to spread out a few pillows for extra cushioning on your back when you’re sitting. I was a little nervous about whether or not it would be awkward to squeeze into the back part of the bench, but now that they’re in the room I don’t think it’ll be any more uncomfortable than it is to get into those round booths at restaurants – meaning, once you’re in, you’re kinda stuck for a while, but it’s not really bad to get into your spot.
This week, we’re planning to cover up the shell of the banquette so that it’s actually usable – I’m looking forward to having my dining table back! I’m kind of trying to push this part of the renovation to be finished as quickly as possible, because I’d like to have this portion done before we start wallpapering – since I’ve never done it before, I want to give myself lots of time to get that done!
Tiling the Bar Area
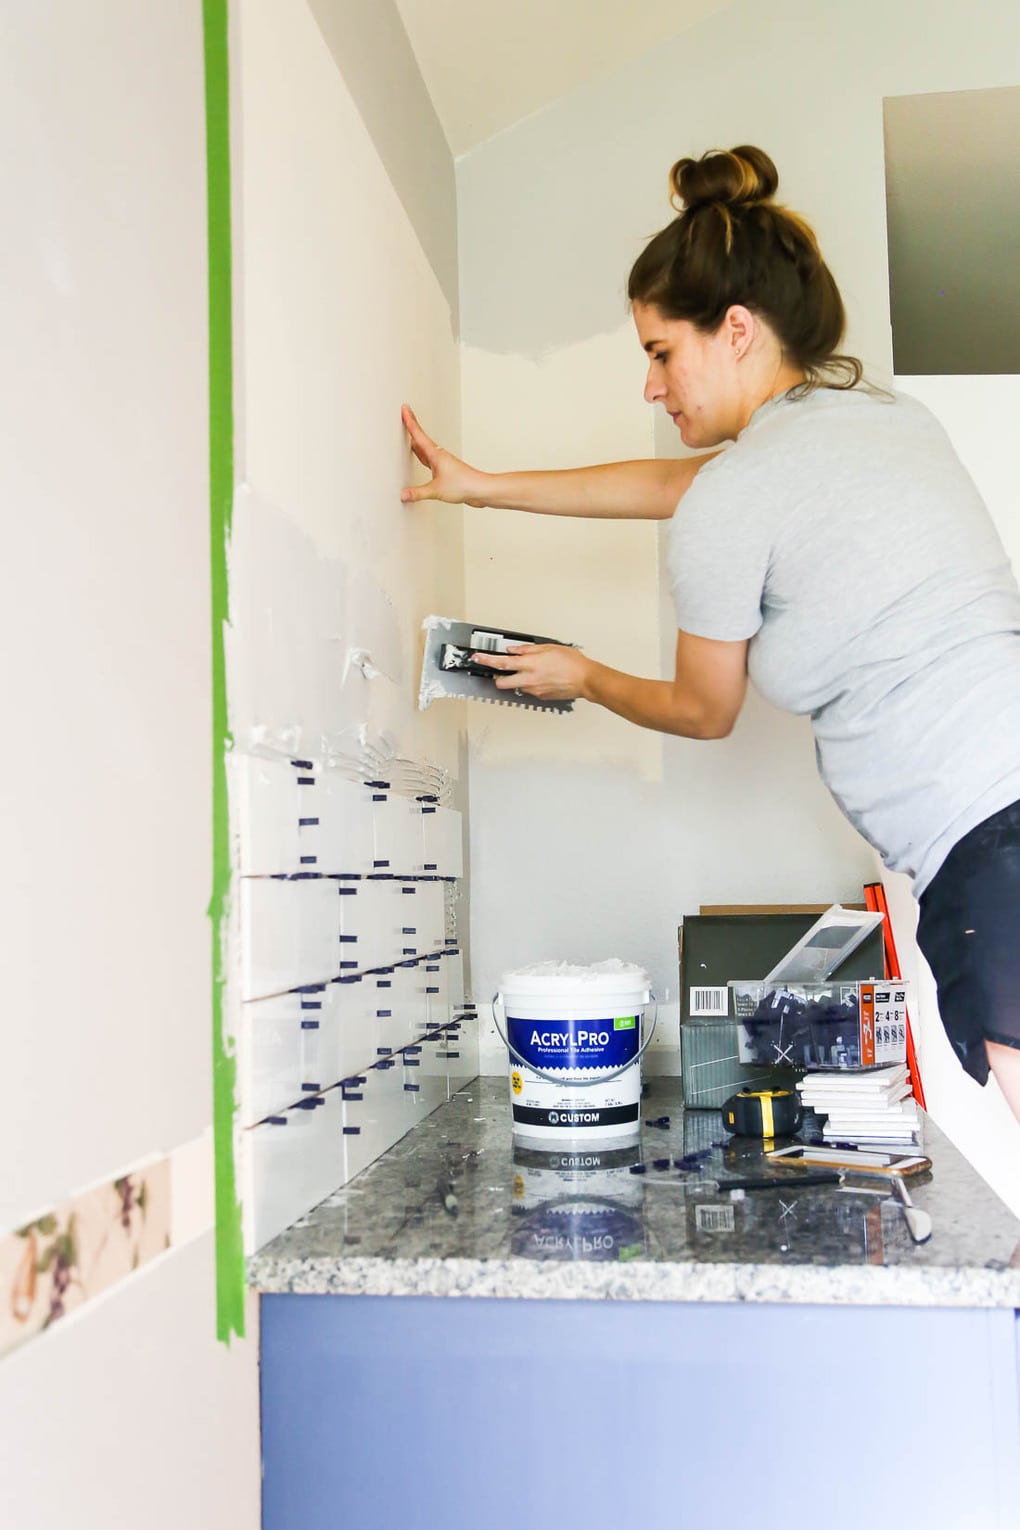
Last time you saw this little bar area, we had finally decided to pull down the upper cabinets and it was all looking a little bare.
Now?
It’s all tiled!
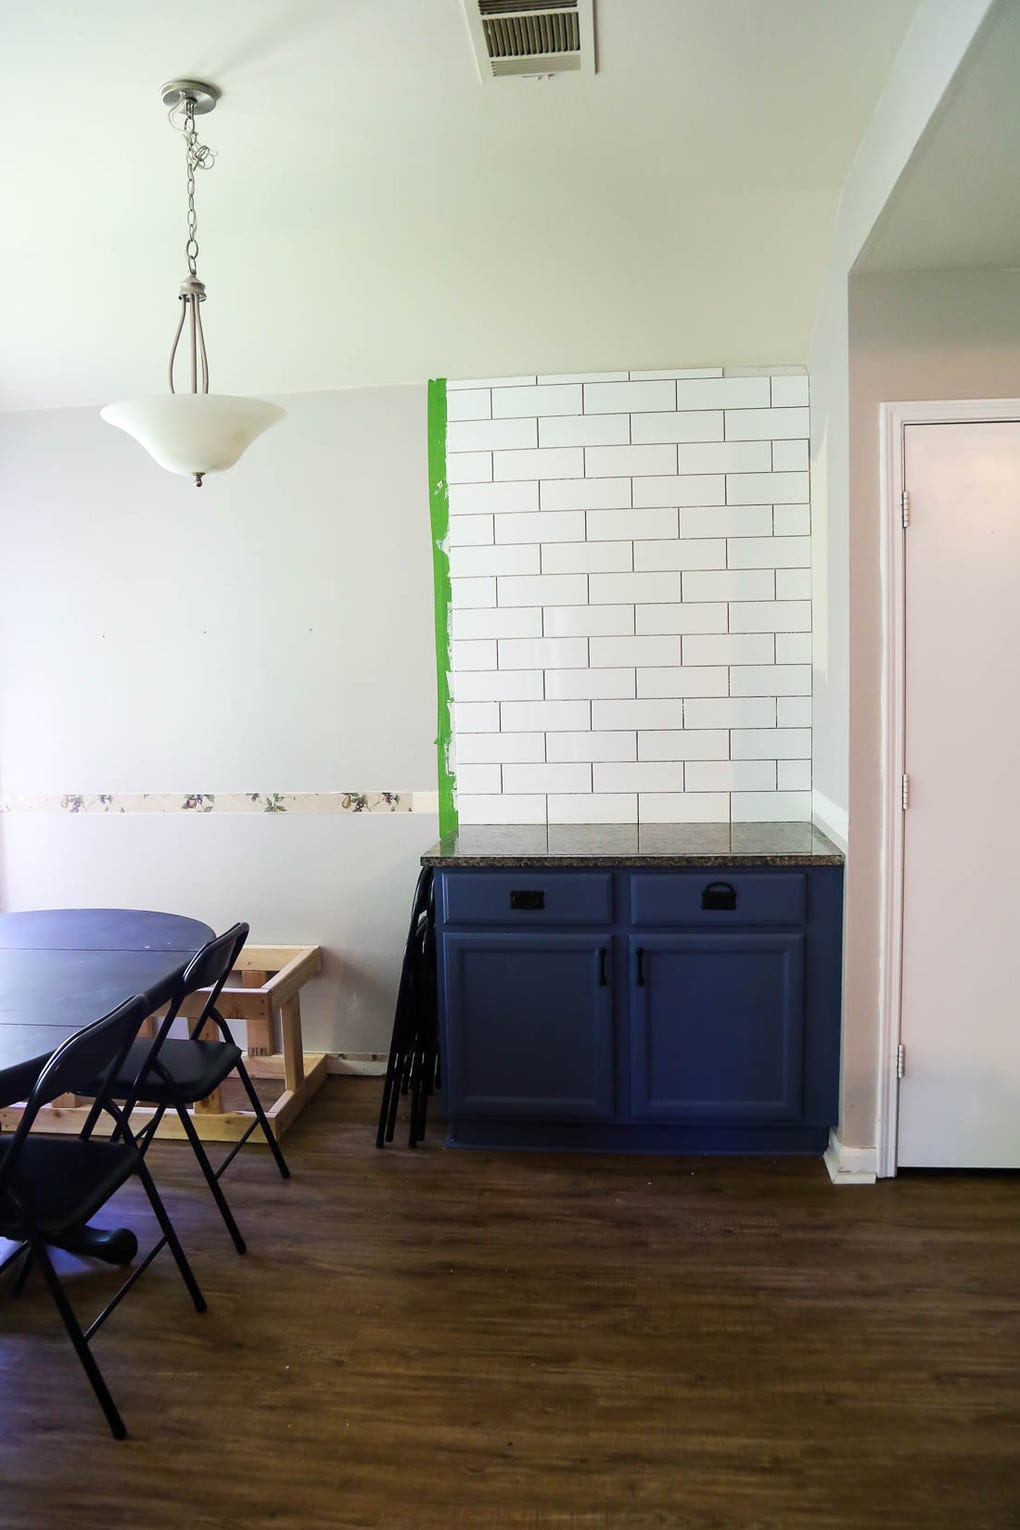
It’s still not grouted, and you may notice that one of the tiles jumped ship on Saturday morning when we were out of the house, but I’ll fix that this week while I am tiling the kitchen. I’m in love with how this tile looks, and I’m more convinced than ever that taking down the cabinet was the right plan. This week, I’m planning to get this tile grouted and touch up the wall paint, and we need to make some decisions about the shelving. I have my eye on these brackets, but we haven’t pulled the trigger on anything yet, so there’s still time to change my mind (which I love to do).
I’ve had a few requests for tiling tutorials and information as I’ve shared things about this on Instagram – I promise that once the kitchen is tiled I’ll do a full post with all of the details on the process!
Demolition in the Kitchen
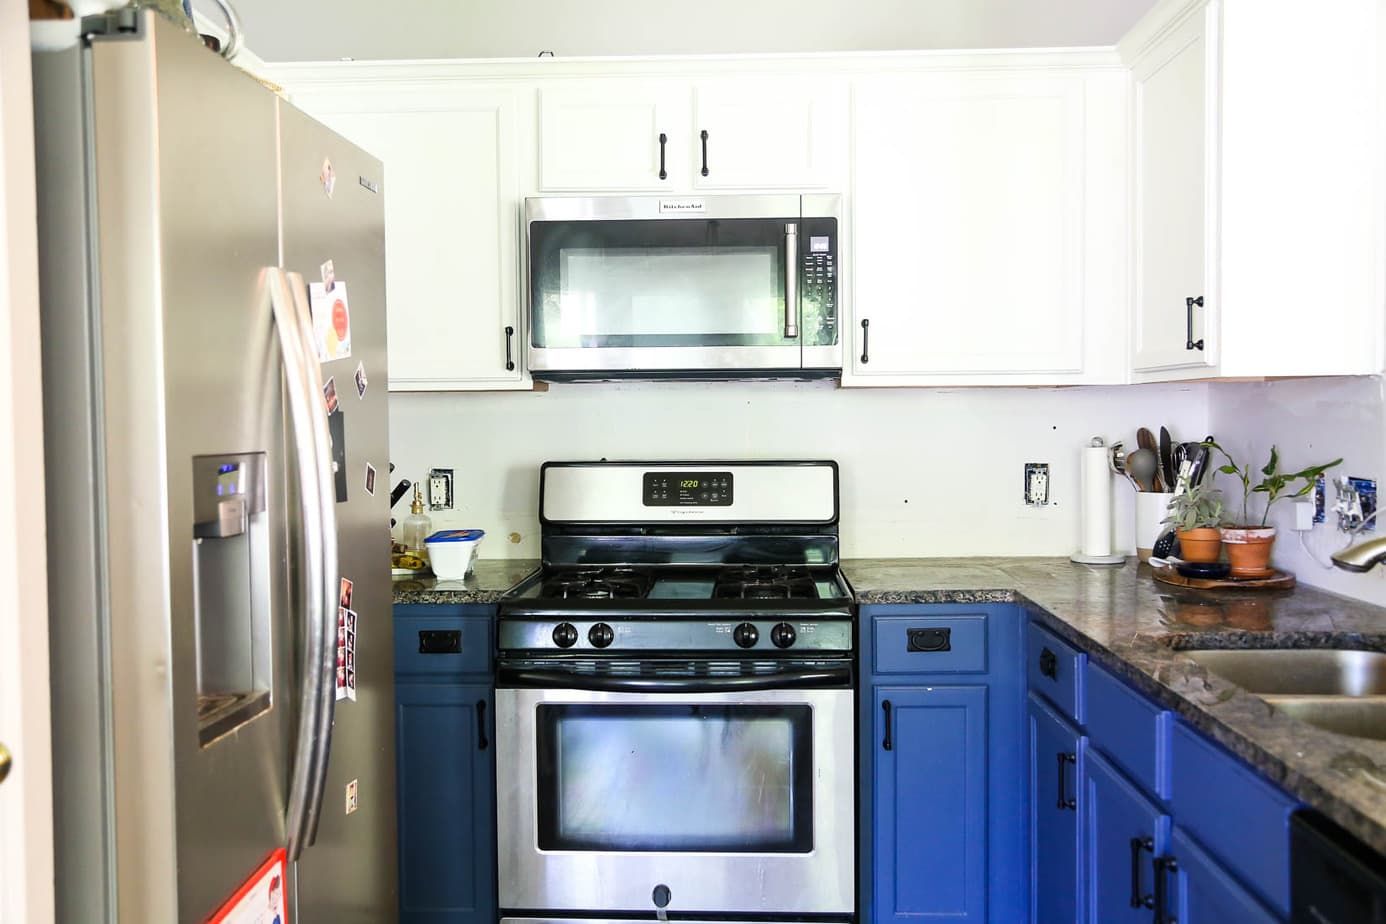
The final update this week doesn’t actually have anything to do with the dining room, but since the rooms are connected we’re calling it the same thing. When we decided to take on the dining room for the One Room Challenge, we both immediately agreed that we’d need to go ahead and tackle the backsplash in our kitchen. It was really ugly (you can see it here), and it would stick out like a sore thumb if the dining room (which is technically a part of the kitchen) was completely renovated and beautiful. Since we were already ordering tile from our ORC sponsor Jeffrey Court, we decided to continue the same tile into the kitchen.

This week, I removed all of the old tile (which was so satisfying), and demolished the old drywall. If you’re a talented tiler you might be able to salvage the drywall underneath the old tile, but since I tend to get a little hammer-happy when I’m removing tile, I find it’s much faster to just rip the drywall down and replace it. So, this weekend I got the fresh drywall up and now it’s ready to be tiled!

Hopefully, by the next time we chat about this space, all of the tiling and grouting in both rooms will be completely finished – and what a joyous day that will be.
And that, my friends, is what we accomplished this week in the dining room. Things are slowly starting to come together, and I’m thinking that this week will be the week where we start to see things really turn around for the better.
Or maybe it’ll still look crazy. Who knows. Just keep your fingers crossed for me, okay?

Can’t wait to see the finished product! It’s looking great already!