ORC Week Two: Window Trim and a Hidden Trash Can
Welcome to Week 2 of the One Room Challenge! We’re tackling a complete makeover of our tiny dining nook over 6 weeks – this week, we solved a few problems and added a hidden trash can to our room!
Can I just go ahead and admit something to you? It’s only week two of the ORC and I’m already feeling, um, behind.
I think it’s partially because we have a major building project happening in this room (the built-in seating) along with a fair amount of tiling (and a wallpaper project to boot), and we haven’t started on any of it. But, as with any project, sometimes the little (and less impressive) projects just have to come first. And that’s exactly what we tackled this week!
I’ll dive into all of the details of what we accomplished this week below, but first, let me catch you up if you’re confused. Corey and I are participating in the One Room Challenge this month (a 6-week design challenge where bloggers tackle a total room makeover) and we’re giving our dining nook a complete overhaul. Here’s the intro to our small dining room renovation from last week, and you can check out the week 2 video below!
WEEK TWO VIDEO:
Our Open Shelving Decision
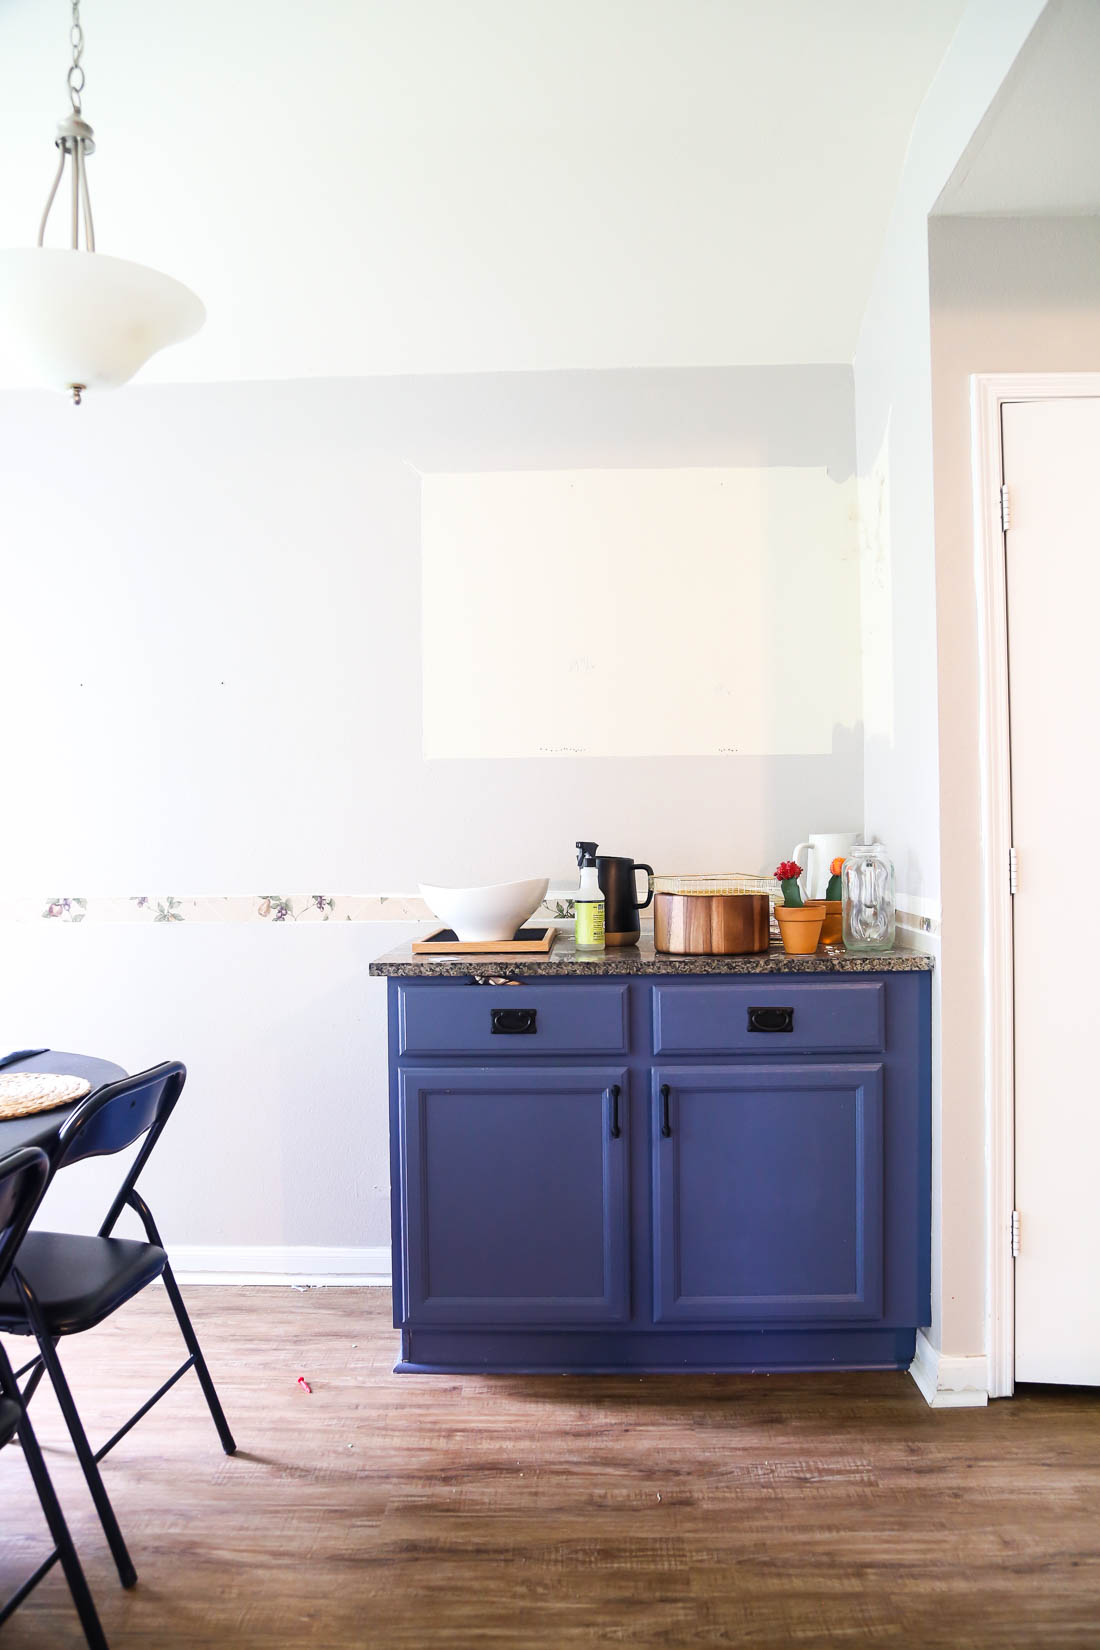
I mentioned last week that we were debating whether or not we wanted to remove the upper cabinet in the bar area of the dining room. After lots of back-and-forth-ing, we decided to take the cabinet down. And, y’all, it was the right choice!
As soon as we removed the cabinet, we both remarked that the dining room felt bigger – suddenly, that section of cabinetry felt a little more like it “belonged” in the dining room, and things felt a lot less closed off. Thankfully, as we had predicted, the cabinet was added after the house had been built, which means all of the wall texture underneath it was normal, and all we need to do is a bit of touching-up.
So, what’s the official plan for this area?
Well, we’ll be tiling the back wall all the way to the ceiling (just where the cabinet is) with the same tile we’re doing for the backsplash in the kitchen (we’re working with Jeffrey Court and using this gorgeous tile!). I’ll do some touch-up paint on the side wall, and then we’ll be installing open shelving above the cabinet. Because we want to make this section of cabinets feel like it actually belongs to the dining room, I’ll be taking a more decorative approach to styling the shelves than we did with the open shelving in our last kitchen. I’m thinking it’ll hold some pretty serving dishes, maybe a plant or two, and a few other cute pieces. We haven’t formed our exact plan for the shelves (Will they be white? Wood? What kind of bracket will we use?) because we want to get the space tiled and see how things feel before we make any official decisions.
Installing a Hidden Trash Can
One of the issues that we discussed last week was where to put the trash can. Previously, it was just sitting right next to the cabinets in the dining room. But, it looked awful and if the trash hadn’t been taken out in a day or two, it wasn’t a super pleasant experience for the poor sap who sat next to the trash can during dinner!
In our last home, we had installed a hidden trash can in the cabinets and we loved the setup. It contained smells really well, had space for a recycling bin (we aren’t good at recycling in this house because we don’t have a recycling bin anymore!), and was completely out of sight – and out of the way. We knew we wanted to replicate that in this home, but we have a lot less cabinetry than we did before, so we weren’t sure if we’d be able to make it work.
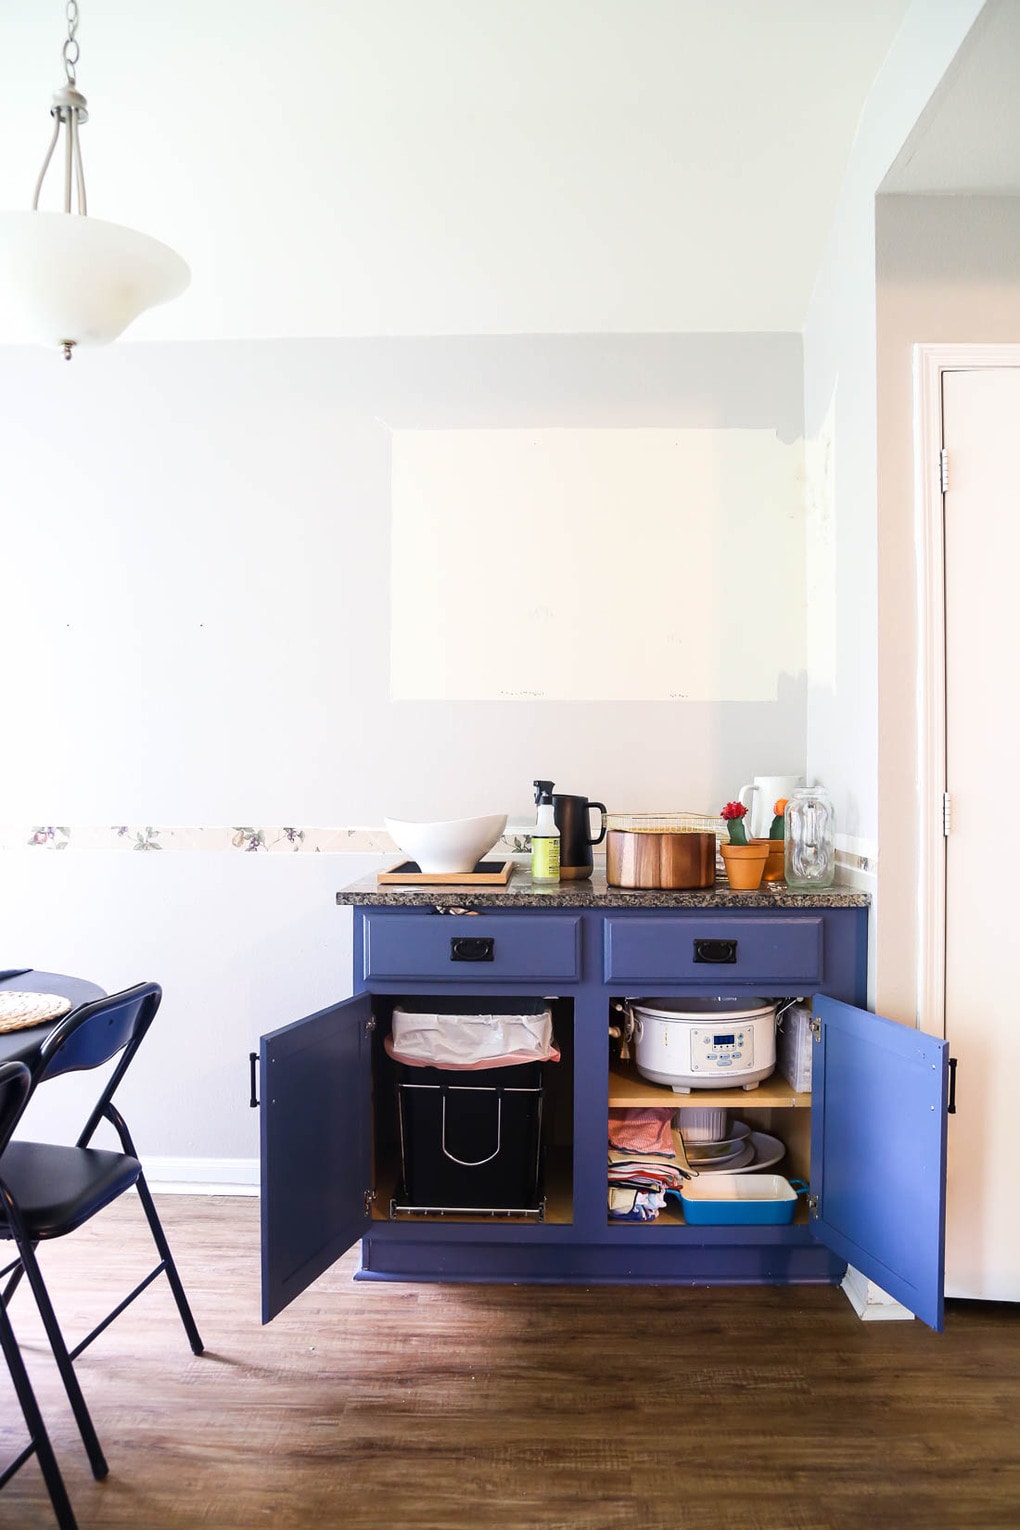
Thankfully, with a bit of creativity and a lot of the skills I learned from going through the KonMari method, I was able to empty out one half of this lower cabinet completely so that we could install our new hidden trash can!
The process this time around was a little more complicated than it was in the old house – previously, we had just installed it in a single cabinet, which meant we didn’t need to worry about trash falling into the other side of the cabinet. This time around, there are some serving dishes and a few other things in the other half of the cabinet, and there was also a large shelf in the middle of the cabinet (which meant we had to take care of that before we could install the hidden trash can).
But, of course, those little issues didn’t stand in the way of our hidden trash can dreams!
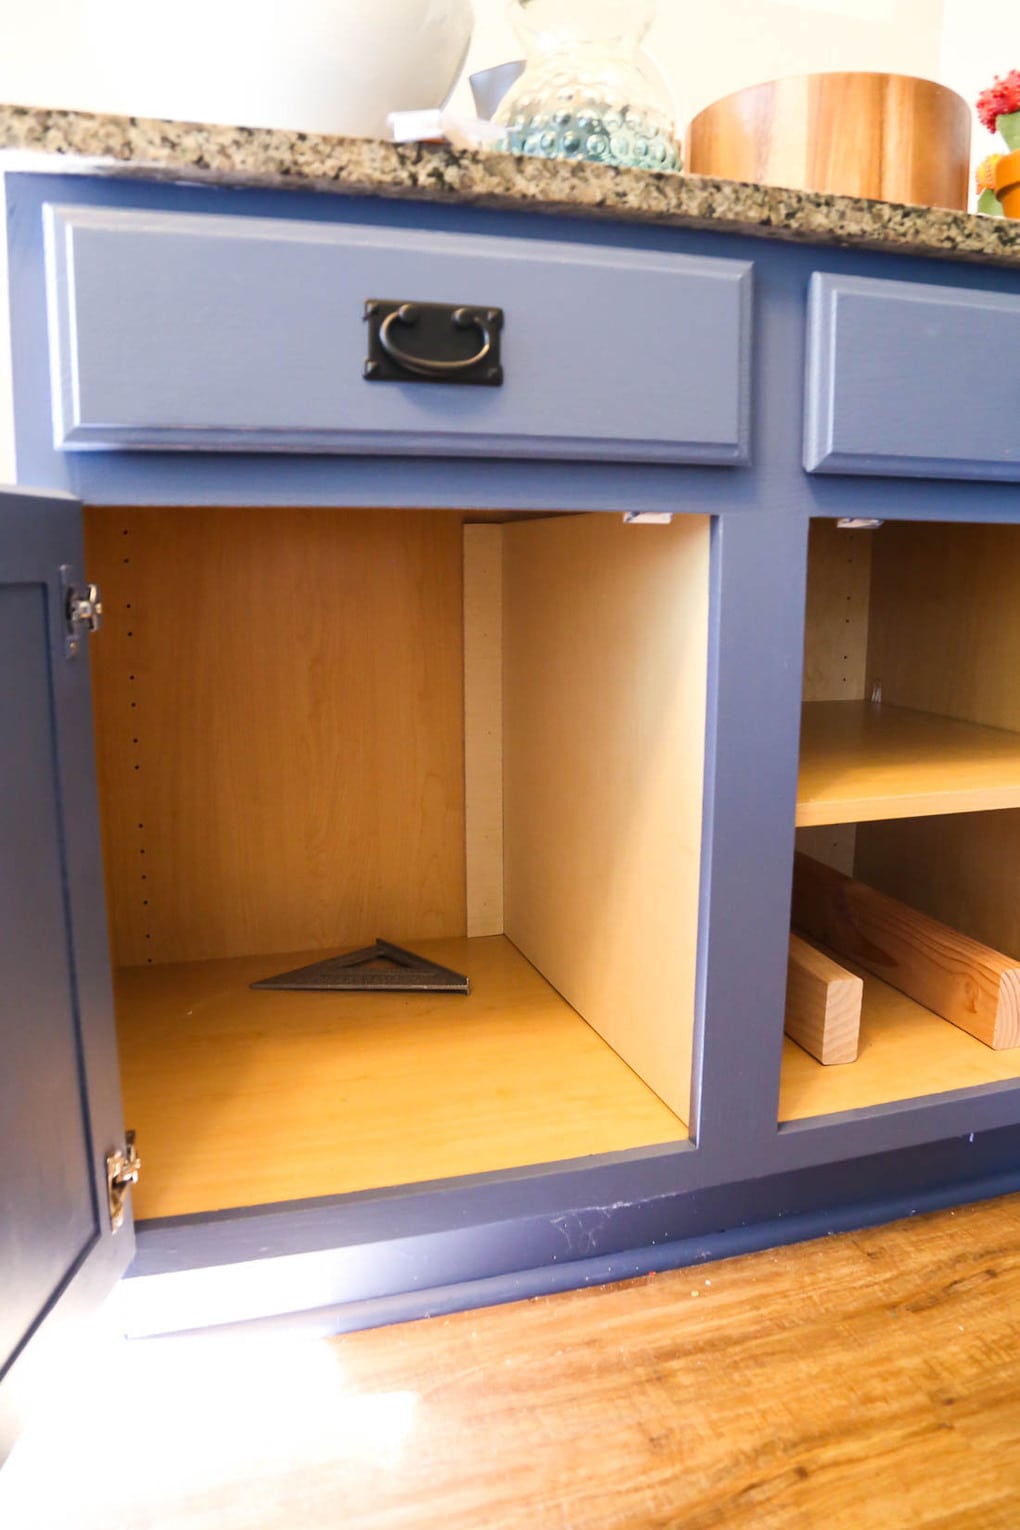
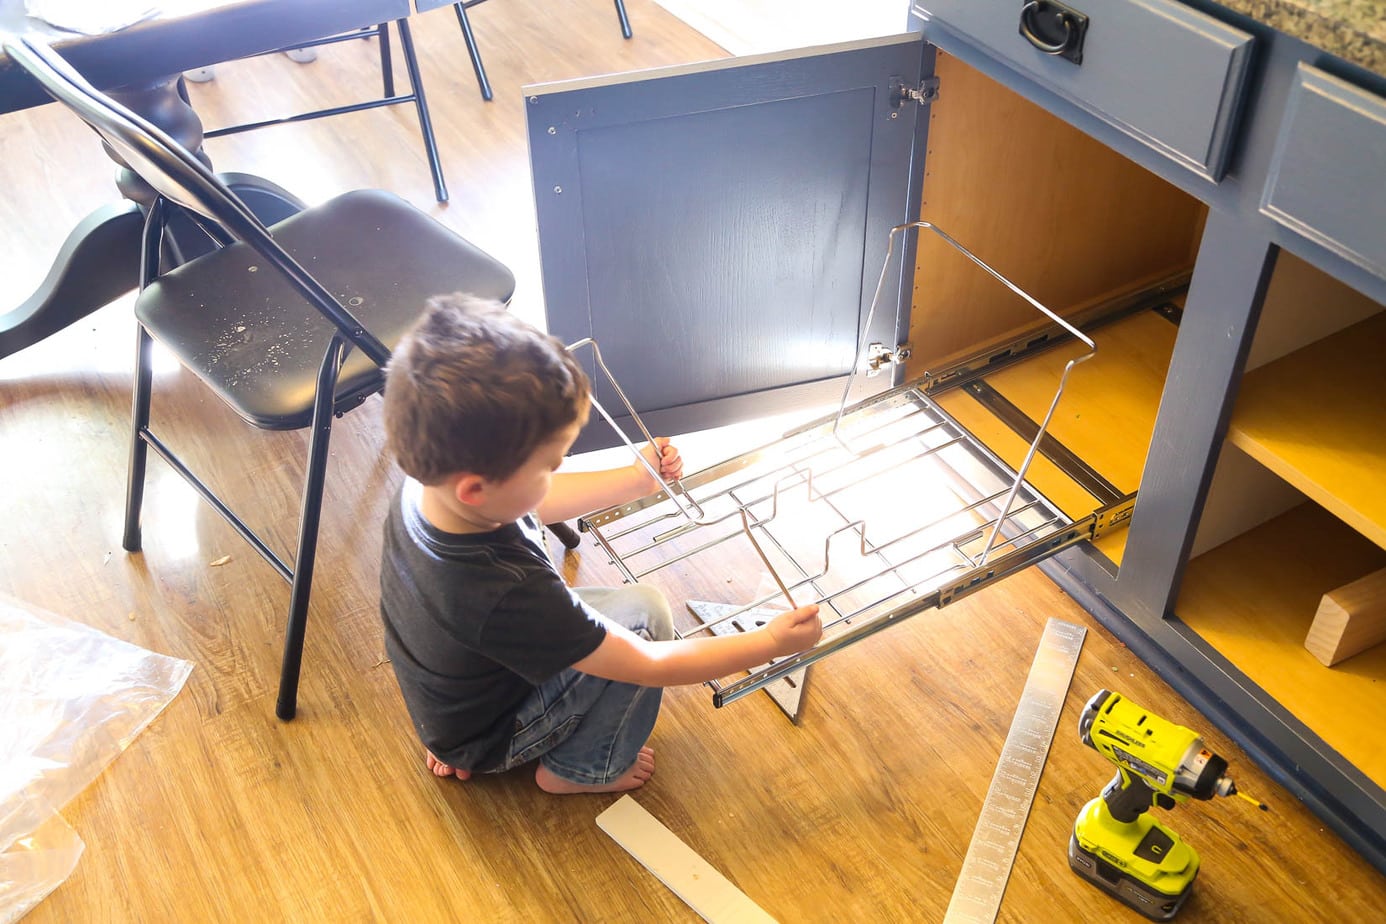
All we did was remove the long shelf and cut it in half, then re-install it on the half we wanted to store things (there were enough supports to hold it up without adding anything additional to the cabinet). Then, Corey cut a piece of plywood to fit vertically between the two sides (to prevent trash from falling into the other side), and used a small strip of wood to help hold it in place, as pictured above.
Then, we were ready to install the pull-out trash can! We just followed the directions that came with the set (this is what we purchased) – it’s easy enough that even our four-year-old was able to be involved!
Other Small Projects
Of course, hiding a trash can in the cabinet wasn’t the only project we tackled this week. In order to get started on our built-in banquette seating, we had a couple of other things that needed to happen first.
- We needed to find a new spot for our dogs’ food and water bowls (since they were just sitting awkwardly in the middle of the dining room/kitchen area).
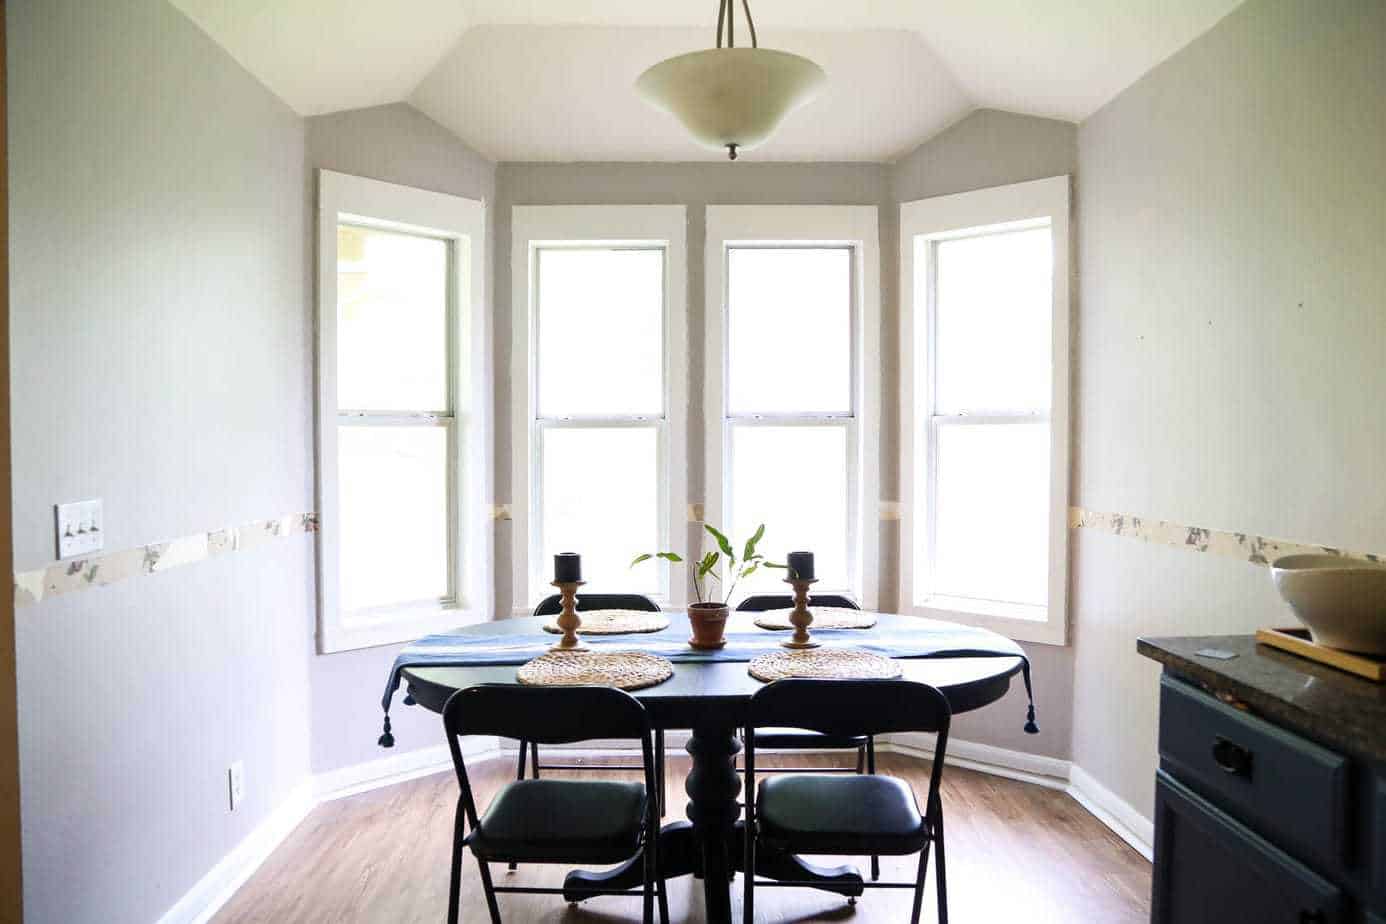
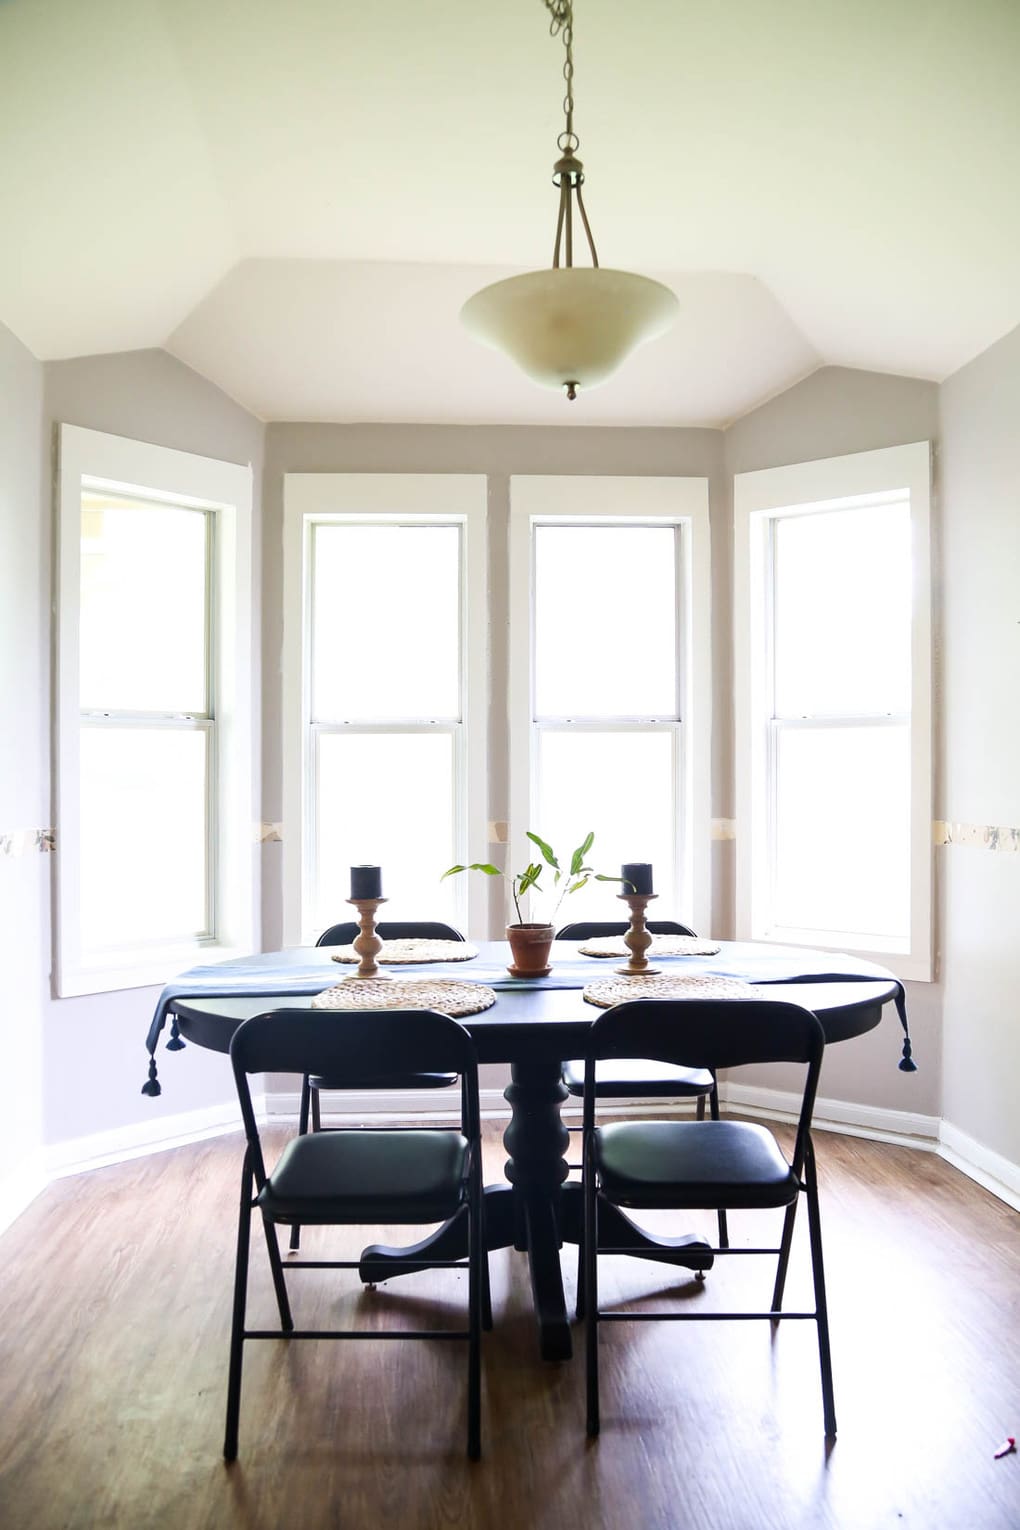
- We wanted to add trim to the bay window – partially to highlight the gorgeous windows a bit and partially to make our wallpapering job easier in a few weeks (we don’t want to wallpaper inside the windows!).
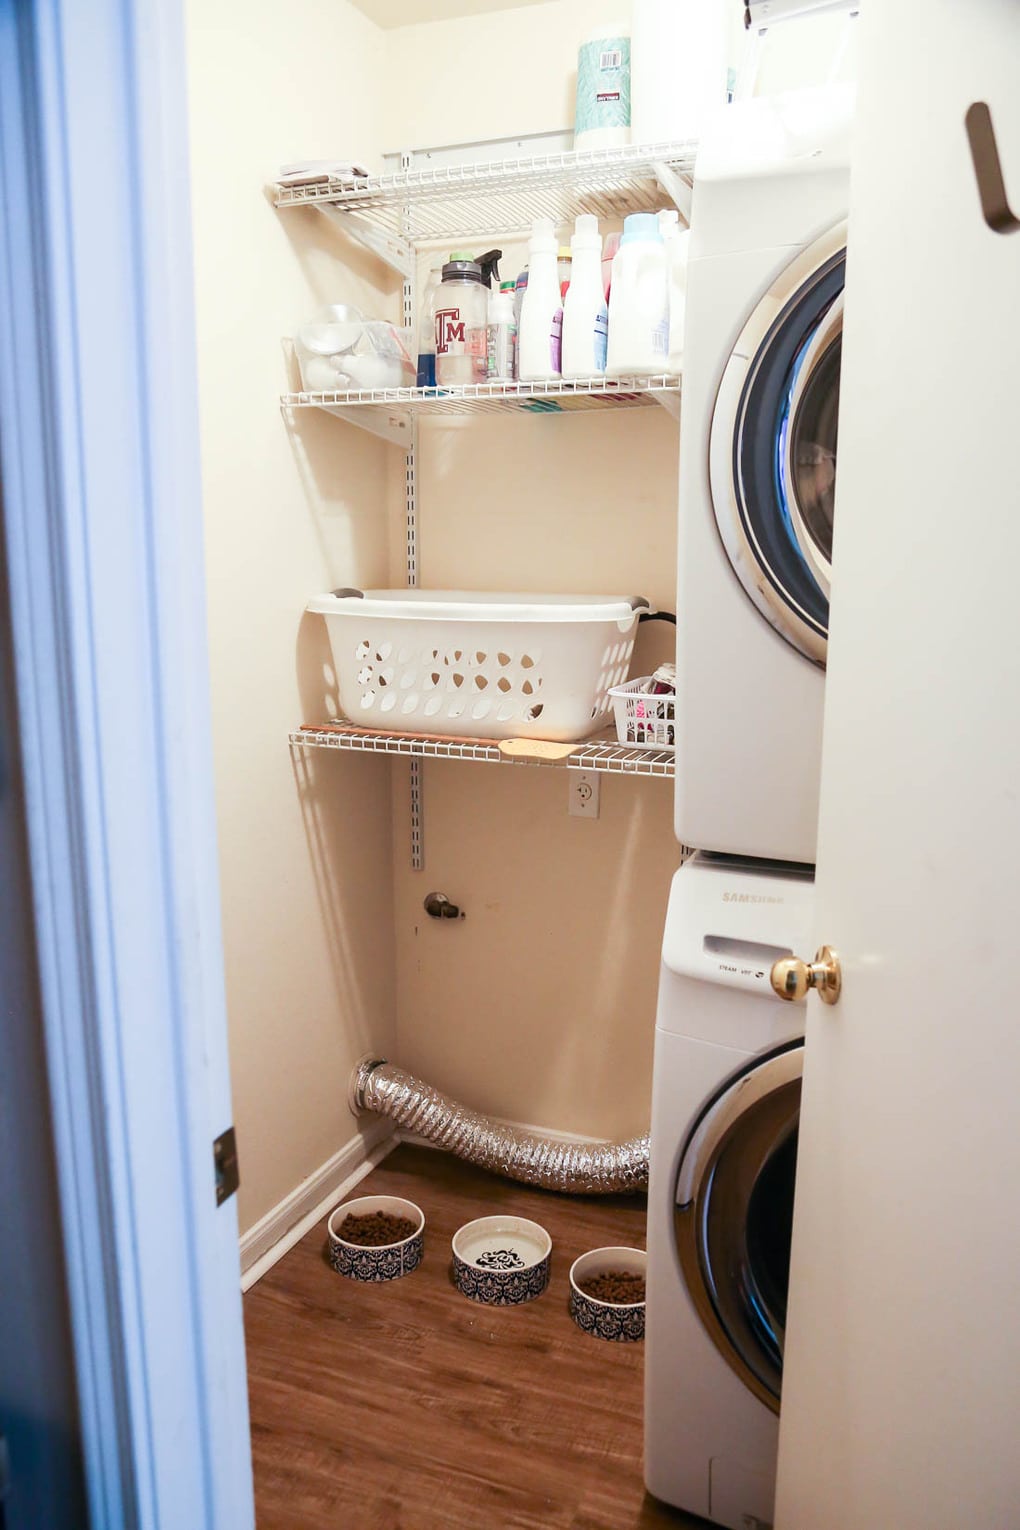
The dog bowl problem was, surprisingly, much easier to solve than we originally thought it would be. After throwing out what felt like a million different ideas (and getting some great suggestions from y’all), Corey finally suggested putting them in the laundry room. I was skeptical at first, because our laundry room is absolutely tiny, but I had to admit that I had put zero effort into organizing the space so far and that there may be a way to make it work.
So, I headed into the laundry room armed with a podcast and a giant trash bag and got to work. About 30 minutes later, I had purged a lot of old cleaning supplies, empty boxes, and other junk and rearranged the shelves enough to get everything off of the floor. And just like that, we had the perfect little spot to tuck our dog food bowls!
We won’t just leave them on the floor forever – eventually (once we get around to giving the laundry room a makeover), we’ll come up with a prettier, and probably built-in, solution for the bowls, but this works just fine for now. That being said, we’re dealing with the fun new problem of acclimating our Doberman, Hadley, to the new location – she hates going on this side of the house and we’re having to slowly move her bowls inch-by-inch into the room for her to actually eat. We had the same issue when we replaced the flooring in our kitchen in the old house, so we know she’ll come around to it eventually – for now, we’re just doing what we can to encourage her to check it out and keeping an eye on her to make sure she doesn’t get too hungry in the meantime.
Dogs can be so weird.
As far as the window trim, that was our other big project for the week!
I’ll share a full tutorial for this project sometime later (we plan on doing this again, so there will be other opportunities), but it was so much easier than I thought it would be and it was a super fast, high-impact project. The ceilings feel much taller in here and the windows feel noticeably larger as well.
I have a feeling we’ll be doing this little project for every window in the whole dang house.
And that, my friends, is where we’re at for week two of the One Room Challenge. I’m hoping we’ll be able to get started on the banquette this week (and all of our other supplies are slowly rolling in!), so let’s all keep our fingers crossed that we have a more exciting update next week!
Don’t forget to go check out all of the other bloggers linking up to the challenge! There are always so many fun rooms to follow!


Really love your trash can solution!
Thanks so much, Nancy!
Just found your blog and I’m hooked! I love what you did with the window trim and can’t wait to see the tutorial – we are wanting to do the same with our windows!
Thanks so much, Megan! I totally recommend it – it was SO easy, and it looks amazing.