
DIY Bay Window Bench
Last updated on January 16th, 2023 at 09:33 am
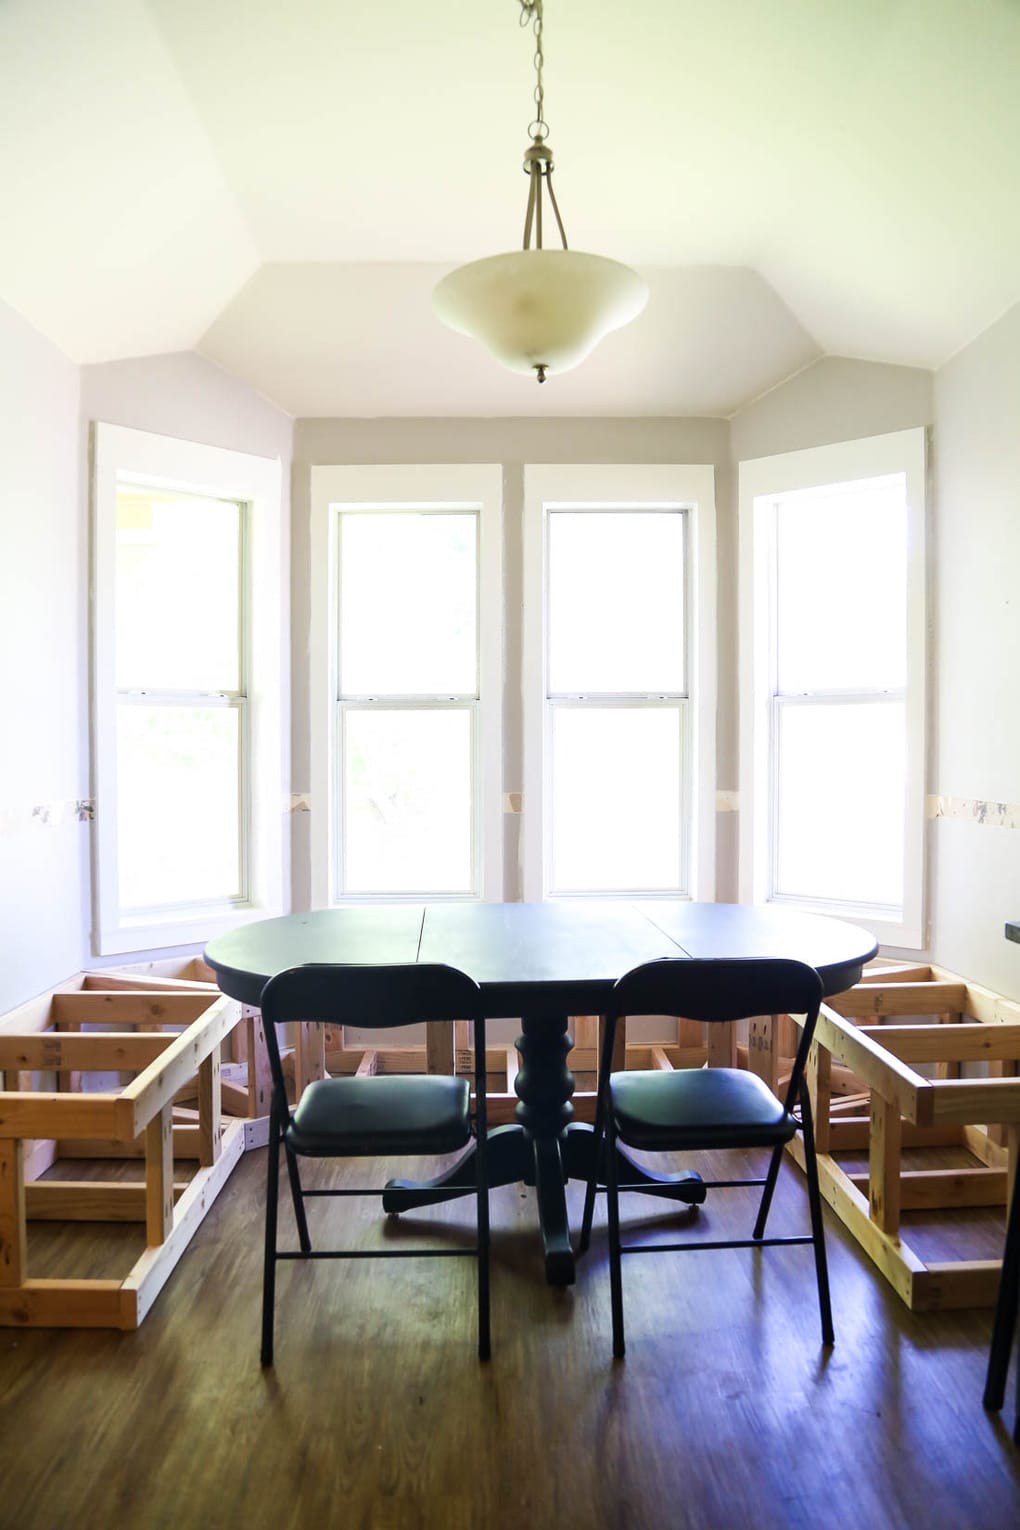
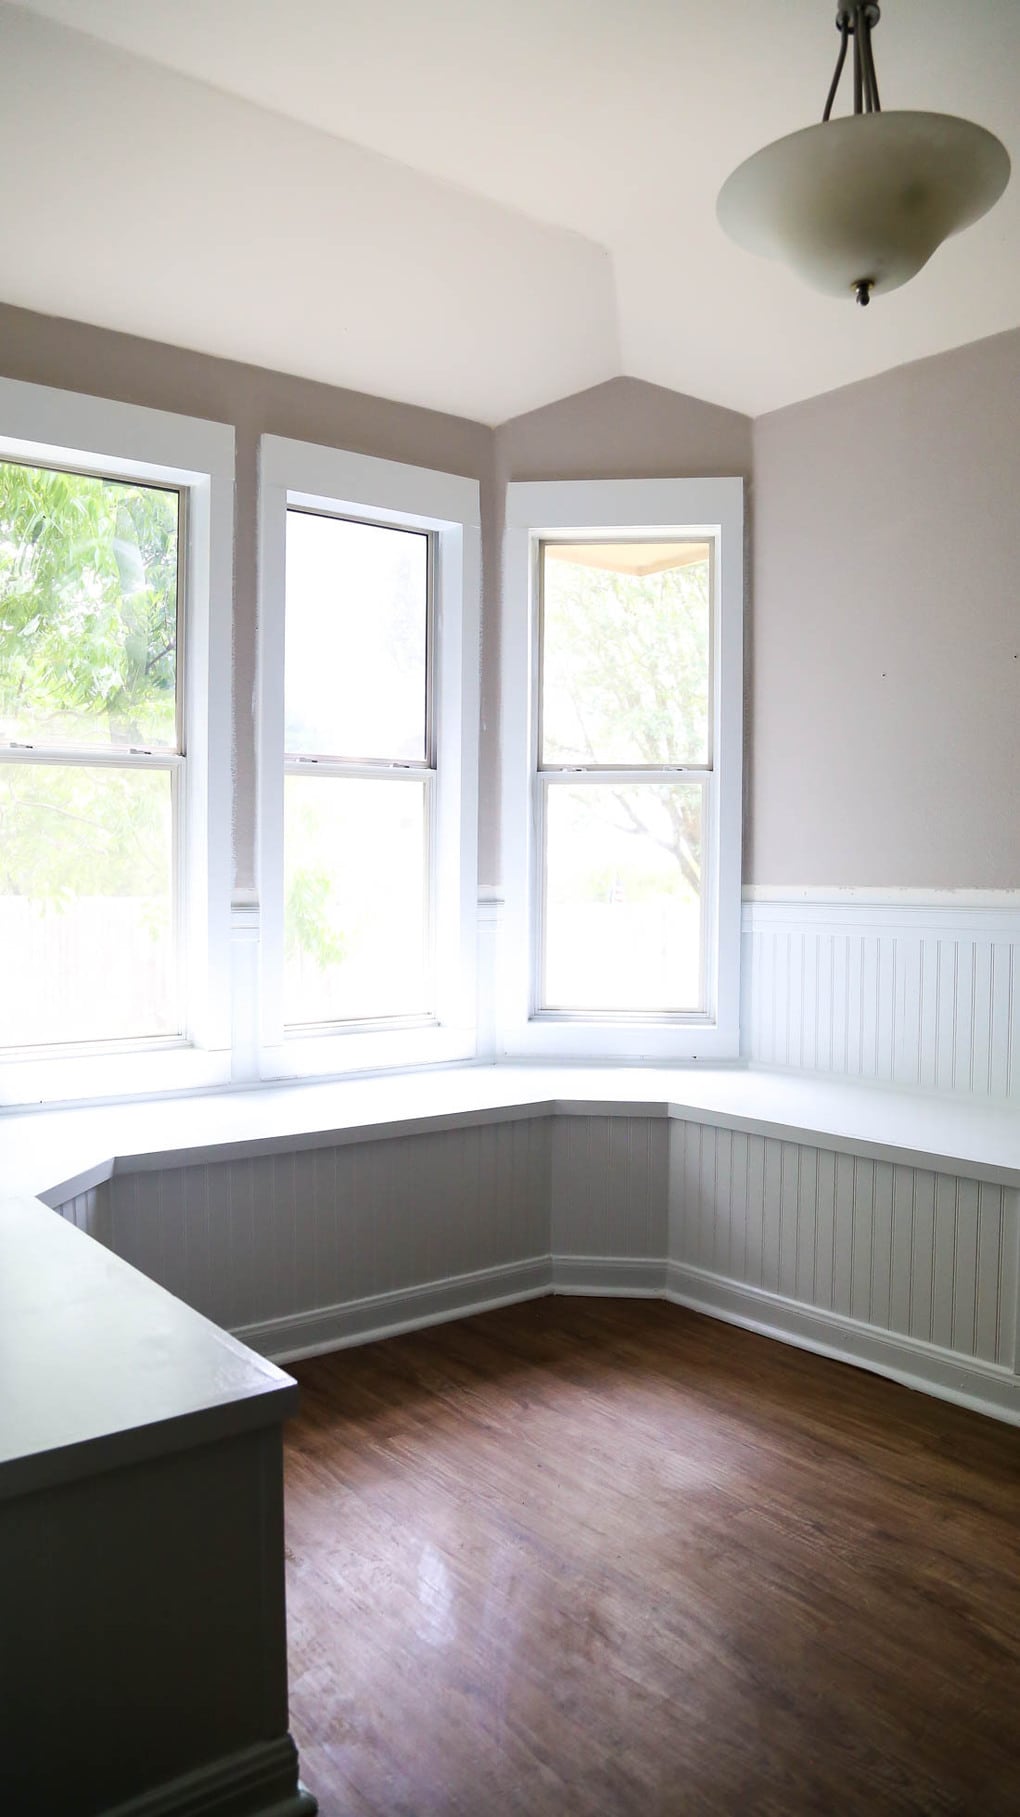
We had a bay window that needed some more functional seating, so we decided to build a DIY bay window bench to wrap around the entire nook. Our little breakfast nook has been totally transformed with this new banquette, and today I’m showing you how we did it!
This post was originally published in May of 2018 – it’s being re-published in an effort to freshen up and bring life to some old projects and posts you may have missed!
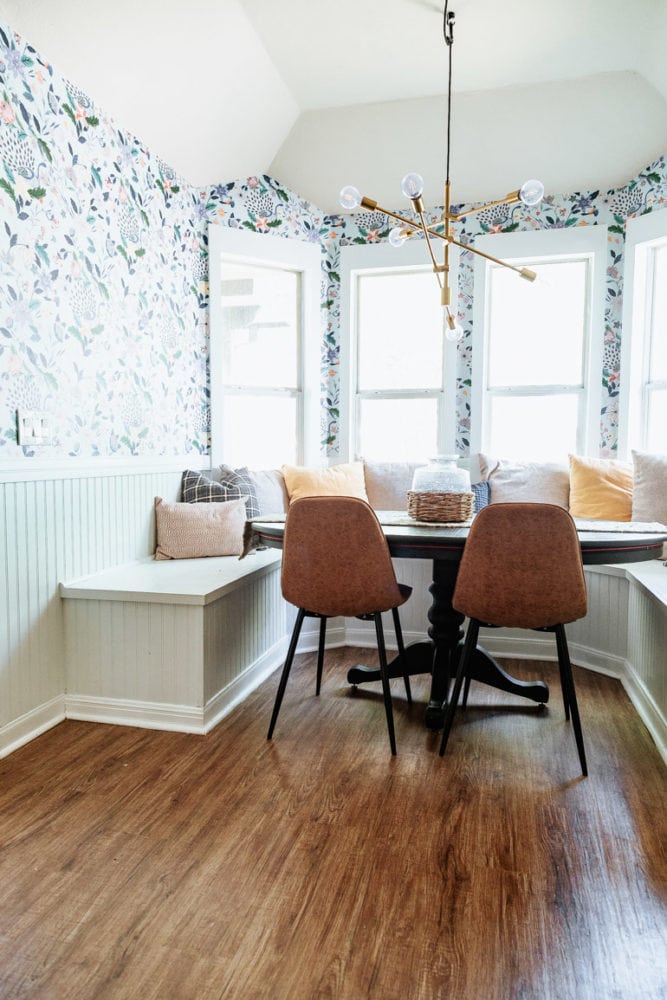
Y’all, I’m not even sure where to begin here. The bay window bench in our dining room is officially complete and I’m so happy I could cry.
Maybe I did cry. Don’t judge me. I’m allowed to cry.
But seriously, it feels so good to be able to say that this little old banquette is finally finished, and I can honestly tell you it is my new favorite seat in the house. It’s the best – I love to work from the bench and look out the windows and watch the squirrels that like to fight in our trees every morning. Jackson loves to climb to the very middle of the bench at dinnertime and be as wiggly as he wants to while he eats.
Heck, it’s deep enough that I might even take a nap there.
This project is part of a much larger dining room makeover – read to the bottom of this post to catch up on all of the other projects in this space, and CLICK HERE if you want to jump ahead and see the big reveal!
DIY Bay Window Bench: The video
Here’s a quick video I did documenting some of the work that went into this bench – it’s not a full tutorial (you can find that below!) but it’s still fun to see it come together!
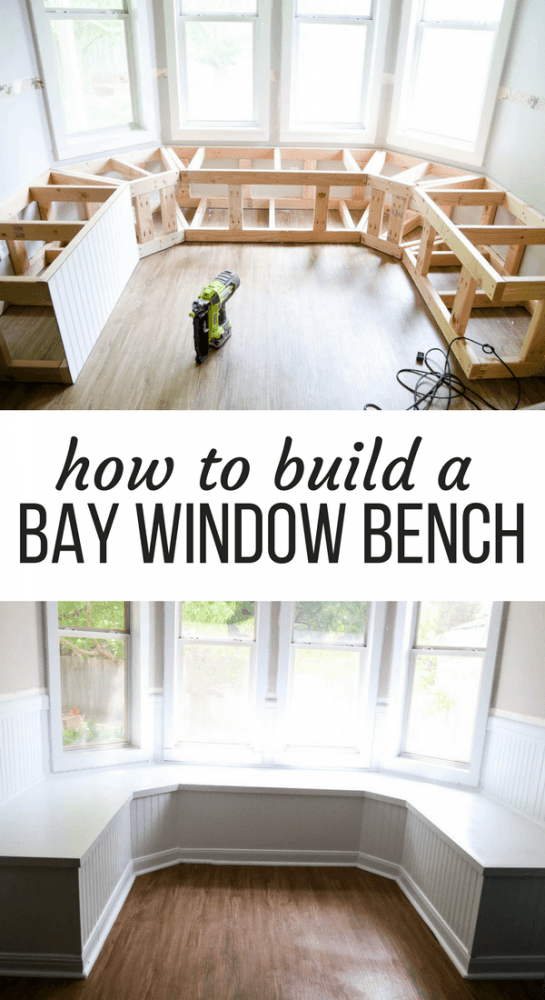
How to build a bay window bench
Let’s dive into chatting about this DIY bay window bench and how it came to be.
This project was a major labor of love, and I have to give most of the credit to my sweet husband, Corey, and his amazing woodworking prowess for putting it together over the last few weekends. You know, instead of relaxing because he has a full-time job and probably didn’t really feel like building a banquette.
Here we goooo.
This post contains affiliate links. Click here to read my full disclosure policy.
Materials Needed:
*Note: All material amounts and measurements will depend on the exact size of your bay window and how large you want your bench to be. Every bay window is different, so I’ll keep the instructions relatively general – just know you may need more or less of each material than we did.
- 2×4 studs (we used approximately 12)
- Kreg Jig + pocket hole screws
- Wood glue
- Drill + driver
- Screws
- Finish nailer + nails
- Beadboard panels (for the walls and the bench, we used about 8 of the smaller panels)
- 1/2″ plywood (we used about one and a half sheets)
- Trim
- Two 8-foot 1X2 boards
- Baseboards + shoe molding
- Two 8-foot chair rail trim pieces
- Corner molding
- Caulk
- Wood filler
- Paint
STEP ONE: planning + measuring
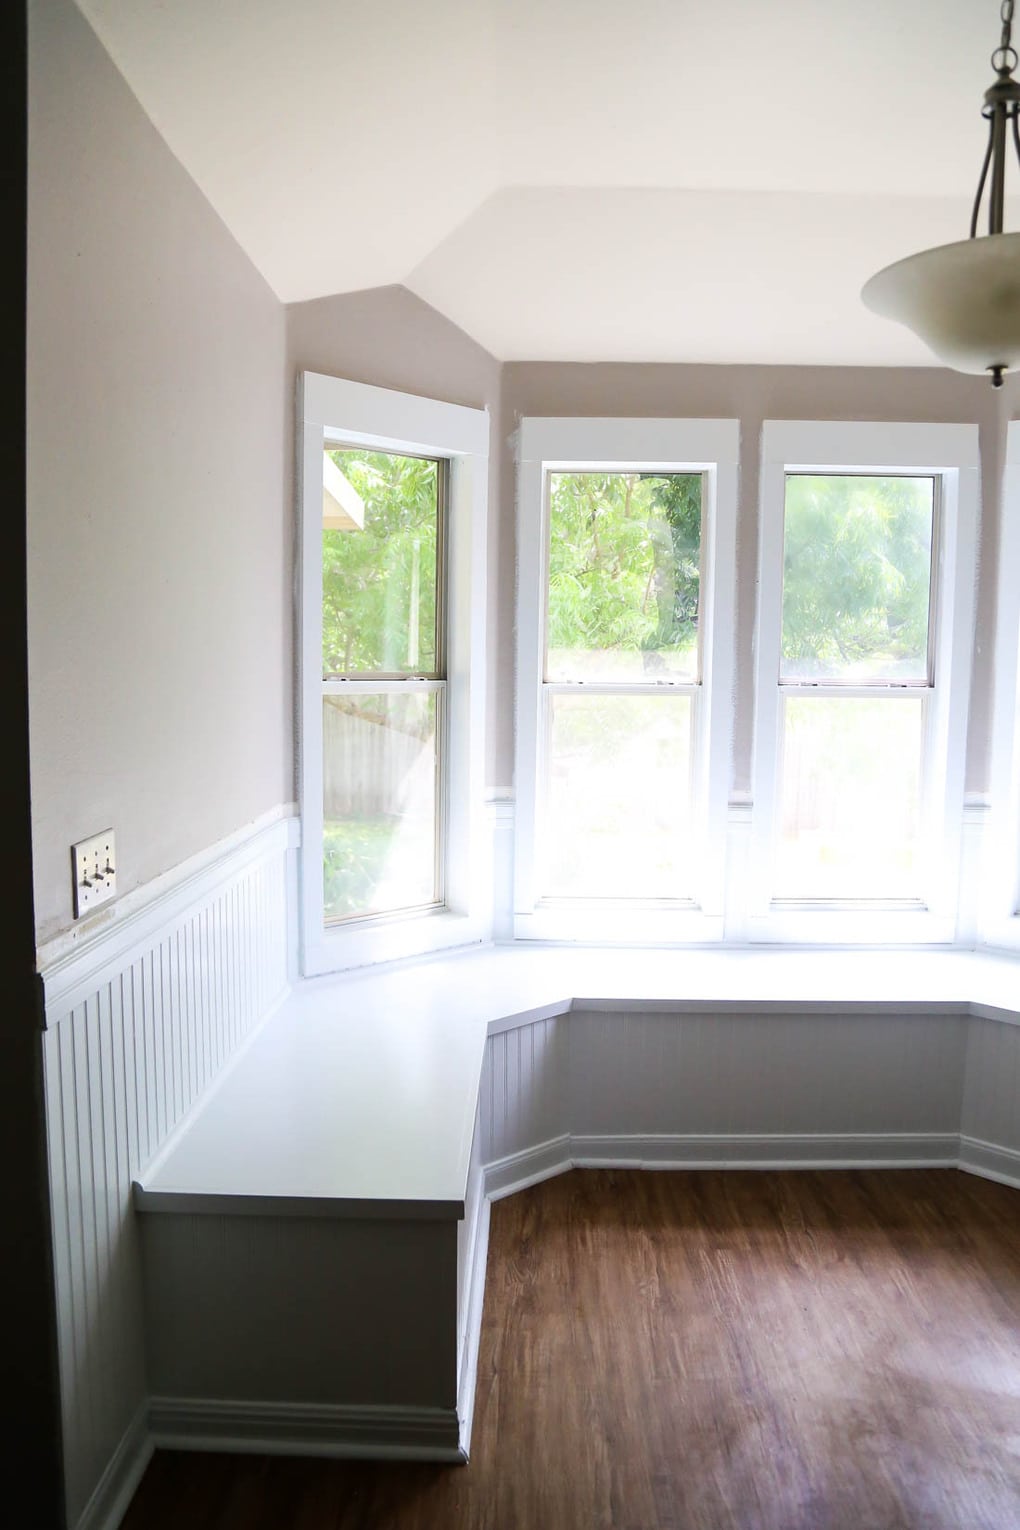
Obviously, the first step with building your DIY bay window seating is to make a plan. We knew that we wanted the bench to fit under the bay window and also wrap up the sides of the wall a bit – we wanted people to be able to comfortably sit at both ends of the table, and we wanted the ability to upgrade to a wider table down the line.
Our bench is about 22″ deep and comes out from the bay window about 47″ inches. These measurements will all depend on your specific bay window, though, so spend some time in the space thinking about what will work best for your family.
As far as the height of the bench, 18″ is standard seating height. Due to a slight mistake in measuring, ours ended up being a bit taller – the finished product is about 20″ tall. It’s definitely taller than is ideal, but it’s still perfectly comfortable to sit with your legs under the table (even for Corey).
You’ll also need to measure the angles of your bay window in order to create the bench – here’s how you measure the angles:
- Take the measurement of the angled corners using a digital angle finder. It will tell you the exact angle each corner is.
- Divide that number in half to determine what your cuts need to be. For example, if you’ve got a 120-degree angle in your corner, your cuts will need to be made at 60-degrees in order to fit perfectly into that angle.
You’ll use this measurement when you build the bases for your bench in the next step!
STEP TWO: Build the Base of the Banquette.
Now, you’ll build a separate base piece for each time the bench turns. For example, our full bench consists of five pieces – three sitting directly in the bay window, and two on either side that extend into the room.
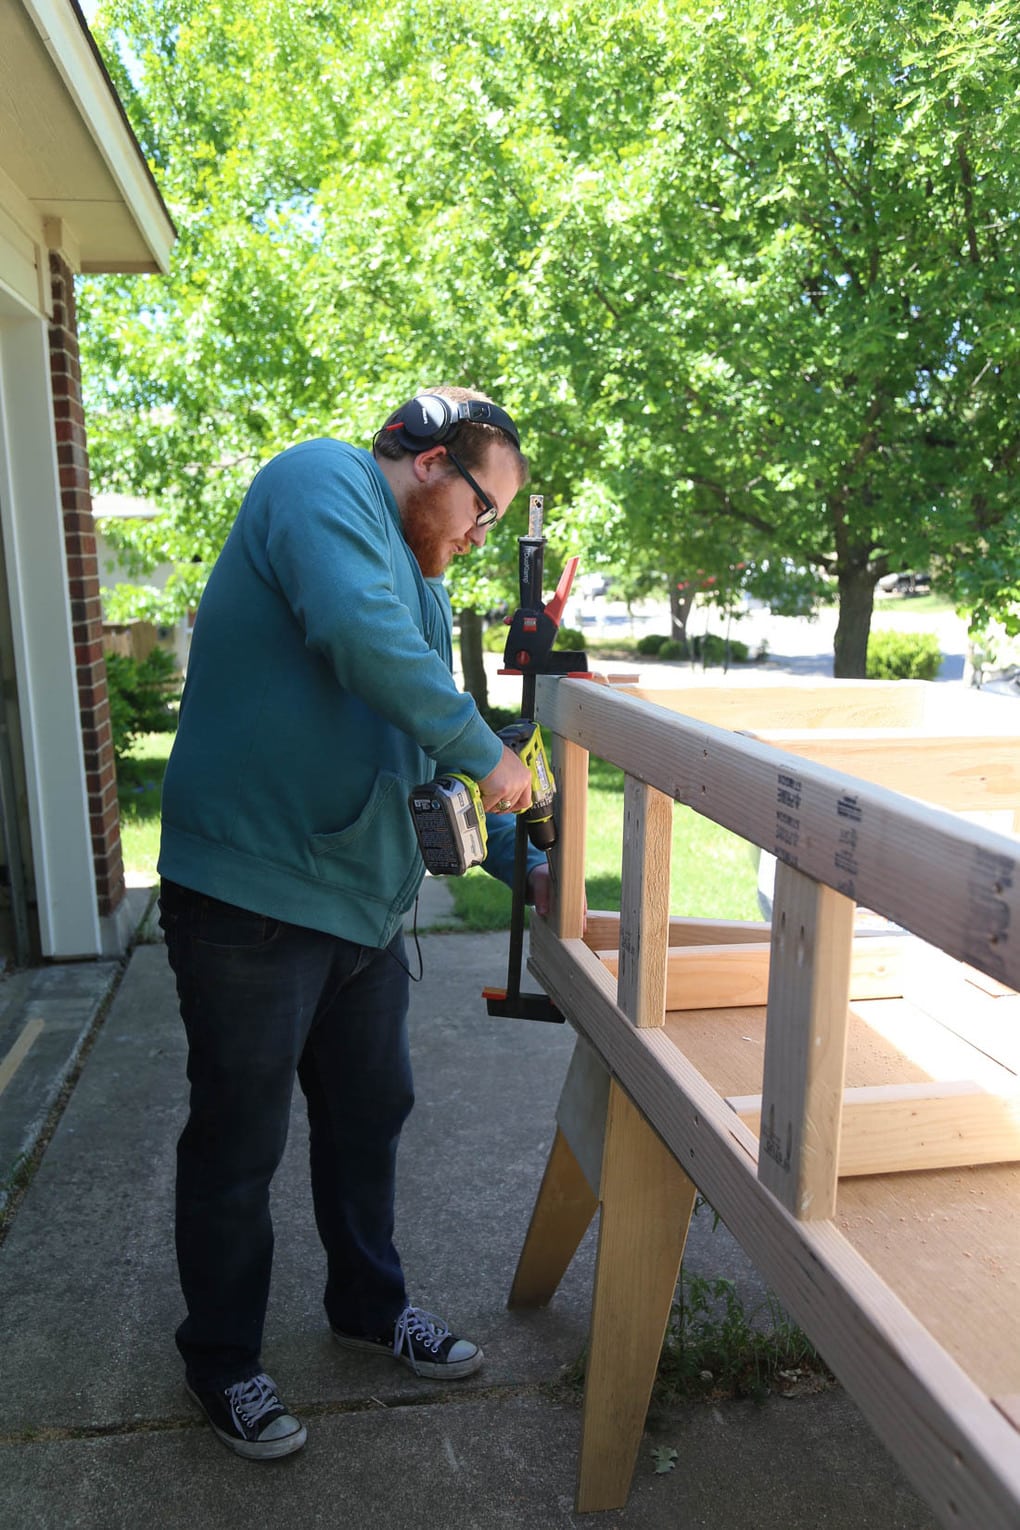
Each of the bases has at least one side that requires an angled cut. To make that cut, you can use your angle finder next to your miter saw to help you match the angles perfectly. If you don’t know how to use a miter saw, click here for a full tutorial!
These are constructed using pocket holes and wood glue. Each base is individually measured to fit into the section that it’s for.
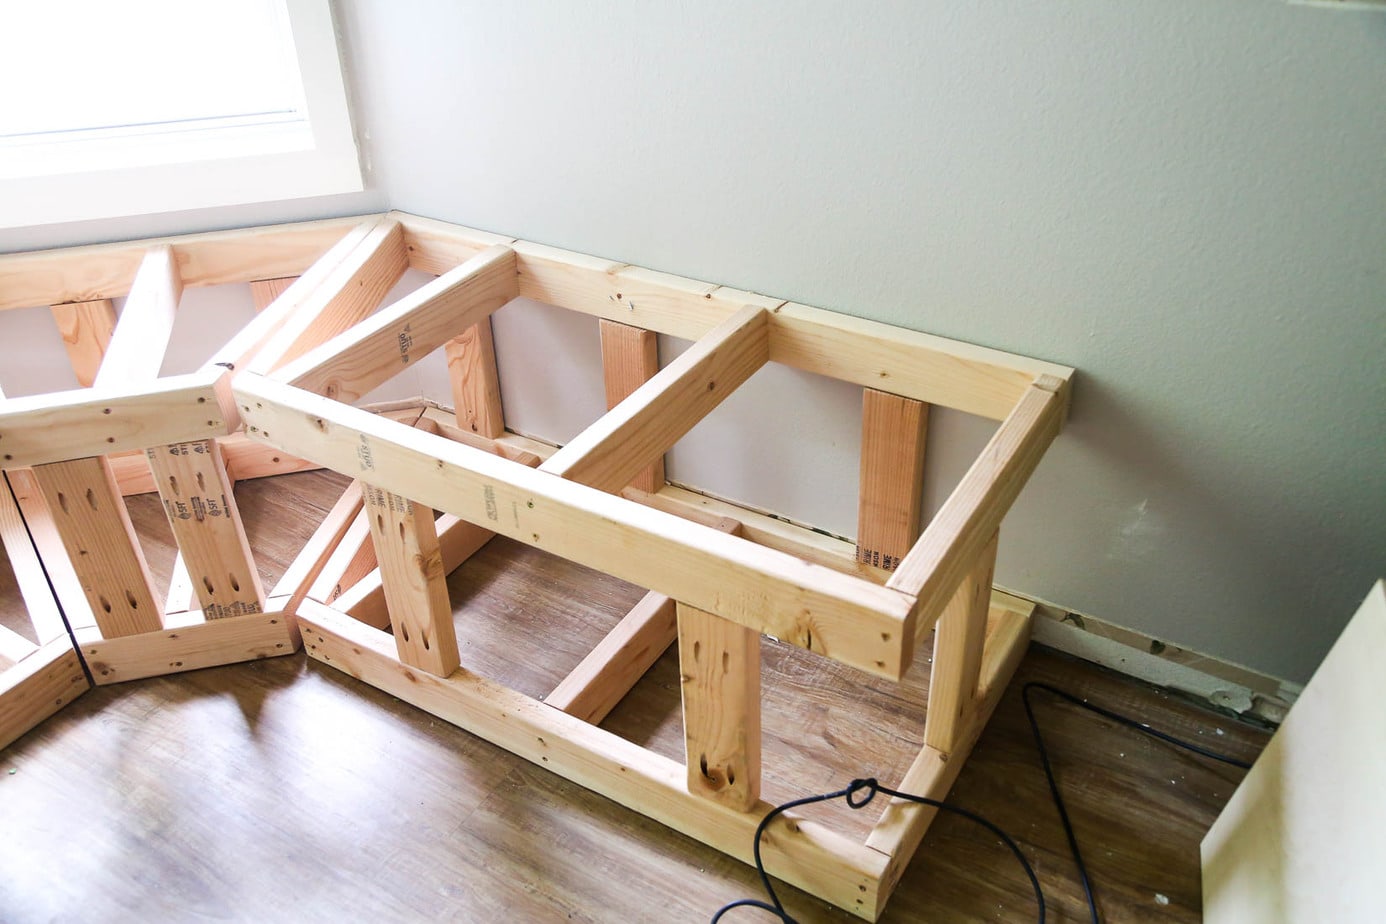
Above, you can see what the base pieces looked like. It’s basically a frame that perfectly fits the shape of the section it’s going in, with supports along it to keep things sturdy.
As each base piece was built, we brought it into the space to make sure it fit perfectly. Once all of the pieces were constructed, they got attached both to each other and to the studs in the wall.
It all was looking a little wild at this point, but we were starting to get a peek at what the finished product might look like, and it was exciting!
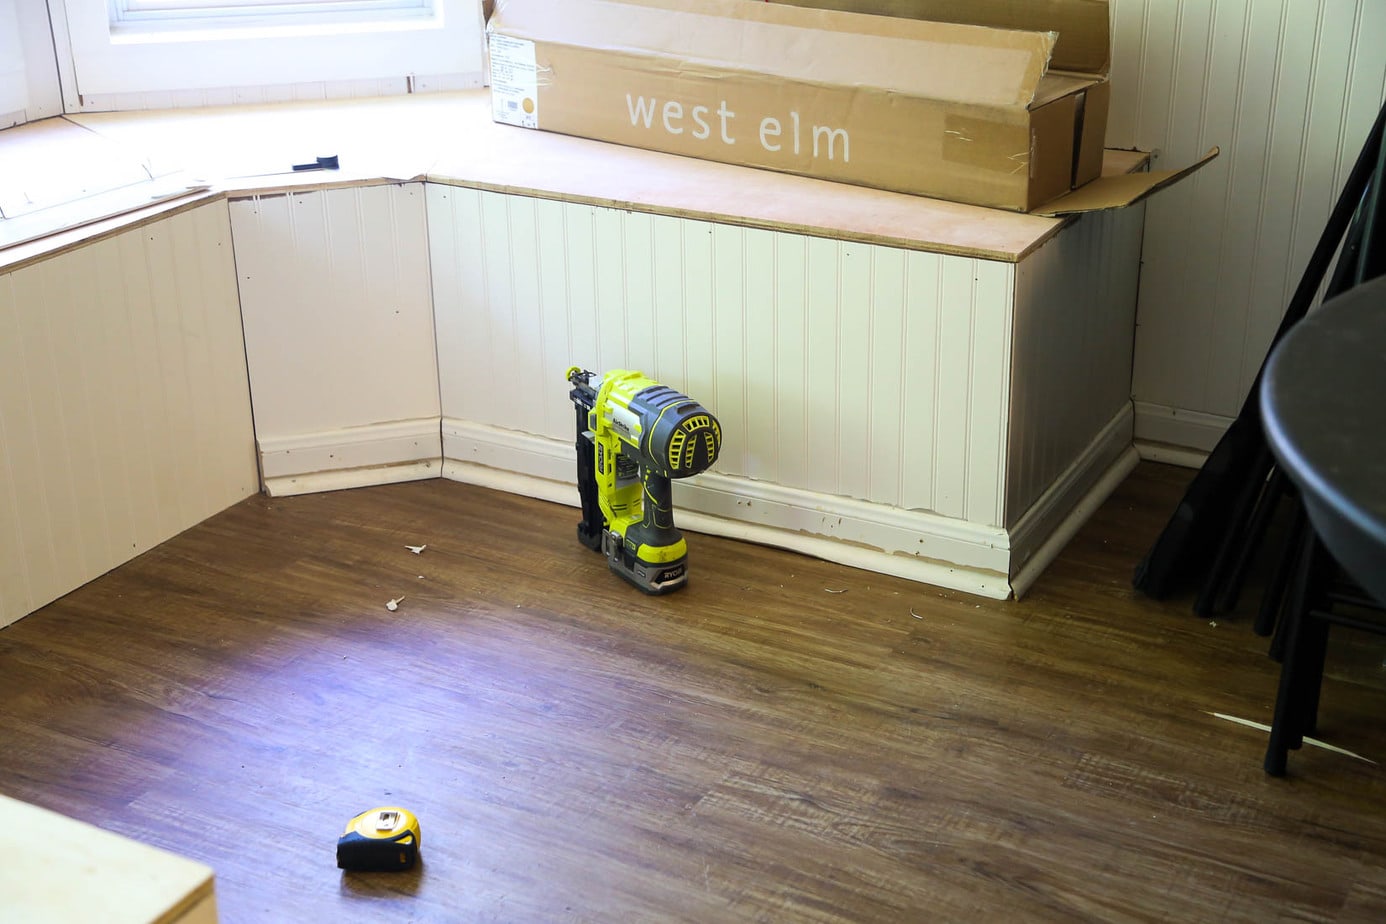
STEP THREE: cover the bases
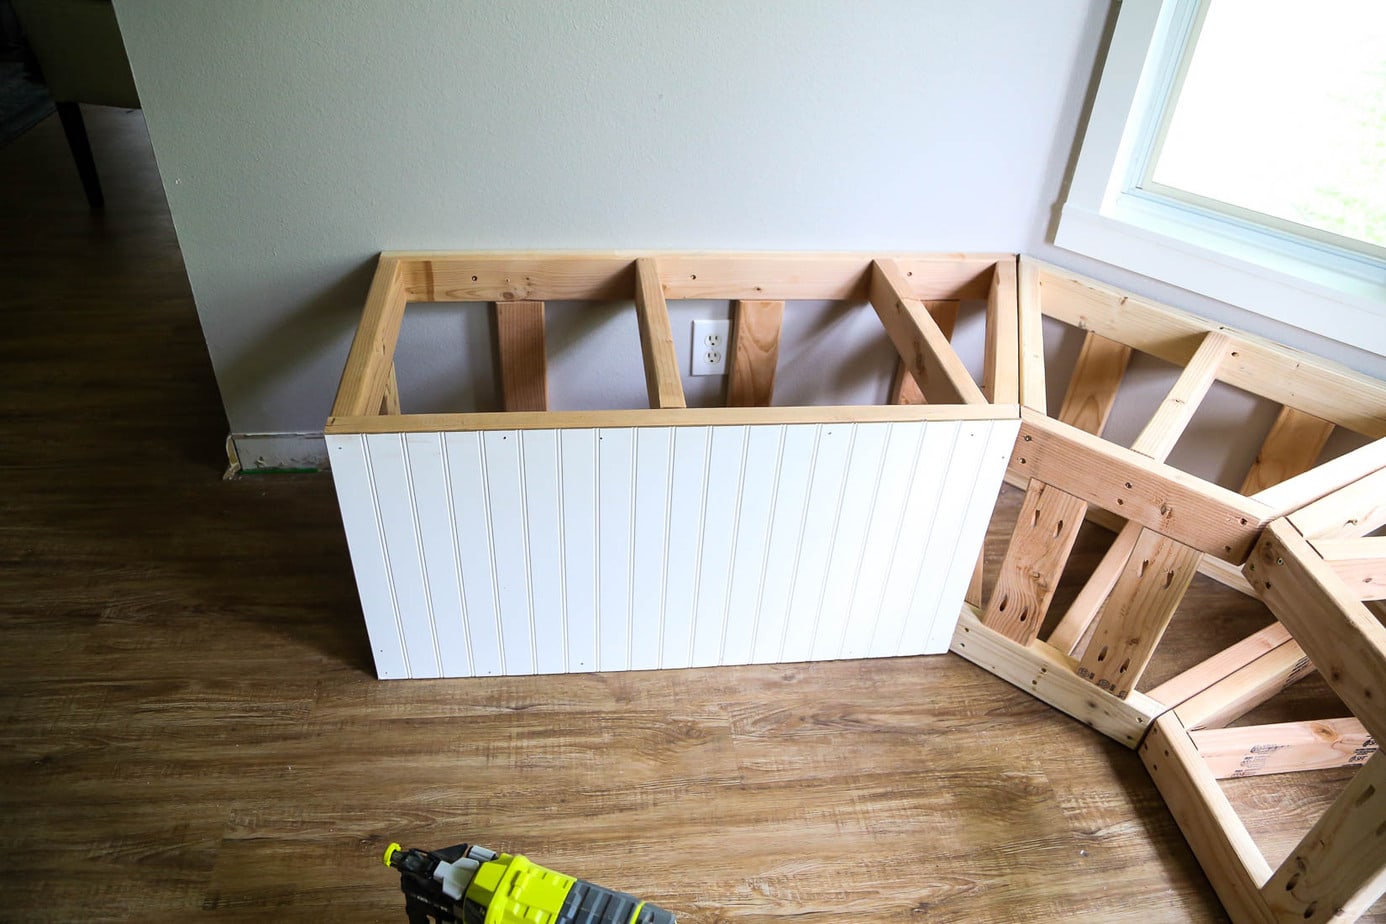
Next up, we attached our beadboard to the front and sides of the bay window bench. At this point, you’re mostly done with the angles (thank goodness!) so it’s just about measuring a piece to fit the front of the piece you’re working on and then attaching it using the power nailer.
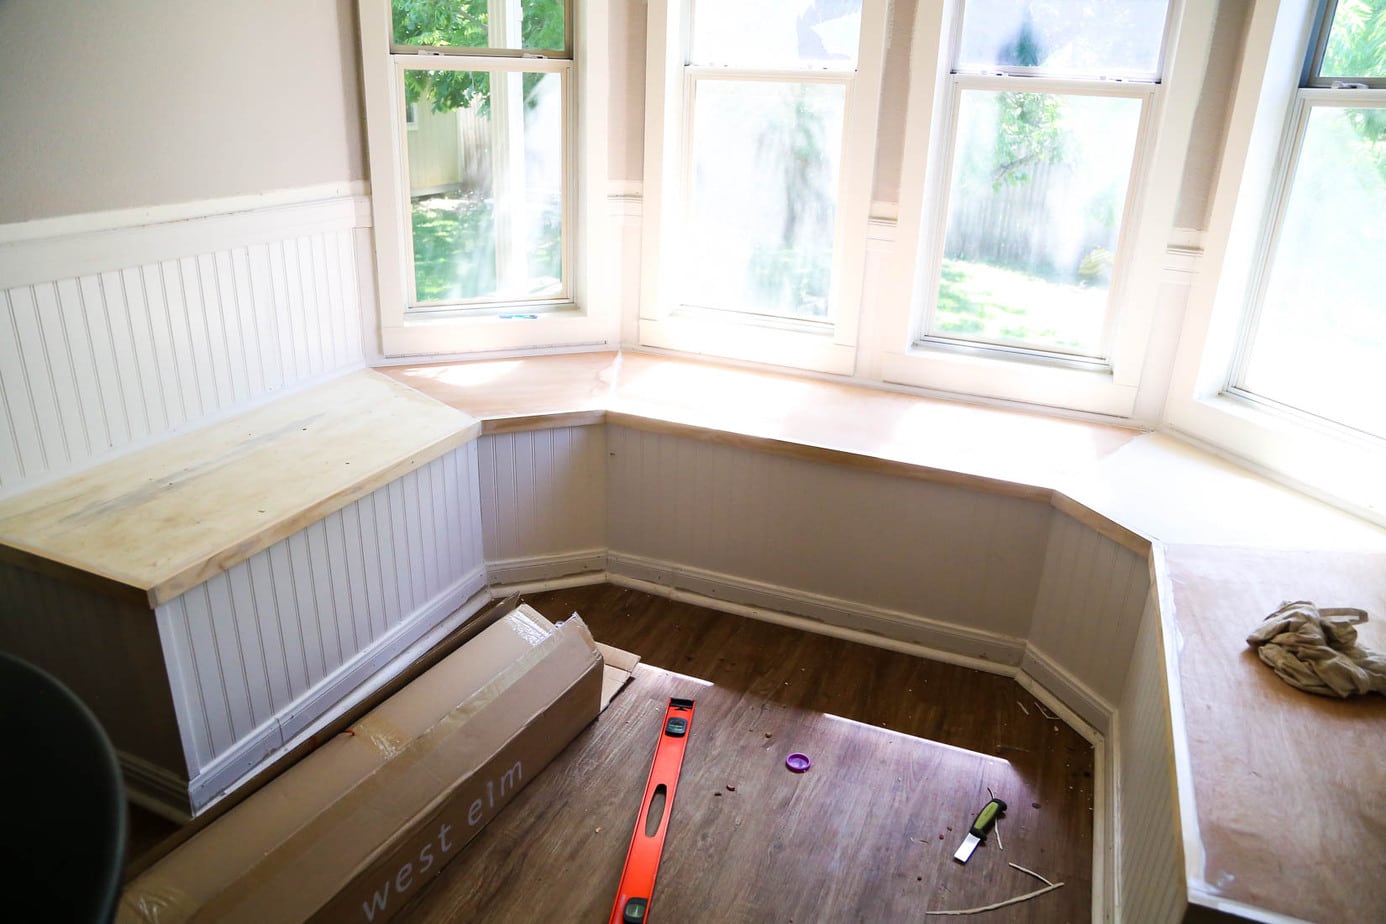
Once the front and sides were covered, Corey cut the 1/2″ plywood to fit on top of the base pieces (again, cutting a separate piece for each time the wall turned) and attached using wood glue and screws. He sanded down all of the seams to make sure everything was nice and level (and we sanded again later, but this was just an initial pass-through to make sure everything fit together correctly).
This is the part of the build where you’ll probably start to worry. Things will be looking really crazy, sloppy, and just generally awful. This is totally normal and to be expected. Once you add trim, caulk, and paint, things will look way better, so try not to stress and just push forward.
A quick note – if you wanted to add storage to your bench, this would be the time to do so! When installing the tops for the benches, you could add a hinge on the plywood so that it could lift up and you could access the storage underneath. We decided to skip the storage for this particular bench, but that’s absolutely an option if you want to add it in!
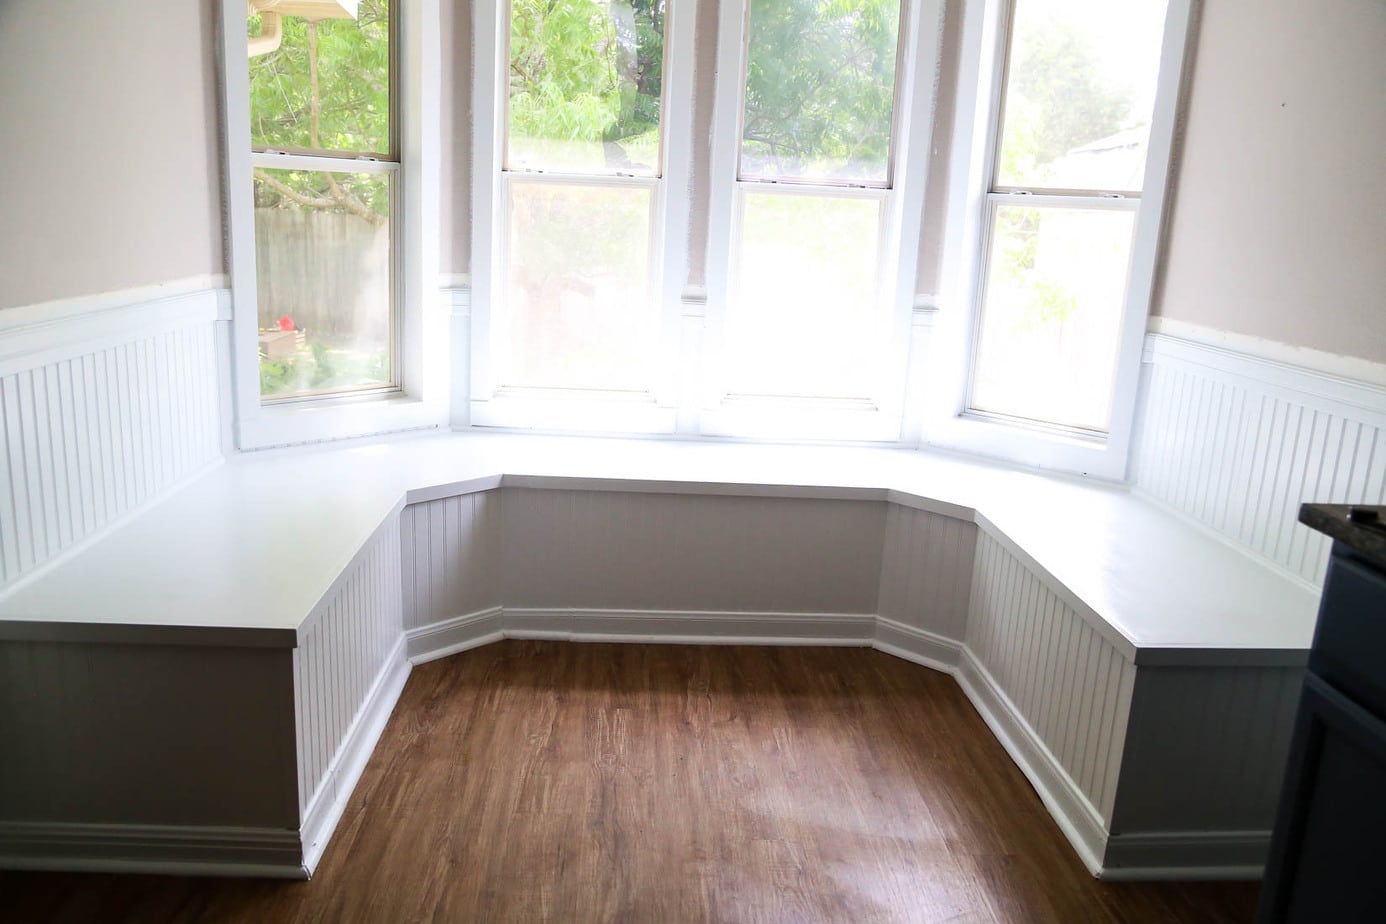
STEP FOUR: Install Baseboards and Trim
Now, you’re ready to begin the more satisfying part of the process – making it pretty. The first step is to re-install baseboards in your space. We had saved the baseboards when we pulled them out originally, so it was just a matter of re-cutting them to fit the bench and installing them. It required a bit of extra sanding and prep work when it was time to paint (since they were pretty beat up) but it saved us a fair amount of money, which is always a win.
Once the baseboards are back in, you can install the rest of your trim. We did a piece of 1X2 trim all around the top of the bench (it sits flush with the plywood top and makes it appear to have an overhang), then we also added corner molding on the outside corners and some shoe molding around the back of the bench where it meets the wall.
If you’re doing beadboard on the walls around your bench, this is the time to do that as well (do it before you install the trim). Beadboard is extremely easy to install – just cut it down to the appropriate size using a circular saw and then nail into place. Install your chair molding around the top of the beadboard, and hopefully at this point you’ll start to feel like things are looking up!
STEP FIVE: Caulk and Paint
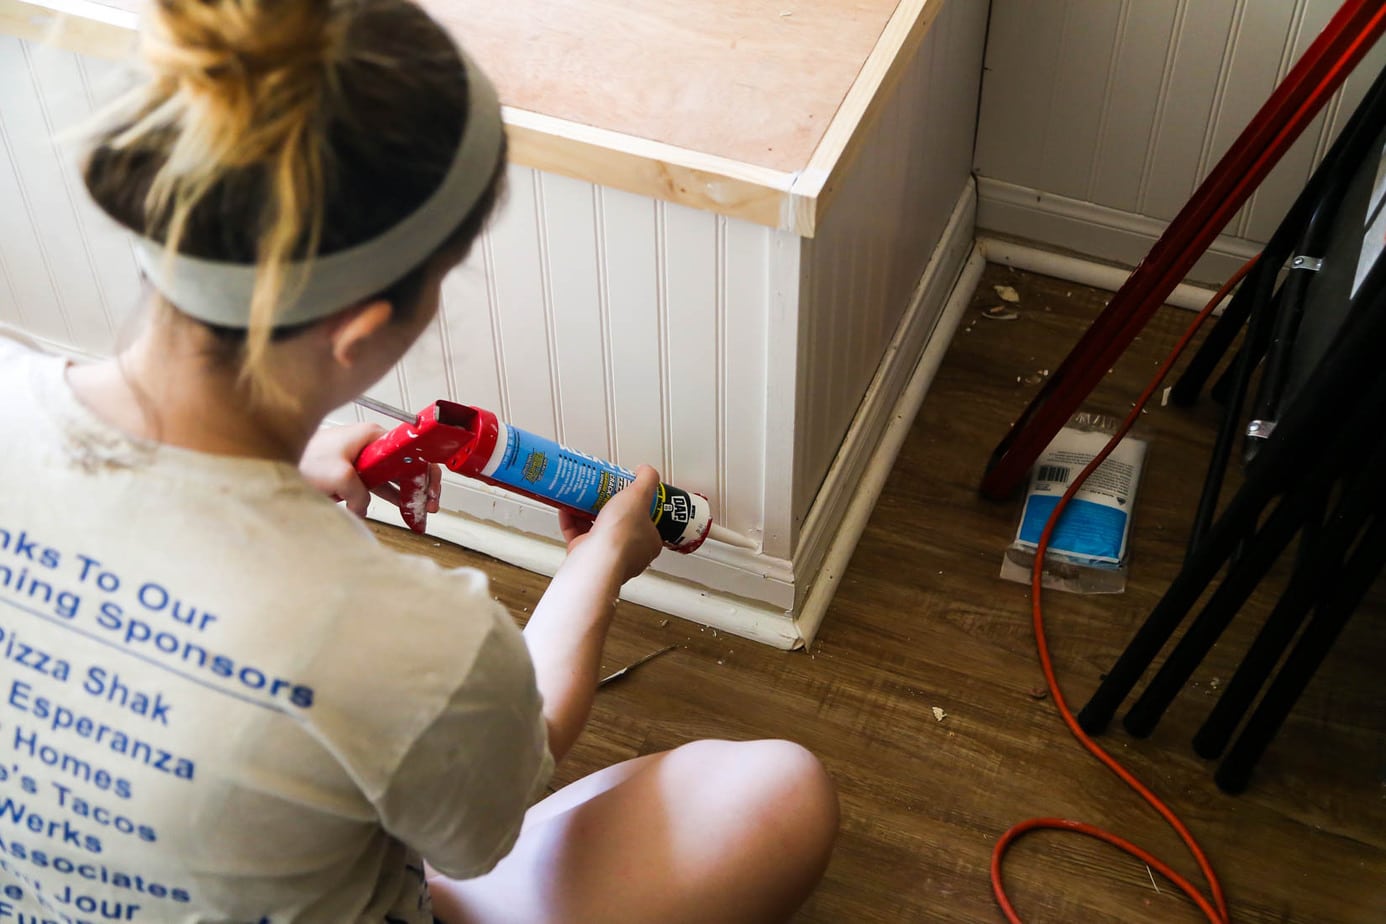
Once all of your trim is installed, you’re ready for the final step. Wood fill all of the nail holes and seams on the top of the bench, and caulk the seams all along the front and sides. You’ll want to caulk the beadboard seams, the seams between the trim and the beadboard, etc. You can see a full tutorial for how to use caulk right here – it can be a messy process, but it’s so worth it.
Once the caulk dries for about 30 minutes to an hour, you can paint! I used a combination of an angled paintbrush and a small foam roller to paint both the bench and beadboard. We used Behr’s Polar White for the bench and the walls – I think it’s the perfect creamy white that isn’t too stark white.
After you’re done painting, seal the whole shebang and you’re good to go!
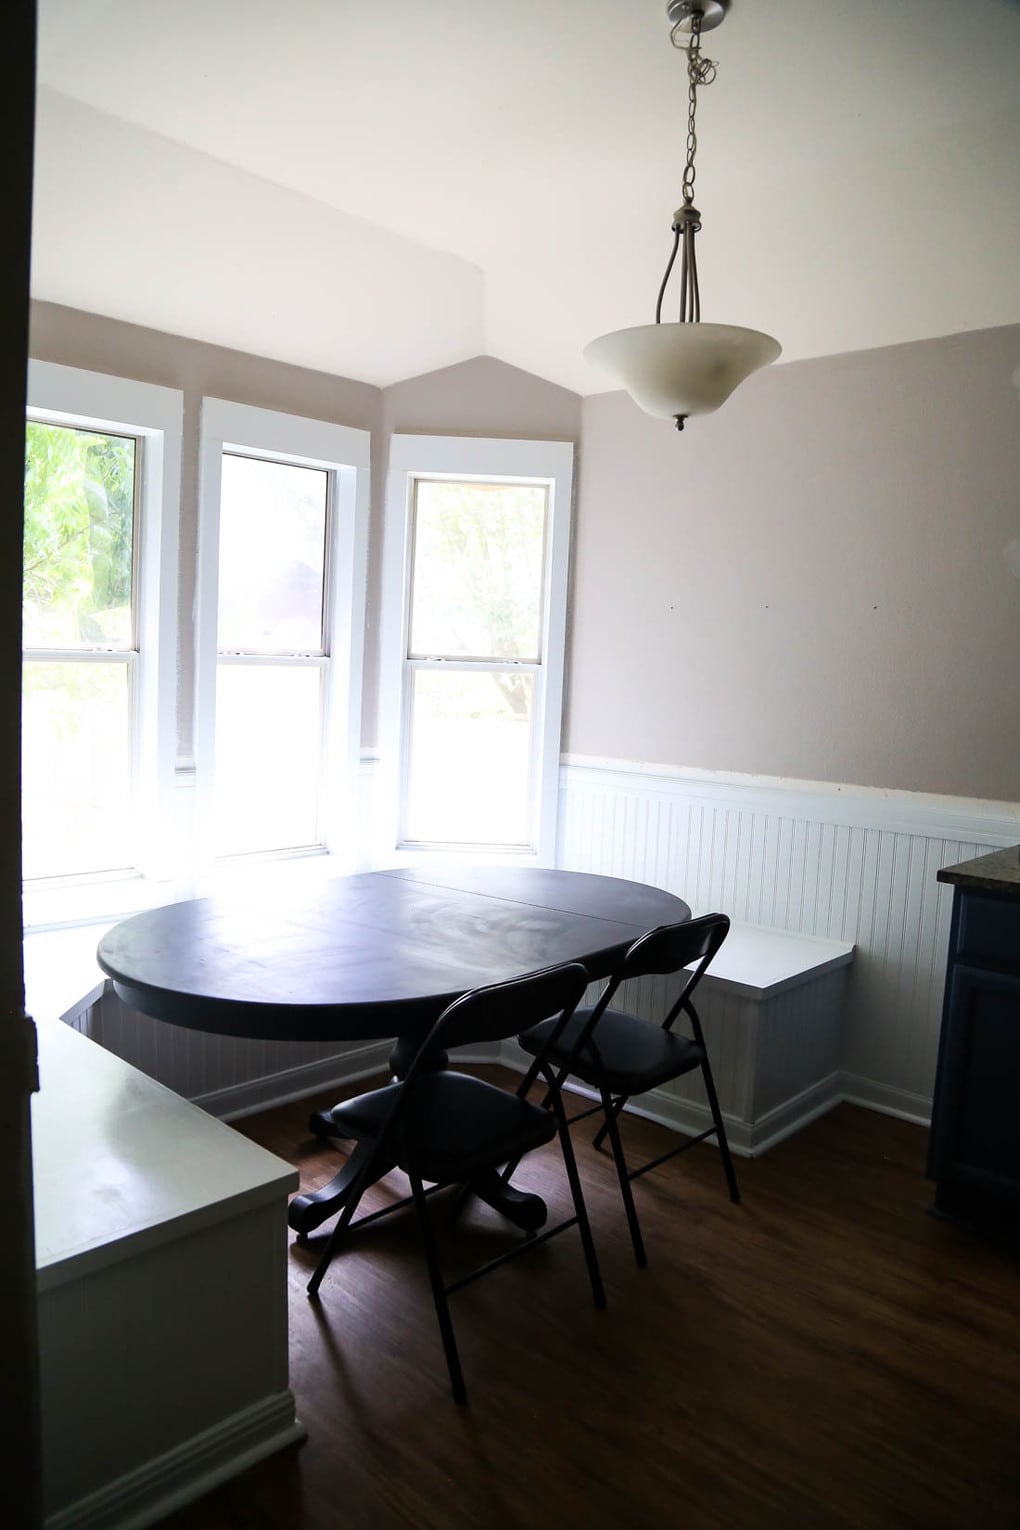

If you want to see the full reveal of this space, click here for what it looked like once we added wallpaper, pillows, and put the table back in place!
And, to see all of the other posts about this room, just click the links below!

How much overhang does your table have over the bench to get in and out comfortably? My bay window banquette is 65 by 66 inches (edge of seat to edge of seat) and I am having trouble deciding on an appropriate table size.
There was very little overhang on ours! We don’t live in this house anymore so I can’t measure for you, but the table fit really nicely into the opening without much overhang, and it was very comfortable.
Love this! how tall did you do the beadboard on the wall?
It’s about 39″ from the floor to the top of the trim piece!
TY for sharing your beautiful project!
What are the dimensions of the area you did this in? Size of your table?
We are planning to do this ASAP but not sure if our space is big enough.
Hi! So sorry for the delayed response. The nook is 9′ wide, and about 7′ deep. The table is just over 5′ long.
I know it has been awhile since you posted this blog, but I just saw it on Pinterest. We are going to put in a banquette in our breakfast nook and I am wondering why you did not build the benches to end edge of your wall?
Just personal preference! We knew we’d only be seating one person at each end of the table, so we didn’t need it to go all the way.
Oh man, that wallpaper is the best!! You guys did such a great job!
Did you guys consider making the bench portion extra storage space (like, with doors or drawers)? I asked my husband for a storage bench like this in our kitchen, and the storage portion has thrown him for a loop. So he hasn’t started yet haha but it seems like such a good idea for a small kitchen/dining area?!
We definitely did consider that! Having the bench contain storage was our original plan, but due to a lack of time (and trying to keep the budget down), we decided to skip it. If we had done it, we would have just hinged the top of the bench so that it could be lifted!
That window banquette is ammmmmaaaazing! What a fun project! Best of luck with this final ORC week! And P.S. You have the cutest bio pic-how fun! 🙂
That wallpaper tho…I’m absolutely smitten. I can’t wait to see it styled with throw pillows!
Thank you! I’m obsessed too – I cannot WAIT to finish accessorizing!