DIY Outdoor Wall Art
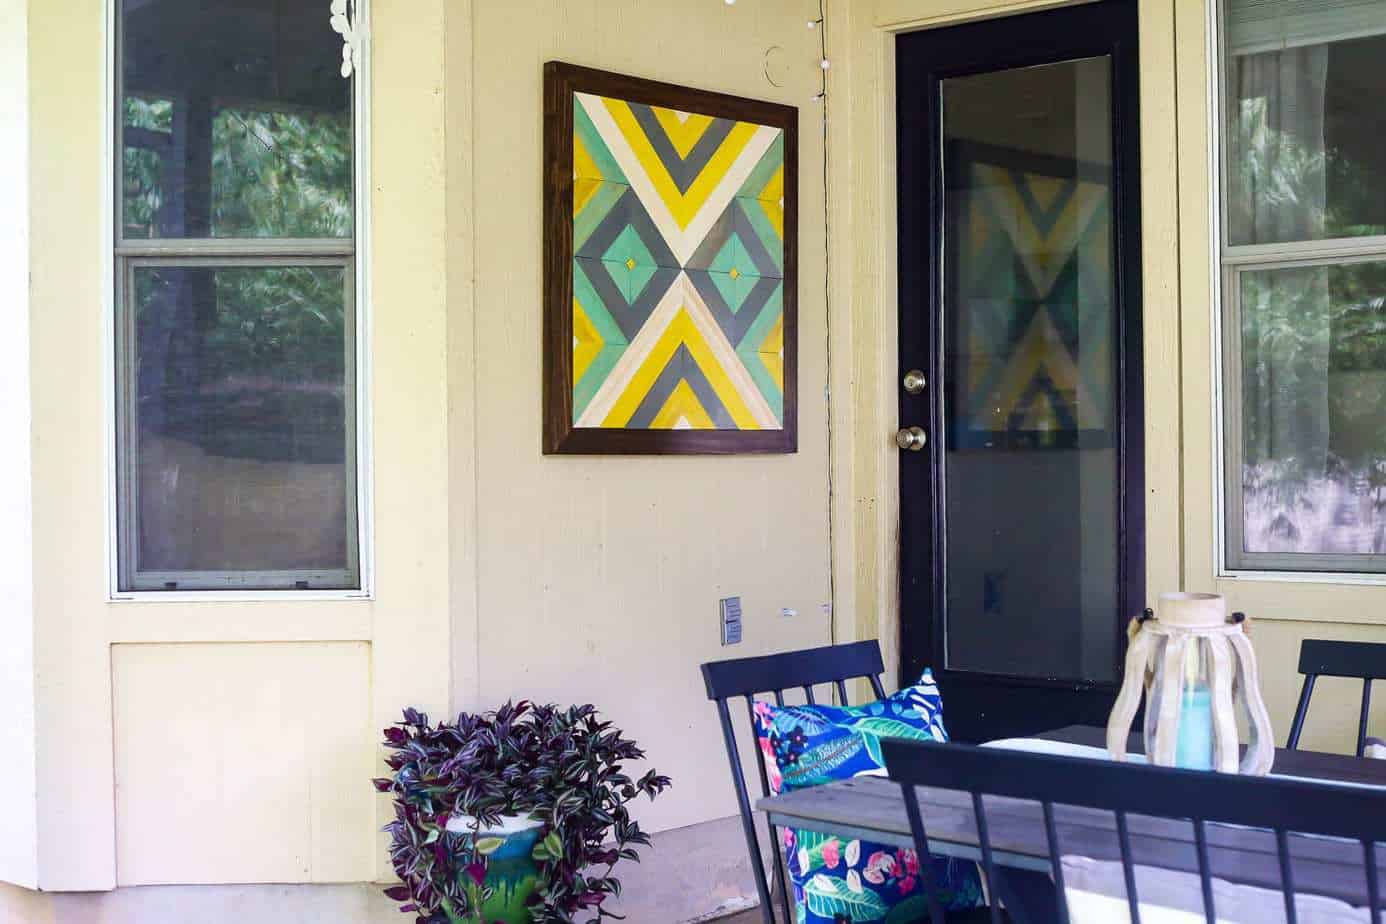
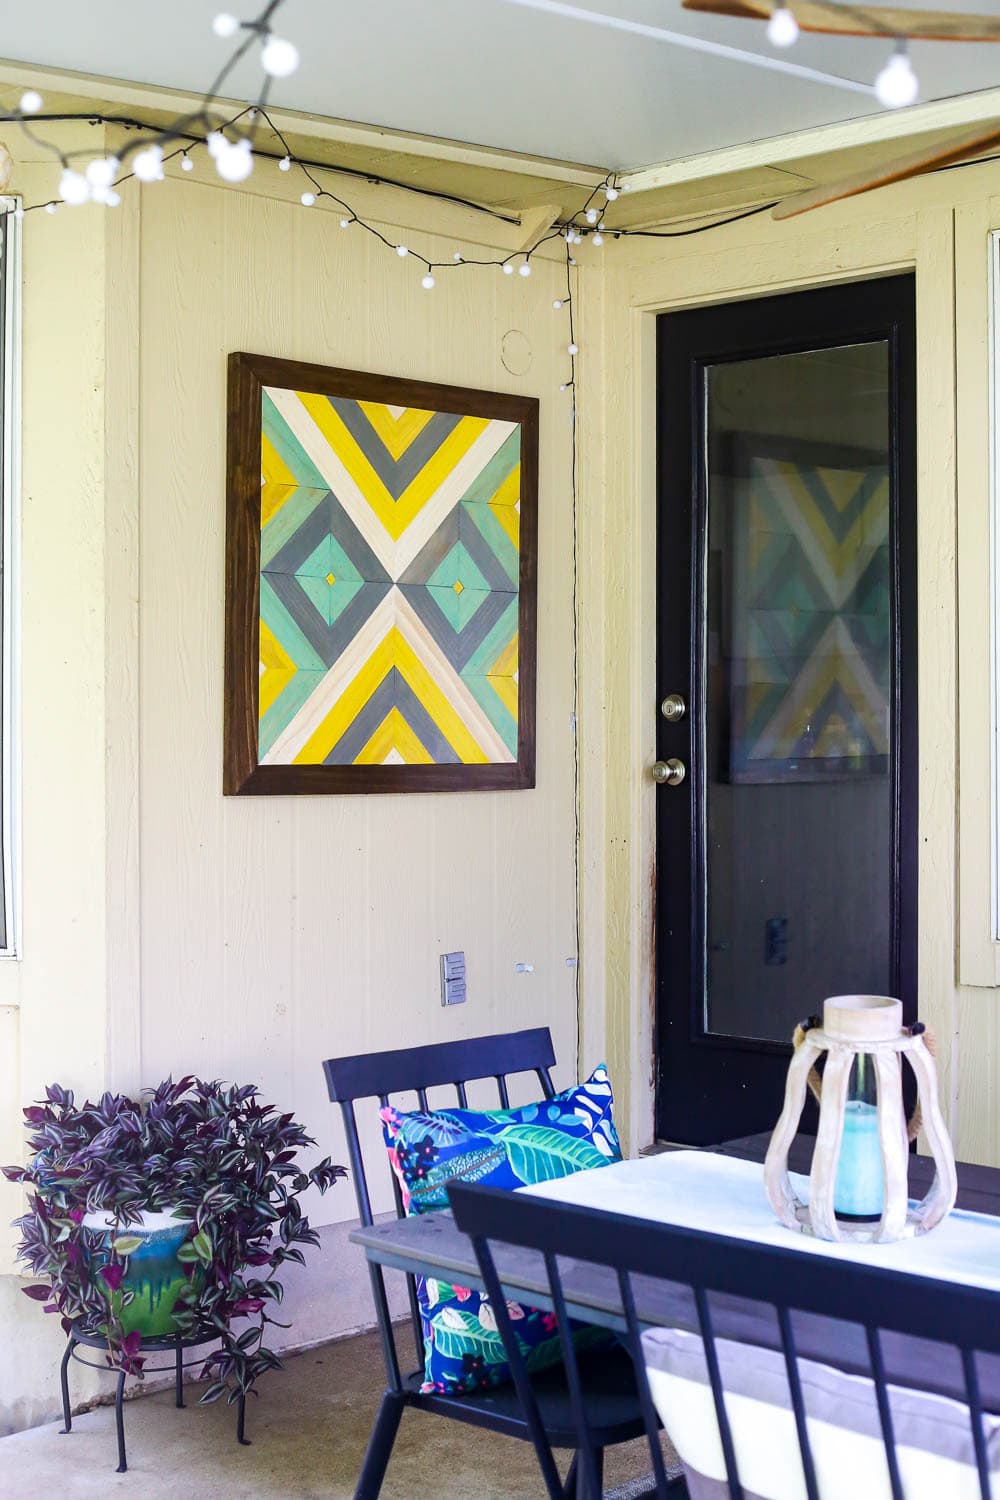
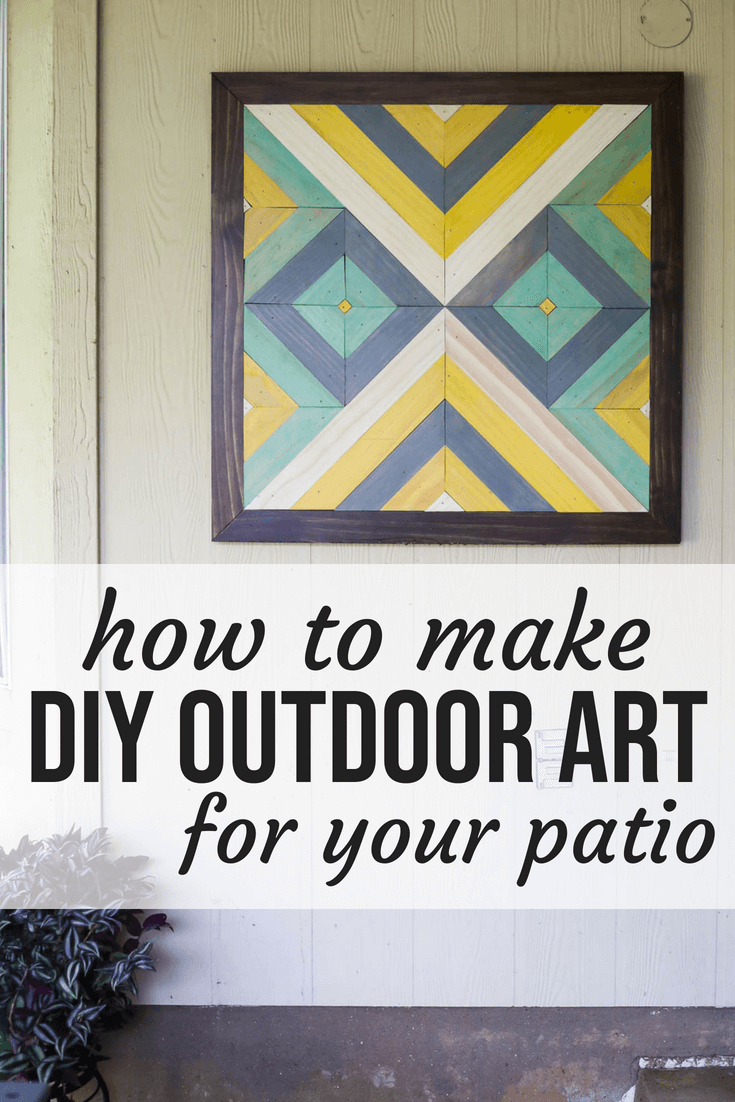
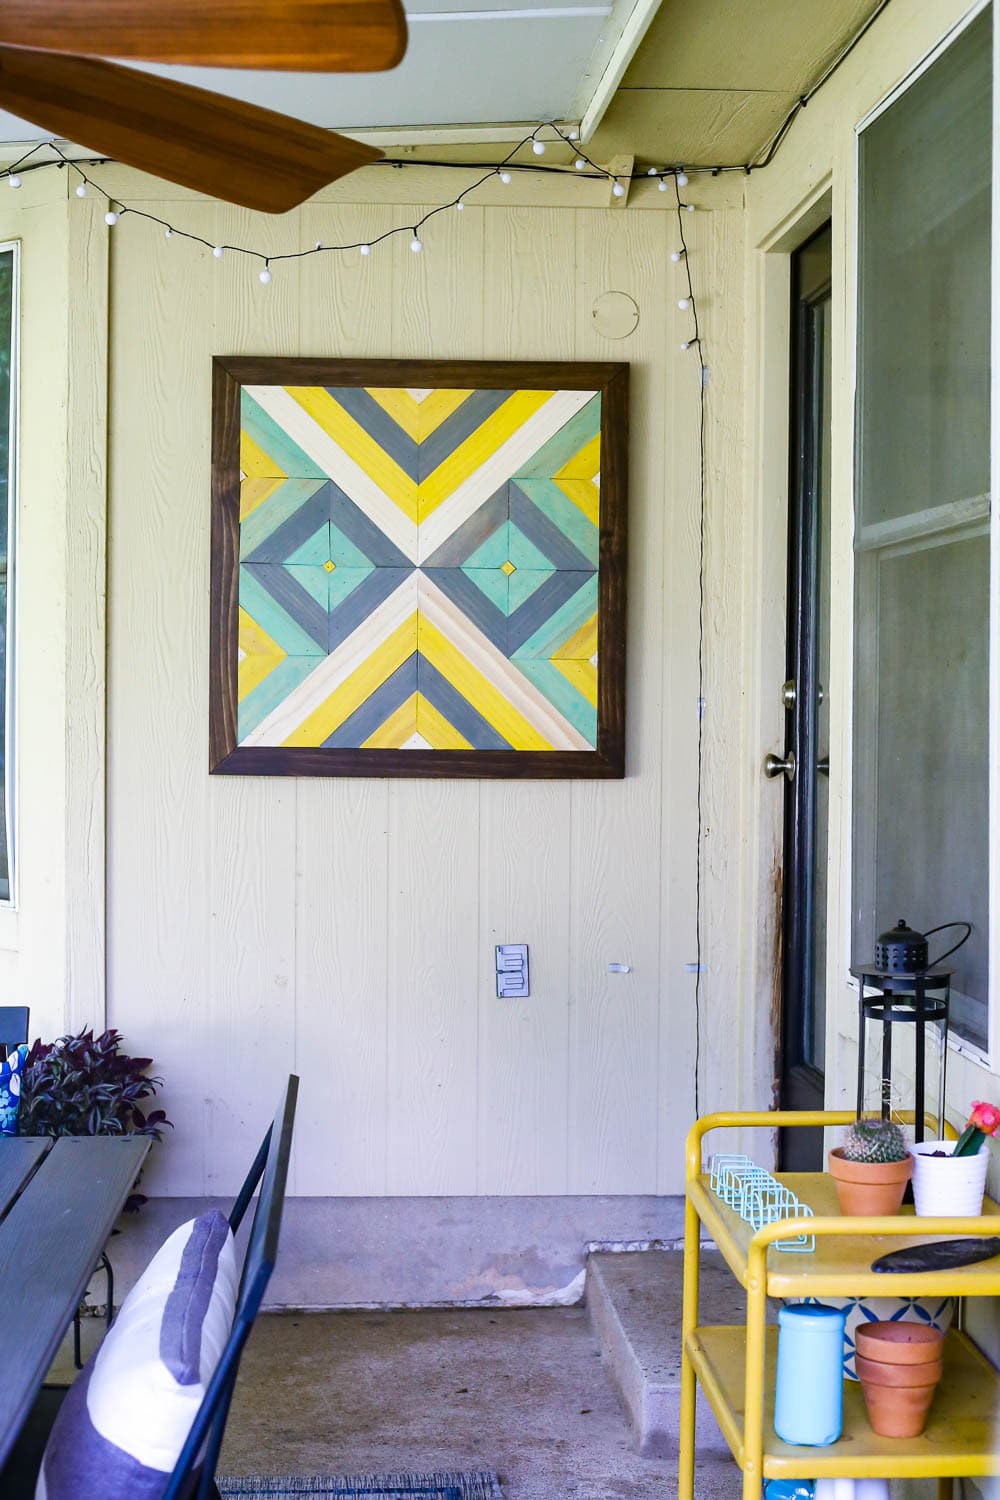
I’ve been itching to make some DIY outdoor wall art for our back patio, and I finally got it done! Here’s how I made this simple DIY wall art project – and how you can do it too!
YOU GUYS!
Are you swooning? I’m swooning.
I can’t even with this project. I’m so in love I don’t even know where to start.
Sorry, am I gushing?
It happens sometimes.
Ahem.
Way back when I first introduced you to our back patio, I mentioned that I felt like the wall next to our back door needed a little something. It was a big empty wall just begging to be filled – and I knew I wanted to make something to fill it up, I just wasn’t sure what yet. Fast forward to a few weeks ago when our friends at Gorilla Glue reached out to us to see if we’d be interested in tackling a summer project with them. We’re huge Gorilla Glue fans, so we agreed right away, and I knew I wanted to figure out something to do on this blank little wall.
It should be noted – this project is sponsored by Gorilla Glue, but we truly are big fans of them in our house. I think it’s quite telling that when the box arrived at our house, our 4-year-old took one look at the box on our porch, noted the logo, and said, “Oh, that’s glue!”
That’s how you know you’re raising ’em right, you know?!
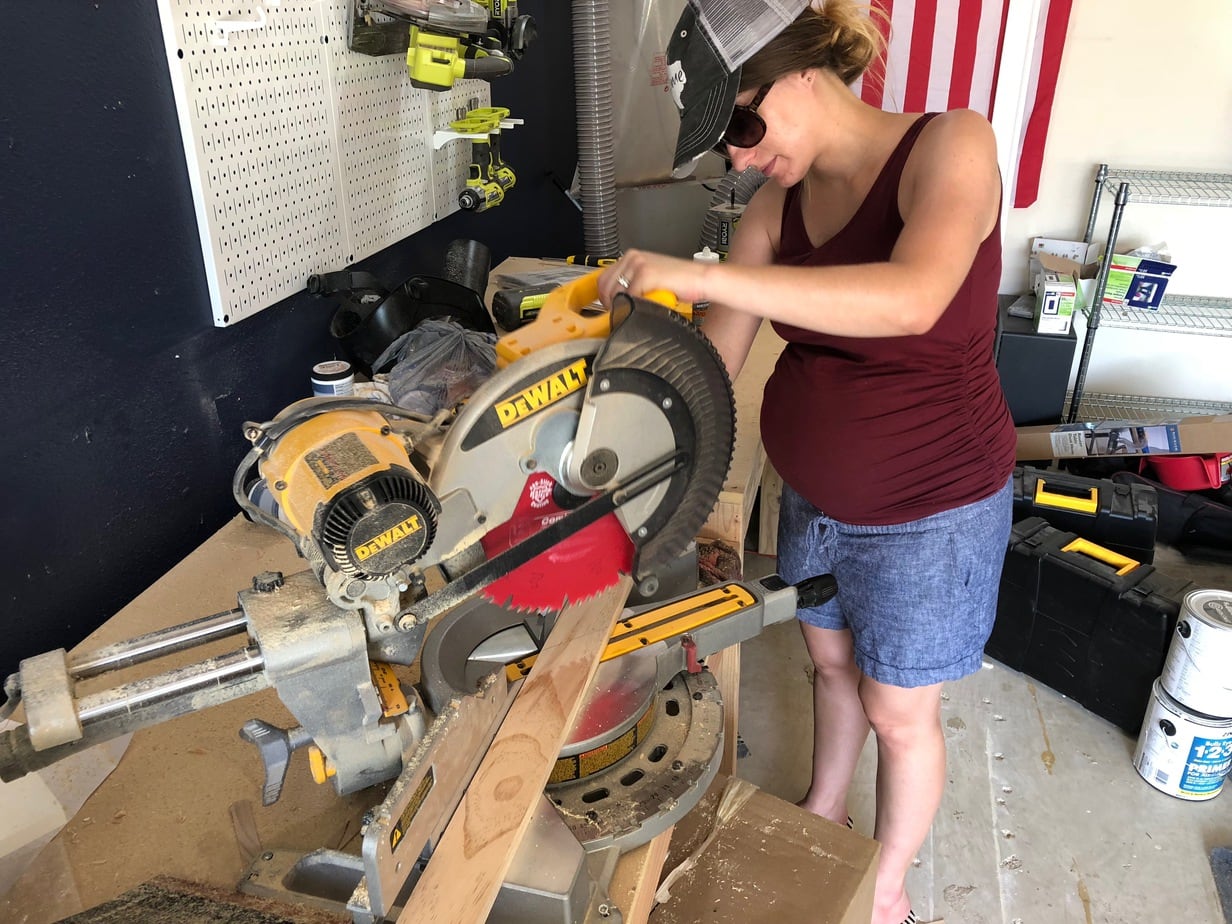
For this project, I was really kind of inspired by one of my own projects (I know, I know) – the DIY geometric wall art I did a couple of years ago. It’s still one of my favorite projects I’ve ever done, and it was just so satisfying that I have been wanting to try my hand at another similar project. This time around, though, I didn’t want it to be a 3-d style where you could see the backing – I wanted to fill it in completely with wood. This might look like an intimidating project, but I promise you it’s not! The original version was actually the first DIY woodworking project I ever took on completely by myself, and I did this one solo as well. If you know how to use a miter saw (and if you don’t, go read that post!), that’s really all you need to know to take this project on!
Let’s dive right in, shall we?
How to Make DIY Outdoor Wall Art
Materials:
- 1 sheet of 1/2″ plywood, cut down to the size needed for your wall
- 1X3 pine boards (I believe I used 8 – this will vary depending on the size of your art)
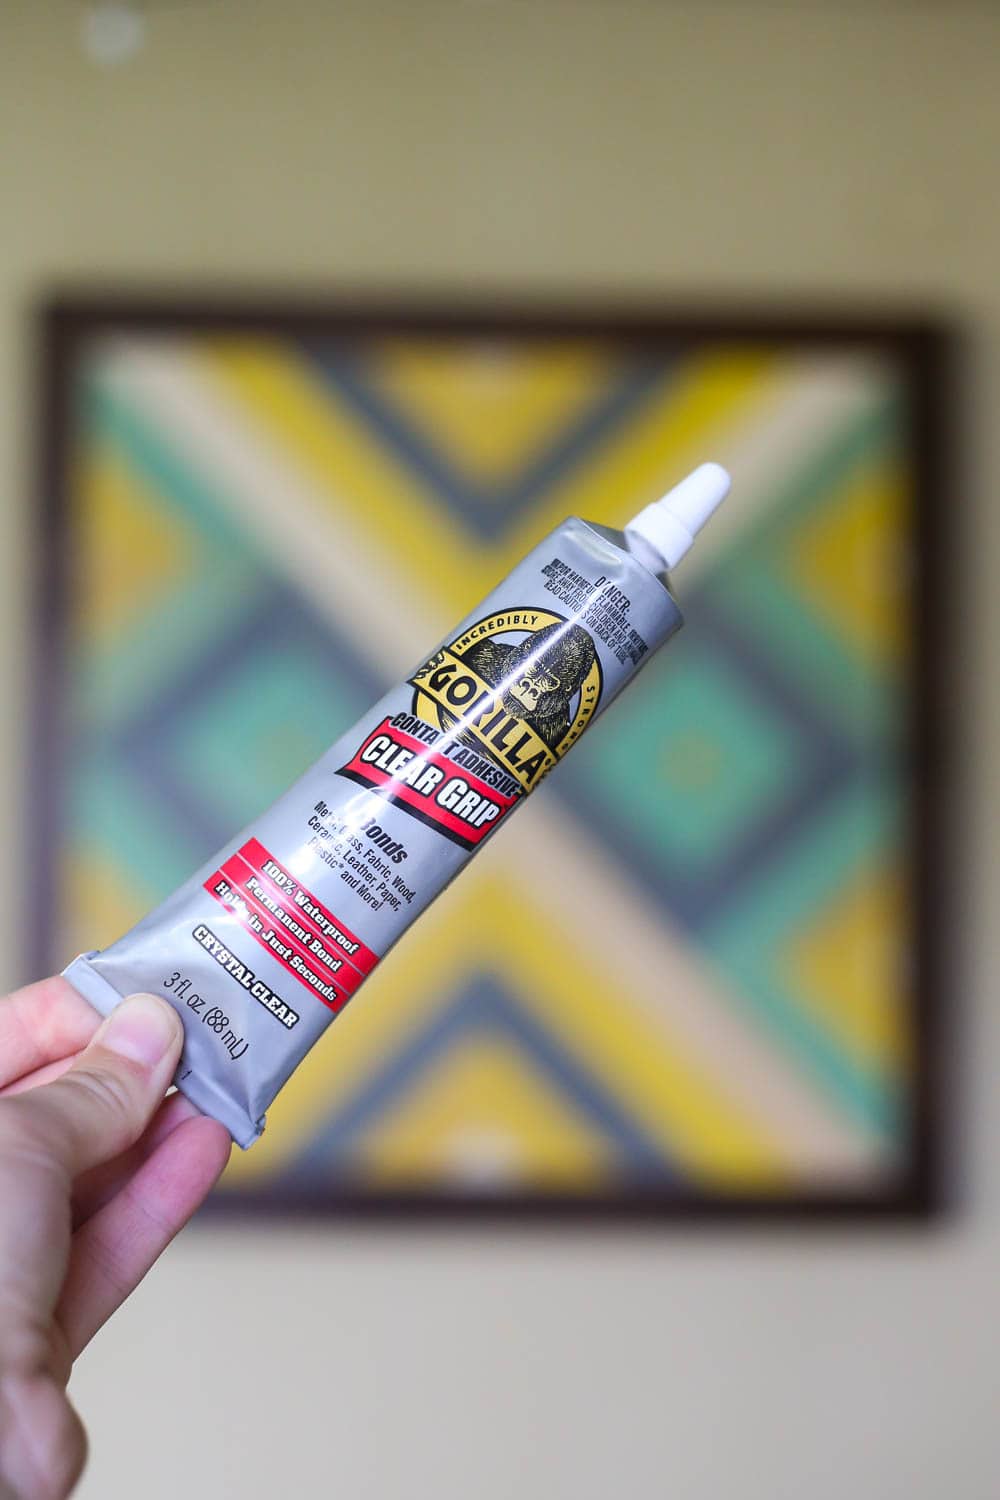
- Gorilla Glue Clear Grip Contact Adhesive
- Nail gun + nails (Only necessary if this will hang outside – if it’s indoor, you can just use glue!)
- Stain + paint in various colors
Directions:
Step 1: Design Your Pattern!
This might be the most challenging part of the project – figuring out what you want it to look like! I have no real advice on this because I really just played around with it until I landed on something I loved. For both this and the other wood wall art I made, I used Canva to create a design for my art (I used the phone app, as you can see above). Basically, I made a square shape and then filled it in with lines until I liked the pattern. Then, I played around with colors and variations of them until I had something I thought looked good.
This is not a science. There’s no wrong way to do it, and you’ll notice that the finished product isn’t exactly the same as my initial design – there are a few tweaks. If you prefer to just draw it out, go for it. If you prefer to wing it, that’s fine too. Just make a general plan so you know how to get started!
Step 2: Frame Out Your Art
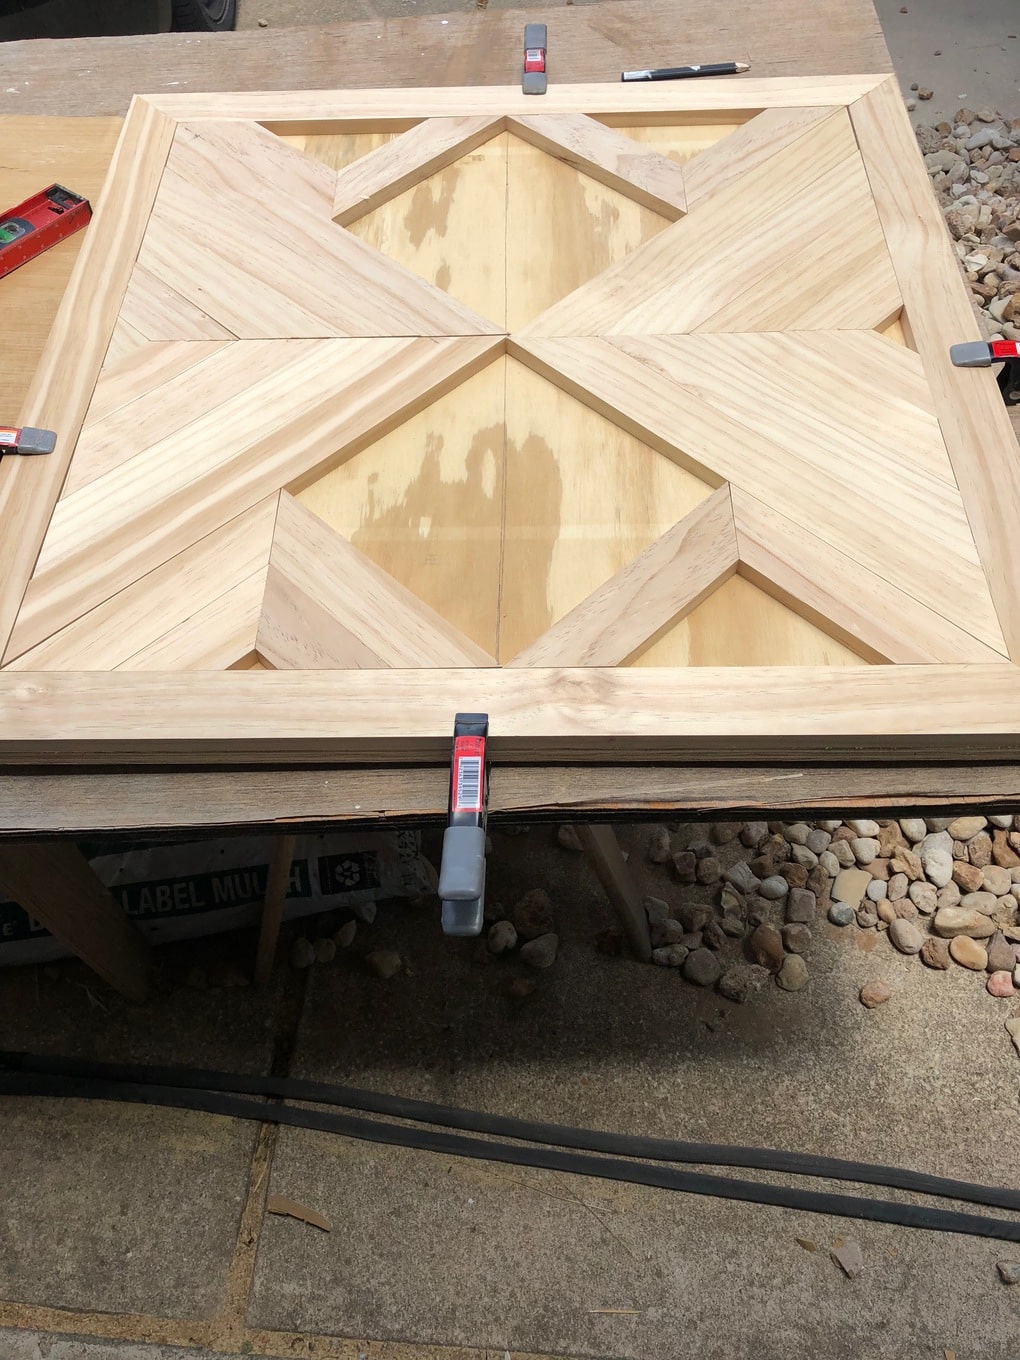
I started by building a frame around the art. NOTE: You will not be actually attaching anything at this point. It’s all about dry-fitting to make sure that your design works. For now, just place everything where you’d like it to go and hold off on the rest.
I clamped down the frame pieces so they wouldn’t move as I was dry-fitting the interior pieces – all you have to do here is cut your boards to length with mitered corners and put ’em into place.
Step 3: Make Your Interior Cuts
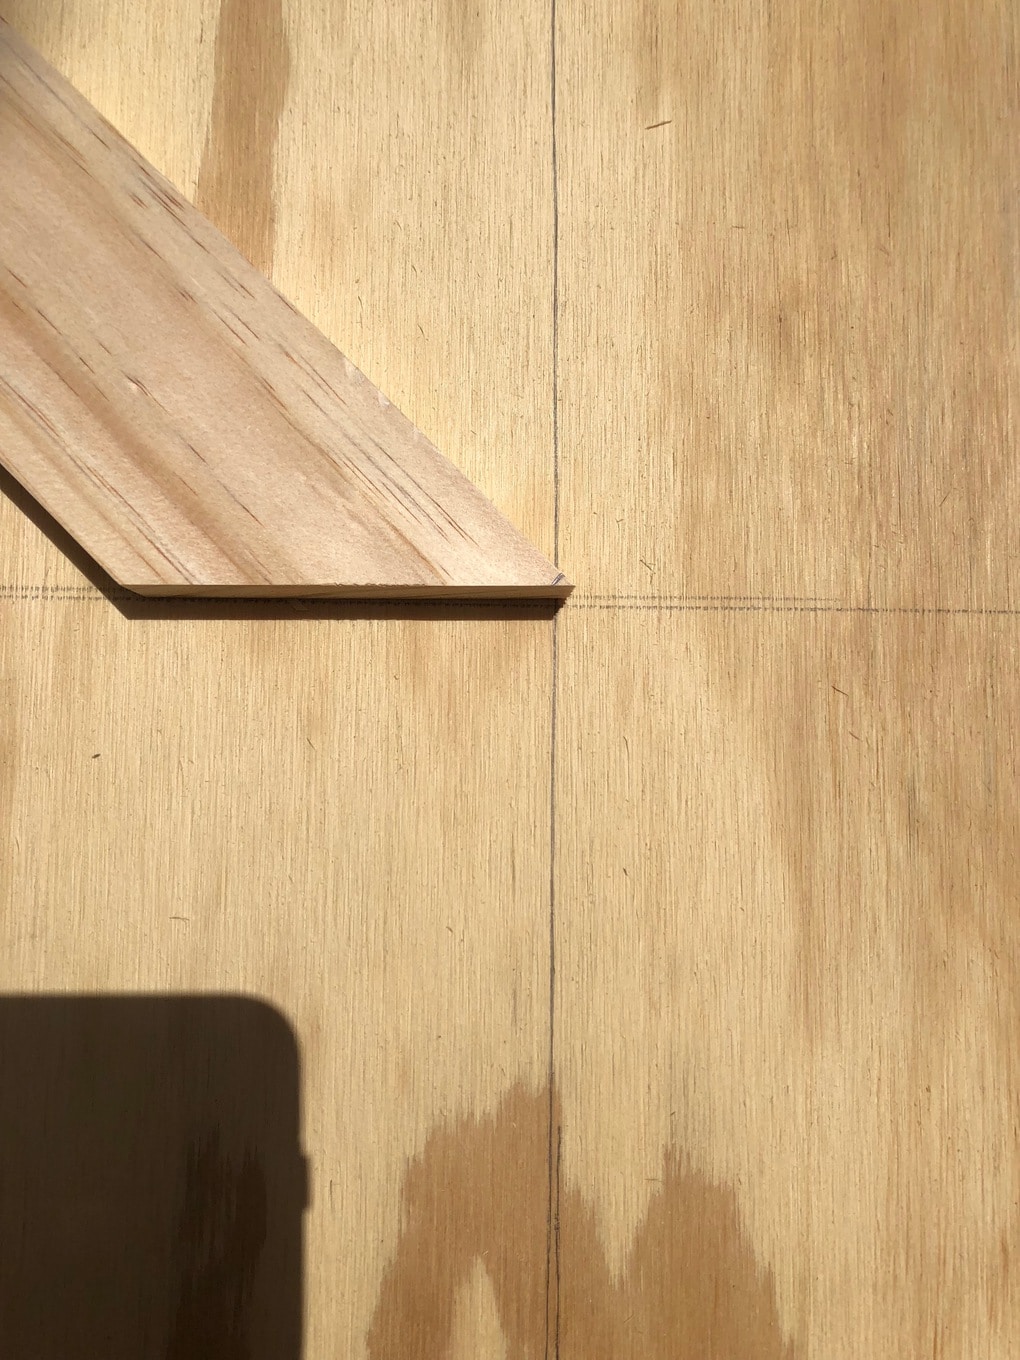
Now you get to actually fill it in. Again, you’re not going to attach anything here – just put it into place to make sure it all fits nicely. I started by drawing lines down the center of the board both horizontally and vertically (shown below) so I could find the exact center of the board and stay on track as I was laying the rest of them.
For this part of the project, I just had my template pulled up on my phone and I slowly worked my way through all of the cuts. I made my design so that all of the cuts are either 90-degrees or 45-degrees, so there are no complicated angles to think about or weird edges. It all fits together seamlessly without dealing with complex angles. I wasn’t ever all that great at geometry!
Continue cutting and fitting things into place until you’re just about done. If you have any tiny pieces like I did, you’ll want to save those for later – things will shift a bit as you’re actually attaching it to your backer board, so you don’t want to waste time on tiny pieces that probably won’t fit later. Just do the larger pieces and then move on to the next step.
Step 4: Paint & Stain Your Boards
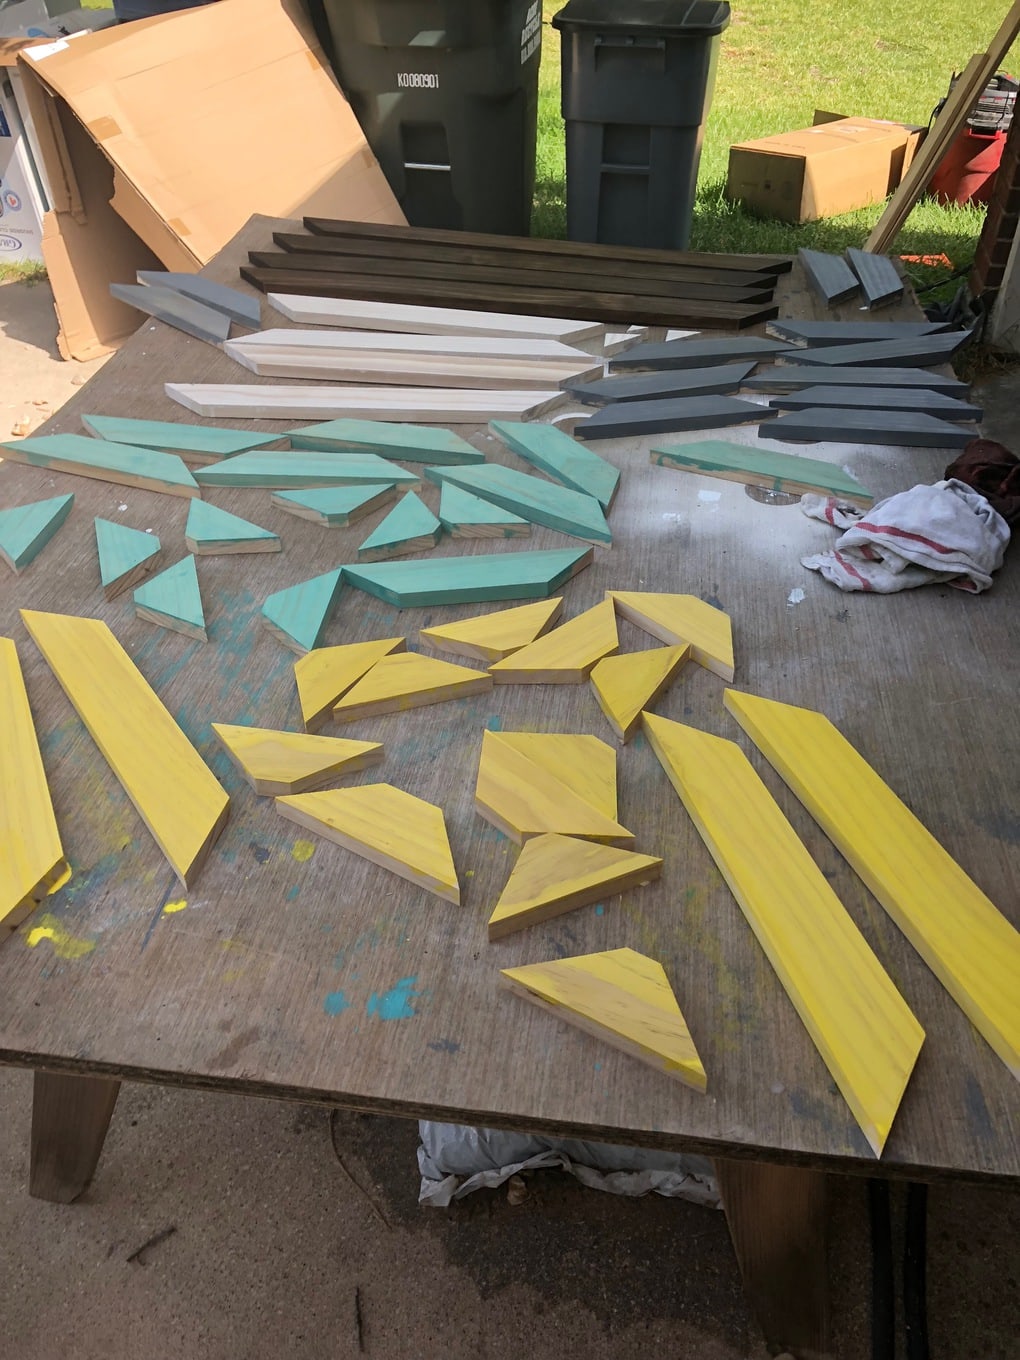
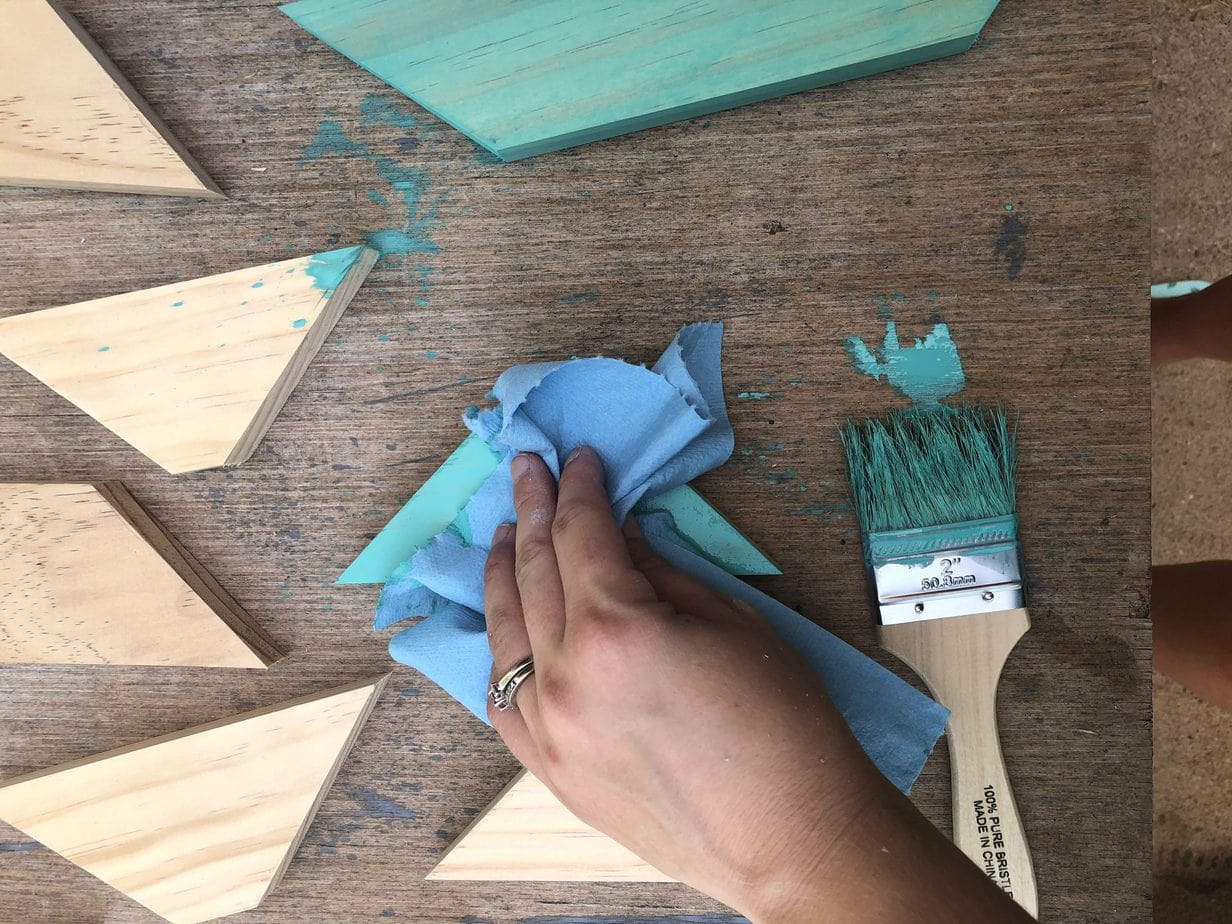
Once you’ve got all (or at least most) of your boards cut, you’re ready to add some color. Of course, you can do whatever pattern or style you want here, but we chose to go with a mixture of stain and color-washed paint. We didn’t want the board to be too saturated and wanted to be able to see the grain once it was finished, so I basically used a whitewashing technique with the paint to get a more diluted look. Here’s how it’s done:
- Grab a plastic cup and add some water. Don’t make it too complicated – I filled to about the first line, maybe half a cup?
- Pour in a bit of paint. I would say I did approximately 2 parts water to 1 part paint.
- Stir it up, then use a paintbrush to brush the mixture onto your wood
- Allow it to sit for 10-15 seconds, then use a paper towel or cloth to wipe off the excess.
- If you don’t love the color, add more water to make it less vibrant and more paint to make it more vibrant.
It’s definitely a flexible technique and you can play around with it until you find the perfect combination for you. I used my template to stain all of the appropriate pieces, then allowed them to fully dry.
Note: I did find that after removing all of my pieces and painting them, I had a bit of a tough time fitting everything back together exactly like it was before. Some of the pieces might look the same length but are actually very slightly different. I didn’t mind adjusting as I went (I just had to cut a couple of the boards down slightly to make them fit), but if you want to ensure everything stays exactly as it was, consider labeling the back of them as you remove them from the board!
Step 5: Put it All Together!
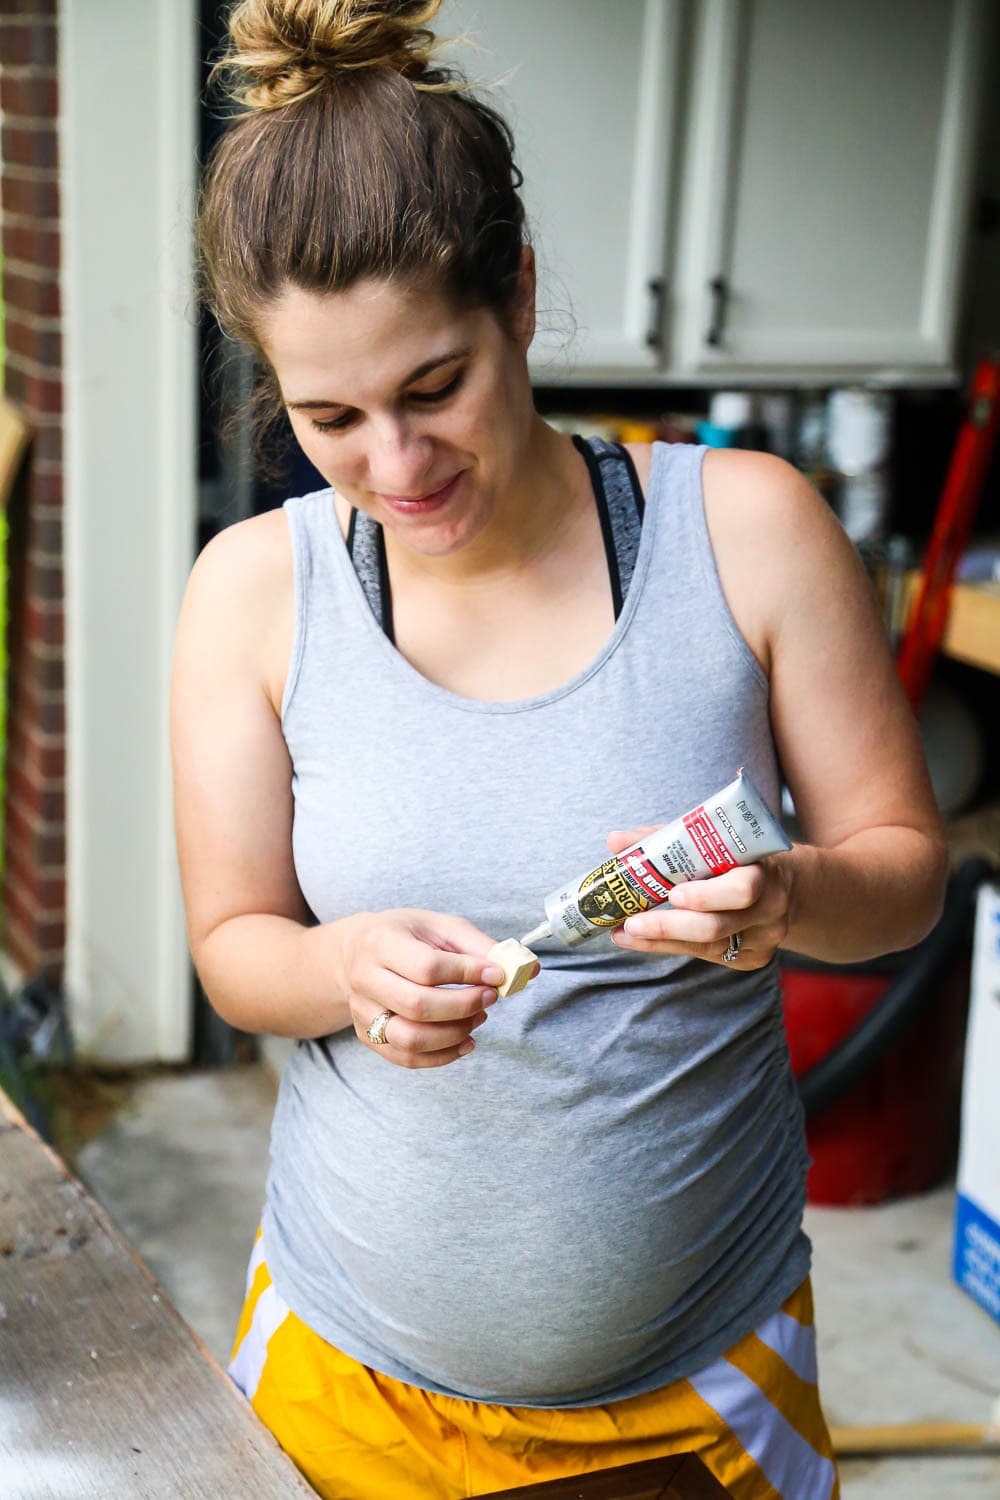
Now’s the fun part – you get to actually assemble it! To attach my wood, I used Gorilla Glue’s Clear Grip Contact Adhesive. This stuff might look unassuming but it packs a big punch – it can be used on just about any material you can think of (including metal, glass, plastic, wood, leather, plus a ton of other things), and it’s fantastic for projects like this! The best part is that it’s 100% waterproof, so it’s great for both indoor and outdoor projects.
Another great thing about Clear Grip is that it’s a permanent bond (this stuff isn’t going anywhere), and if I wanted to use it on something where it might be a bit more visible, it dries completely clear and is even paintable once it’s cured!
Basically, it’s the perfect magical glue and you can understand why my child already understands that Gorilla Glue is the best at four years old. He knows what’s up.
If I was hanging this art inside, I would have only used the glue (that’s what I did with my last project like this!), but since this was going to be outside and exposed to all sorts of elements (including the signature Texas wild temperature swings), I went ahead and used a couple of small finishing nails in each board as well. This isn’t because the glue can’t handle the heat and elements – it’s because the wood can’t! Wood often warps when exposed to high humidity and crazy temperature changes, so it’s generally recommended to use both glue and nails on these types of projects to ensure a lasting fit.
But, again – on our indoor wall art, I only used glue and haven’t had a single issue in over two years!
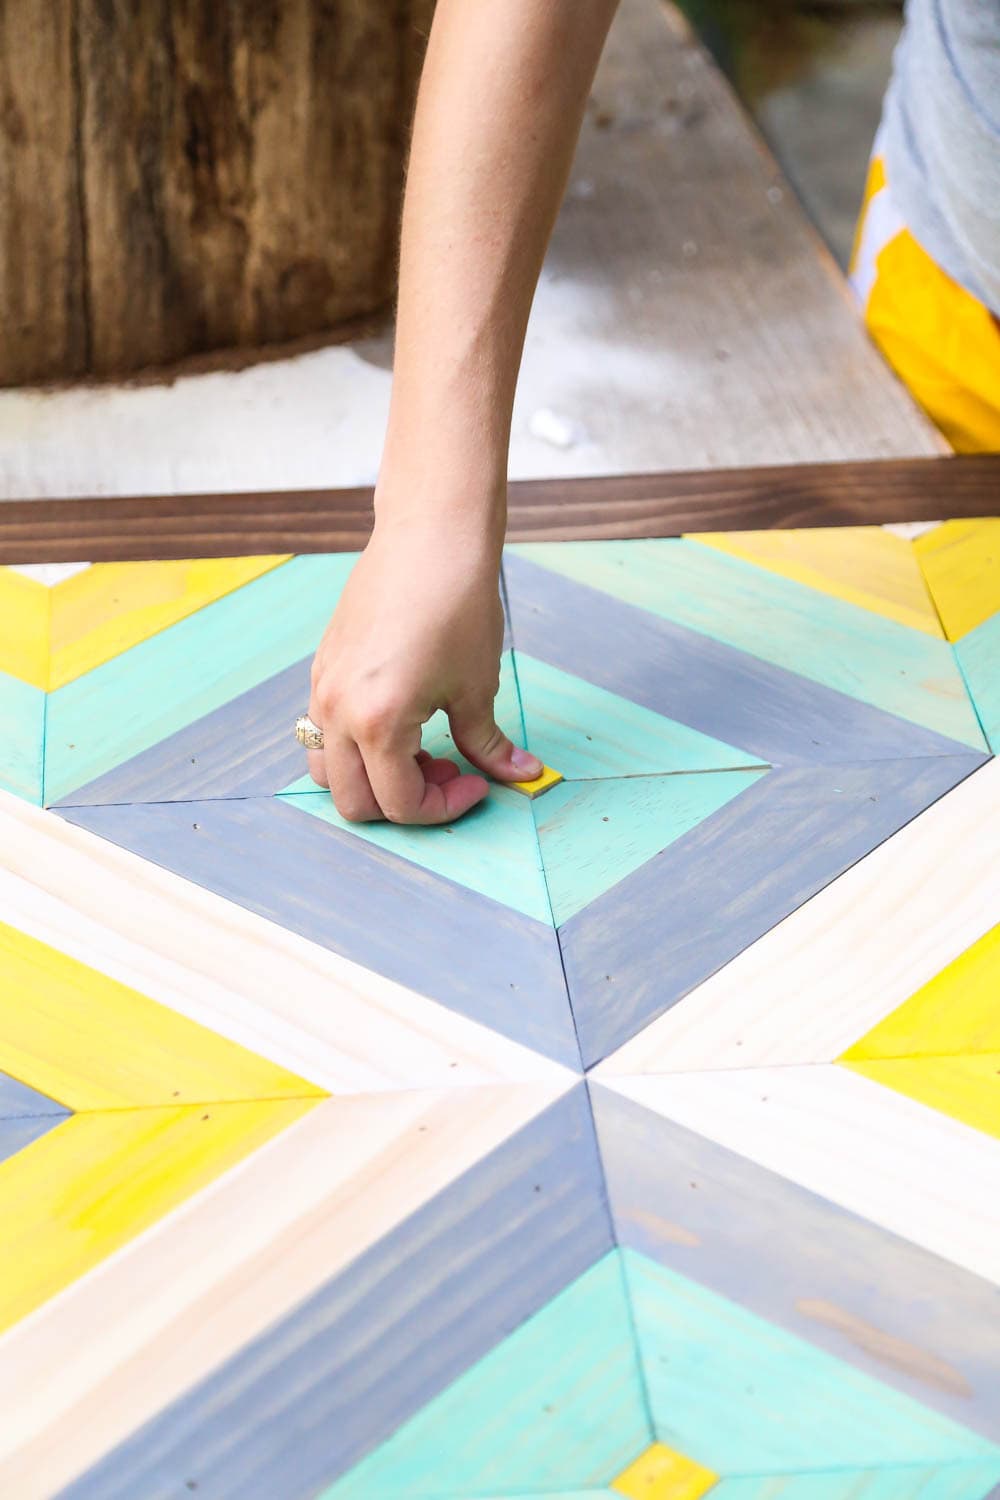
I started with the frame when assembling, then I just slowly worked around the design until it was all filled in. If you’ll remember, we had saved a few of the tiny pieces for later, so I had to go back and do some creative (and maybe slightly dangerous?!) miter saw work to get the little pieces cut. Then, I simply painted them and slipped them into place and we were good to go!
Step 6: Seal the Art
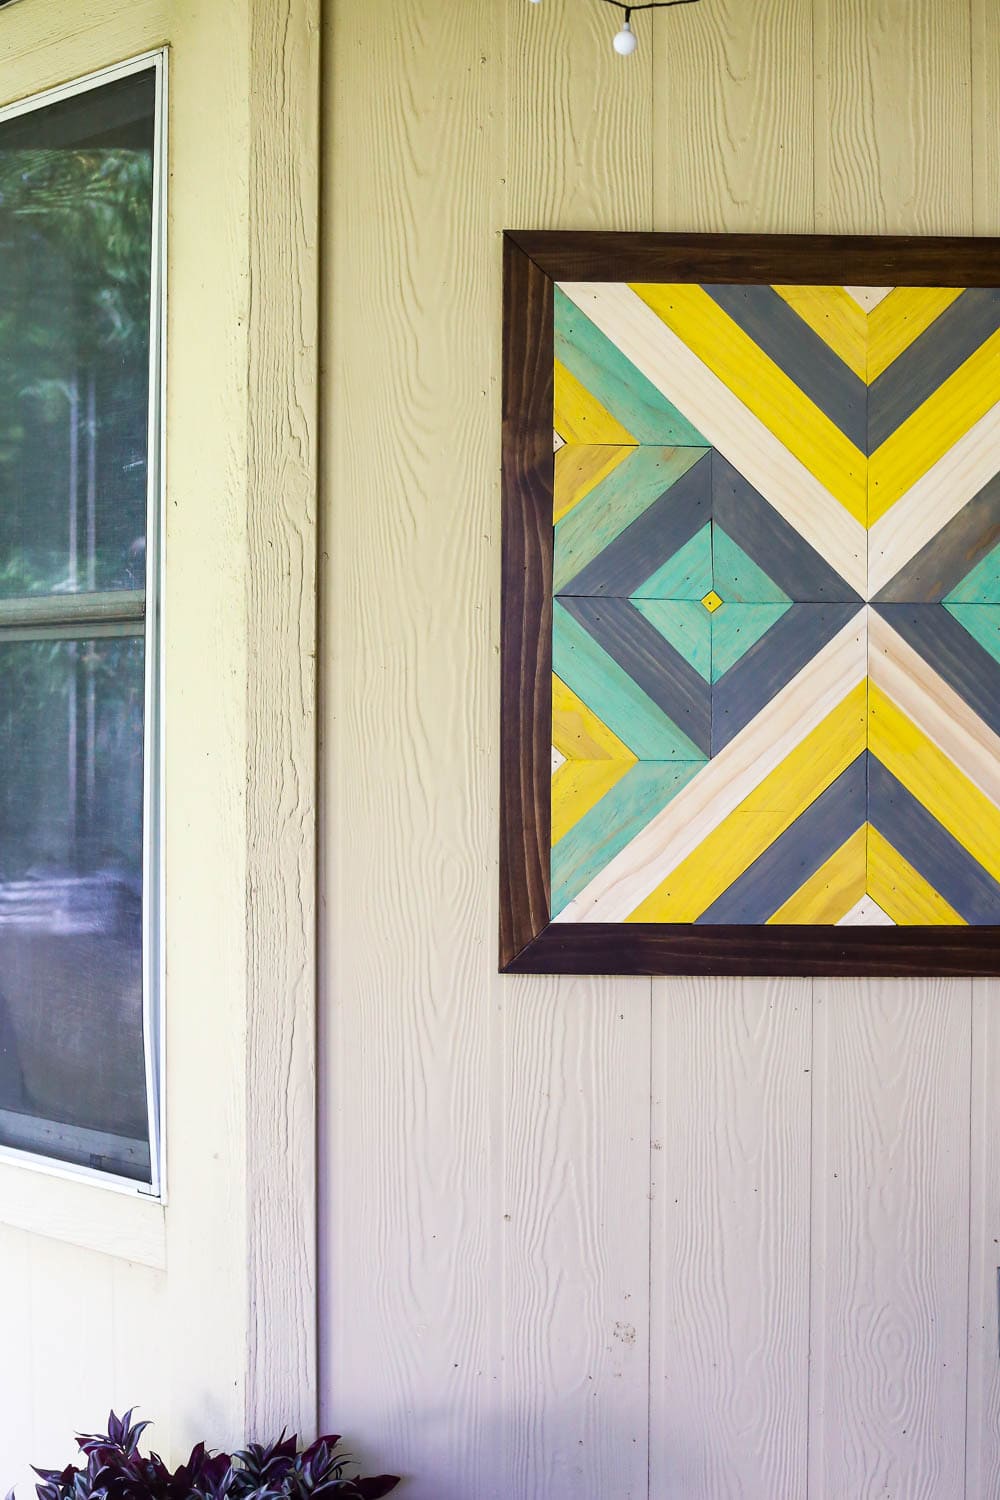
The final step is to seal the whole shebang so your wood is protected. I used spar urethane (which is a type of sealer meant for outdoor use) and gave it three coats, as recommended on the can. Then, we hung it up and marveled at a job well done!
I’m really, really, REALLY in love with how this little project turned out, and I’m so grateful to Gorilla Glue for giving me the kick in the pants I needed to finally cross this off my to-do list. Our patio looks a little more complete now and this is getting me really motivated to keep working on it!
Of course, since it’s going to be 100+ degrees every day for the foreseeable future, I have a feeling I might be waiting until the spring to tackle too many more outdoor projects. I just can’t handle the heat quite as well this year as I normally can!




Beautiful project..! I’m looking to do something similar for our front porch; our front door is “hidden” from street view and what you see most is a blank wall 🙂 Do I spy an Aggie ring on your finger???
You do! Class of 2010!
I have been using gorilla glue and have been really disappointed with the Clear Grip it fails miserably and I went for the large tube and it is sad to trust company that other products like the small plastic size are great, that it baffles me that you tout this item as great. I can honesty state I will never it again I do most designs for my walls and the stuff fell and it wasn’t a pleasant experience. Been doing this for home decor 16 years and all I got was a mess. MRS. CARMEN P. SELF
I’m sorry to hear it hasn’t worked well for you! We made this project a year ago and it has been kept outside the entire time – we haven’t had a single issue with pieces falling off. I definitely stand behind this product and can confirm that it has worked really well for me. I’m sure if you reach out to Gorilla Glue via their website they would be happy to chat more with you about the product and see if they can help you troubleshoot what may have gone wrong. 🙂