
Decorating With Paper Chains for Christmas
I’m always looking for really simple and affordable DIY ideas for decorating my home during the holidays. This year, we’ve been having a ton of fun with paper chain DIY Christmas garlands!
Remember elementary school when you made dozens and dozens of paper chains? Well, they’re back, my friend. It seems like everyone is having a ton of fun with paper-related crafts for the holiday season this year, and I was inspired to play around with some paper chains for my own Christmas decor.
I’m really leaning into nostalgia and whimsy for our Christmas decor this year (and, let’s be honest, every year!), so this felt like it fit the bill perfectly. I was decorating in my office and felt like it needed a little something extra, and some DIY paper chain Christmas garlands felt like the obvious answer.
How to Make DIY Paper Chain Garlands
I think most of us probably know how to make these at this point. But, just in case, I wanted to share a quick tutorial. It’s one of the easiest DIY decorations around.
You Will Need:
That’s it! If you have a paper cutter, it’ll make your life a little easier. But, it’s totally not necessary – scissors just require a tad more patience.
Step One: Cut Strips of Paper
You’ll start by cutting your paper into four equal-sized strips. I just fold the paper in half, fold in half again, and then cut on the lines. You can make more delicate chains by cutting more narrow strips of paper – just play around with it!
If you’re working with regular printer paper (which is what I used for the white chain), you can probably cut a small stack of papers at once with your scissors. It’ll take longer if you’re cutting individual strips, but it’s not that bad if you turn on a good show!
(If you’re wondering, I was watching season 3 of Secret Lives of Mormon Wives while I worked).

If you’re making your paper chains with kids, I highly recommend doing this part before they get involved. I don’t know about your kids, but mine don’t have a ton of patience for this part!
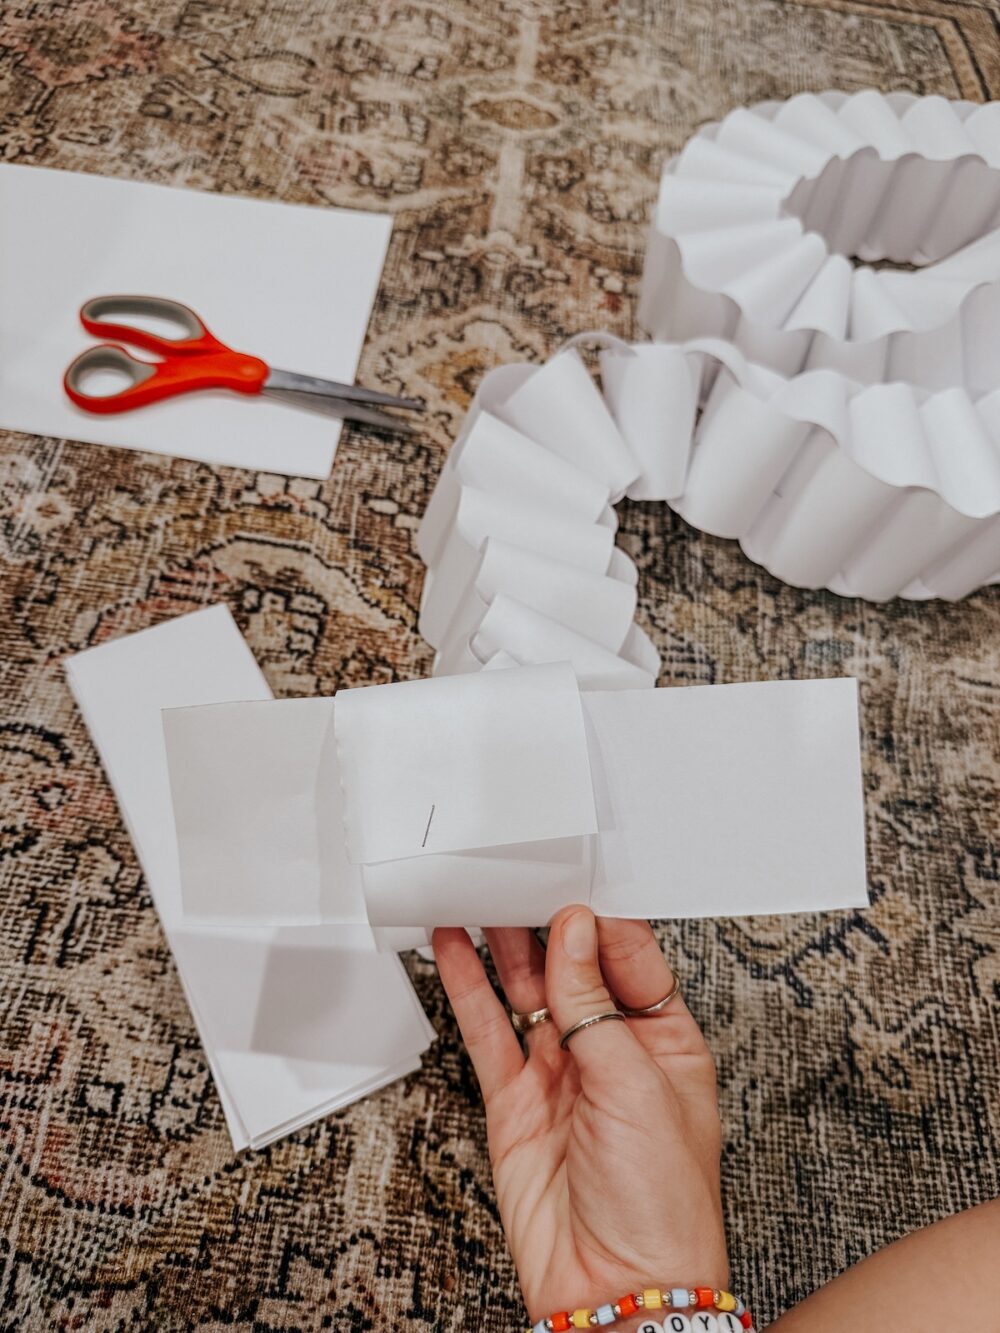
Step Two: Make a Loop With Your First Strip
Once you’ve got a big ol’ stack of strips of paper, grab one of them and make a loop with it. Use your stapler to attach the ends together. If you want a more seamless look you could use hot glue (or even just some regular ol’ glue sticks) to close them up. but, I think the visible staples just add to the handmade charm.
Step Three: Make a Chain!
Now, grab another strip, insert it through the hole of your first chain and attach the ends. The, rinse and repeat!
You can really have fun with making different patterns, making different sized-chains (smaller papers will make a tight chain and larger papers make a looser one!), and different lengths.
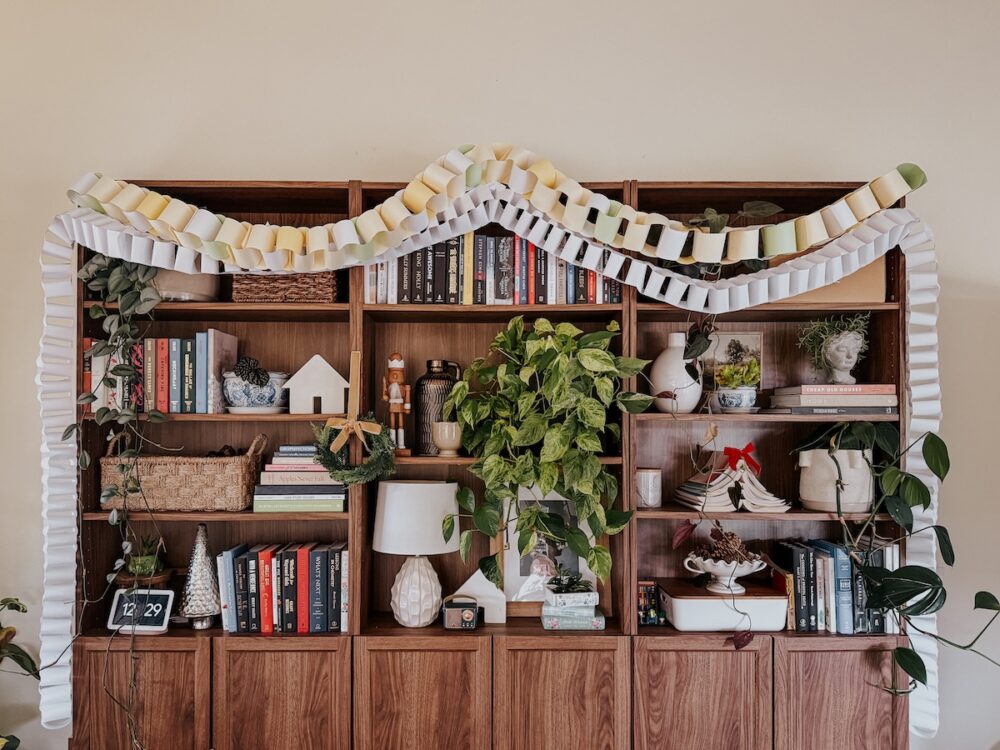
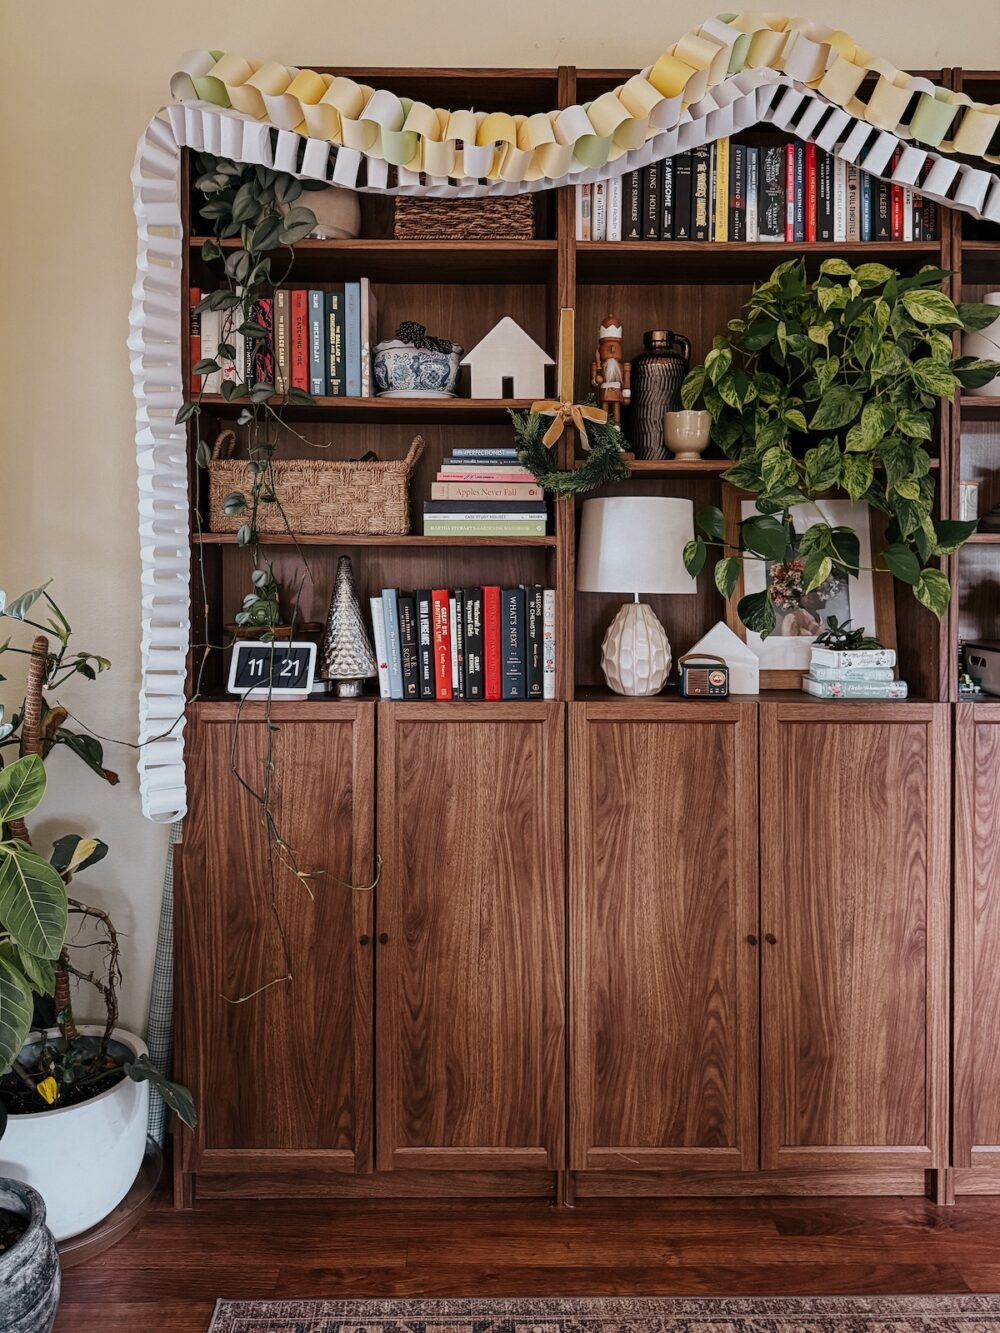
I layered two chains in my office – one with some greens and golds and another with all white paper. It adds a really festive touch to my whole office and makes me smile. And really, isn’t that the whole point of Christmas decorations?!
Nexxt up, I’m making a bunch more of these for my kids’ rooms!