Easy DIY Paper Leaf Garland
Last year during the holiday season, I created what quickly became my new favorite holiday decoration – the paper bag snowflake garland. It made such an impact and made me smile every single day that it was up. Well, this past weekend as I was starting to decorate my home for fall I wondered if there was a way I could recreate the magic for the autumn season…and the paper bag leaf garland was born!
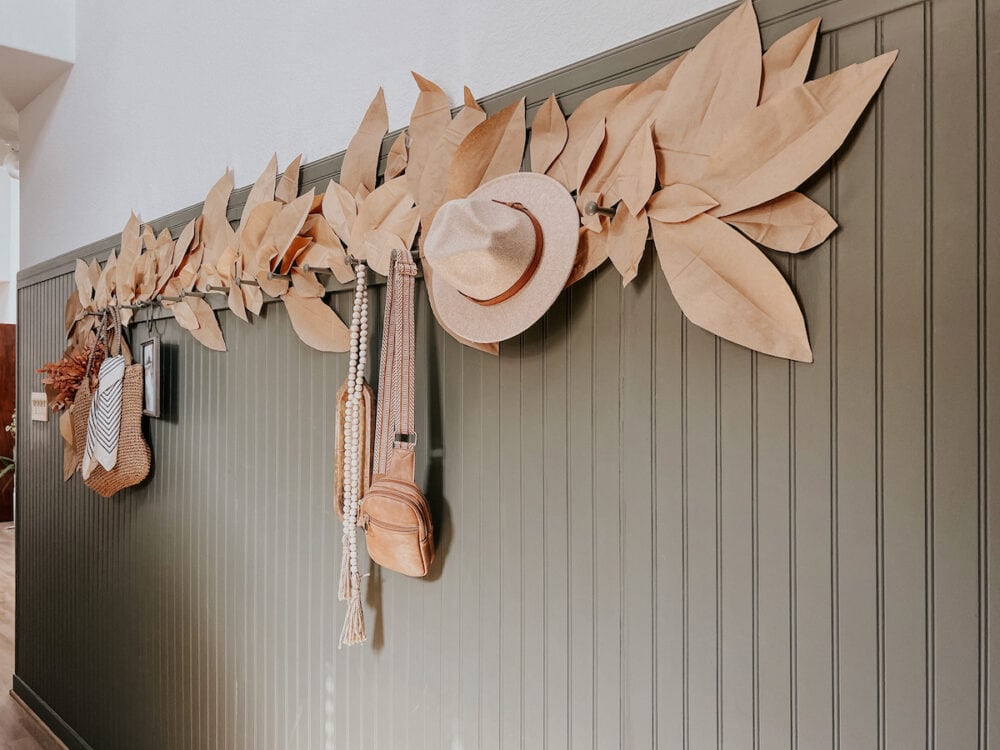
Literally anyone can do this project. It is so easy and all you need are some brown paper bags, scissors, and tape. That’s it! It took me a couple of hours spread out over the course of a Sunday afternoon to do this. It was so low-stress and fun, and I think it’s definitely going to become a yearly fall decoration around here.
Ready for the simplest tutorial of your life? Here we go!
How to Make a DIY Paper Leaf Garland
Gather Your Materials
You’ll need…
- Paper bags (I’d estimate I used around 20-25 for a garland this size)
- Scissors
- Tape
That’s all you need! You could get fancy and string it up on some wire or actual ribbon, but I found that individually placing each leaf gave me more control over the finished product.
Cut Out Your Leaves
You’ll start by cutting out a whole bunch of leaves. I was able to get two large leaves and four smaller leaves from each paper bag. That worked really well for me, but of course you can always play around with the sizing of your leaves!
I stuck with a super simple shape for my leaves. At first, I spent a lot of time cutting out a more intricate leaf pattern, but I quickly realized that it would take forever. I also tested a few of the more complex leaves and realized that with all the curves and angles the effect wasn’t as good as a really simple shape was. Your mileage may vary, of course, so feel free to get creative!
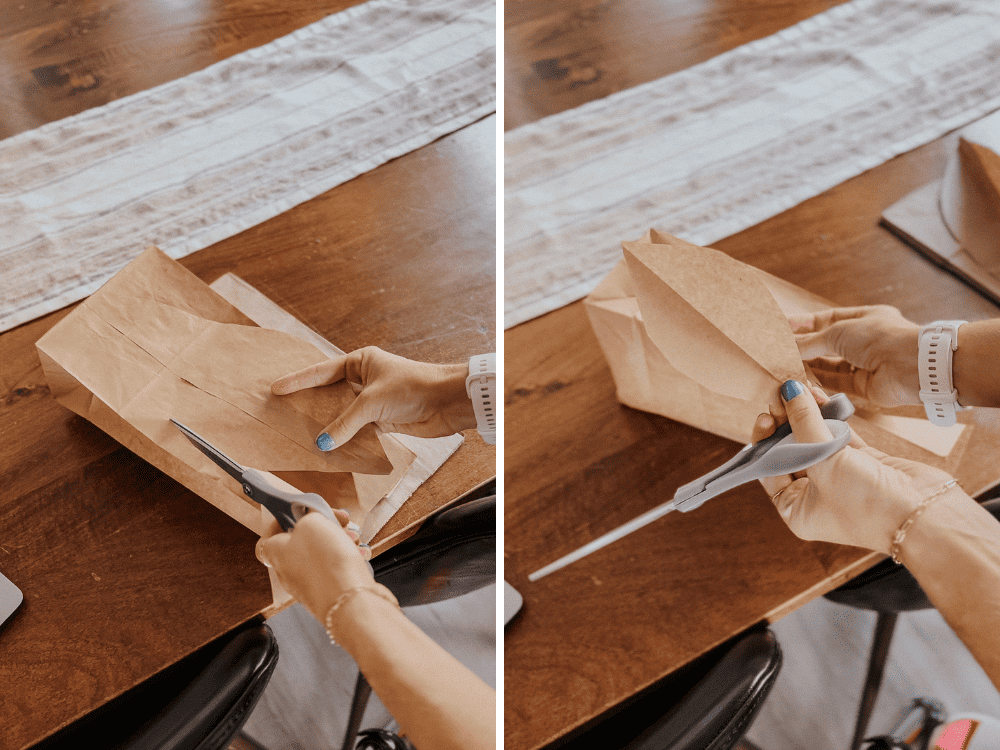
I cut one big leaf from each of the big sides of the paper bags, and then two leaves from both of the smaller sides. I left the bottom of the bag, because with all the folds and seams it just didn’t look quite right.
As I cut the leaves, I took a second to fold them in half to create a seam down the middle. The smaller leaves had that naturally thanks to the folds in the bags, but adding a seam to the big leaves made them look a lot more realistic!
You could also crinkle up the leaves for a more aged effect. I tried that on a few and didn’t love the look for my particular garland, but it’s an option!
Hang Them Up!
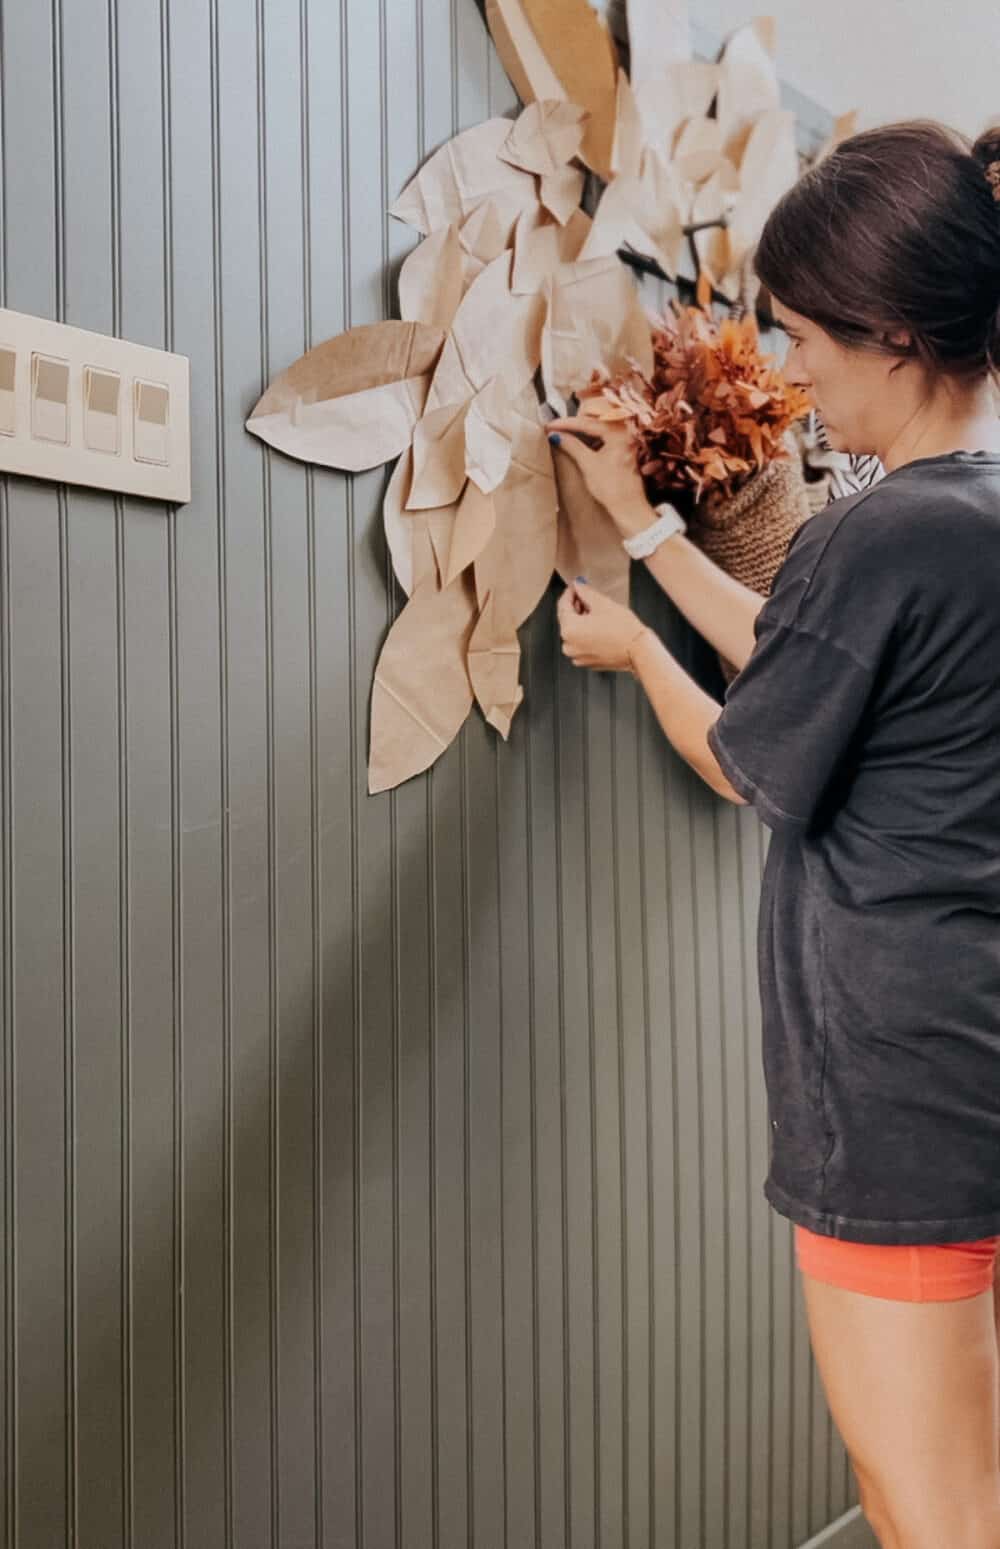
Now, it’s time to choose your location and hang ’em up! This would be really gorgeous across a mantel if you don’t have a big long space in your entry like mine!
I just used regular old tape to attach mine to the wall. I worked on sections that were about 2-feet long at a time and I started with the big leaves, then filled in the smaller ones. There’s no real rhyme or reason to how to do this – just do what looks right and don’t be afraid to play around. I liked to layer mine a bit so the garland looks more full, and I made sure to have the leaves going in a variety of directions so it flows nicely.
And then…that’s it!
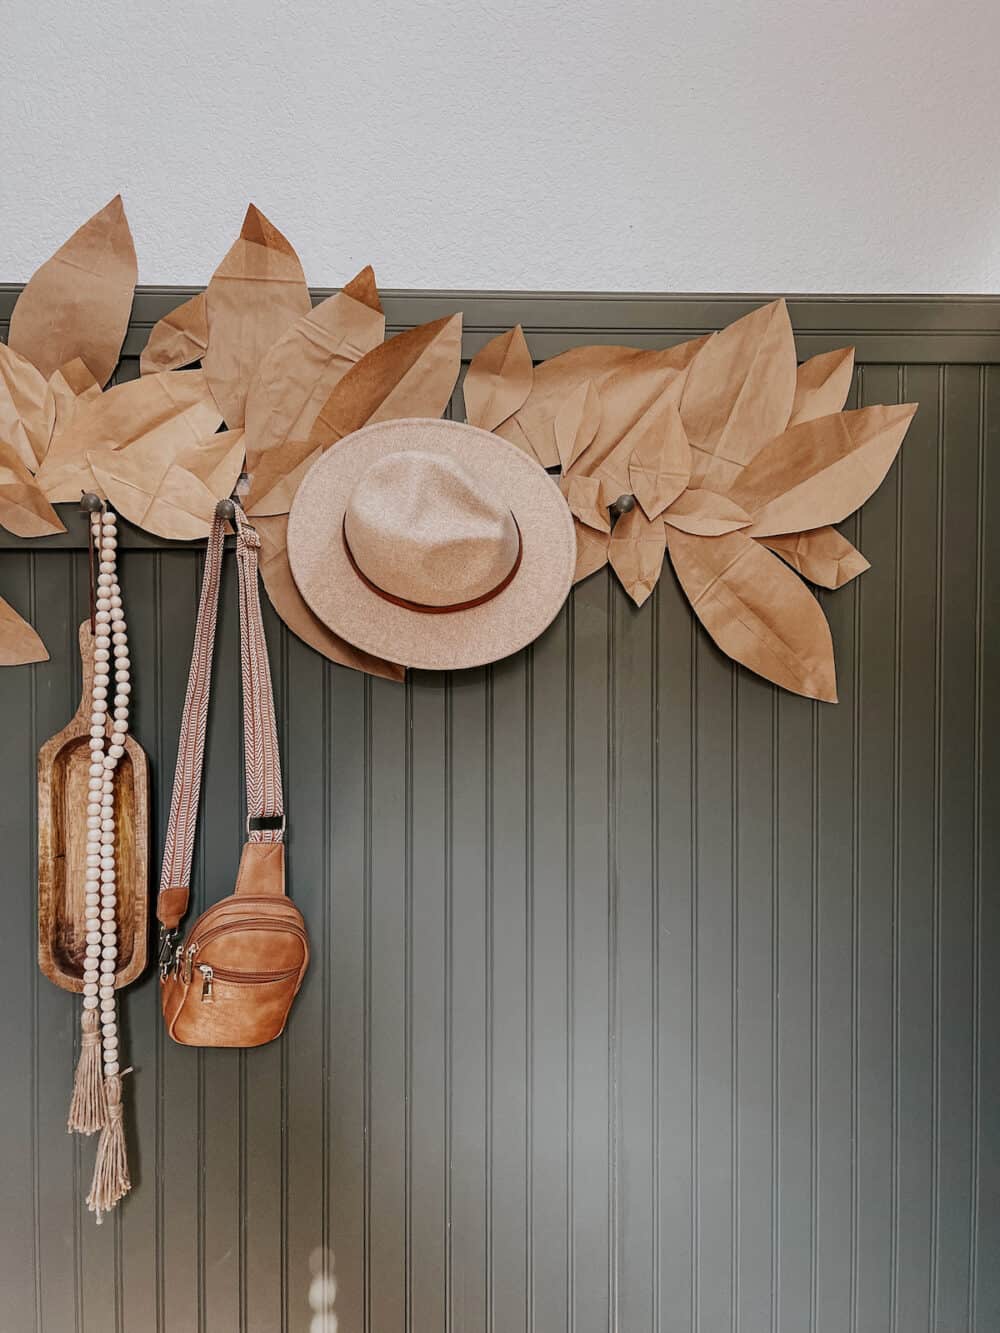
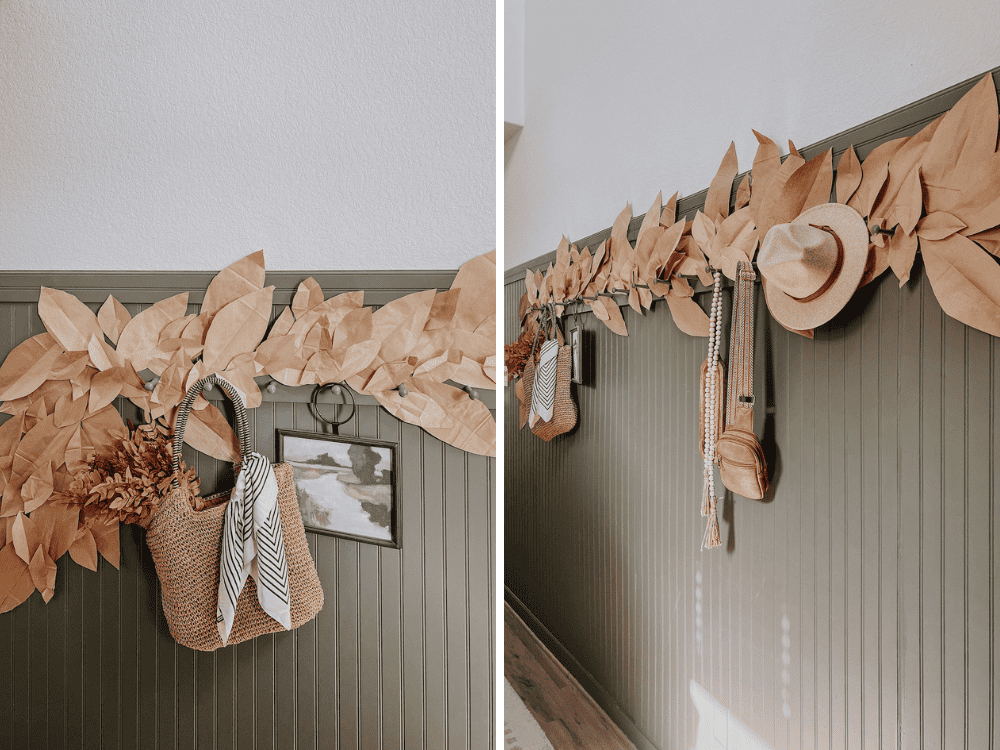
Hat | Beads | Purse | Hanging Wood Tray | Art | Straw Bag | Faux Leaves | Peg Rail Tutorial
It’s probably the cheapest and easiest fall DIY I’ve ever shared soooo you’re welcome. And it makes a huge impact in our entry, just like the snowflake one did! I smile every time I see it, and that’s what it’s all about, right?!

