DIY Photo Display {Display Your Family Photos Easily!}
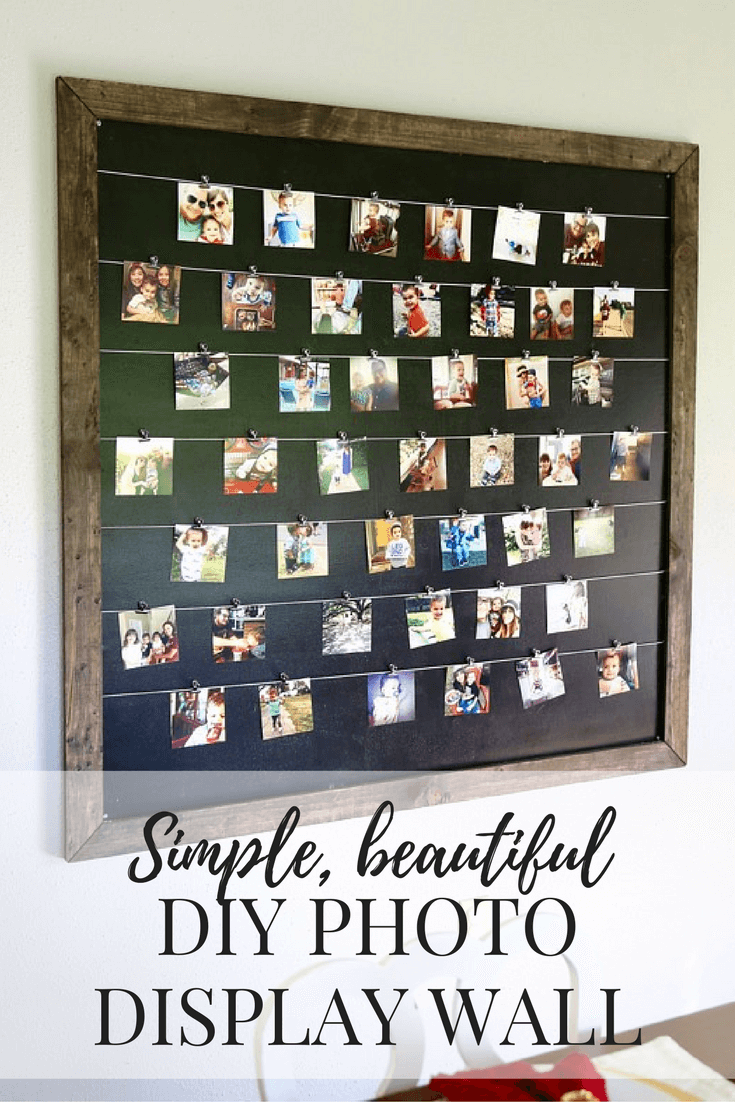
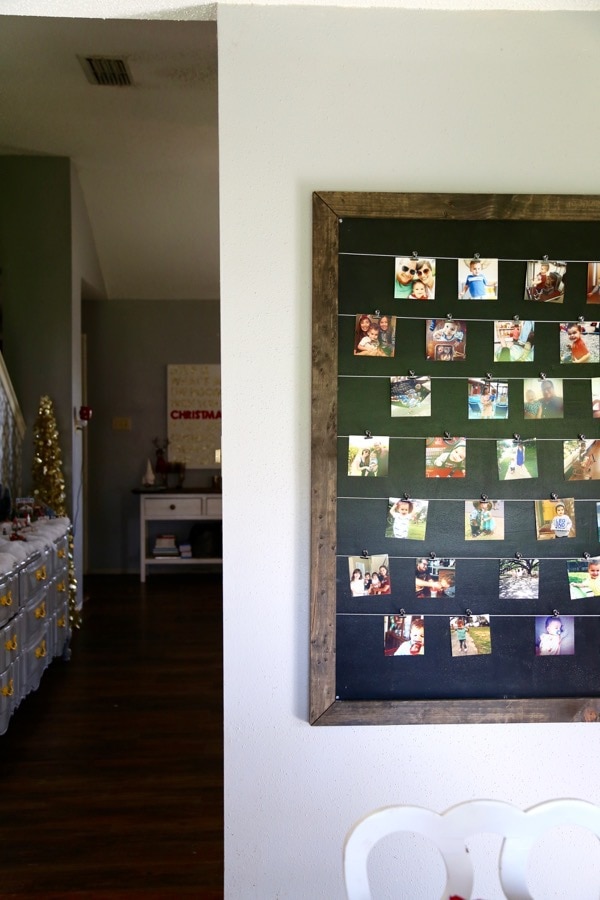
If you’re looking for a simple way to display a few family photos in your home, this DIY photo display is the perfect project for you! Learn how to make a simple photo display wall for your home – it’s perfect for all of your Instagram photos!
Sometimes, I get frustrated by the disconnect between the number of photos I take on a daily basis and the number of photos I actually have displayed somewhere in my home.
I love taking photos of our lives, and I love looking at photos we’ve taken over the years, but it’s hard to find a practical and pretty way to actually show off all of our memories. We create family yearbooks every year and I try to frame a few here and there, but beyond that, we just don’t have a great way to put out all of our family photos.
Until now.
BOOM. *Mic drop*
Y’all, I’m in love with this thing.
I came up with the idea a couple of months back when I started to get tired of the floral print that we used to have hanging in our dining room. It was fine, but it was lacking any sense of meaning to us and it felt like it was just there to fill a space. But this? It has a purpose. It’s going to be an ever-changing and evolving place where we can display all of our most cherished memories.
Have I mentioned that I love it yet?
So, let’s talk details. This idea has been floating around in my head for a while but it didn’t actually come to fruition until one fateful day when I was contacted by the lovely people at Rockwell tools and asked if I wanted to try out one of their power tools.
Of course, I said yes. Who wouldn’t?
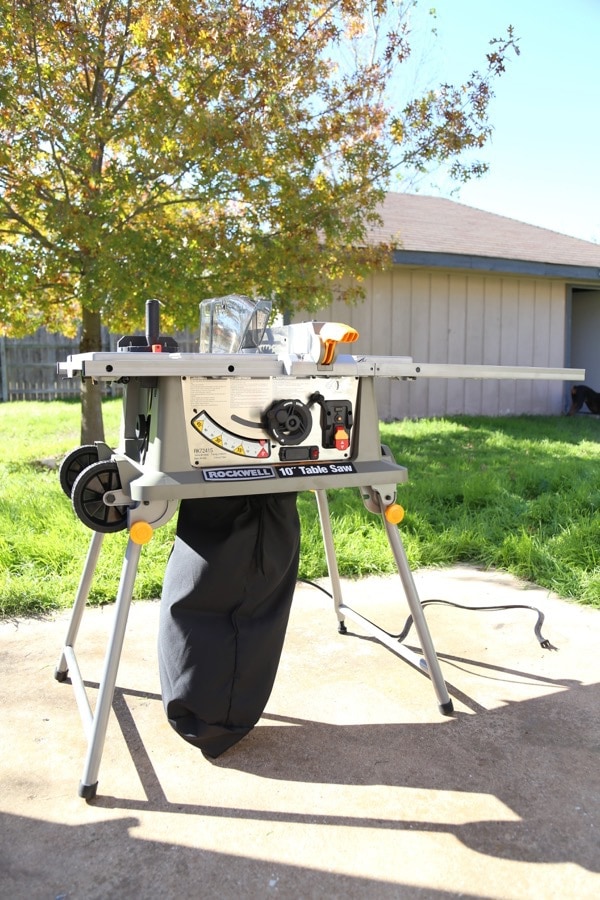
A few weeks later, this beauty showed up on my doorstep.
This post contains affiliate links. Click here to read my full disclosure policy.
Yeah. It’s amazing. It felt a little like fate because we have had a table saw on our wish list for years but we just haven’t gotten around to buying one. There have been a ton of projects that we’ve wanted to take on that Corey has vetoed because we didn’t have a table saw…so we were just a little bit excited. We felt like little kids on Christmas morning as we took it out and started playing with it responsibly using it.
How to Make a DIY Photo Display
Materials Needed:
- 1×3 wood for frame (how much will depend on the size of your display)
- Wood stain (I used this one)
- Wood glue
- Staple gun (could also use a brad nailer)
- Picture hanging wire
- 1/4″ plywood
- Black paint
- Metal clips
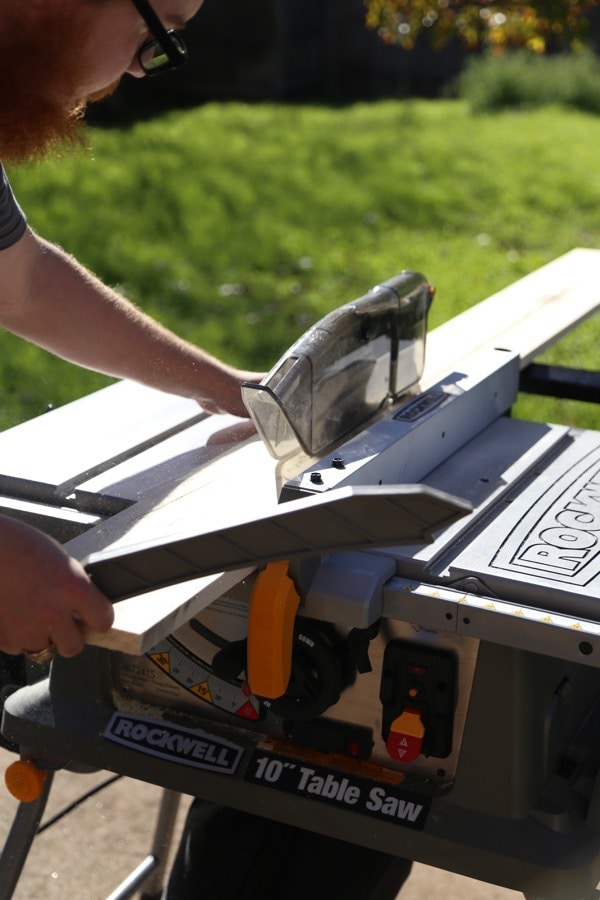
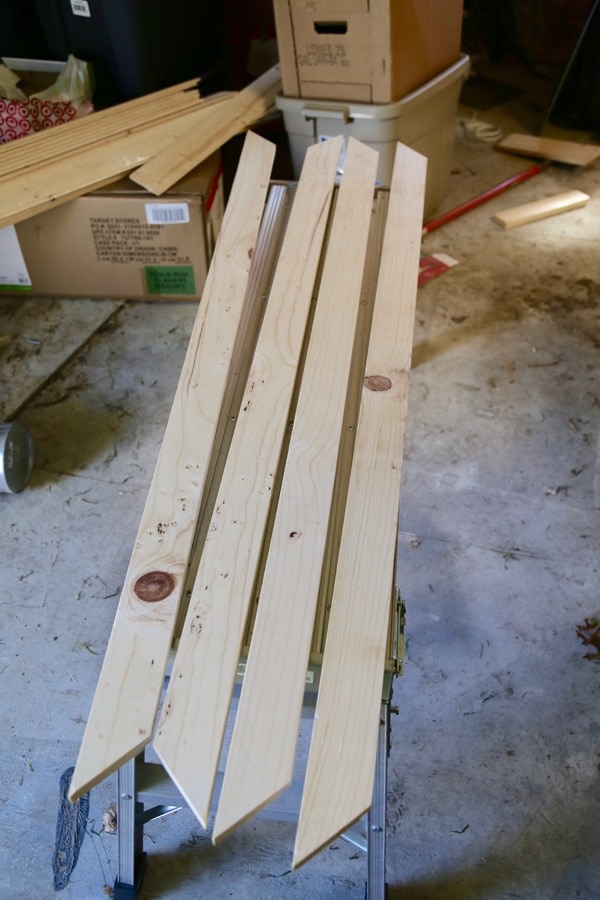
So, for the actual project…we really wanted to test out this new table saw, so instead of buying several smaller pieces of wood, we decided to start with a six-foot 1×12 piece of wood and Corey used our shiny new table saw to rip it down into four pieces. We saved a bit of money by just buying one big board instead of four smaller ones, and Corey had entirely too much fun using the new saw. But, if you don’t have a brand new table saw that you’re itching to use, I’d recommend just grabbing 1X3 pieces of wood for the frame instead!
Step 1: Cut Boards to Size for Frame
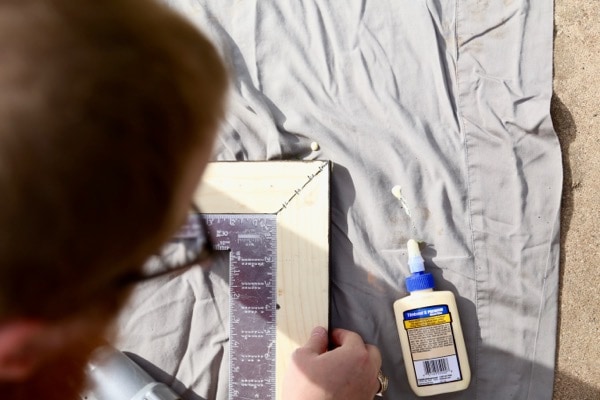
Once we had our boards cut down to the right width, we needed to get them ready to become a frame. Corey used the saw to cut them to the right length (which will vary depending on where you’re hanging it – ours is 4 feet square, but you may need to go bigger or smaller for your own home), then he used his miter saw to cut 45-degree angles on each of the sides.
To make the frame look a bit more polished, he used the table saw to cut a small channel in the back for the backing to sit in. I didn’t capture a good photo of it, but imagine the little lip that most frames have in them for the glass to sit in. It looks just like that! To accomplish this, he raised the blade to be 1/4″ and the table saw fence was also 1/4″ from the blade. Then the board is run through once laying flat and then again up on its side – this gives you a channel that is 1/4″ square!
Step 2: Stain Wood for Frame
Once our boards were ready, it was my turn to do some work: staining. We used Minwax stain (our favorite) in Jacobean. I didn’t do any sort of pre-stain treatment, just sanded the boards down a bit and rubbed it on. We also didn’t seal the boards, because we wanted a slightly more rustic look and this won’t see much wear-and-tear since it’ll be hanging on the wall in a low-traffic area. If it was something that would get handled often or may get bumped, I definitely would have taken the time to do a pre-stain and to seal the wood, but I liked the rustic look for this frame since the rest of the project is very modern.
Step 3: Assemble frame
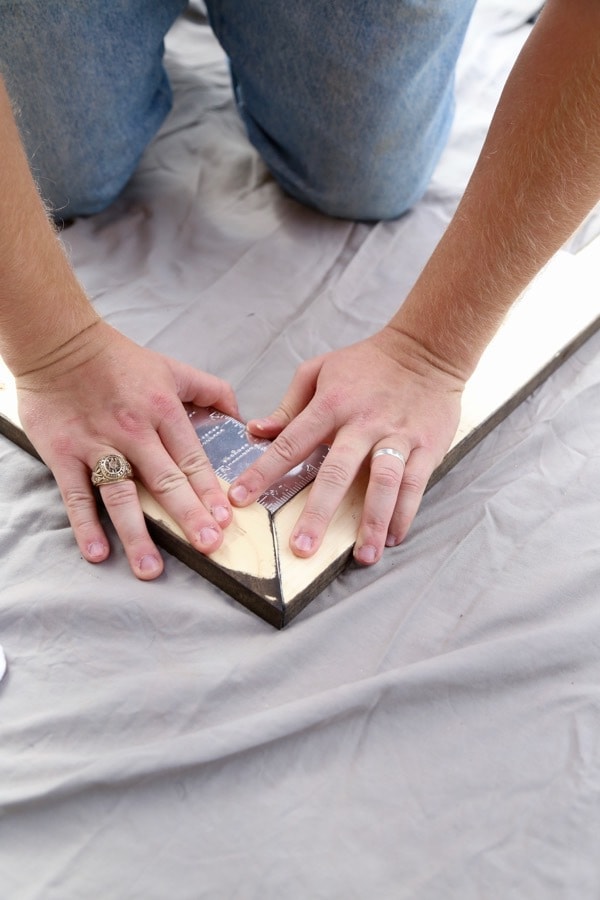
To piece the frame together, we just laid the boards out and played around with the configuration to find the best fit (some boards fit together a little better than others), and then we added some wood glue and stapled the back (for a more secure fit, next time we’d use a brad nailer and go into the side).
Voila!
Step 4: Attach Picture Wire
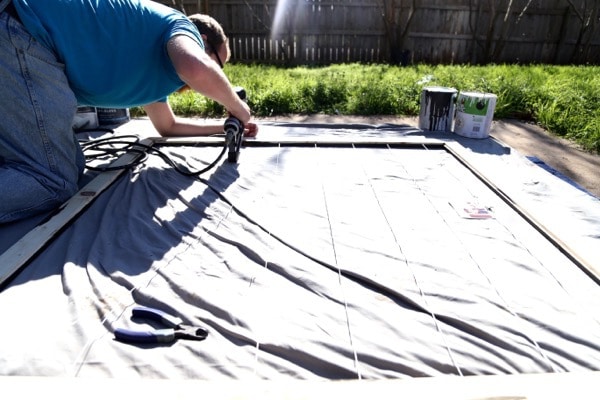
Once everything was all nice and dry, it was time to add the wire. We bought picture hanging wire and stapled the wires about 6″ apart all the way down the side of the frame.
Once all the wire was in, it was time for the backing!
Step 5: Attach Backing
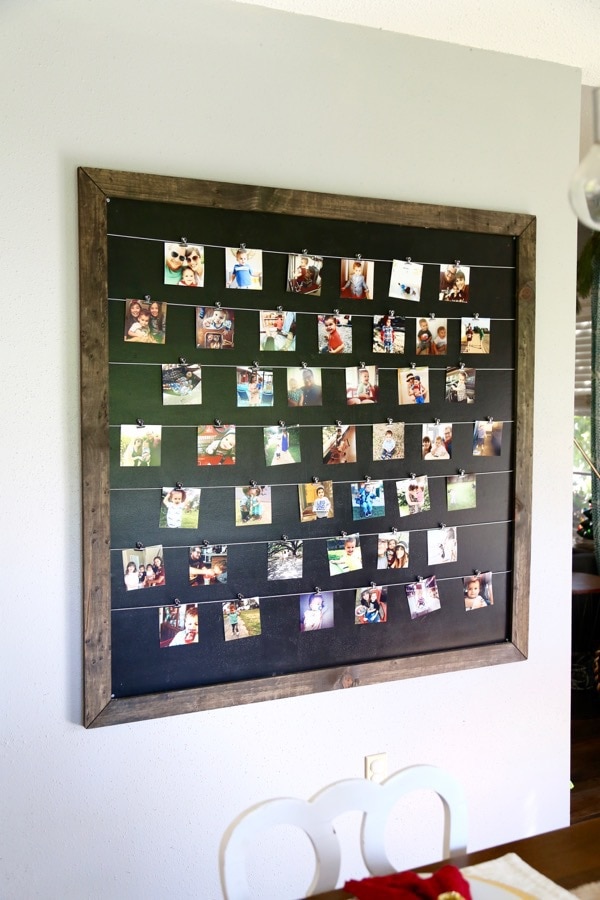
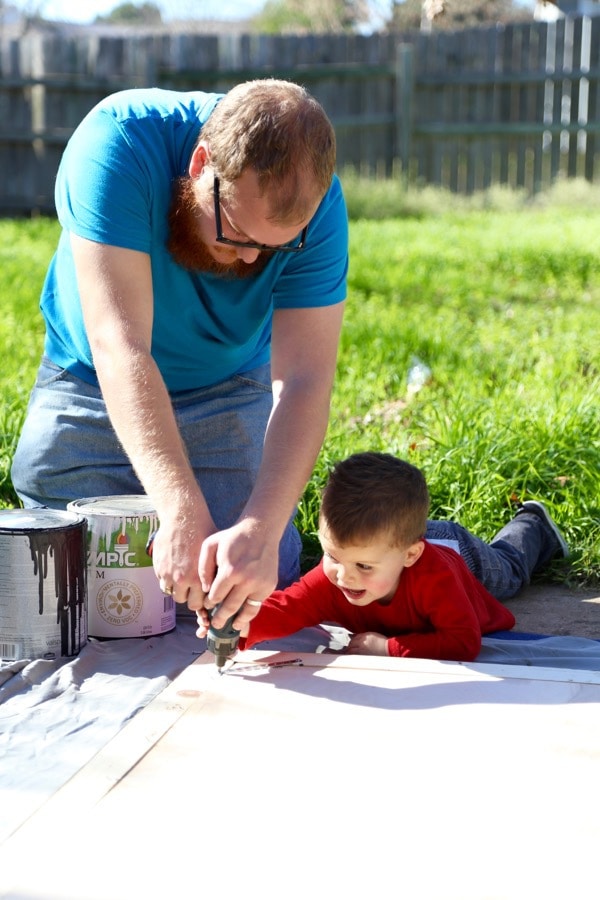
We bought a nice big piece of plywood at Lowe’s and I painted the whole thing black. We wanted the piece to be large and make an impact, so we left the plywood at its full size (which is about 4 feet square). We laid that piece into the frame and, thankfully, it fit like a glove. It was at this point that Jackson decided he was super interested in the project, so he helped Corey attach the corner braces to keep it in place. We also went around the back and stapled the edges of the backing to make sure it was nice and sturdy.
And with that it was finally done.
Step 6: Hang it up!
Now for the hanging. We had originally planned on just using wire to hang it across two nails in the wall, but it was too heavy so we had to find an alternate way. We also have some issues with wonky, wavy walls and were having a hard time getting the giant frame to lay right on the wall. So, we decided to screw it into the wall.
I was worried that it wouldn’t look good, but I actually don’t mind the screws at all. They’re barely noticeable in person and really look like they fit in with the rustic-meets-modern look of the whole thing.
To hang the photos, we just bought some clips at Hobby Lobby (they were only about $4.00 for a set of 15) and ordered some square prints from Snapfish.
And that, my friends, is how we created the most epic photo display in the history of photo displays.
I may be biased.
But I think it’s pretty awesome.

I have some specific questions about this lovely project.
•Where specifically did you staple the wire? Along the back of the frame pieces or along the inner side of the frames? And can you see the staples when looking at the whole picture frame?
•When you “stapled the edges to the backing” do you mean one staple is attaching the back plywood to the back of the frame piece?
I’d appreciate it so much as I’m definitely new to wood working!
– Into the side of the frame pieces along the front. You can see if you look closely, but they’re not super noticeable. I took a different approach the second time I built this project and it’s a little simpler – you can see it here: https://www.loveandrenovations.com/diy-photo-display-3/
– We used corner braces to hold it in place, then just ALSO stapled around the edges (with one end of the staple in the plywood and the other end in the frame) to help hold it in place. I also swapped the approach here for my second attempt at this project, at the post linked above! It’s much simpler using just wood glue and a pin nailer.
I love this and am looking forward to tackling this project! A few questions to make sure. Yours is 4 feet square so each length/side is 4ft(48”)? And what type of frame did you choose?
Love this project! What size/weight picture hanging wire did you use?
The exact wire we used is linked in the post! 🙂
Wow! This turned out amazing. I was looking for something smaller for a small house but who says we have to. Having tiny photos means you can have more. Or put up a theme of the kids growing up or summer adventures. I like it!
Thanks so much!
Beautiful idea!
Thank you!
I have had an idea in my head, but you nailed it!! How do you keep the photos from curling?
We’ve never had an issue with curling! I don’t do anything special.
Excellent question. I was scrolling through the directions and thought there might be something about how to keep the photos from curling. I live in FL which = humidity, even with AC. Curling would be an issue for sure. Perhaps mounting (glue stick) the photos on cardstock would prevent it.
The photos I have printed are pretty thick, and I’ve never had an issue with curling! It’s pretty humid here in TX too, but it’s never been a problem for me. But, you could certainly try mounting them if it’s an issue you come across!
I absolutely love this! Such a good idea using Instagram photos of the kids and family. Pinning!
Thanks, Maria!
OH I love this! You’re right…it is pretty awesome! Thank you for sharing!
Thanks so much, Linda!
I am absolutely in love with this project and how gorgeous it is (that’s also a pretty fine tool)! Your projects are always so fabulous and creative. 🙂
Thank you so much, Catherine!
Thats gorgeous!! I’m officially adding something similar to my to-do list for this year!
Thanks, Erin!
This is beautiful and can’t wait to create one! What type of wood did you use and what would you suggest to hang the heavy frame if you could do it again?
Hi! I used pine for this. You can use any picture hanger that can handle the weight of it to hang this!