
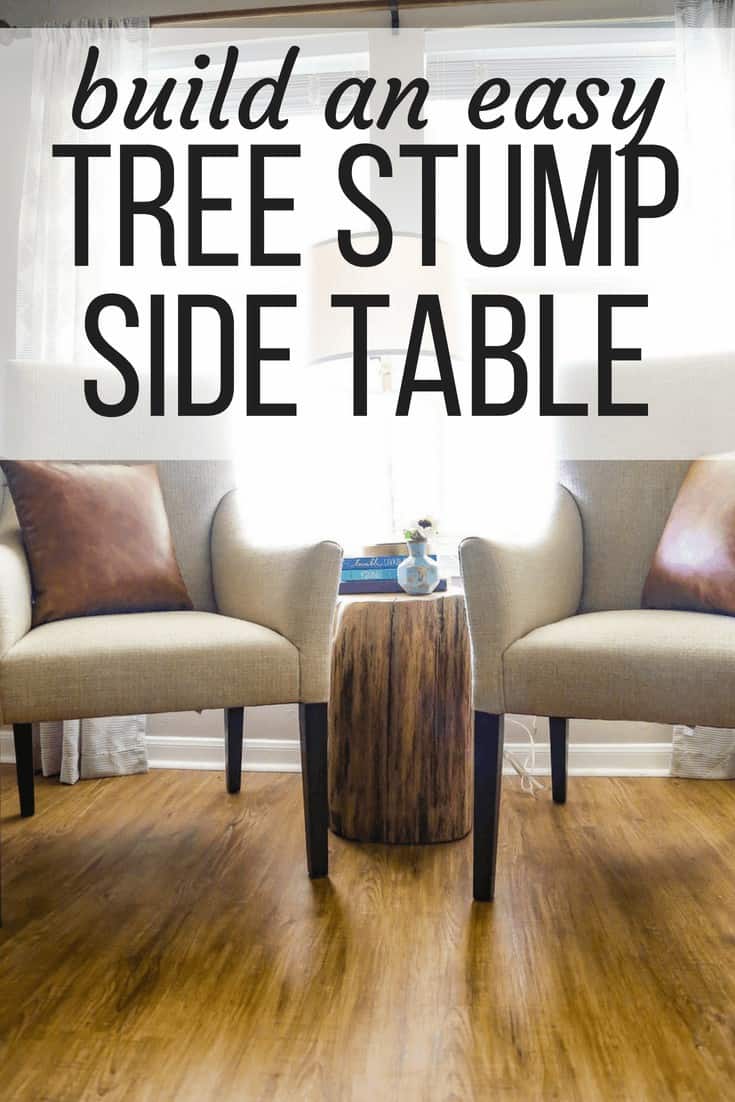
DIY Tree Stump Side Table
Last updated on June 4th, 2024 at 01:50 pm
We’ve been wanting a new side table in our living room, and so we decided to take on a DIY tree stump side table! We’ve done this project before, and it’s one that we absolutely love – I’m sharing all of the details today!
Every once in a while we do a project that we love so much it just has to be repeated. Today’s project is one of them. Way back when we were first working on Jackson’s nursery, we made a DIY tree stump table to use as a side table in his room. It’s served us well over the years. In fact, it is still going strong in his room today!
So, of course, when we were debating what to do with the rest of the wood left over from Corey’s wood rescue mission, I immediately requested another tree stump side table. This time, we wanted it to be a bit larger so it can be a bit more versatile.
This is such a simple project that really just takes a lot of patience and elbow grease. Oh, and a fair amount of luck with tracking down the perfect tree stump, I guess! Here’s how we got it done:
How to Make a DIY Tree Stump Side Table
Materials Needed:
- Tree stump
- Chainsaw
- Crowbar (for removing bark)
- Orbital sander with multiple grits of sanding pads
- Handheld electric planer
- Varathane Triple Thick Polyurethane
Step One: Fine a Tree Stump!
Obviously, the first step is to find a tree stump. This may seem impossible if you haven’t ever tried to track one down before. But, here are a few ideas on how to find your own tree stump:
- If you have a dead tree in your yard to be cut down, ask to save the stump! This is how we got the stump for our first table.
- If you notice trees being cut down in an area near you, ask if they have a plan for the wood and if you can have any of it. This is how we got this stump!
- Check Craigslist for anyone giving away free brush or tree branches/stumps. They may even give it to you for free if you’re willing to come to pick it up!
- Ask friends and neighbors who are cutting down trees or clearing our their yard if they’d be willing to let you have a stump.
Basically, just get creative, don’t be afraid to ask, and keep your eyes open!
Once you’ve got your stump, you need to allow it to dry out for several weeks. We’ve seriously procrastinated on this project both times we’ve done it. We ended up waiting for months, but 2-3 weeks should be enough. Last time we stored ours in the garage. This time, we left it on the side of the house. There were tons of little bugs that made a home in the stump over time, but they really just create gorgeous vein patterns in the wood so we didn’t mind a bit.
Step Two: Cut Down Tree Stump
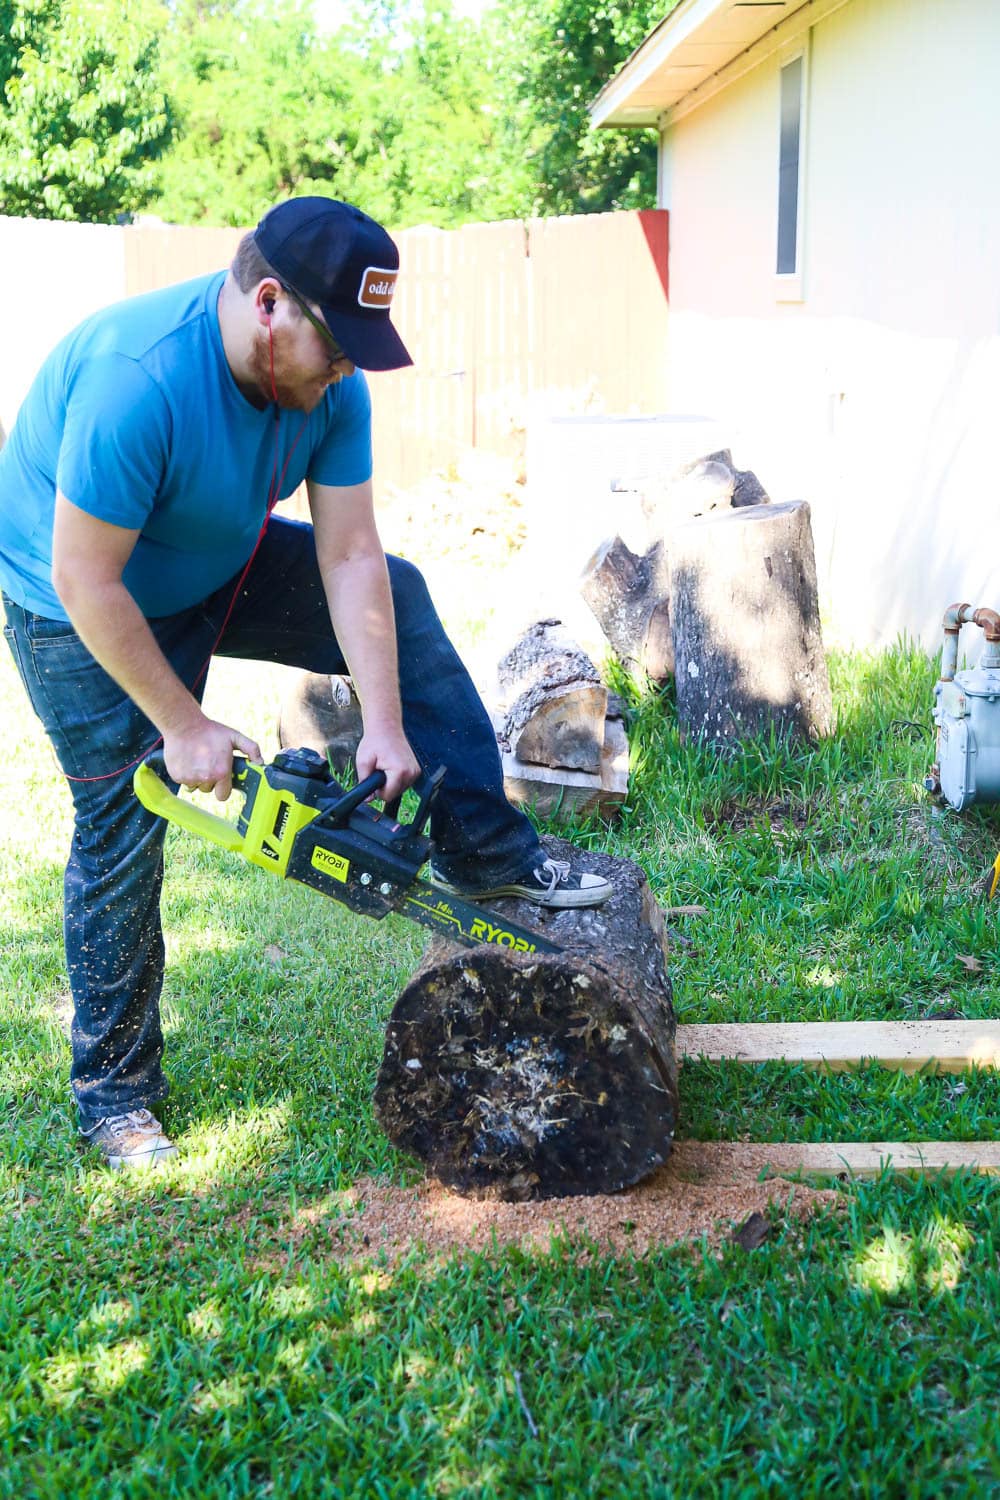
When your wood is dried out and ready to go, you’ll want to start by cutting it down to the size you want. We used our 14″ Ryobi 40-V chainsaw for this project.
Corey cut the table to the approximate size we were shooting for. Unless you have mad chainsaw skills, it’s really hard to cut to an exact size on a stump this large. It it can’t make the cut in one pass! Then, we removed all of the bark from the stump using the crowbar.
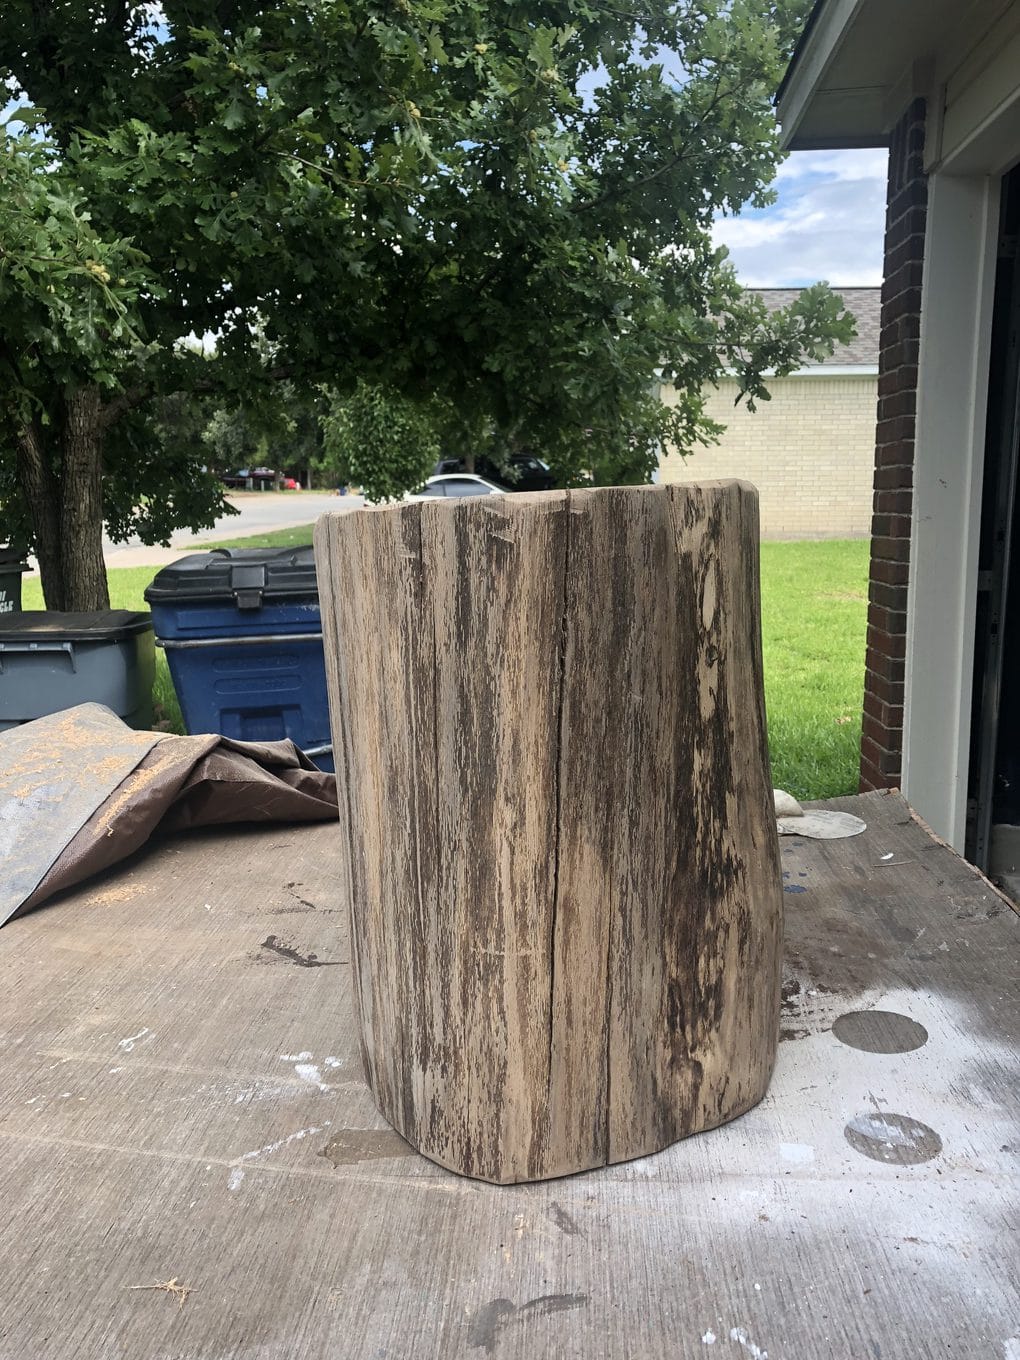
Step Three: Sand Your Tree Stump Side Table
At this point, it should be looking much closer to a table. But there is still a long way to go. This is where things get extra tedious – sanding.
Below, you’ll see what the table looked like before we got started. It’s going to be hard to see too much of a visual difference between before sanding and after sanding. The big difference is in how it feels! Before you sand, it’ll feel like a rough tree (duh). After sanding? It’ll have an almost factory-finish feel like a gorgeous piece of furniture right from the store. It’s a ton of effort, but it’s oh- so worth it!
A note about sandpaper grit before we dive into the details: the lower the number on the grit, the rougher the sandpaper is. So, for example, 80-grit sandpaper is extremely rough and will sand the piece down by quite a significant amount. Something higher, like a 220-grit sandpaper, is more for finishing. When you’re sanding, you’ll always want to start with a lower grit. Work your way up to a higher grit for the perfect finish!
Here’s How I Sanded The Table:
- First off, I started off using the orbital sander with 80-grit sandpaper. This will get all of the super rough patches off the table. Corey stepped in a couple of times with the belt sander and some 35-grit sandpaper for particularly stubborn areas. But, I was able to do most of it on my own. You’ll use a lot of different sandpaper for this project, but I spent the most amount of time right here with the 80-grit.
- Once the majority of the table was sanded down, I switched to 120-grit. I thoroughly sanded the entire table again.
- Next up, 220-grit – sand the entire thing again.
- And finally, once things are feeling really smooth and almost done, I finished the whole thing off with 400-grit sandpaper.
I found this was a pretty perfect combination to get the smoothest possible finish. Once I was done sanding the majority of the table, Corey used his handheld planer to level out the top and bottom of the table. He also rounded out the edges of the table a bit more.
Reading this back to myself, it sounds like this was a pretty quick process. It wasn’t. I spent a good two hours or so sanding the table when all was said and done. And this is a small table!
But, I mean, would you look at that finish? Where’s the heart-eyed emoji when you need it?!

Step Four: Seal the Table
Finally, the veeeeeery last step is to seal the whole shebang. We love to use Varathane’s Triple Thick Polyurethane for projects like this. Tt has a really gorgeous finish and is incredibly sturdy. I find it’s the perfect poly for finishing off raw or stained wood (it’s not recommended for painted surfaces).
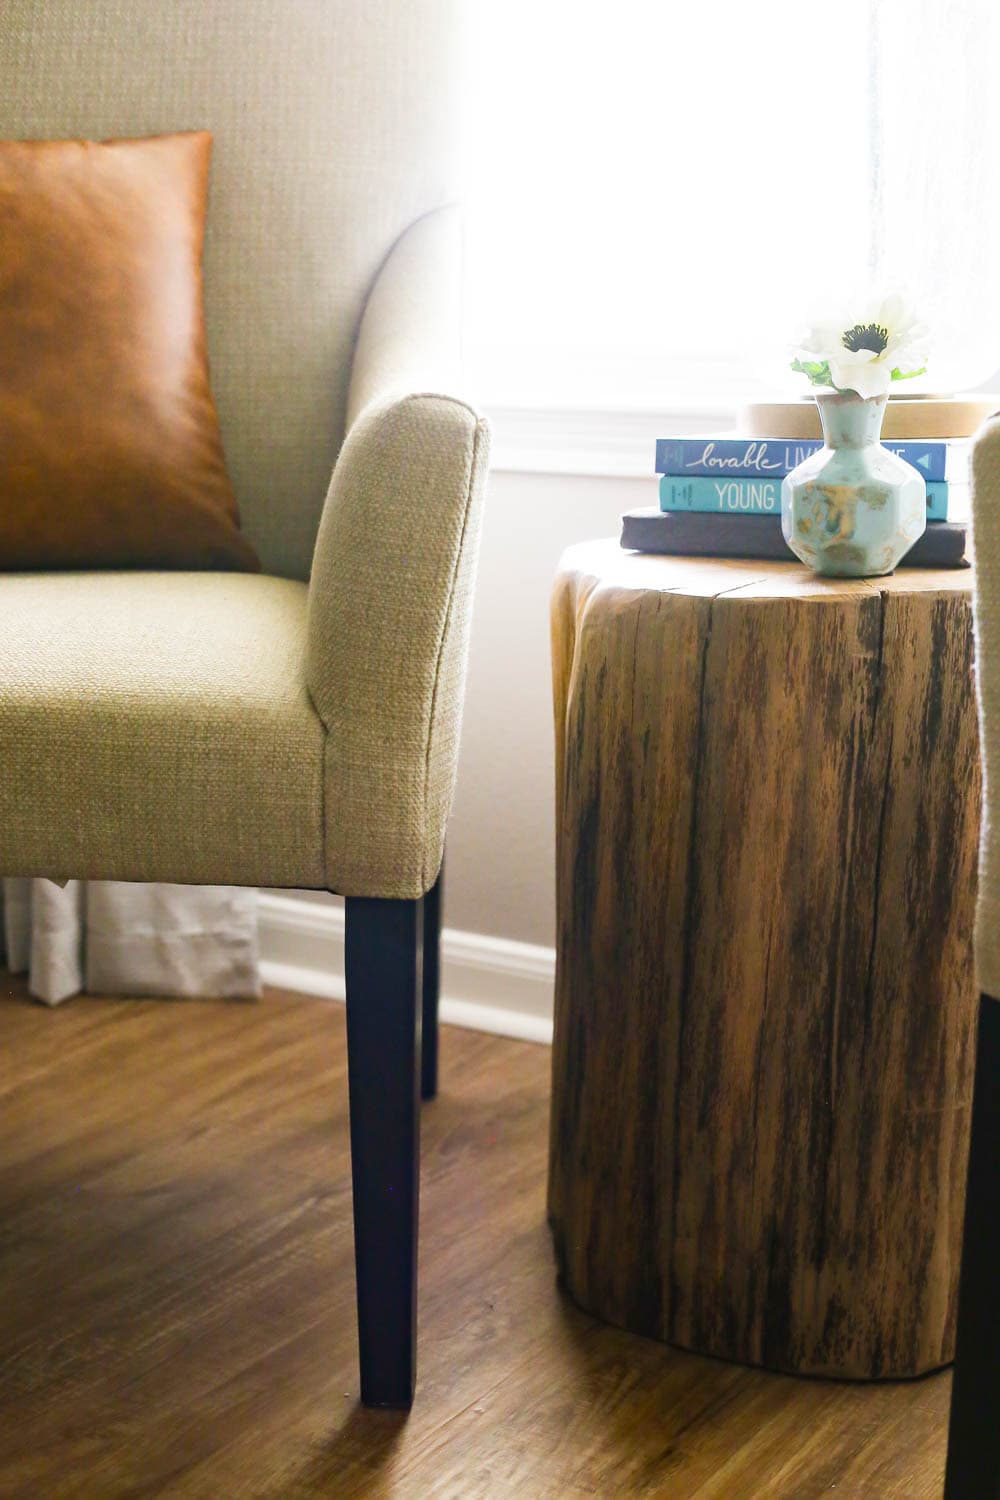
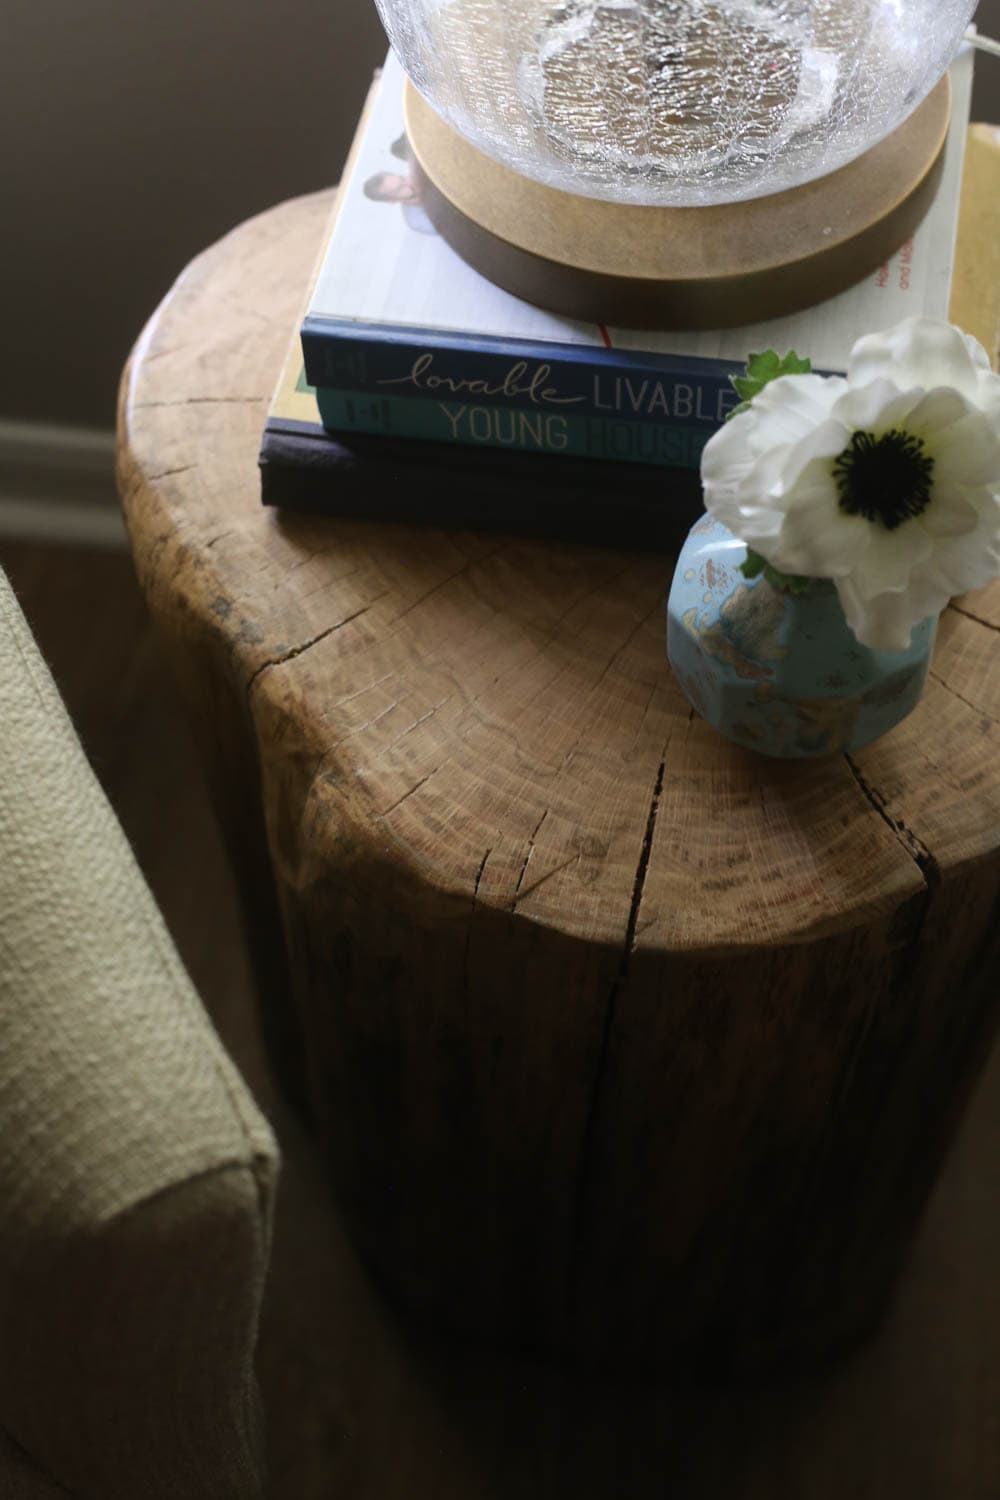
I gave the whole things two coats of poly (with a quick sanding in-between). Then, we brought it inside. It’s almost the exact same diameter as the old table, so we’ve got just as much room on the top. All we really need is the space to set a drink or two down, so we don’t need it to be large. I feel like this more substantial table is perfect for this area. I love how chunky this is and the wood tones it brings into the area.
And that’s how we made the cutest little tree stump side table around. It wasn’t the quickest project around but it’s incredibly simple and work every single ounce of the effort!
Hi – Thanks for sharing – love this!
You mention an electric planer, but I don’t see it used. Was that for leveling an uneven bottom? Or did you manage to cut a straight enough line with the chainsaw? I’m trying this but my table is standing an inch or so slanted. Tried the planer but it’s not great on end grain & made the edges splinter… maybe rubber feet of slightly different heights? I’d love to hear any thoughts on getting a level table. Thank you!
Some rubber feet can definitely help with leveling it out! I probably would try to sand as much as possible to get close to even but if it’s a full inch off you’ll probably need to add some extra help!
Is your table top perfectly flat? If so….is it because you sanded so much? If not….is it because you wanted imperfections?
It’s very flat – I didn’t test it with a level or anything, but it’s flat enough to hold drinks, etc. And yes, it requires a lot of sanding!
Ahh I’ve been wanting to try this – I have about 4 decently-sized tree stump pieces left over from a tree that fell at my parents’ house during Hurricane Harvey. At least they’ll be nice and dried out now that it’s a whole year later! Ha!