The Workshop: Our New Metal Pegboards
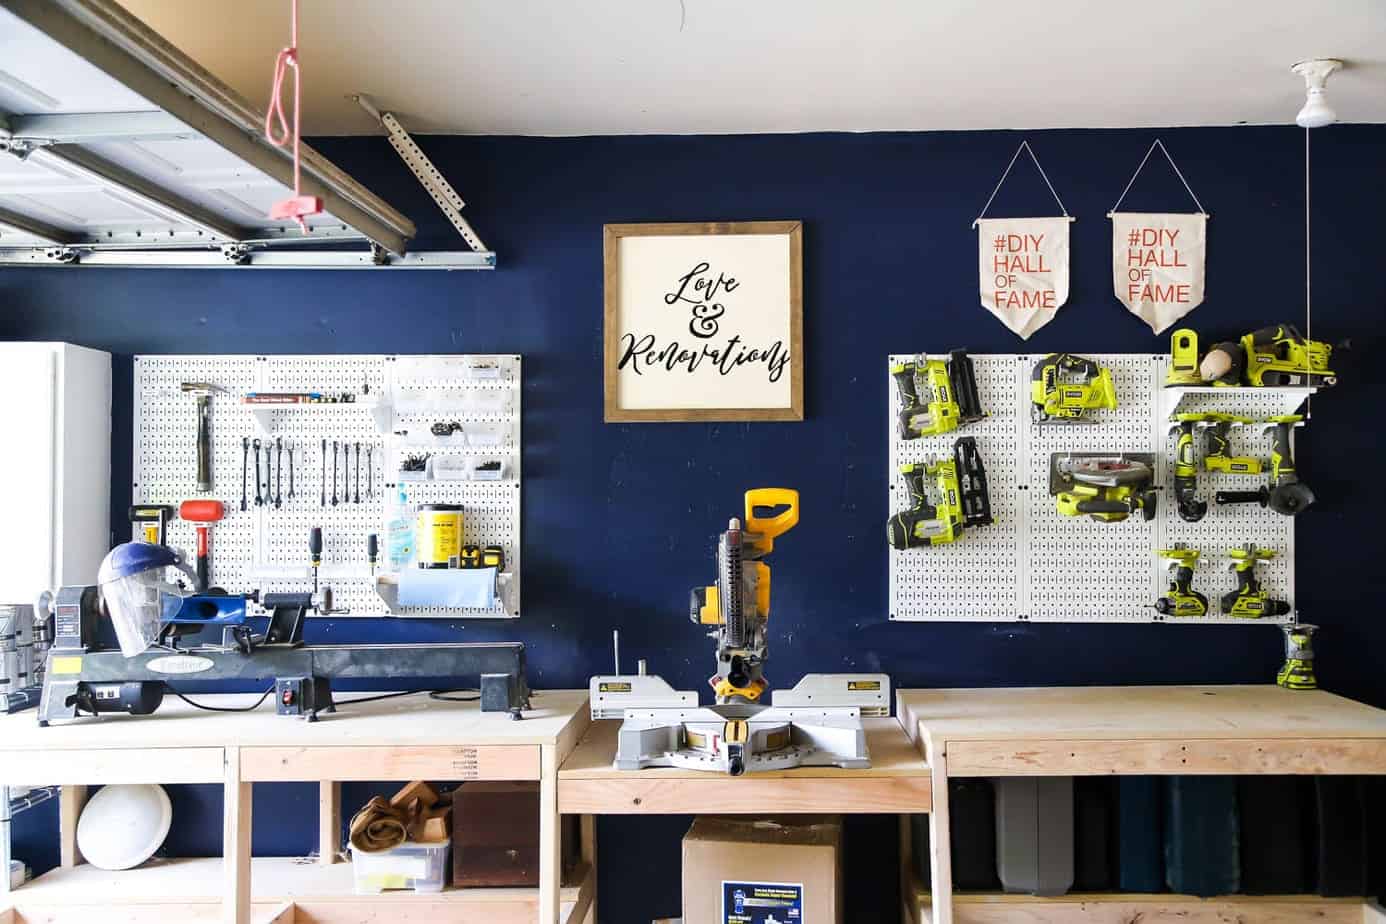
Corey and I have been working on whipping our garage workshop into shape, and we’re finally making some substantial progress! Today I’m sharing all about how we’re keeping our most-used tool organized and within reach with our Wall Control metal pegboard.
Oh hey! A workshop update!
I know. It might seem like I totally failed at my promise to bring you a workshop update every week last month, but in reality, Corey and I spend a ton of time out there working and it was such a disaster that we really only just now have another update to give.
Sometimes, things take just a little longer than expected.
Or a lot.
But either way, we’re making progress in the workshop today and I’m officially here to announce that the first wall of the workshop is done! Well, we still need to install the dust collection system for the miter saw. And organize a bit under the workbenches. But other than that? Done!
If you’re feeling confused and don’t remember what all of this workshop chatter is about, let me catch you up to date.
The Workshop: What You May Have Missed
- In our old house, we had a workshop out back that we loved dearly but always failed to keep organized.
- Then, a series of unfortunate events led us to create an additional workshop space in our garage, which was seriously my happy place and one of the most organized spaces in our entire home.
- When we moved to this house, we had a disaster on our hands as we tried to consolidate two workshops worth of junk into one (small) two-car garage.
- We started to organize things last month by adding a dust collection system to help us keep things nice and clean.
- Then, I organized all of my painting supplies (which has been a total game-changer!)
And that brings us to today.
We knew from the beginning that we wanted a wall of organization above the workbenches. It’s just so functional to have your most-used tools right there to grab when you need them and, let’s be honest, a pegboard is just really nice to look at too. In our old house, we had a DIY pegboard wall that we loved a lot, but we wanted to go with a slightly different approach this time around – something a little more durable. The old pegboard held up just fine, but it was inside a workshop that wasn’t exposed to the elements. We regularly work in our garage with the door open, which means this space is a little more exposed. Since regular pegboards are made from super cheap wood and don’t stand up well to moisture, we decided that a metal pegboard would be the way to go. They’re practically indestructible, they look great, and they’re guaranteed to last us a nice long time.
Did I mention they look great?!
We partnered with Wall Control for this project – they sent us all of the supplies for this glorious, hyper-organized metal pegboard wall that makes my soul sing, and we’re forever grateful.
Let’s chat details.
Metal Pegboard Wall
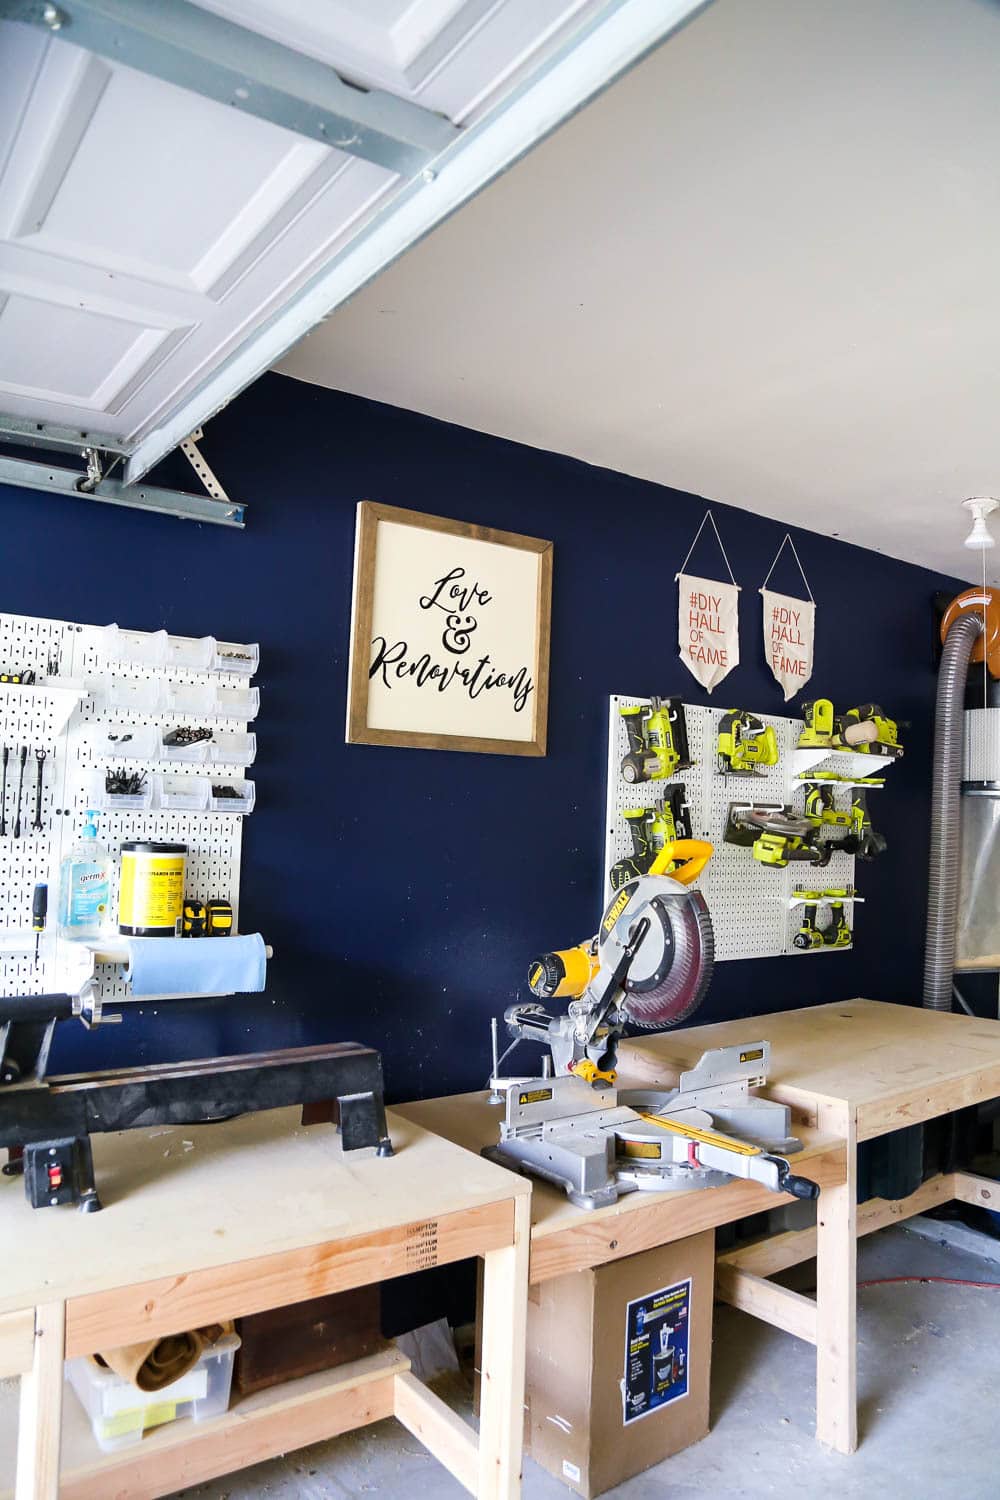
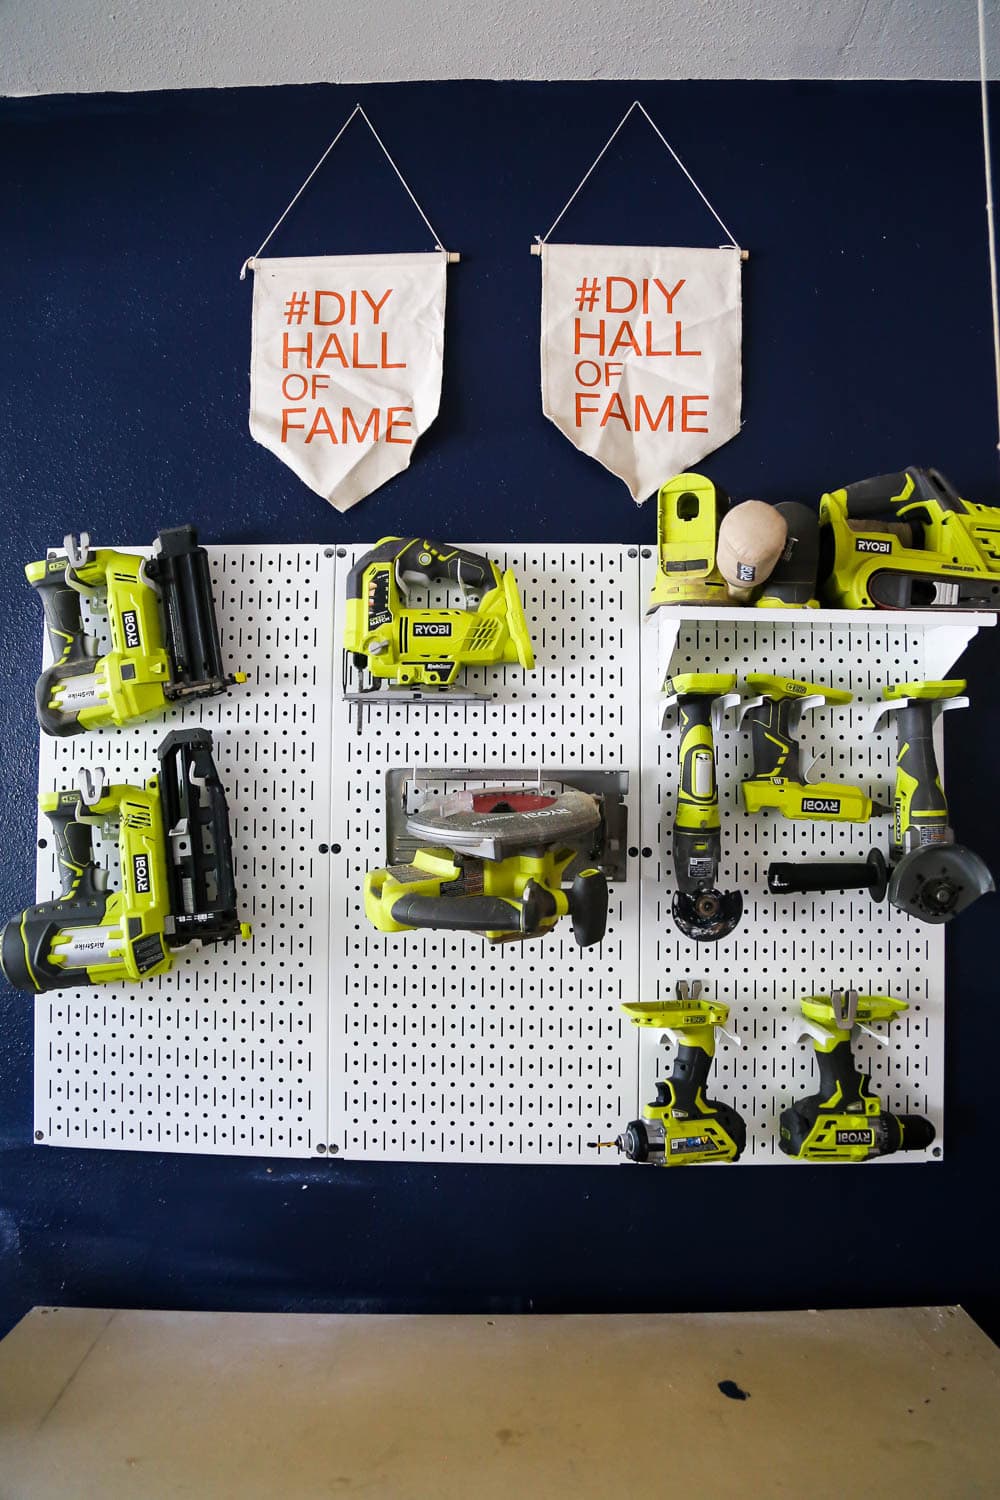
We started off with four of the white metal pegboards. We considered going all the way across the wall, but we figured it would be tough to reach anything behind the miter saw (and will be even more difficult once Corey adds the dust collection system, which will be behind it and pretty tall), so we decided to leave that spot blank.
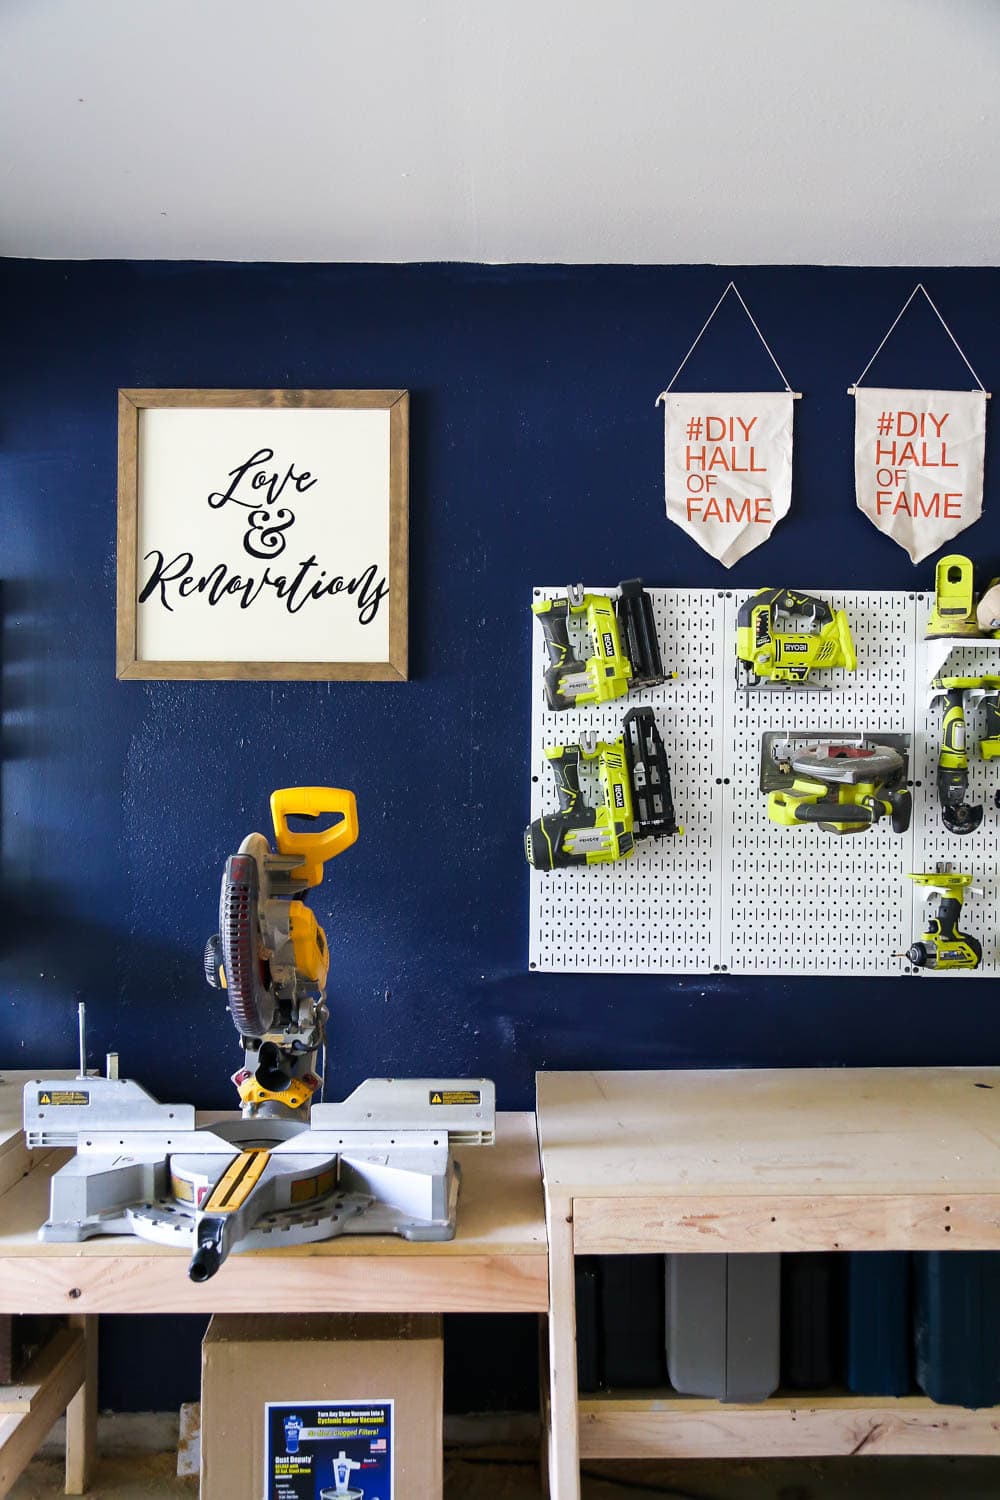
Plus, it gave me room for my pretty sign.
I’ll share a full tutorial on the sign too, because anytime I share a wood sign I get a ton of questions about how to do it. It’s so easy, so I’m working on a post with all of the details of how to get it done.
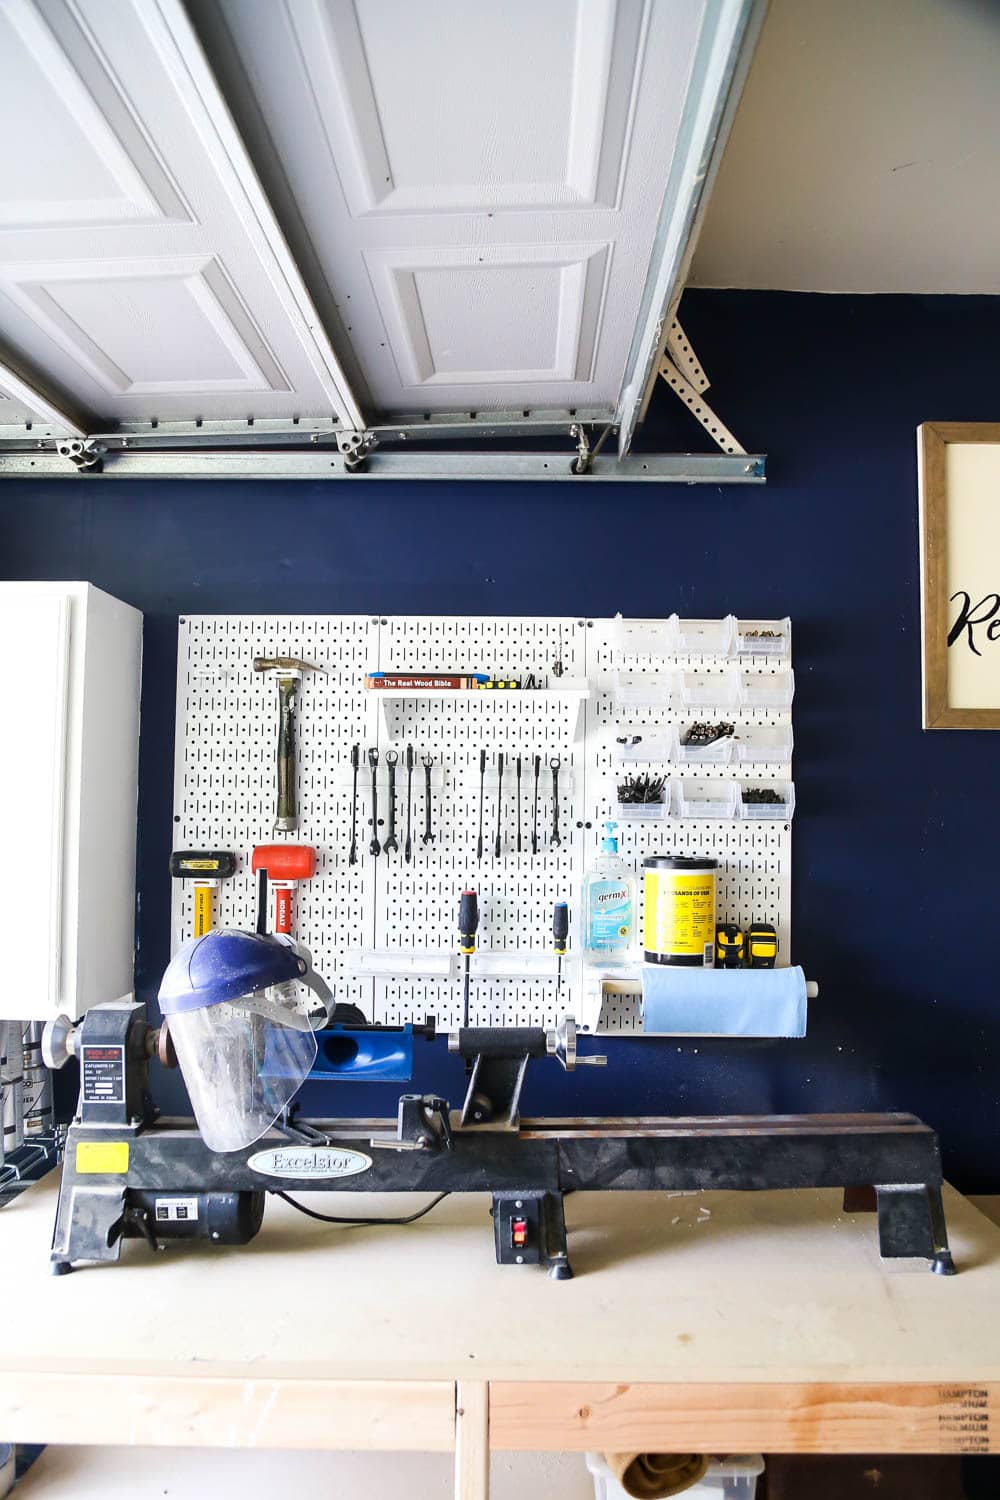
To the left of the miter saw is Corey’s lathe. Above it, we stuck to mostly hand tools and some cleaning supplies. I don’t even know how to express to you how obsessed I am with that paper towel holder (and the shelf that goes with it). That one little section is probably the most-used spot in our entire garage right now, thanks to the paper towels, cleaning wipes, and measuring tape. That’s a hard-working square foot of pegboard, y’all.
Also, as I’m looking at this photo I’m realizing someone didn’t put the rubber mallet away. Whoops.
On the right side of the miter saw, we have all of our most-used power tools. These aren’t all of our power tools, but they’re the ones we use on a regular basis and wanted within easy reach. The other ones are more specialized and will be stored separately. As you can see, we’ve got a little bit of room to grow over here, which is just how we like it. You never want to start off with a pegboard system that’s exactly the right size, because if you want to add anything you’re screwed.
So far, we’re both loving the metal pegboard system in our workshop. I love how sturdy it feels (I don’t have to worry that I’m going to damage if it I’m not careful putting something away), and it just feels so fancy and clean.
Of course, if we’re being real here, I’d have to admit to you that what you can see within the frame of the photos is the only part of the garage that’s in any way organized. The rest of it is a major hot mess.
But, our plan was to take things one wall at a time, right? This wall is done, so now we can start thinking about the next one. I’ve already got another garage post lined up for later this month that will show a few more ways we’re going to be keeping things organized and efficient in here, so we’re still trucking along! Now that we’ve made it this far, we’re both super motivated to get the rest of the room done!
Maybe someday we’ll actually be able to work in here without tripping over cords and boxes and tools.
A girl can dream.
Be sure to check out Wall Control if you’re looking for metal pegboards or a good organization system for your tools. This is a major upgrade from the old wooden pegboard we used to have, and I’m so in love with it!

