How to Turn Your Wall into a Giant Chalkboard
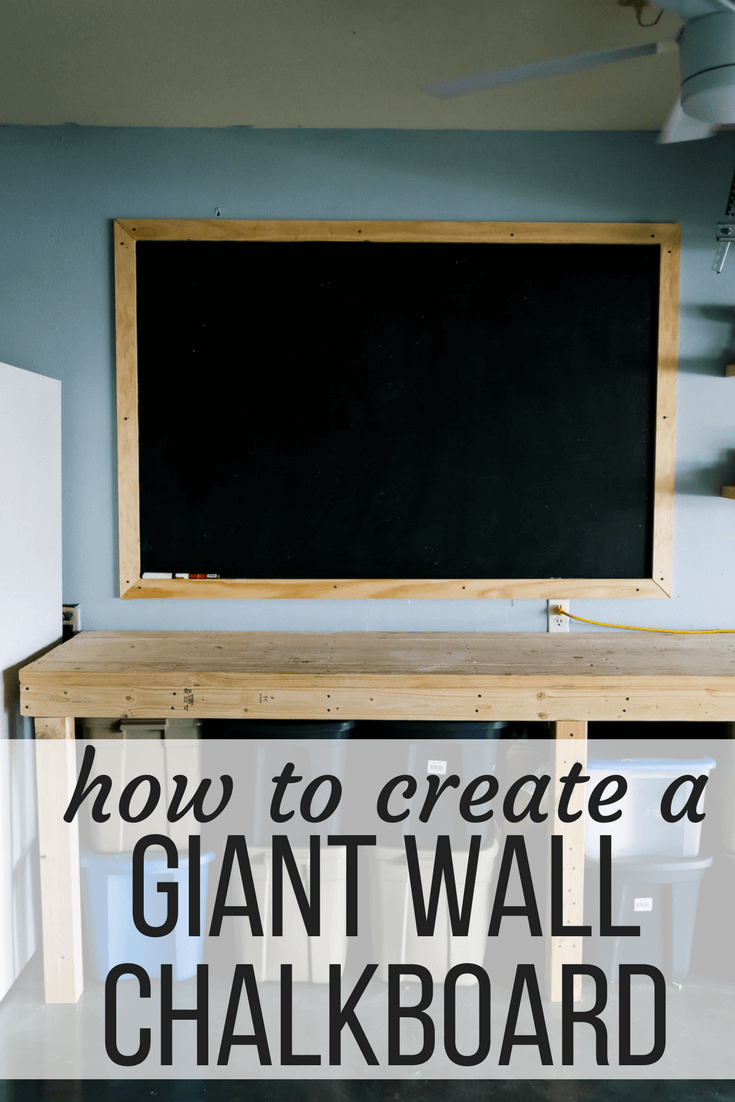
We recently added a big chalkboard wall to our garage, and it’s such a fun and functional addition! In this post, I’ll show you how to make a huge chalkboard for your own home.
Do you ever get the urge to just cover an entire wall in your house with a giant chalkboard so you can draw on your walls whenever you want to? Have you ever dreamed of taking the blackboard right out of your elementary school classroom and plopping it into your home?
Me too. All the dang time.
That’s why, when we first started talking about what we wanted to do in our garage “un-renovation,” I immediately knew that somewhere in the room we’d have to have a giant chalkboard.
Because why the heck not?
We built a large chalkboard for Jackson on the fence in our backyard last summer – it’s one of those magical projects that we love and you guys love and it just seems to make everyone really happy. If one giant chalkboard is awesome, then two is even awesomer, no?
I subscribe to the “more is more” philosophy when it comes to massive chalkboards. Don’t you?
You’ve already seen what the chalkboard looks like in the room, but today I wanted to give you a quick rundown of how I actually did it. It’s incredibly simple – I did the entire thing by myself (Corey wasn’t even home!) while Jackson was running around, distracting me, and getting into trouble.
If I can do it, you can do it.
Promise.
Let’s do it.
How to Create a HUGE Chalkboard Wall
(This post contains affiliate links. Click here to read my full disclosure policy.)
Materials:
- Rust-Oleum chalkboard paint
- Zinsser Primer (it’s literally the only brand I’ll use)
- Paintbrush (this is my favorite)
- Paint roller
- 1×3 pine boards (I used 4, but it will depend on the size of your chalkboard)
- Wood glue
- Drill + 3″ screws
- Level
Step One: Frame Out the Chalkboard
Start by figuring out how large you want your blackboard to be. I just grabbed a measuring tape and held it up to the wall in the approximate space I wanted it to be – mine ended up being 6-feet by 4-feet. Grab your wood boards and use a miter saw (don’t know how? I’ll teach you.) to cut them down to the right size. For me, that meant I needed two boards cut to 6 feet with 45-degree angled ends, and two cut to 4 feet.
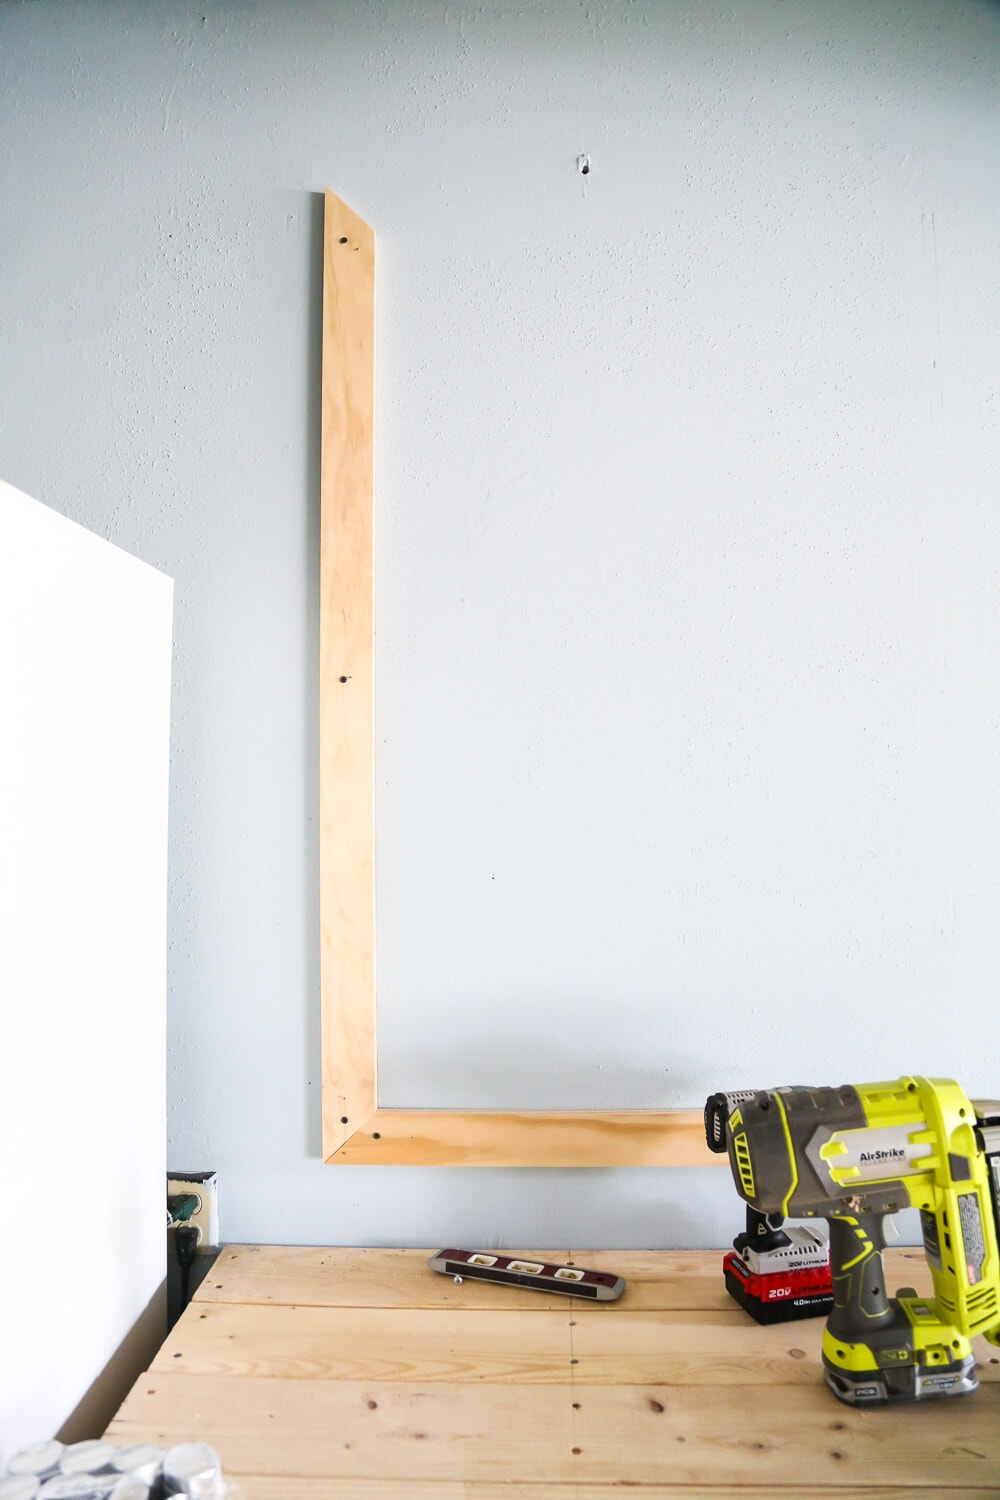
Add some wood glue to the back of your first board and use a level to help you place it on the wall. If you’ve got someone else who can help you hold it in place while you drill it in, great. If not, you can use a nail gun and pop a few nails into it to hold it in place while you screw it in (which is what I did).
Repeat the process with the other three boards – obviously, creating a rectangle.
Step Two: Prime the Area
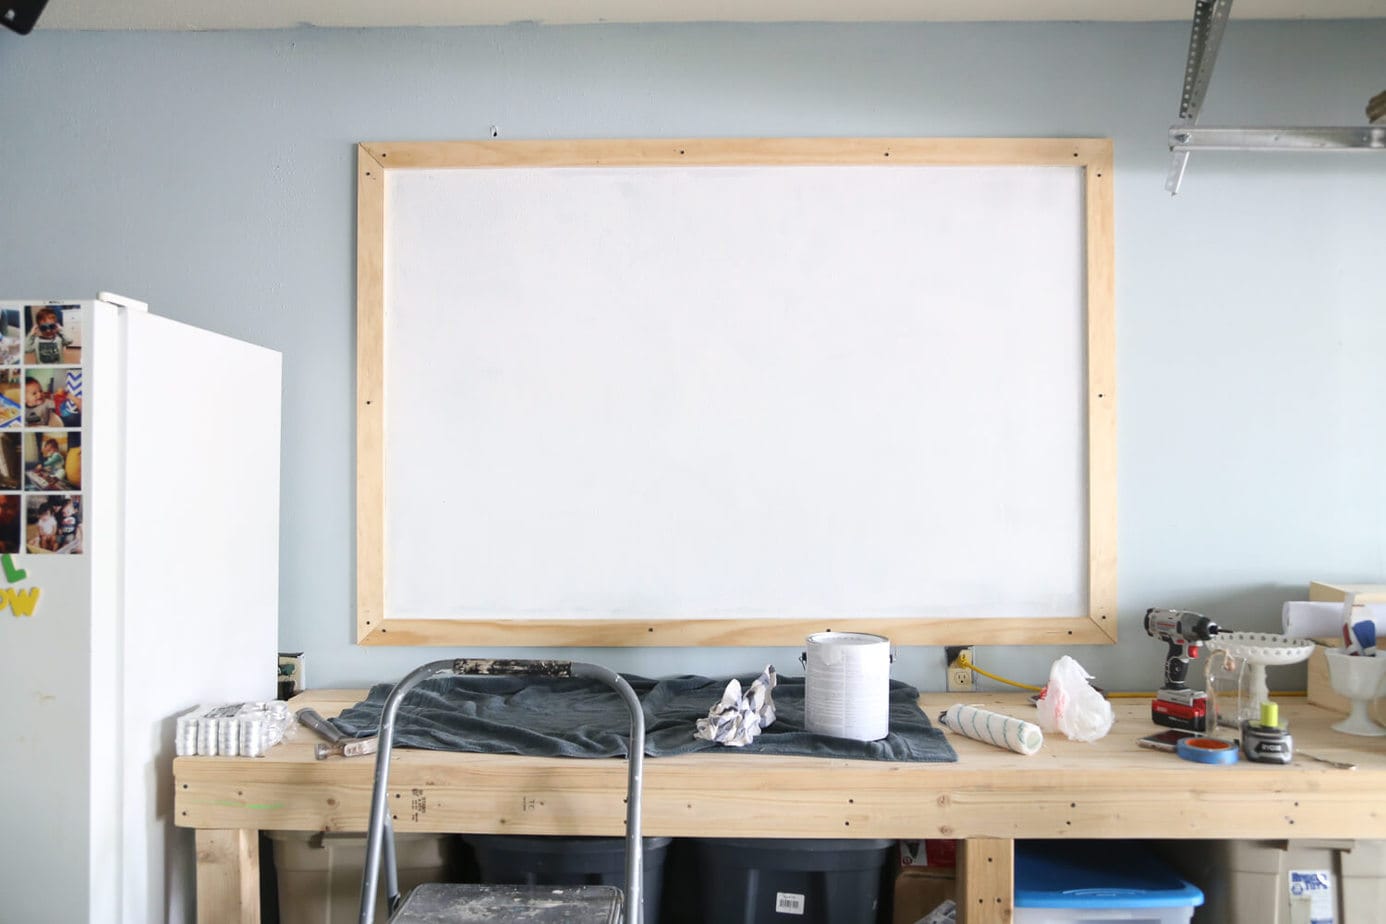
Once you’ve got all of your boards in place, clean up any dripping glue (because it’s going to happen), and prime the inside of the rectangle.
You can tape off the boards if you want to prevent getting anything on them as you’re painting the edges, but I just used my angled brush and kept a steady hand. I did two coats of primer.
Step Three: Add Chalkboard Paint!
Allow the primer to dry for the recommended time, then add two (or three, if necessary) coats of chalkboard paint.
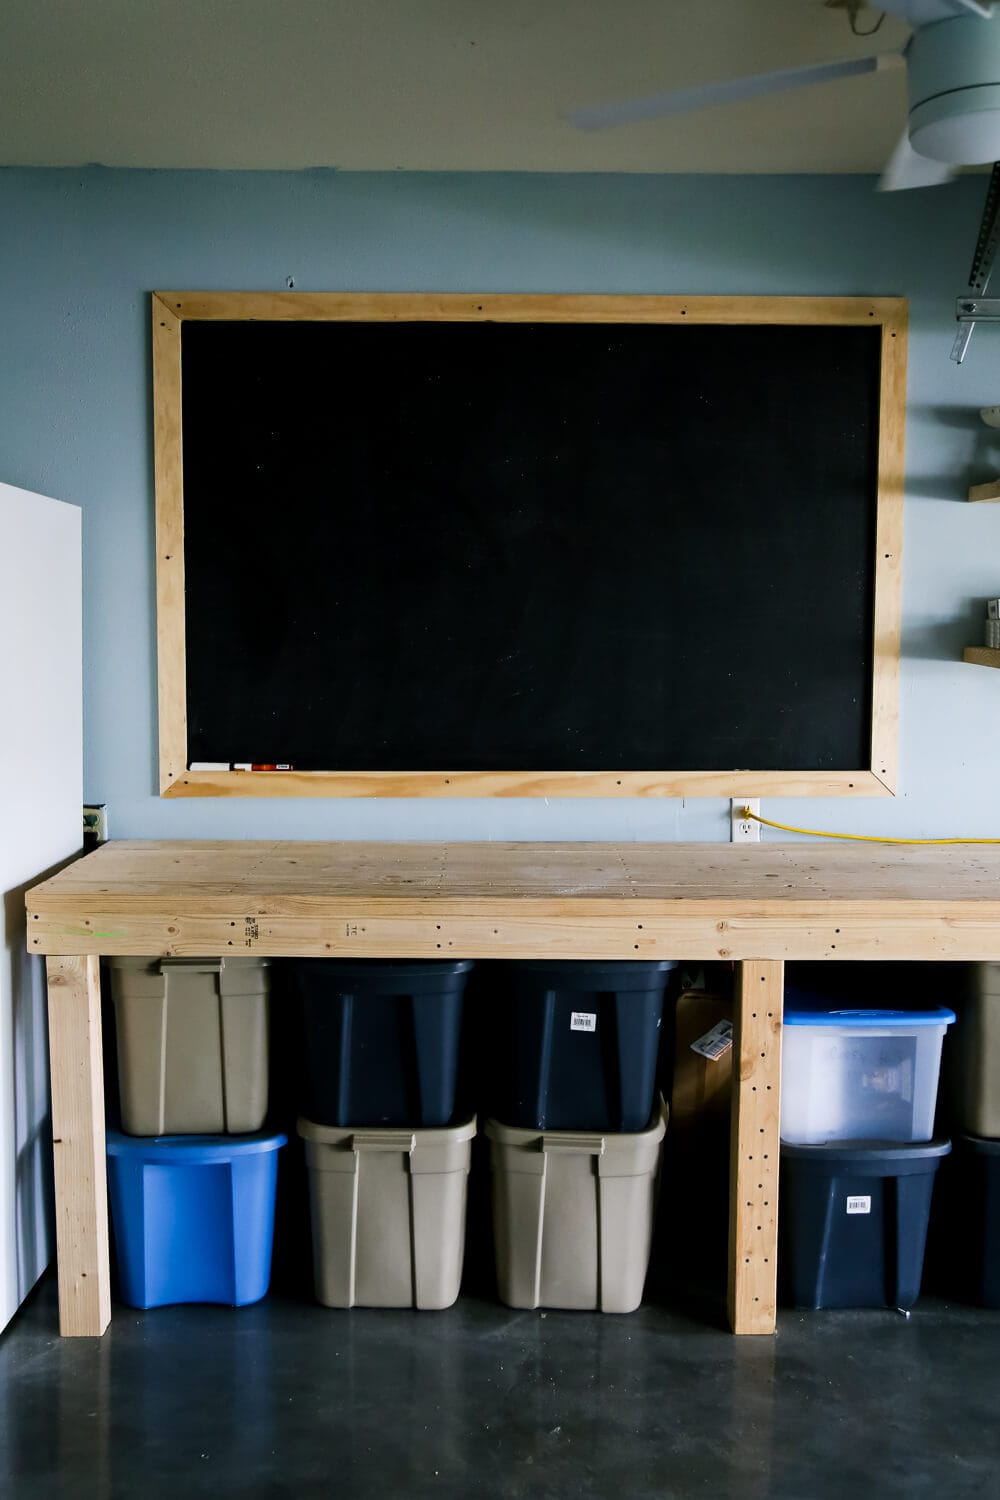
Done!
Before you use it, you’ll want to condition it. This means you need to take some chalk and rub it all over the entire board, like so:
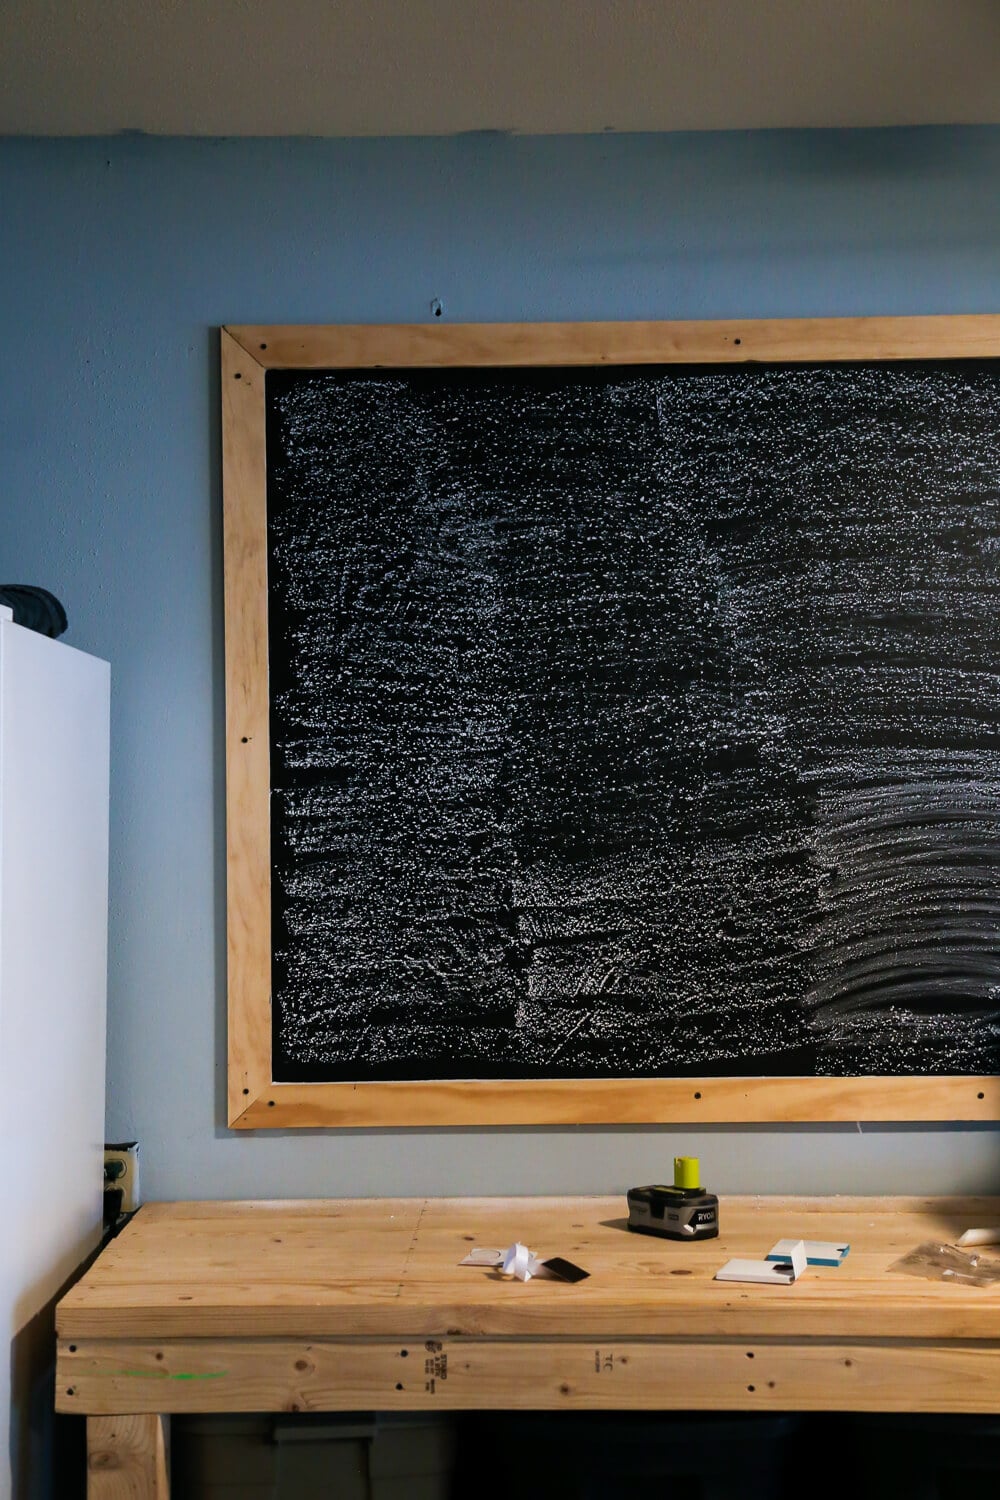
Then clean it off.
This helps it stay nice and clean and prevents it from getting dingy and leaving chalk residue. You will still need to wipe it down with a wet cloth every once in a while to make sure it stays completely clean, but mine cleans off just fine with a dry paper towel (and my walls are pretty heavily textured).
You can use plain old chalk on this and it will work just fine, but I like to use a chalk pen. It gives me a lot more control, and it looks a lot better too.
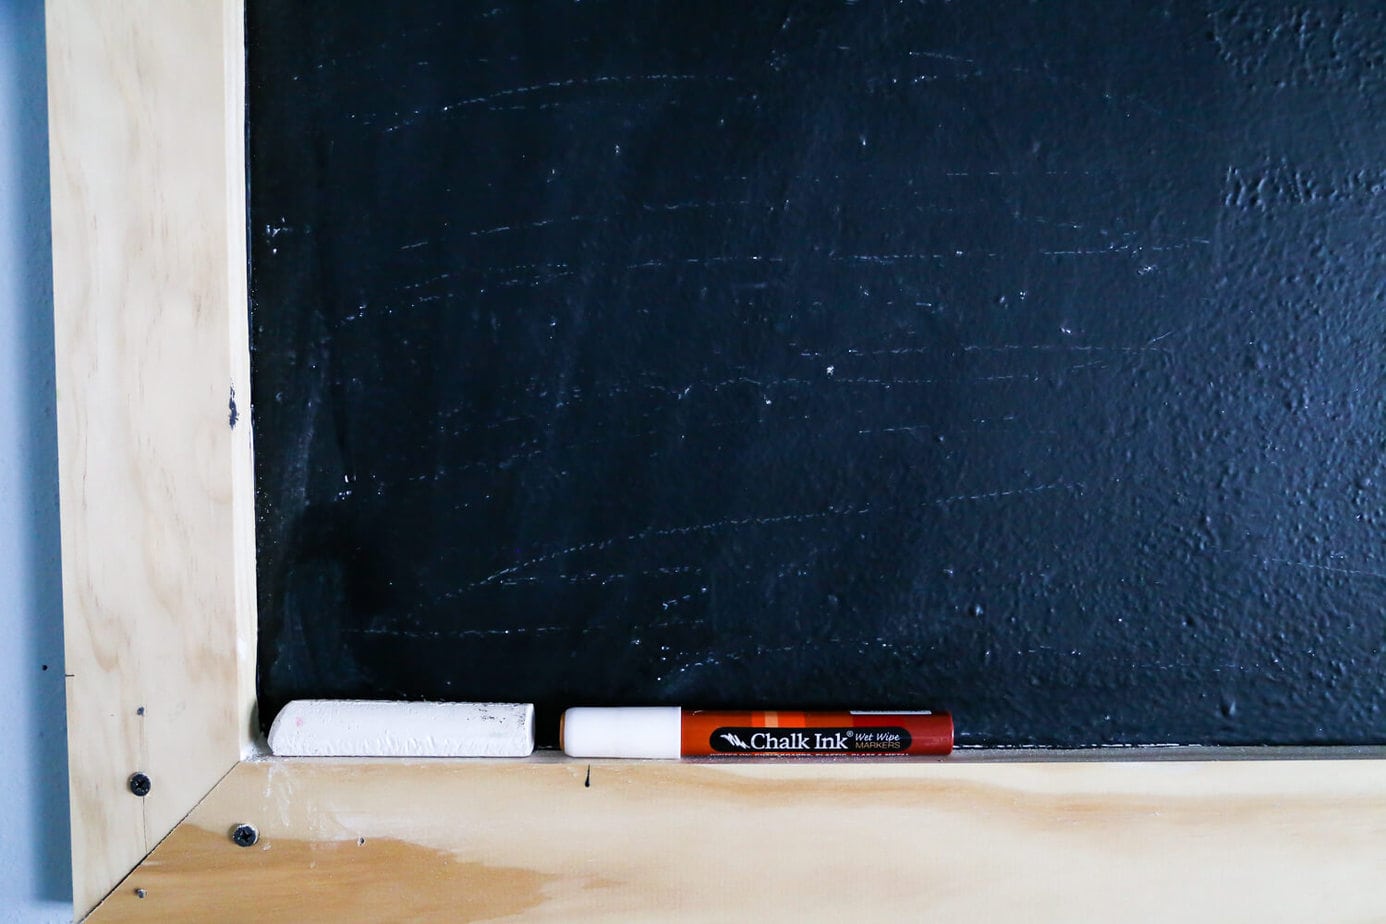
Currently, I’m using my giant chalkboard to track some upcoming projects (sneak peek of what’s coming up on the blog!) and help me remember what we need to pick up on our next run to the hardware store.
Oh, and sometimes Jackson takes over.
He was drawing a portrait of me. He made sure to point out where the knees were.
Apparently, I have large knees?
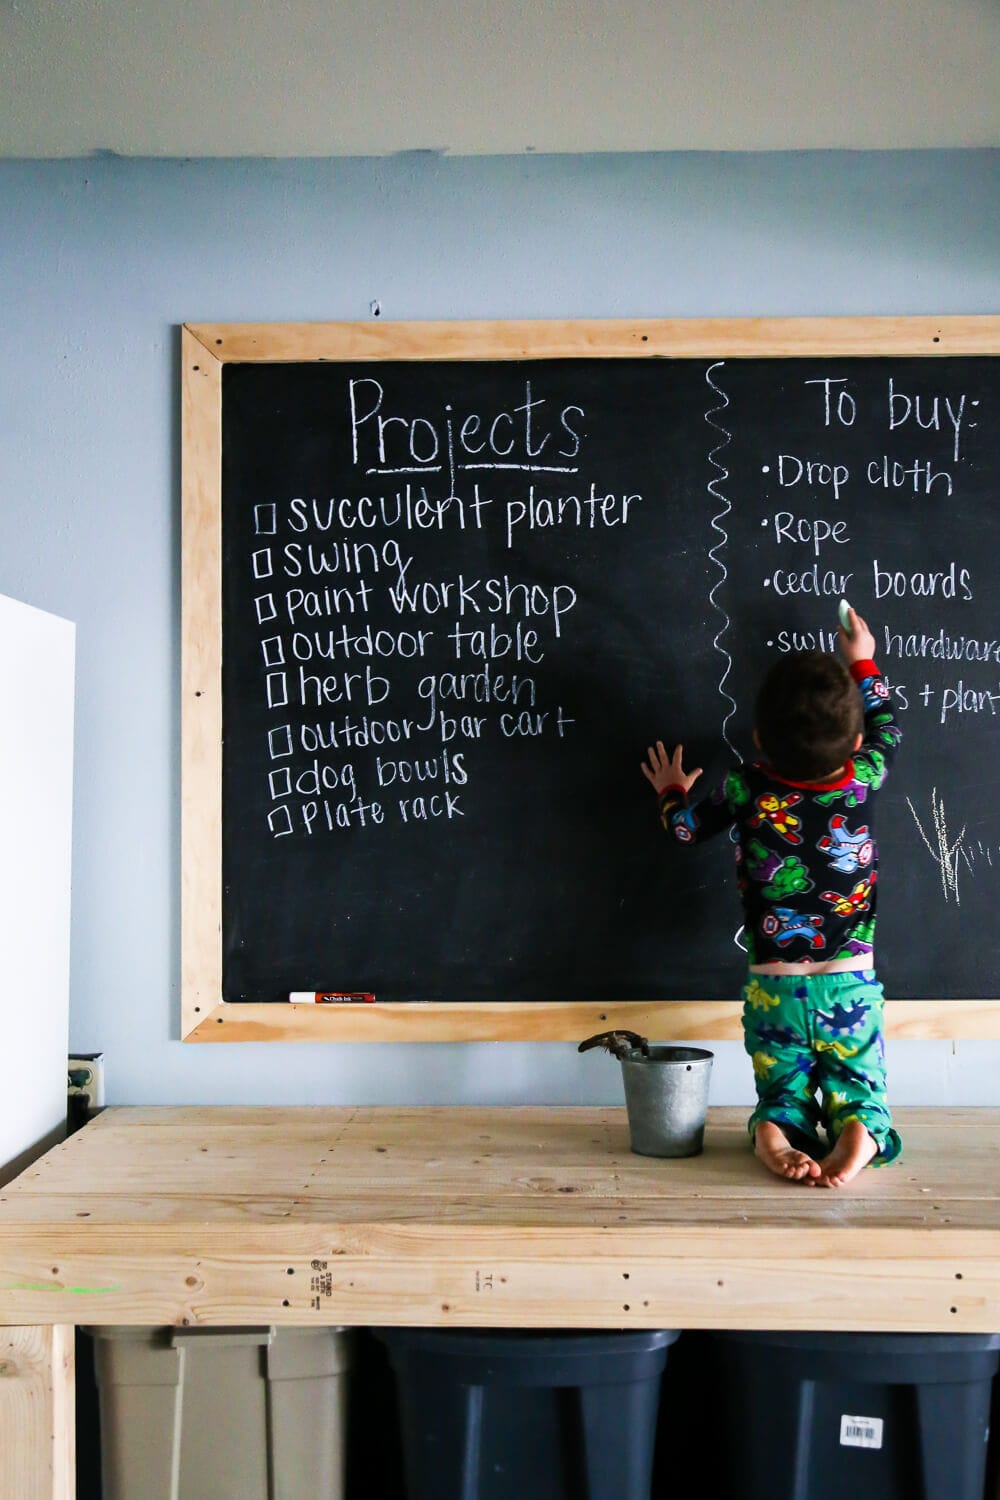
I really am excited to finally have this space in order, and I think this blackboard is going to be an awesome way to help me stay organized while I’m working in here. Plus, it’s a fun distraction if I need a break from a project.
I can teach Jackson how to draw Corey next.
(We’ll focus on his giant elbows.)

That looks great! I want to do my wall but it is textured with a knock down surface. Do you think if I bought a large, thin piece of wood and painted it in the same manner as you, that it would work as a chalk board surface?
You could definitely do that! We’ve done that for outdoor spaces and it works great.