
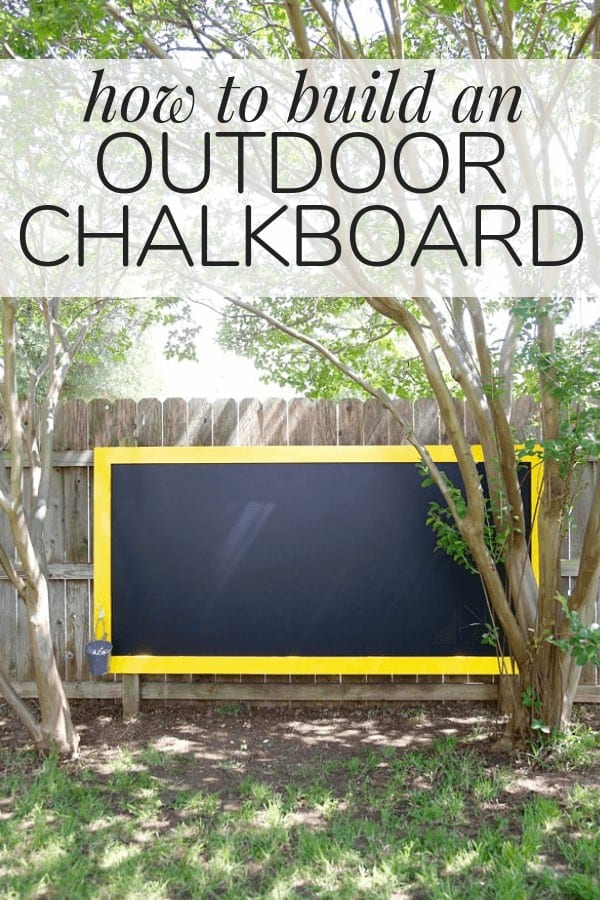
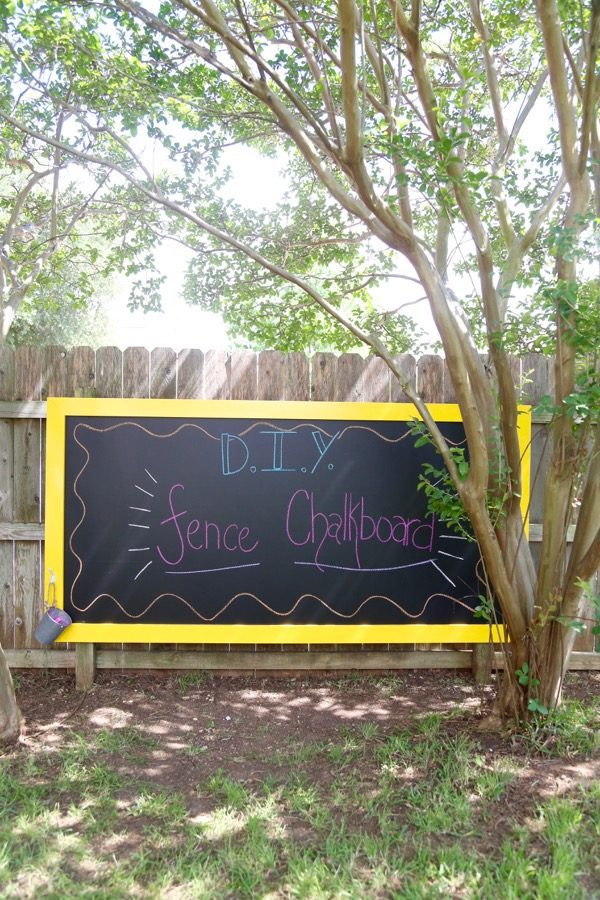
How to Make a Huge Outdoor Chalkboard
Need a fun idea to keep your kids busy in the backyard? This giant outdoor chalkboard for your fence is the perfect addition to your yard, and the kids are guaranteed to love it!
Note: This post was originally published in May of 2016 It’s being re-published and updated in an effort to put a spotlight on some fun, older projects you may have missed the first time around!
If you have a kid, you’ll know that chalk is always a huge hit. My son adores playing with chalk and I think he could spend all day hanging out in the backyard drawing pictures. The only problem? Our patio is too small for him to really be able to do much on it! So, we decided to create our own solution by building a huge outdoor chalkboard to hang on our fence. It looks great, it’s held up beautifully, and he plays with it all the time!

This post contains affiliate links. Click here to read my full disclosure policy.
How to Build an outdoor Chalkboard
Materials:
- 4ft by 8ft piece of plywood (I’d recommend exterior, pressure-treated plywood!)
- Three pre-primed 8-foot 1x4s (You can get cedar or pressure-treated wood if you want it to be extra weatherproof, but we just used whitewood – it will hold up fine if you paint it)
- One 8-foot cedar 2×4 (Used for mounting to the fence)
- Primer
- Paintbrush & paint rollers (This is my favorite brand of paintbrush)
- Chalkboard paint
- Paint or stain for frame (This is what I used)
- Drill/Driver
- Wood glue
- Clamps
- Screws (1 1/2″ and 3″)
Prep + Painting
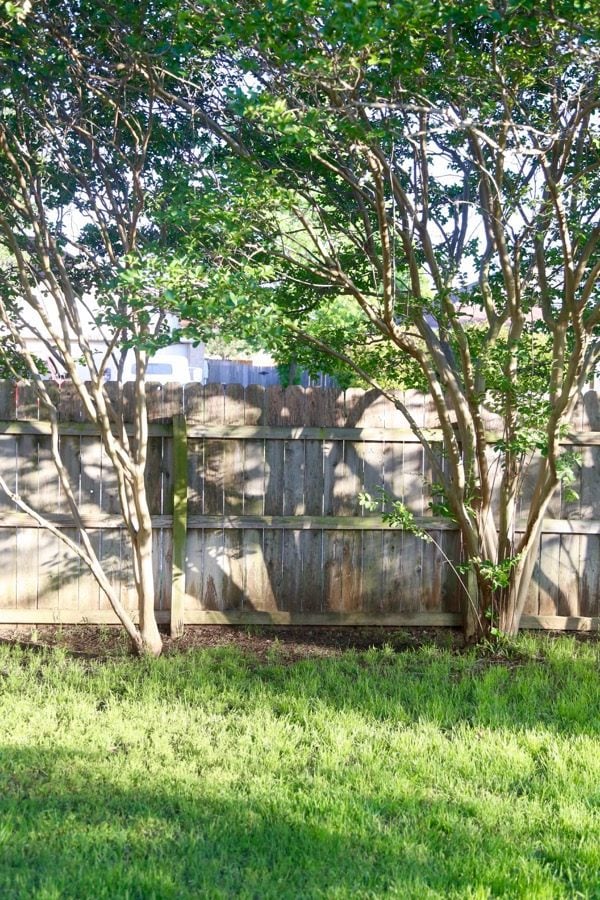
First, we picked a spot – we’ve got an area of the fence that’s nicely lined with trees and gets lots of shade. Jackson already plays over there a lot, so it was perfect!
We started with a large 4X8 foot piece of plywood – something like a concrete backer board would be a more weather-proof option, but since we were painting this, we knew it would hold up fine. (Update: when we moved from this house two years later, the chalkboard still looked as good as new, and we just used plain non-pressure-treated plywood!)
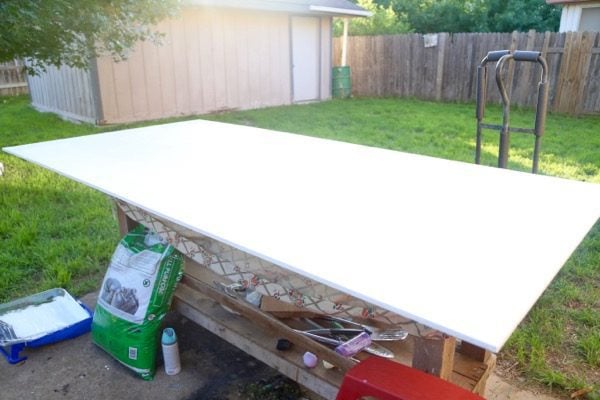
We started off with some primer. Lots of it – I did three coats of primer on both sides of the board, and we bought pre-primed boards for the frame. We went ahead and cut the boards for the frame at a 45-degree angle on both sides before priming using our miter saw (don’t know how to use one? Here’s my tutorial!), then we made sure to get the edges of all the boards particularly well because that’s a place water might seep in.
Once it was all primed, it was time to paint. We spray-painted the frame pieces with yellow paint and used chalkboard paint on the big board. Be sure to check the directions on your paint if you are trying this for yourself – I never realized chalkboard paint requires a full 24 hours between coats!
Also, a quick note on the chalkboard paint – it’s technically not meant for exterior use. I’m sure with some searching and creativity, you could find an option that is meant for outside use, however we had zero issues with this holding up over time!
Assembly
Once everything was painted, it was time to assemble it!
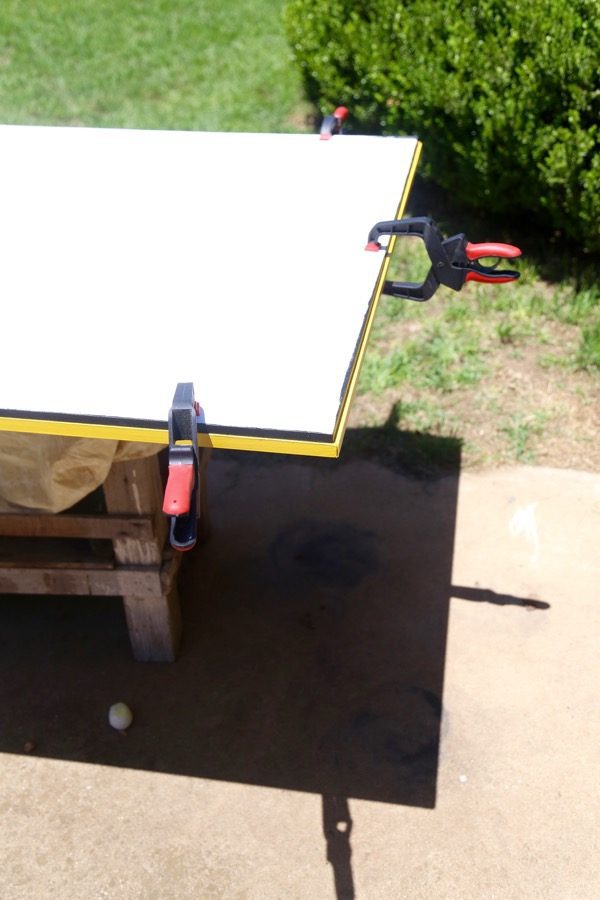
We applied wood glue to the frame pieces, then clamped them to the front of the outdoor chalkboard, as shown above. Then, we drilled into the board from the back using 1 1/2″ screws. This way, we don’t have any screws showing on the front of the board!

Once that was taken care of, all that was left to do was hang it.
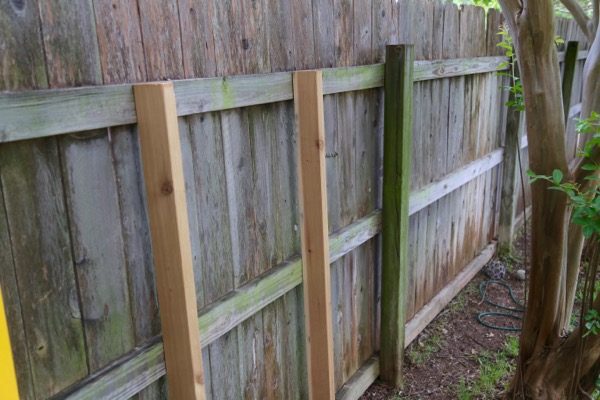
We centered the outdoor chalkboard on a section of fencing so that each end would be able to be attached to one of the posts. For added stability, we hung two cedar boards as spacers in-between the posts, as shown above. We stuck with cedar for this part, since these boards are the only ones that are unpainted and fully exposed to the elements.
We aligned the outdoor chalkboard exactly where we wanted it hung, then used black outdoor screws to attach the boards directly to the posts and supports. We just drilled into the black part of the chalkboard, so they’re barely visible.
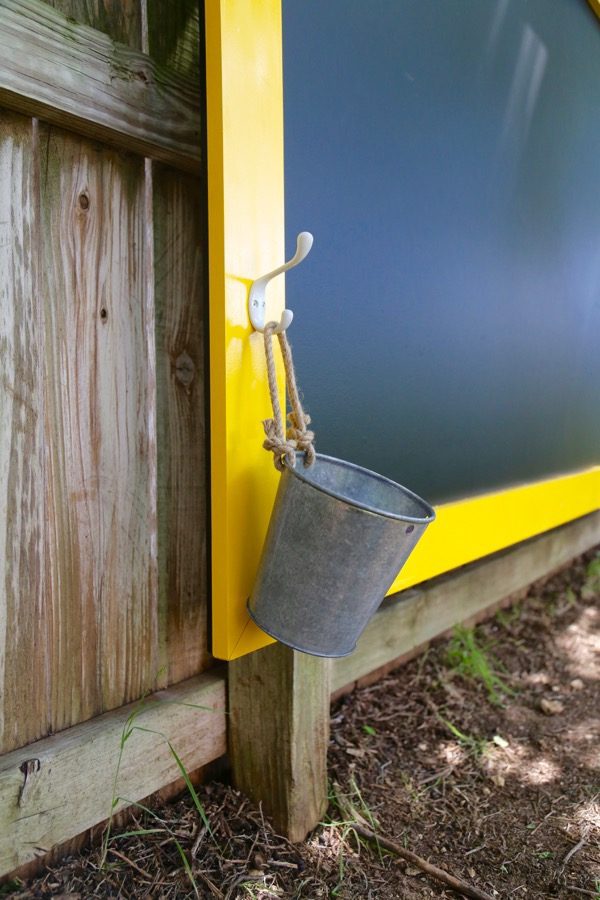
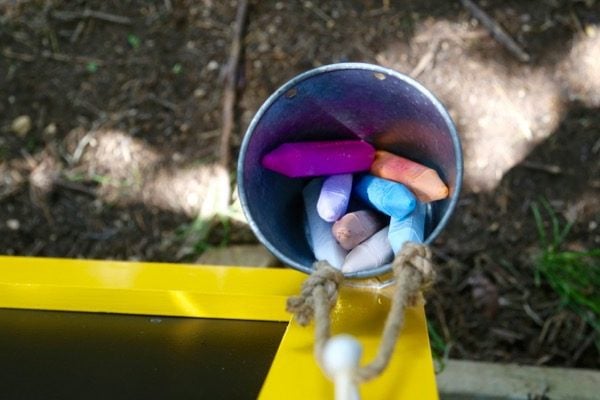
After it was hung, we took a cute little hook (like this one) and a metal bucket and hung them nice and low on the chalkboard to hold all of Jackson’s chalk! The bucket is meant for potting, so there’s a small hole in the bottom which will be perfect for allowing water to leak out if it rains.
We got it all hung up and ready one day when Jackson was taking a nap, so when he woke up…

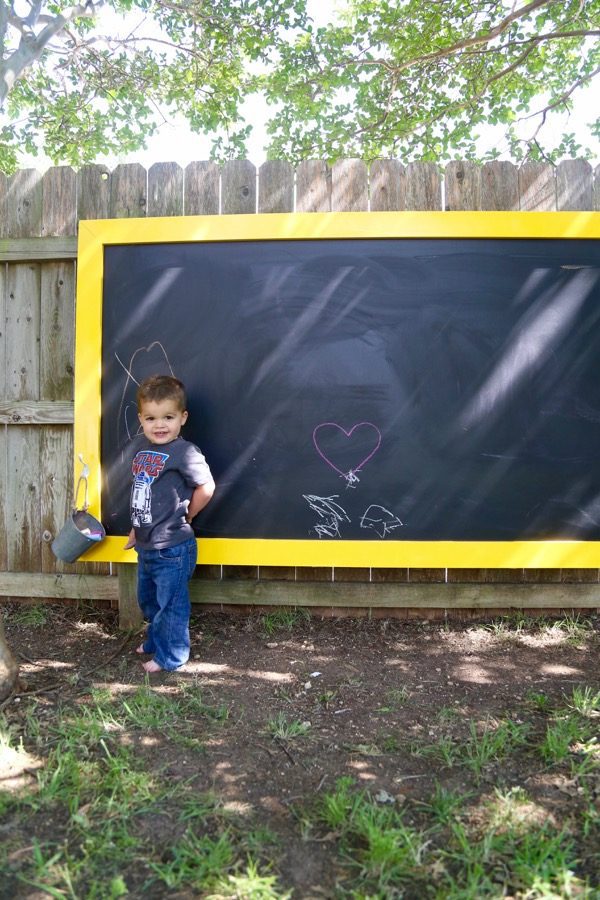
… let’s just say he was excited.

Hi! I was looking to see if maybe you could give me some input on a (easier?) idea I had…what if I used a (good quality) store bought chalkboard and attached and sealed a backer board to weatherproof the back…? And then used outdoor paint on the frame.
I don’t see why that wouldn’t work!
is the chalk board itself waterproof? is there ways to make it if it isn’t?
Hi! You can use concrete board instead of plywood if you want to ensure that it’s waterproof!
I love this! I feel like this is a project I could actually do. I’m confused why there are only three 8 ft 1x4s. There are four sides for the frame. Am I missing something? Did you cut one in half and then use to the mitre saw for the edges? Obviously this shows that I’ve barely used tools and am new to this lol thanks!
Yes, one of them was cut in half for the short sides!
Do you have trouble with bugs making nests behind? We have a large yellow jacket population in the spring and they will build anywhere there is a space.
No, we never had an issue with this! We do have quarterly pest control services, though, so that always helps.
I think my kid would love to have this in our backyard. I have a simple question Wondering how it’s held up in the rain? Tree Removal Castle Rock
It held up beautifully – no issues! It is partially shaded from the trees, so that helps, but it stayed looking like new for years (and then we moved)
What chalk is best for the kids to use that is easy for them to clean off without it having the white dust lines all over it?
Hi Kris! I’ve never used any special chalk, just whatever I grab at the store!
Not a comment but a question…..
How did you prep the blackboard before first use? Some commercially available blackboards say to chalk over the whole surface (and erase) before 1st use.
Thanks
It’s always a good idea to rub chalk all over it and erase before using!
Jerry and I had always wanted to build our own shed, even though we had never done anything like it before. We actually got around to doing it after we moved into our new house. Our friends couldn’t believe we’d actually done it all ourselves, and I must say, I’m really proud of it https://bit.ly/2NFlzDw
Really cool and simple summer project. Would definitely be taking a shot at this if we had a backyard.
Great project! Like one of your commenters said. Perfect for outdoor family games too. I’m thinking as a scoreboard for some family whiffle ball.
Oh my gosh Amanda, this is awesome! My daughter is obsessed with chalk right now and she would absolutely LOVE this!
I just wanted to let you know that you were featured as a Rockstar at last week’s Creativity Unleashed party! Congrats, and thanks for sharing at our party! http://www.practicallyfunctional.com/creativity-unleashed-182-hand-lettering-giveaway
Thanks, Jessi!!
Oh my gosh! This is so fun! It’s just me and my husband and we would have a blast with something like this 🙂 Visiting from Merry Monday. Pinning!
Thanks, Angie! It really is fun to have!
Love this idea for my family even though my youngest is in 3rd grade. I have an oversized deck and am thinking of hanging this on my brick wall for family games such as Pictionary, hangman, etc… Super cute and fun idea for hosting a get together….
That’s an awesome idea, Candee!
This is such a fun idea and I totally want to try it!!!! Wondering how it’s held up in the rain?
So far, so good! We’ve had some pretty incredible amounts of rain over the last month or so and it’s still as good as new!
Love it, what a brilliant idea !
Thanks, Claire!
I LOVE this! What an awesome thing to have outside for kiddos!
-Clarissa @ The View From Here
Thanks, Clarissa! We’re loving it so far, too!