DIY Cedar Plank Christmas Tree
I have a thing for decorating with trees this time of year. When I am shopping for Christmas decorations, I will gravitate to the tree decor one hundred percent of the time, and I love coming up with fun DIY Christmas tree decor ideas. Last year I made some scrap wood Christmas trees and they’re still one of my favorites, so I figured this year we’d try some cedar planked Christmas trees!
This post is sponsored by CedarSafe and contains affiliate links.
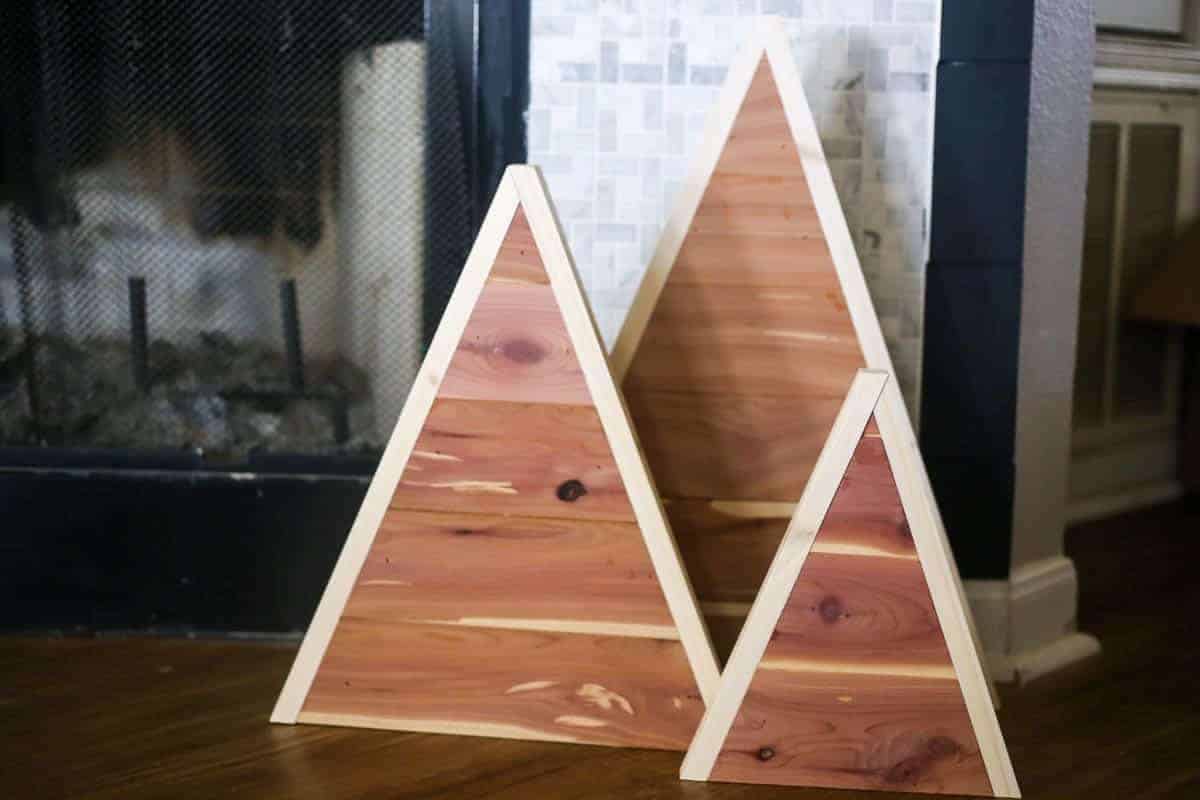
These are really easy to make and they turned out so cute! I went with a pretty large size so that they could just sit on the floor next to our fireplace, but you could adjust for basically any size.
I’m probably going to have to stop making DIY Christmas tree decor at some point or else my entire house will just turn into a forest every December.
But, I mean, is that really a bad thing?
If loving Christmas trees is wrong, I don’t wanna be right.
DIY Cedar Planked Christmas Trees
Materials Needed:
- 3/4″ Plywood (I used some scrap from an old project, but a half sheet should be more than enough)
- CedarSafe Cedar Planks
- Wood Glue
- Brad nailer
- Orbital sander (or table saw – read on to see what method you’d like to use!)
- 1X2 wood (Use whatever is easiest – we had some pine leftover from another project so I used that!)
- White stain
Instructions:
Cut Your Base Shape
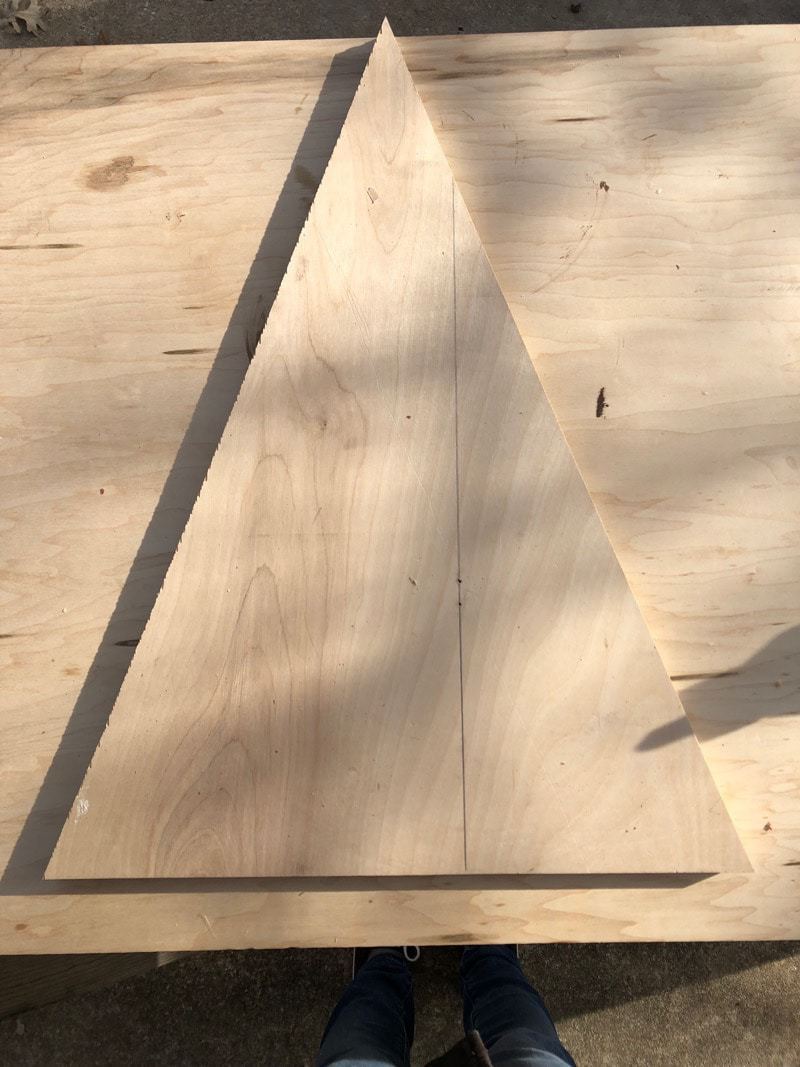
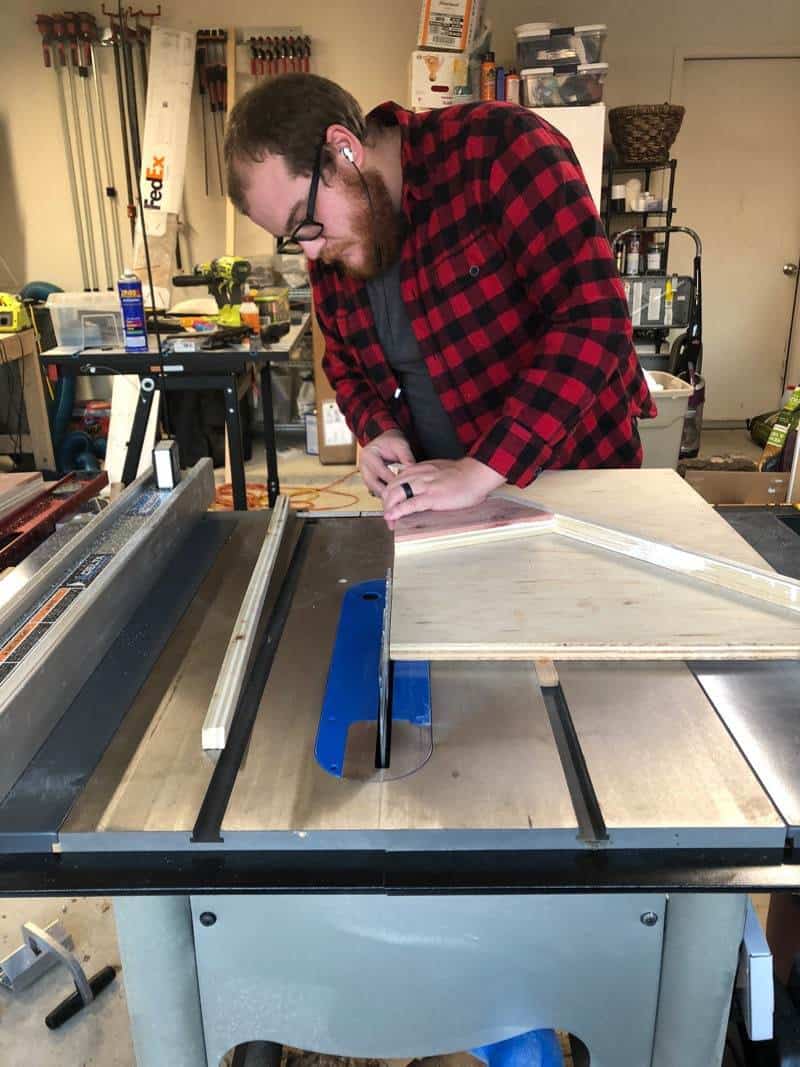
Begin by cutting your plywood into a triangle for a Christmas-tree shape. I originally planned to use the circular saw for this part, but Corey stepped in and used the table saw to ensure a straight line. Either tool would work perfectly fine, though. Especially if you have a steadier hand than I do.
To make the shape, I simply determined the size I wanted the bottom of the tree (my largest tree is 18″ at the base), then used a scrap piece of wood to help me draw a straight line in a diagonal. I didn’t think too much about the angle – math is hard! Instead, I just drew the tree at an angle that was pleasing to my eye and called it a day. I had to draw a couple of different lines before I landed on the shape that felt right, but try not to over-think it.
Attach Cedar Planking
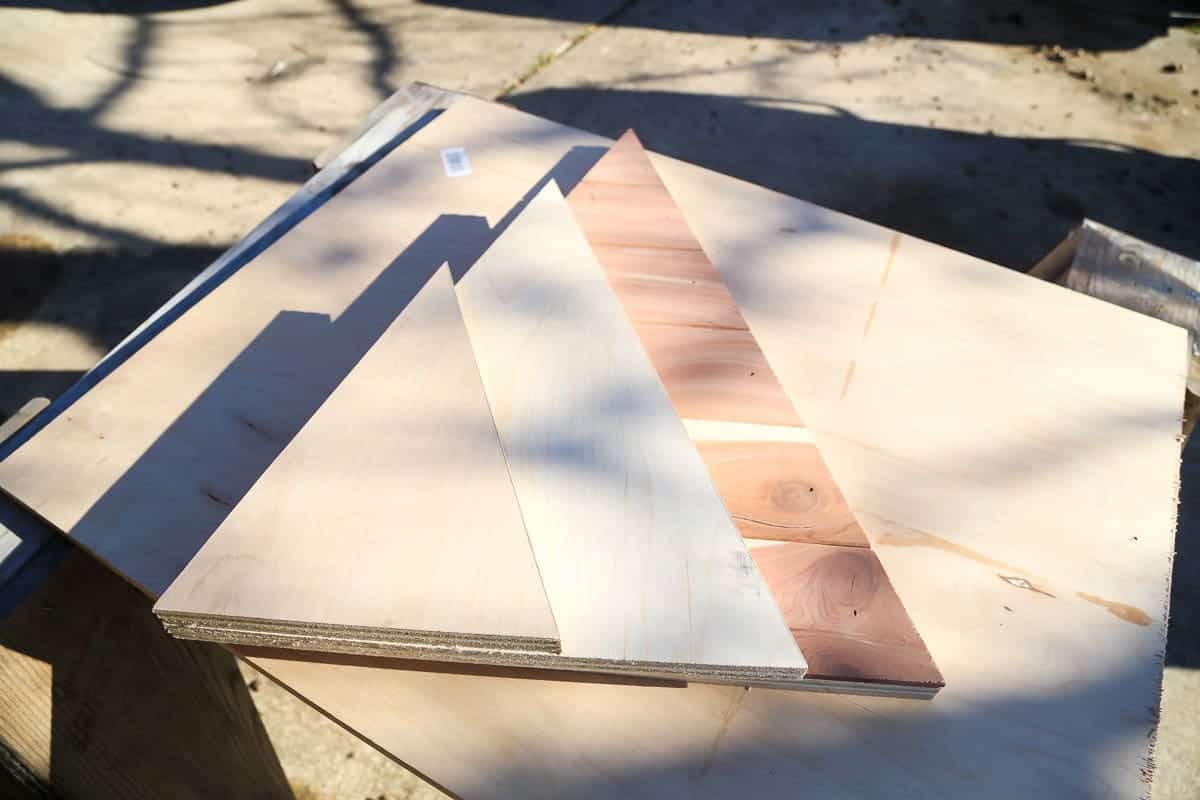
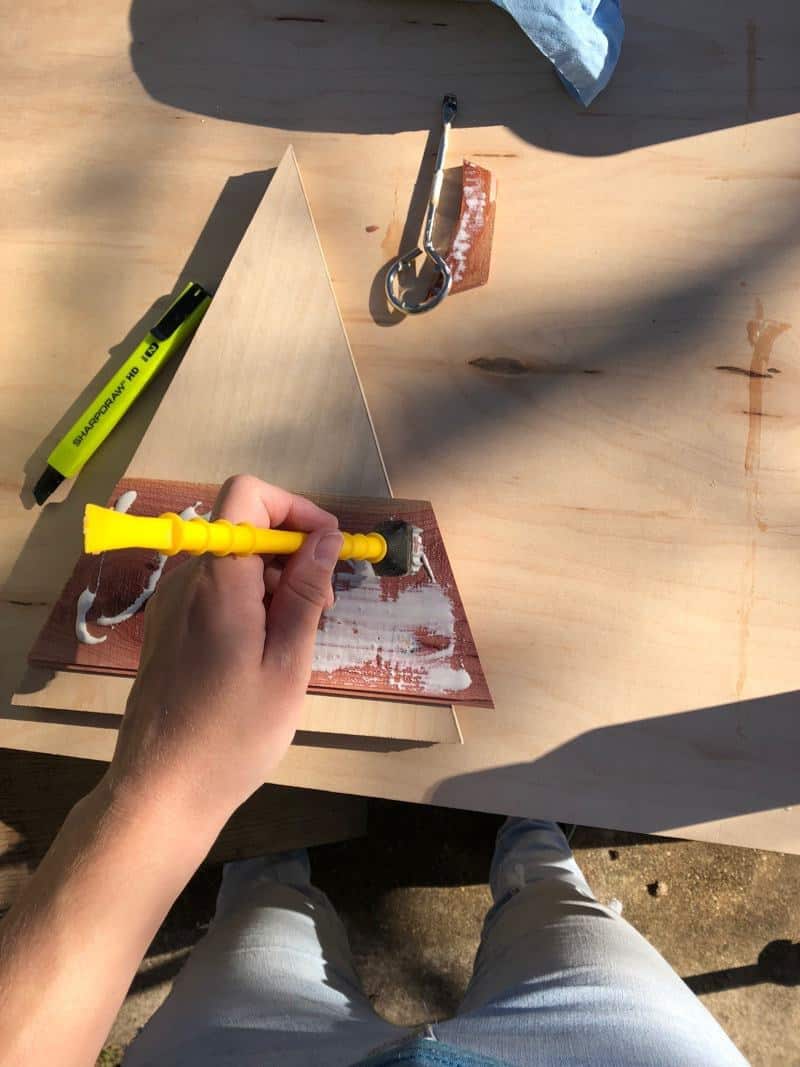
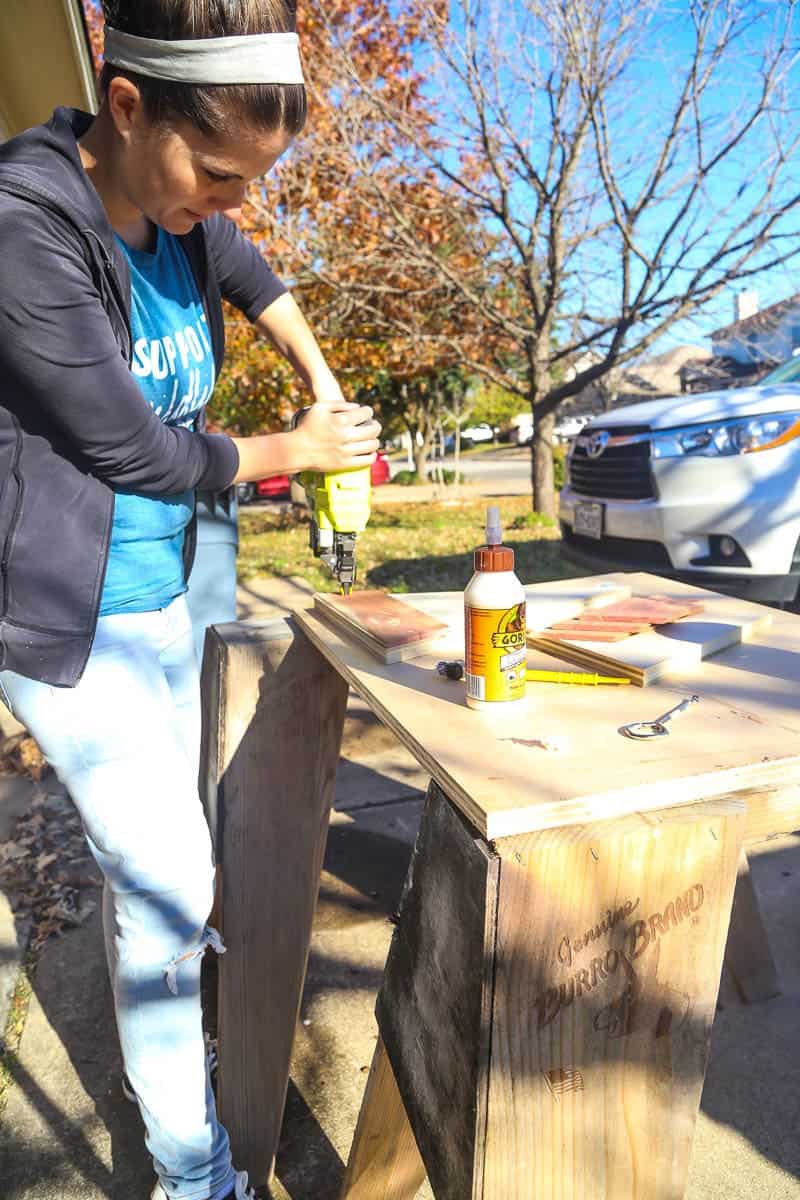
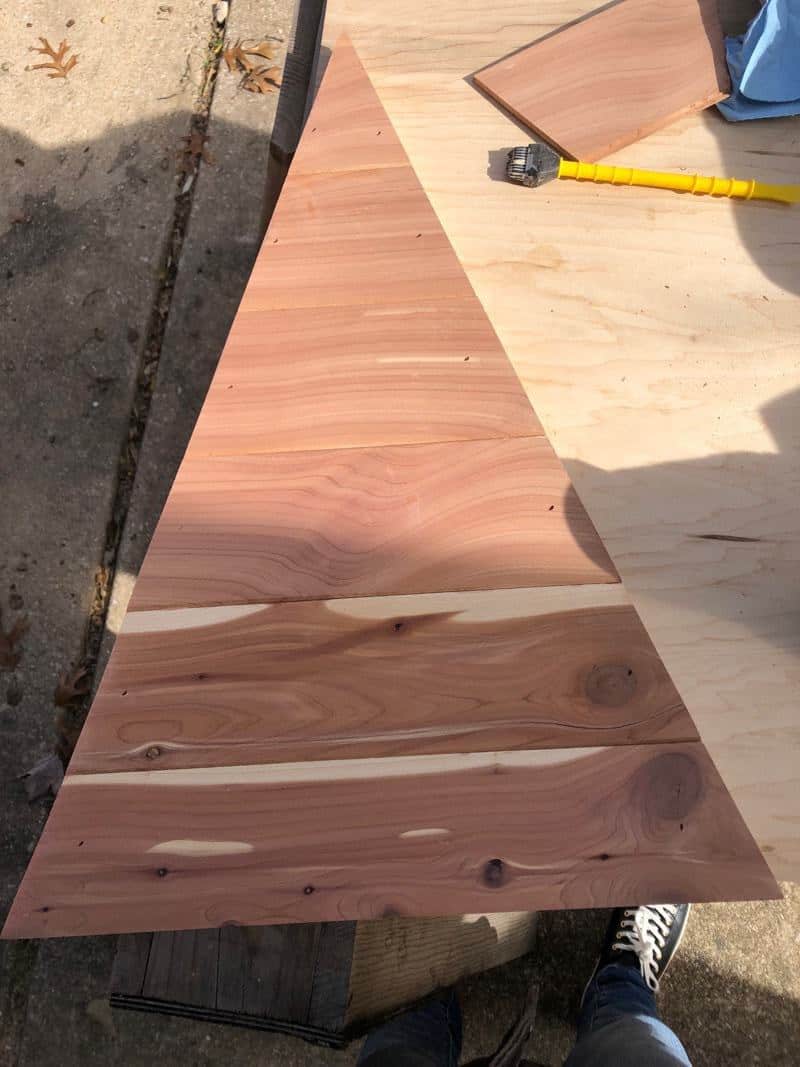
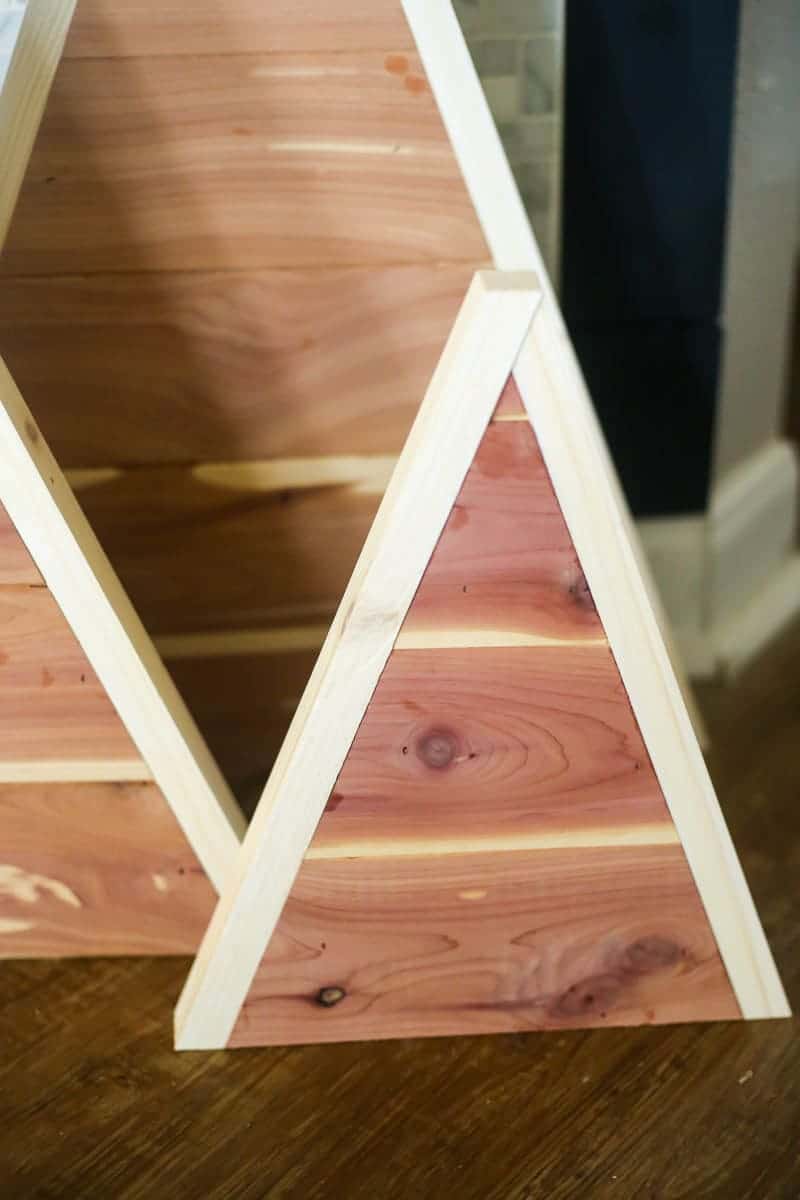
Once your base shape is cut out, you’re ready to lay the cedar on top. We used this angle finder to determine the angle of our tree, then adjusted the miter saw to match – that way, the angle you’re cutting your cedar planks at will match exactly. I used my miter saw (here’s a tutorial for how to use one!) to cut my cedar planks to the appropriate size, then I attached them with wood glue and some tiny nails.
Work your way up the tree, interlocking the cedar planks until you reach the top. Once all of your cedar planks are cut and attached, you’ll want to smooth out the edges to ensure that your trim pieces fit smoothly on the side. Corey ran ours through the table saw one more time to even out the sides, but you could just as easily use a sander to sand down the edges. As I was working, I tried to err on the side of cutting my cedar ever so slightly too big, then cutting (or sanding) it down to line up with the base. I’d much rather have to do a little extra work on the back end than have a too-short piece!
Frame It Out!
Once you’ve got it all smoothed out, you’re ready to add the framing. This step isn’t completely necessary, but it helps hide the edges of the plywood and makes everything look a little more finished. Corey ripped our 1X2 boards down to be the exact same depth as the tree itself, but you could leave them alone for a nice little inset effect – either would be beautiful! I stained my boards with some white stain before attaching them – it toned down the yellow in the pine a bit and made it not quite so jarring against the cedar. I love how the contrasting colors turned out!
To cut the angles, we just overhung each side a little bit and used the table saw to cut them flat. If you don’t want to use the table saw (or don’t have one), you could just divide the angle of the corner in half and set your miter saw to that angle to get a mitered corner. I attached them to the edges of the tree using the same wood glue and nails method.
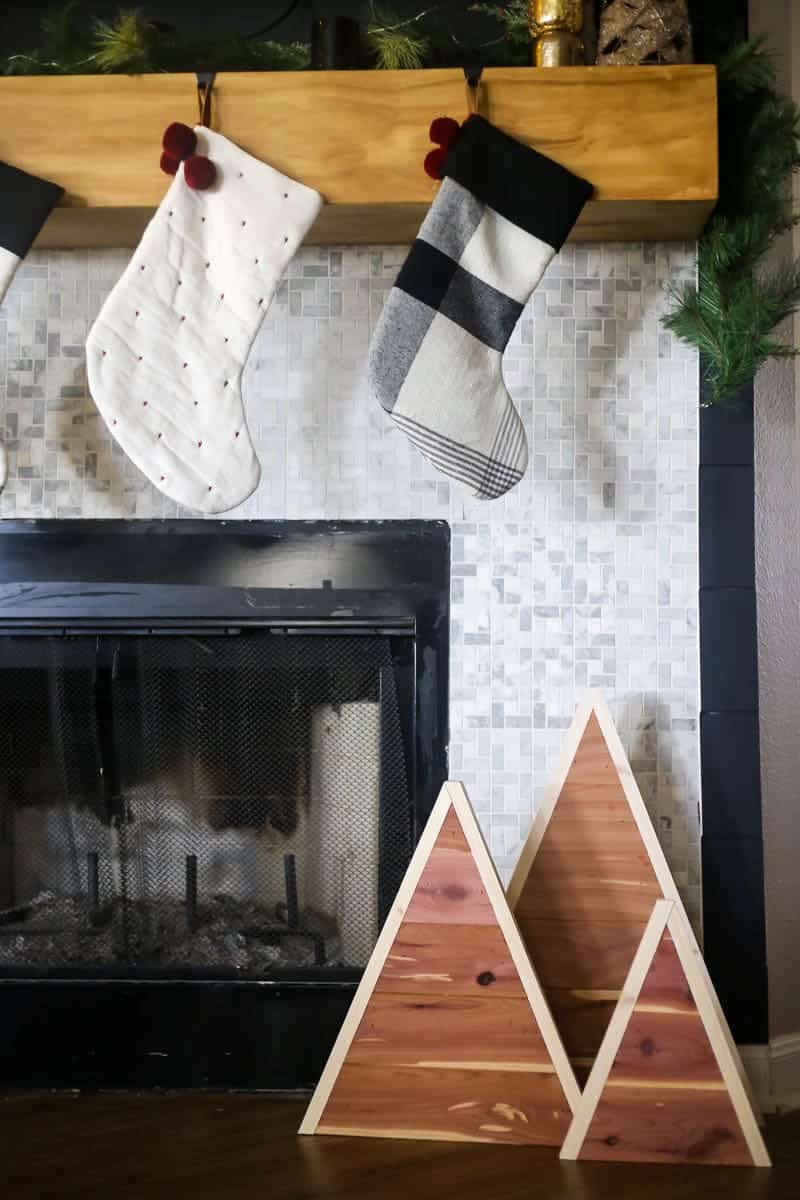
We considered adding a little kickstand to the back of these to help them stand up, but they’re pretty sturdy on their own! Alternatively, you could always add a picture hanger to the back and use them as wall decor – that’s exactly what I’d do if I had the right spot for them. I still haven’t decided exactly where these will go throughout the season, but for now I set them in front of the fireplace, and I think they look pretty darn adorable.
Of course, you could always paint them or stain them if you’d like, but I love the wood look and won’t be touching them.
But, wouldn’t these be cute in black? Or a super dark green?
I might have to make some more…
I really love how these guys turned out, and it was really fun to come up for a creative use for these cedar planks that didn’t involve putting them on a wall! I’ve used CedarSafe a few times before (we installed it on the ceiling in our master bathroom in the old house, and we installed it in Grant’s nursery closet), and I’m such a huge fan of the quality, the smell, and just how simple it is to use. I’m already brainstorming where I can use it next… I mean, I have a bit left over from this project, so surely I can come up with something, right?!
Get more info about CedarSafe and where you can purchase it right here, and leave me your ideas for what I should do with my leftover planks in the comments! Line another closet? Make cedar-planked Christmas stars? Wood art for my walls? So! Many! Possibilities!


Thanks for sharing this decorative design idea. It looks beautiful and will share it with friends!