
DIY Paneled Door {For Just $25!}
I just added DIY trim to our pantry door and it only costs $25! Here are all the details on how I got it done.
The more I work on updating the various homes we’ve lived in, the more I’ve learned that the details matter. Little things like light switches, outlet covers, and door trim can make a huge difference in how the entire home feels. So, as we settle into this house, I’m working really hard on prioritizing the little things (that aren’t actually so little).
I just recently finished painting the main areas of our home, and it wasn’t until all the walls were clean and white that it became very obvious that none of the doors were!
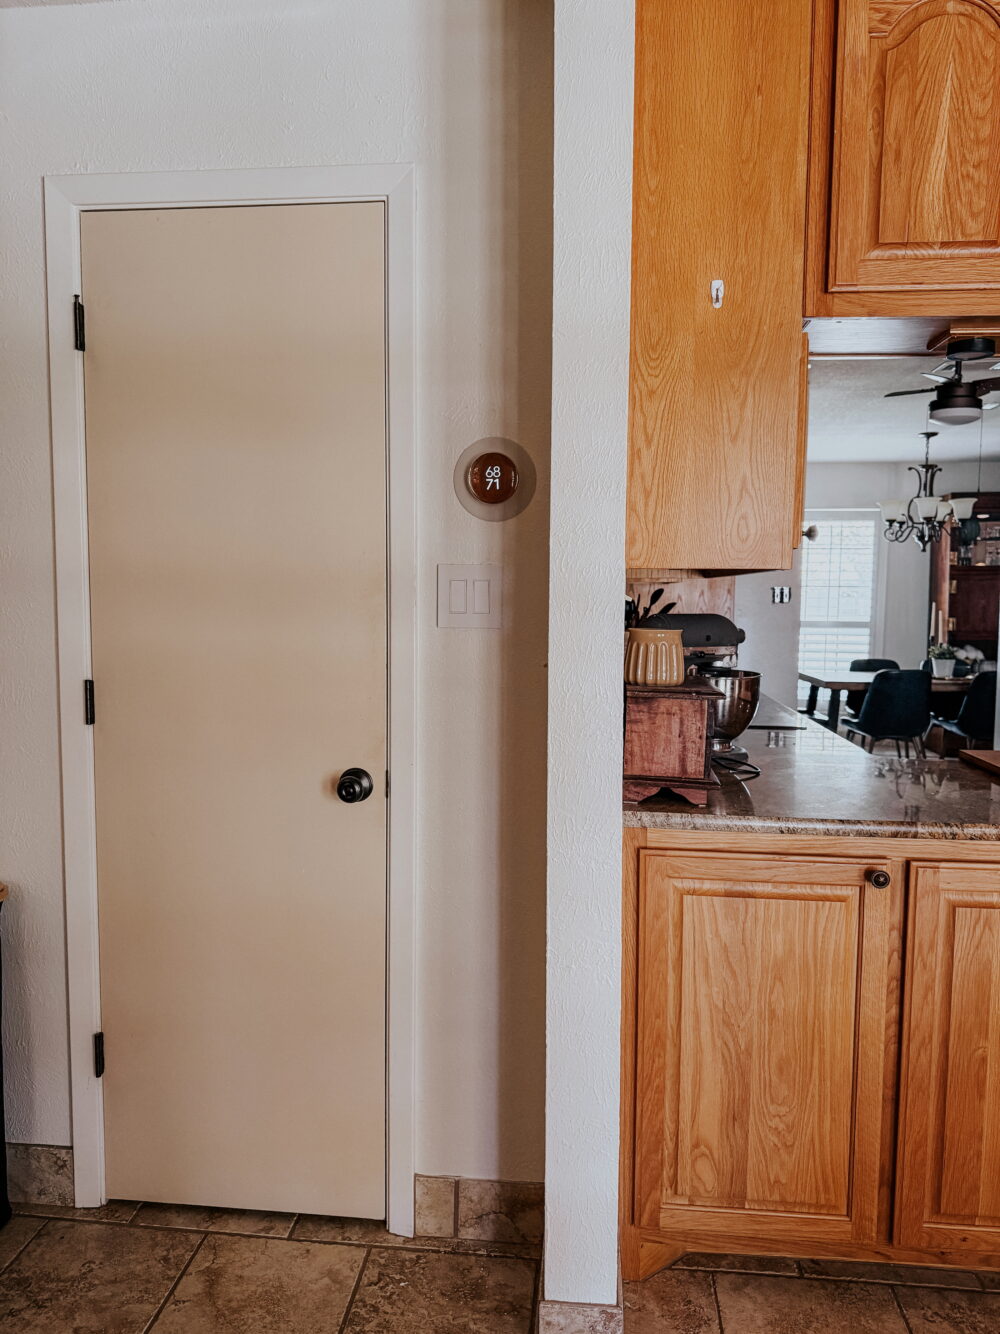
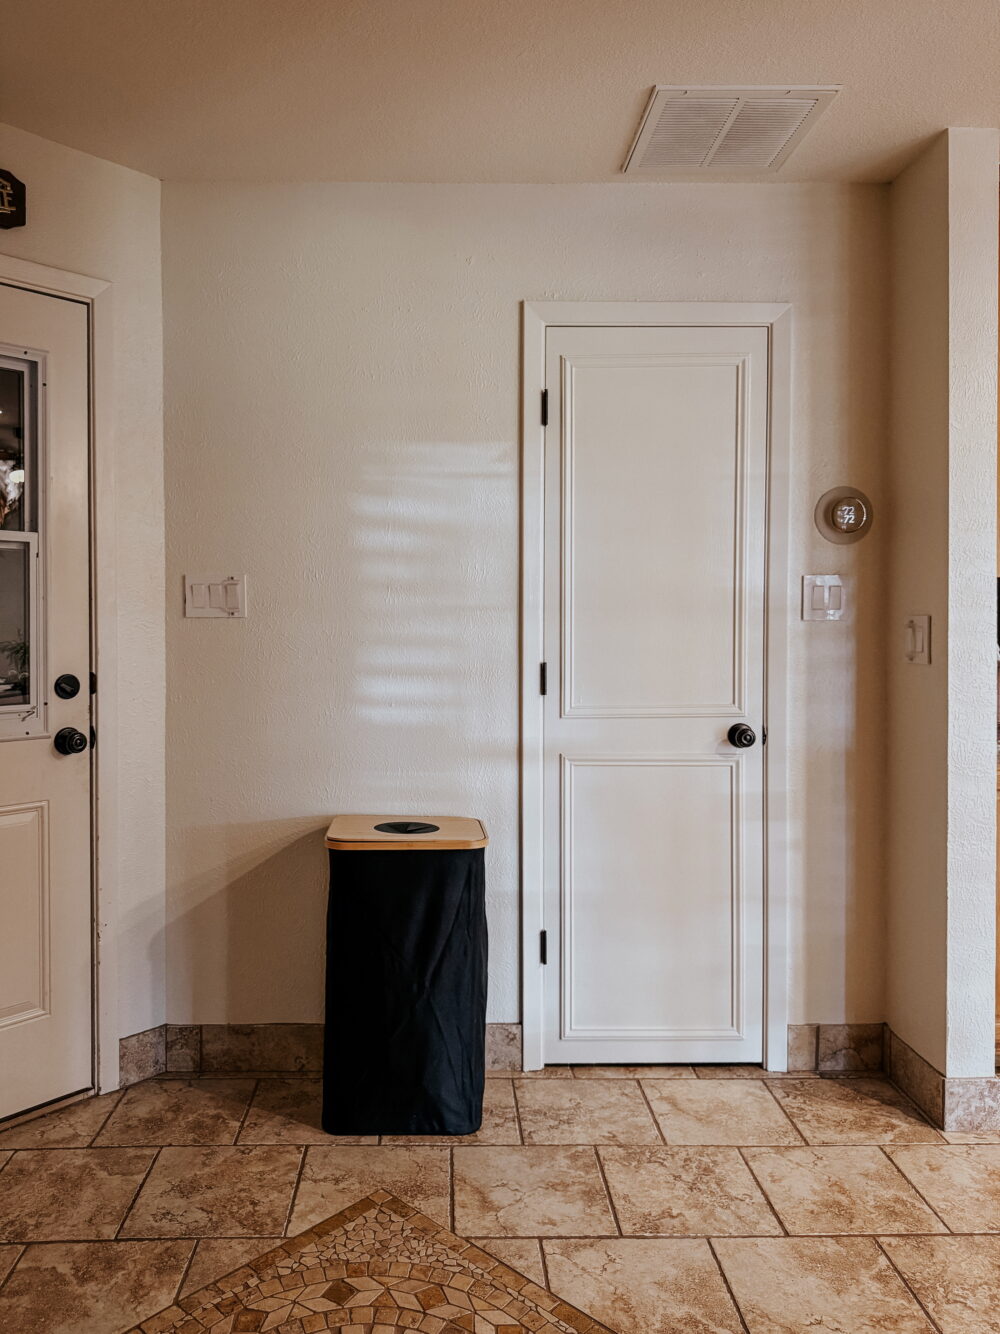
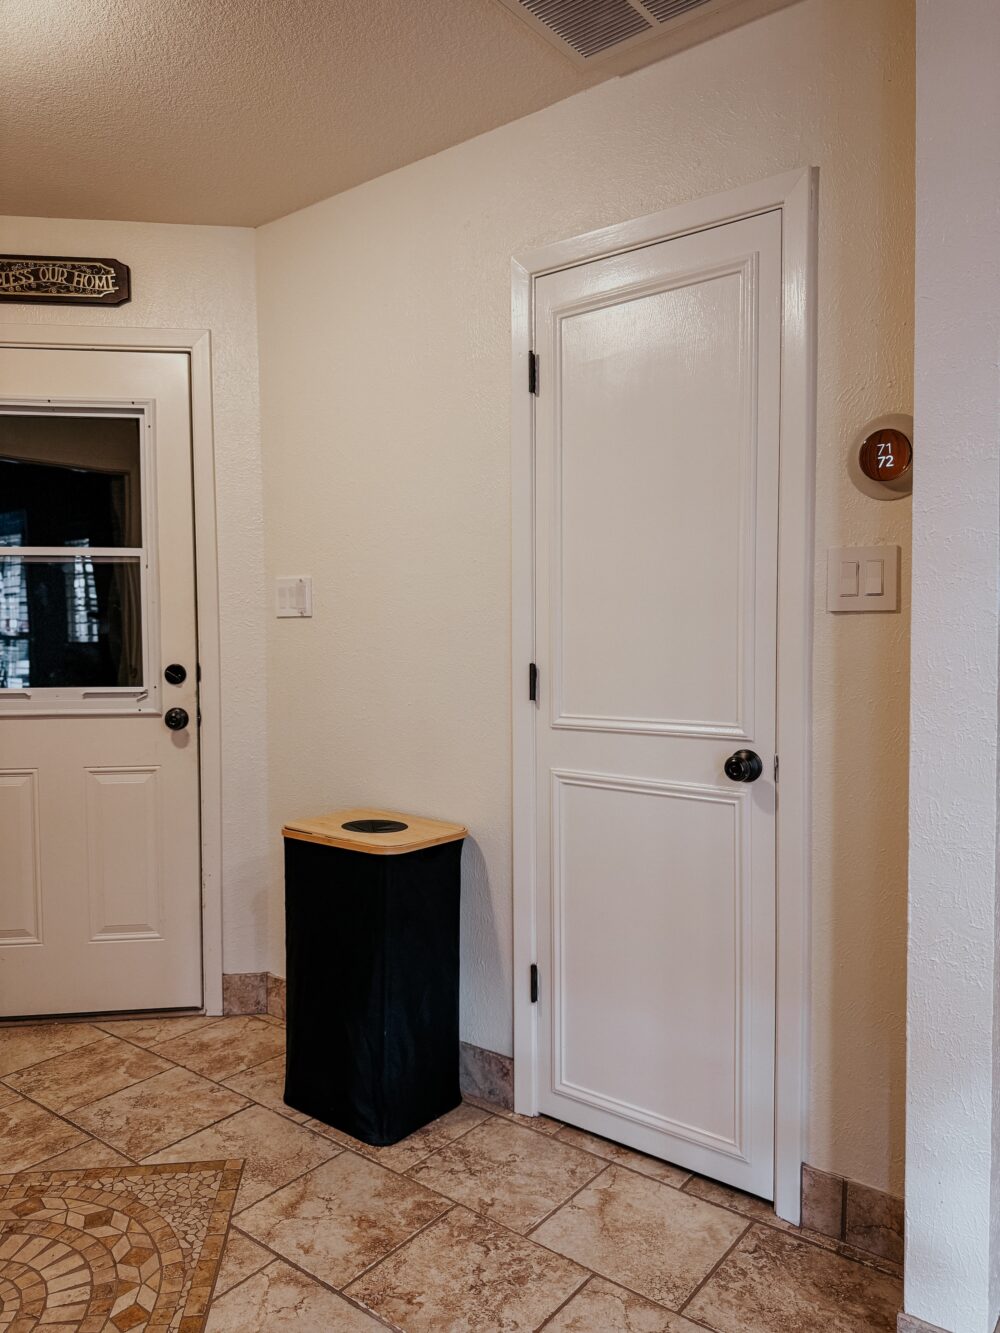
Obviously, that needed to be addressed. We have a lot of doors, so I’m taking my time here. But, I decided to go ahead and give our pantry door a little refresh since I’ve been working on this area. And, honestly, I can’t believe how much better it looks! Today, I’m showing you how I made it happen.
How to Add Trim to a Flat-Paneled Door
Materials Needed
Here’s a quick rundown of everything I used for this project:
- Wall Trim
- Nail Gun
- Construction Adhesive
- Level
- DAP Dynaflex Extreme Stretch Caulk
- Caulk Gun
- Paintbrush + Paint Roller
- Paint
- Pantry Door Sign
Video Tutorial
Let’s kick things off with a quick video tutorial. This is perfect for anyone who likes to watch something come together visually! I’ll get into the details down below, so keep reading if you’re not a video person.
Prepping + Planning the Sizing
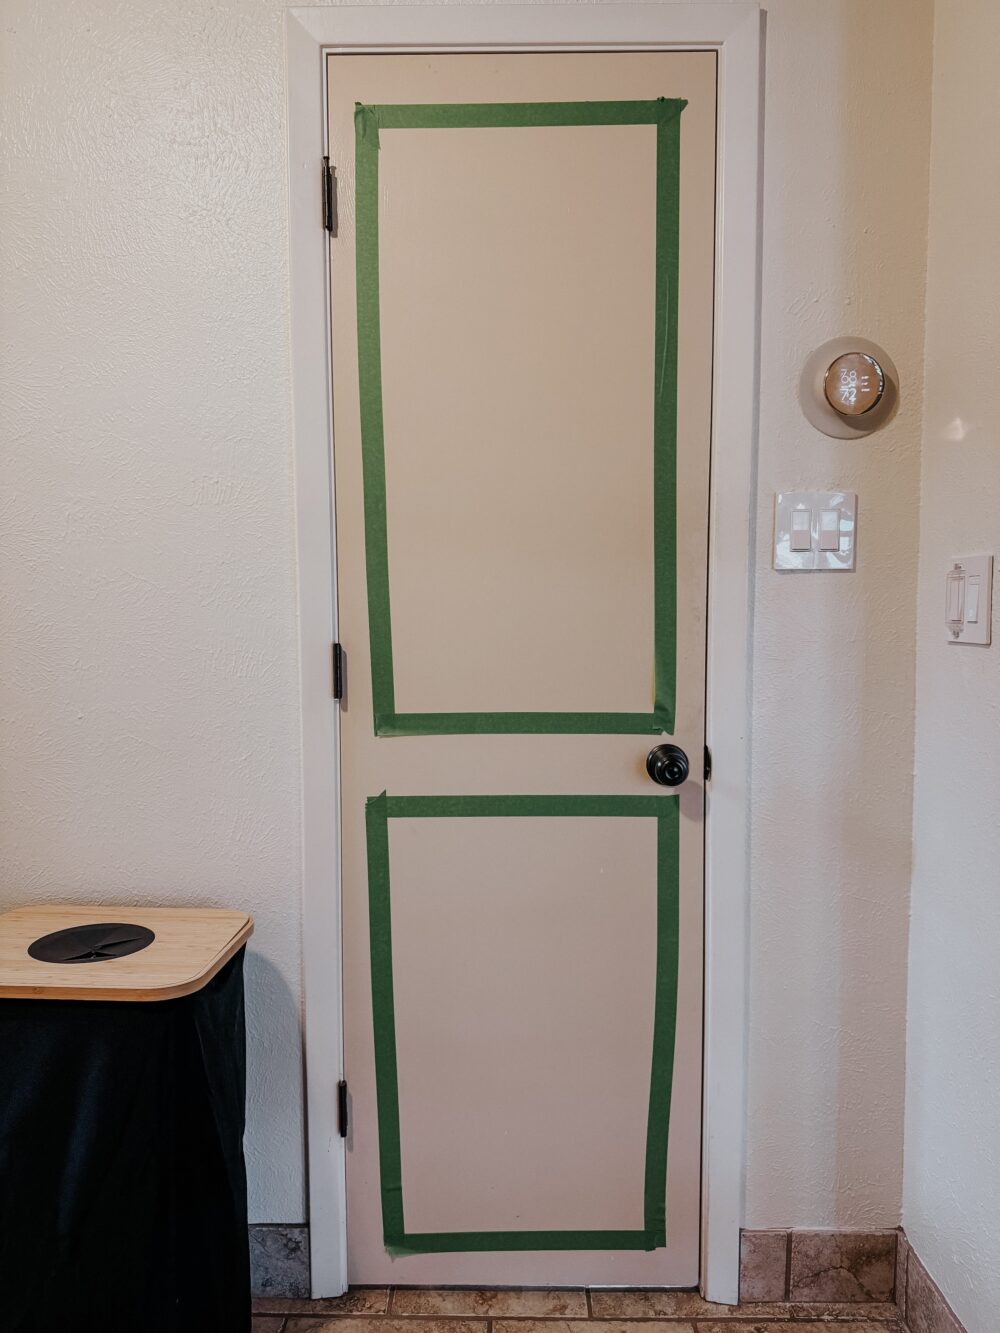
Your first step is to figure out how you want to do your DIY paneled door. You can add two panels like I did, you could do three or four, or you could do just one big panel! It’s all about what style you like. I recommend doing some searching around on Pinterest or Instagram for spaces you like and see what kind of doors they have.
For my door, I started by taping off some boxes to visualize the final look. I didn’t measure this part or anything – I just threw them up there to get a general idea of what I liked. I ended up with two large boxes. They were about 2″ away from the sides of the door and about 3″ from the top and bottom. There is absolutely no right or wrong way to do this. Just follow your heart.
Once you’ve got your plan for where you want the trim to go, make sure your door is clean and ready for you to add your trim and paint!
Before you move on to the next step, measure your boxes. My top box is 39″ tall and my bottom box is 31″ tall. There was no fancy math involved in this, I just measured about how big the ones I taped were and adjusted slightly so the spacing could be even (3″ on the top and bottom, and each one is about 0.5″ from the door knob).
How to Add the Door Trim
With your measurements planned, go ahead and cut the trim using a miter saw or a miter box. You’ll want the ends to be cut at a 45-degree angle, and make sure to plan how they face so that they fit together to create a box! If you’ve never done this before, it might require a bit of trial and error, but once you get the hang of it mentally, it’s super simple!
On my door, the top box is 39″ tall and 20″ wide, and my bottom one is 31″ x 20″. I prefer to cut my pieces one or two at a time because sometimes if I rush, they don’t fit together properly. But, if you want to go ahead and cut them all at once, you can!
Add a little bit of construction adhesive to the back of your trim, then place the trim where it should go on the door and use your nail gun to attach it to the wall. You might find it easier to go ahead and draw lines on the wall where you want the trim to go!
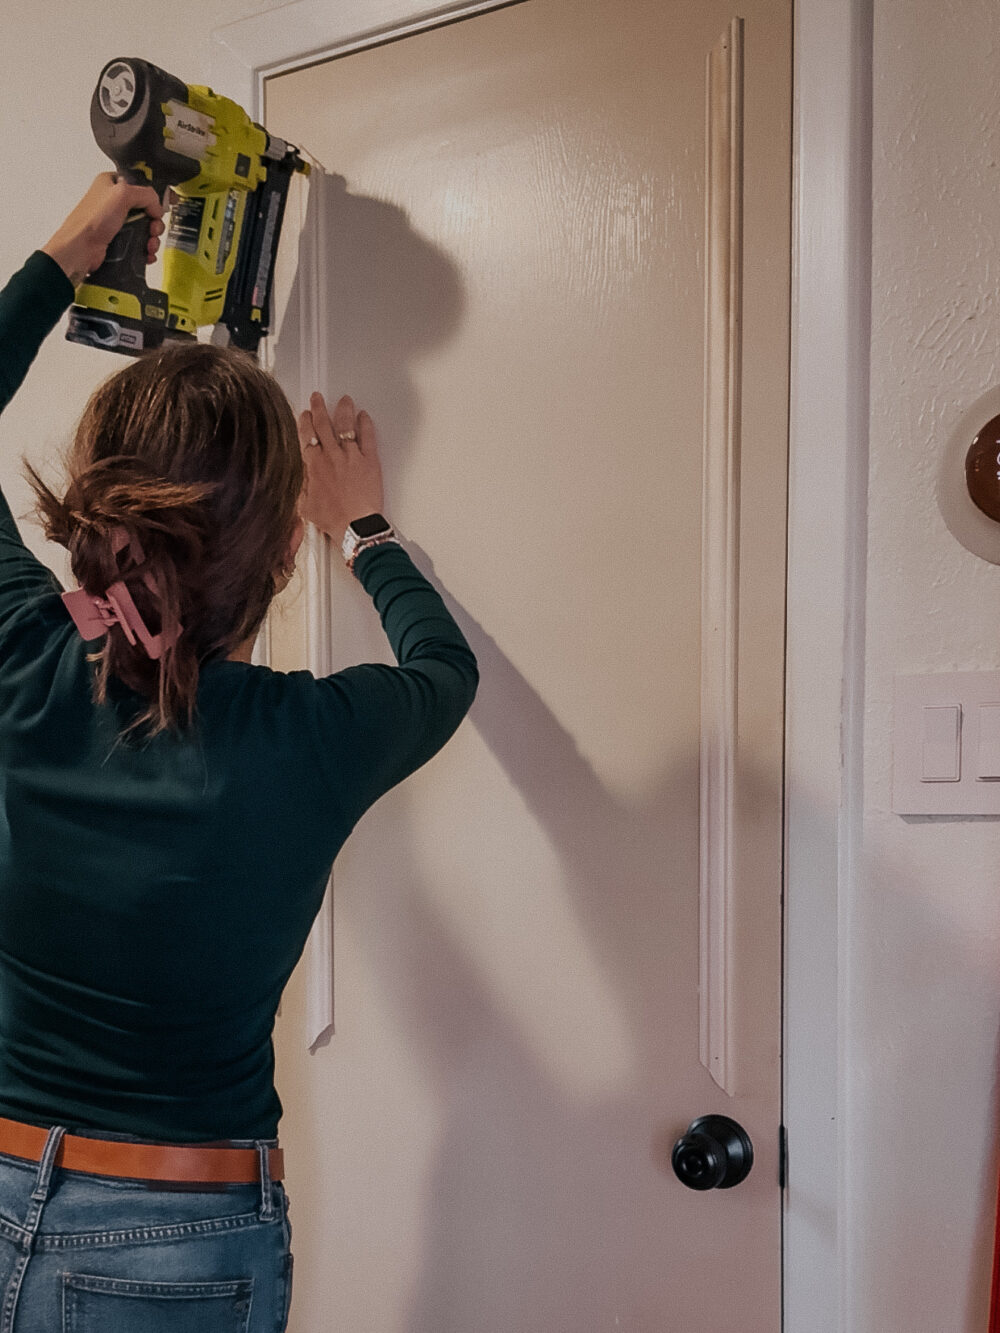
Continue adding trim, using your level to make sure that everything is straight. I placed the two tall pieces first (each about 2″ away from the sides of the door), then added the top and bottom pieces to finish out the box.
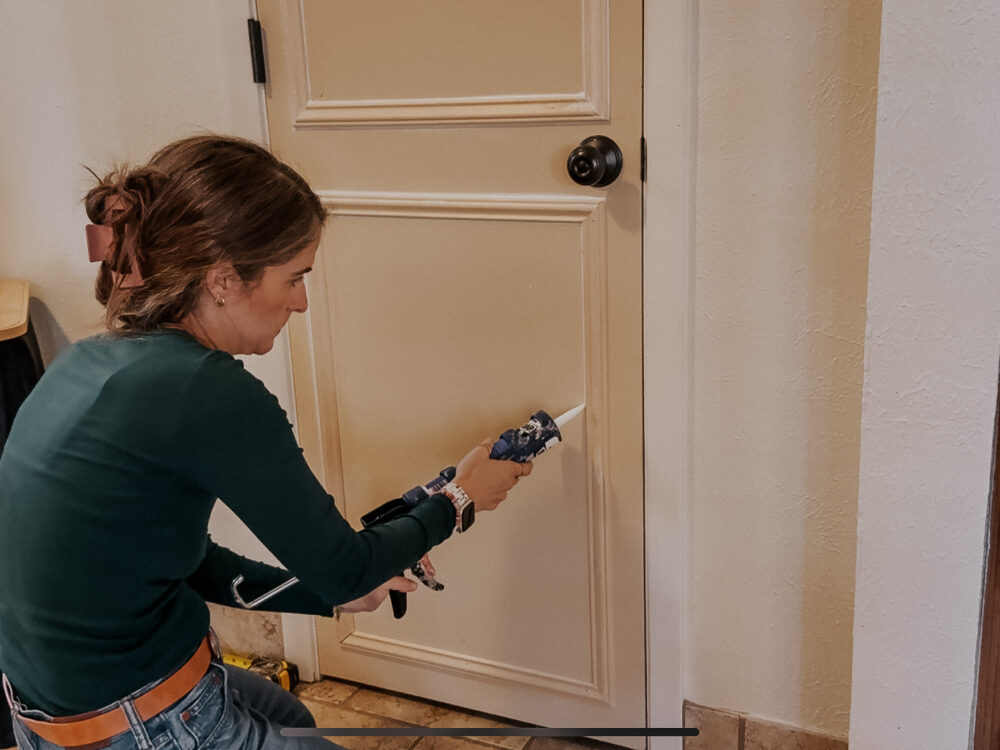
Caulk + Prep for Paint
Once all of your trim is added to the door, you’re ready to move on to all the finishing touches. First up, caulk. This is the step that’s really going to bring everything together and make it look finished. You’ll want to caulk all the way around both the inside and outside of each box. If you need some help with caulk, go ahead and check out this guide to how to use caulk – it’ll walk you through every step!
Your caulk needs about two hours to dry fully before it is ready for paint. It’s also a good idea to go ahead and wipe down your door one more time to make sure it’s fully clean before you dive into paint.
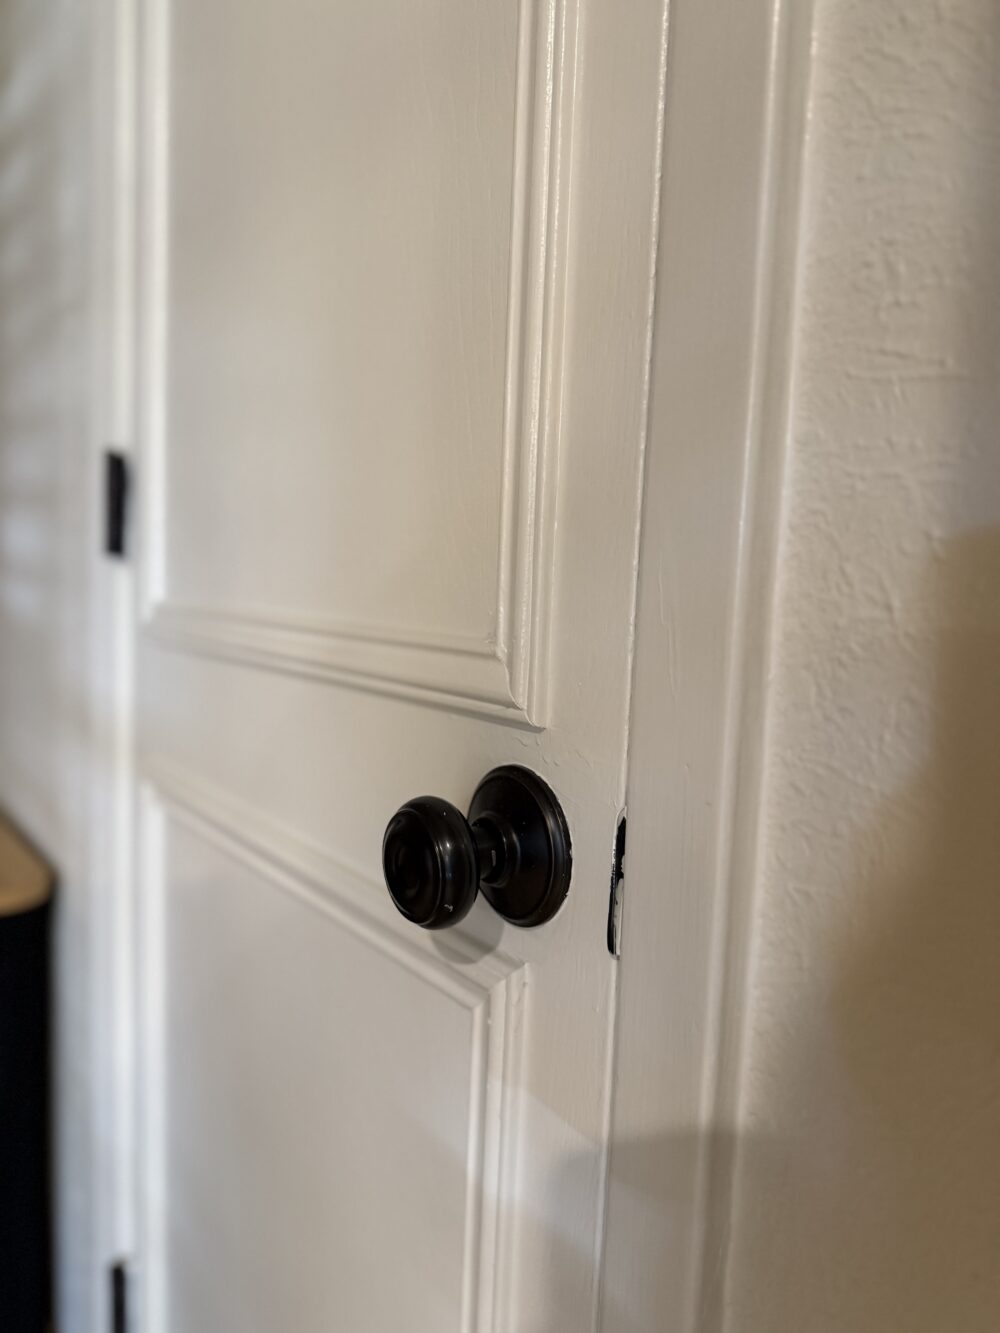
Paint + Finishing Details
And now, it’s time for paint! You can, of course, have fun with some unique paint colors if you’d like. I wanted my door to match the trim around the door – thankfully, there was some leftover paint in my garage. So, I grabbed that and got to work.
I used both a paintbrush and a small foam roller to paint the door. It took two coats of paint, and then the door was done!
Once the door dried, I also went ahead and added a cute little “pantry” sign, just because it made me smile.
And just like that, the door was completely transformed!
So, What’s Next?
My goal is to work on the doors around my house as I paint various rooms. So, I want to spruce up the door leading to the back half of the house (which is right across from the pantry door) next. I really want to swap it out for a glass door, but that’s a $300-ish project versus this $25 project ($50 if I do both sides of the door), soooo I think we’ll keep it simple for now.
As a phase 1, I’d like to do this to all of the doors around our house. I’m sure someday we’ll replace most of the doors (they’re old and some aren’t in great shape), but this is such a major upgrade for such a small price. When I paint each of our bedrooms, I’ll tackle the doors in there as well. But, for now, this feels like a major win.