DIY Paneled Interior Door
One thing I’ve always wanted to do (in both of the houses we’ve lived in), is to take the plain, boring hollow core doors throughout the house and replace them with beautiful, paneled doors. Of course, nice doors are not cheap. So, it’s not a project we’ve ever gotten around to. But, we’re really trying to step out and try new things with this house! So, we decided to try a DIY paneled door project. And, y’all? It was so worth it.
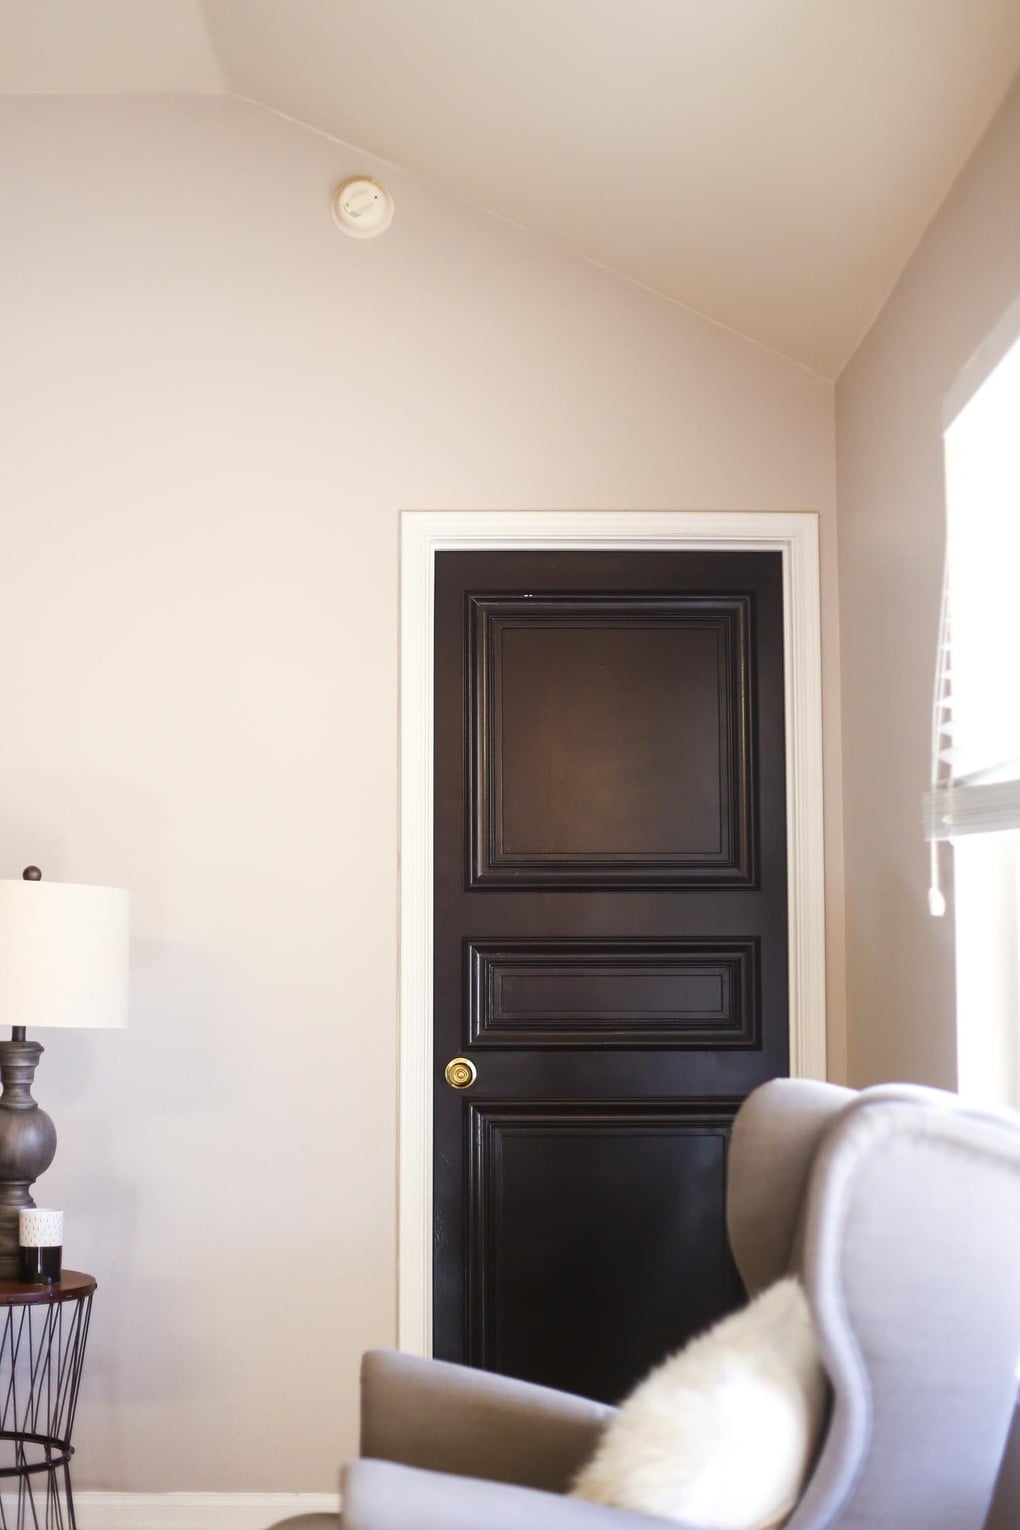
When Corey and I started talking about what we might like to do for the doors, I knew I wanted something thick and chunky. I think doors get ignored so often in homes, but they make such a big difference in how the entire space feels. So, it’s worth putting a little extra effort into making them beautiful. Of course, you can buy new doors for pretty cheap at the hardware store. They’re are a definite upgrade from these flat, panel-less doors. But, it’s impossible to find anything with a lot of visual interest without spending a giant chunk of change. We wanted to find a custom-looking solution without completely breaking the bank.
I’m really thrilled with how this turned out. It was so easy. It did end up being a little more expensive than I had hoped it would be (more details on that later). But, it was still cheaper than buying something just like this!
Let’s jump right into the details of how we got this project done, shall we?
How to Create DIY Paneled Doors
Materials Needed
Step One: Prep the Door
Start by removing your door and thoroughly sanding and cleaning it. You want to make sure it’s free of any paint drips, patches of dirt, or fingerprints. This way, the new paint goes on smoothly.
Next, you’ll use a pencil to mark where your panels will go. We decided to go with 3 panels on our door. But, you could, of course, do any style of paneling you like! We started by marking off how far we wanted the bottom and middle panels to be from the door handle. We didn’t want it to intersect at all with our panels, so we drew a line about half an inch above and below it. The line under it became the top of the bottom panel, and the line above it became the bottom of the middle panel.
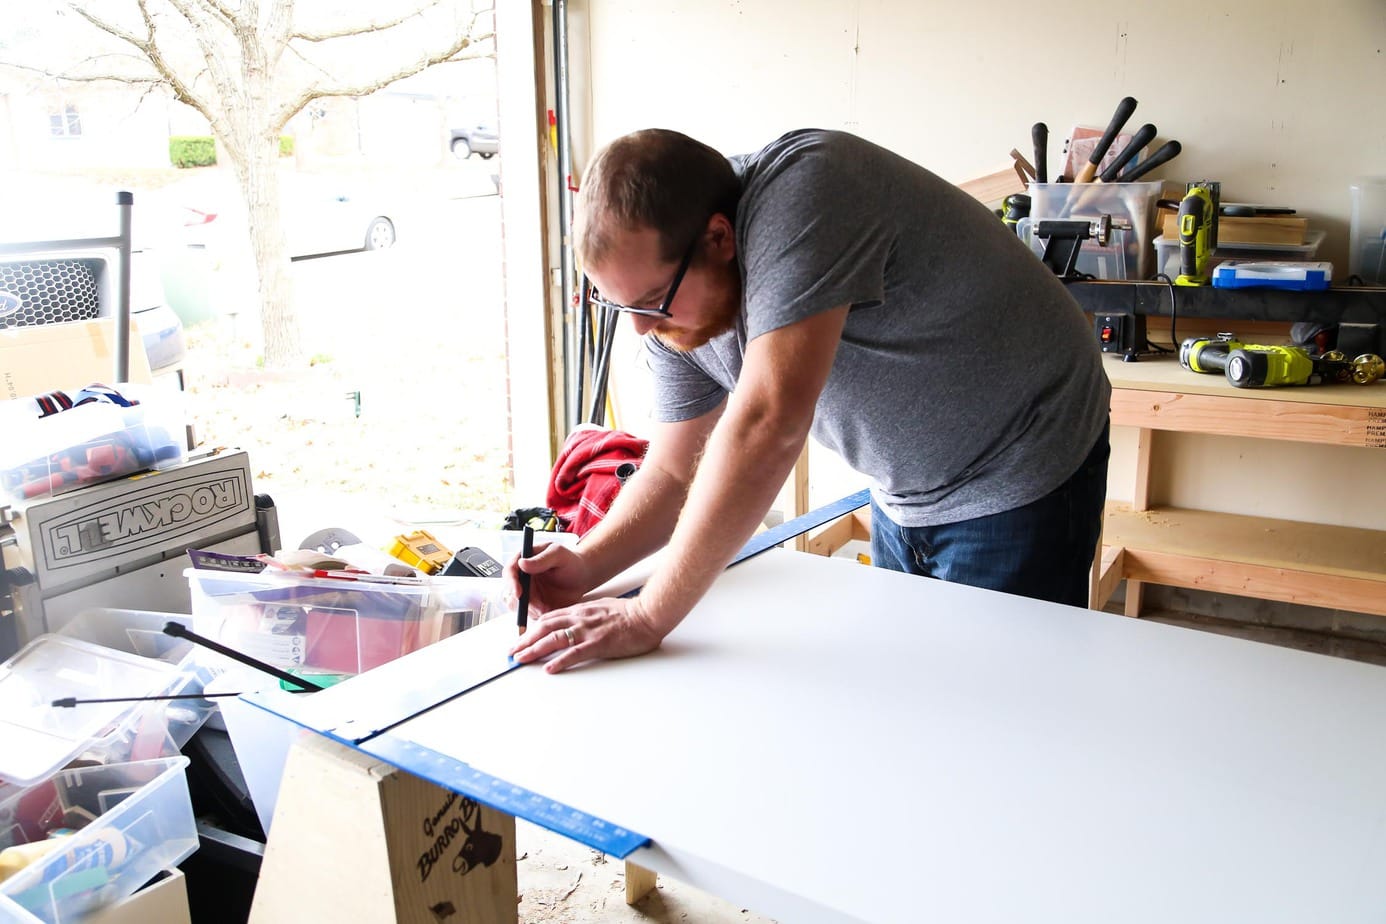
We then drew the rest of the lines. The spacing between our two panels ended up being about 3 1/2″. So, we kept that spacing consistent on the top and bottom of the door as well. We went with about 2 1/2″ from the sides.
Step Two: Attach Trim
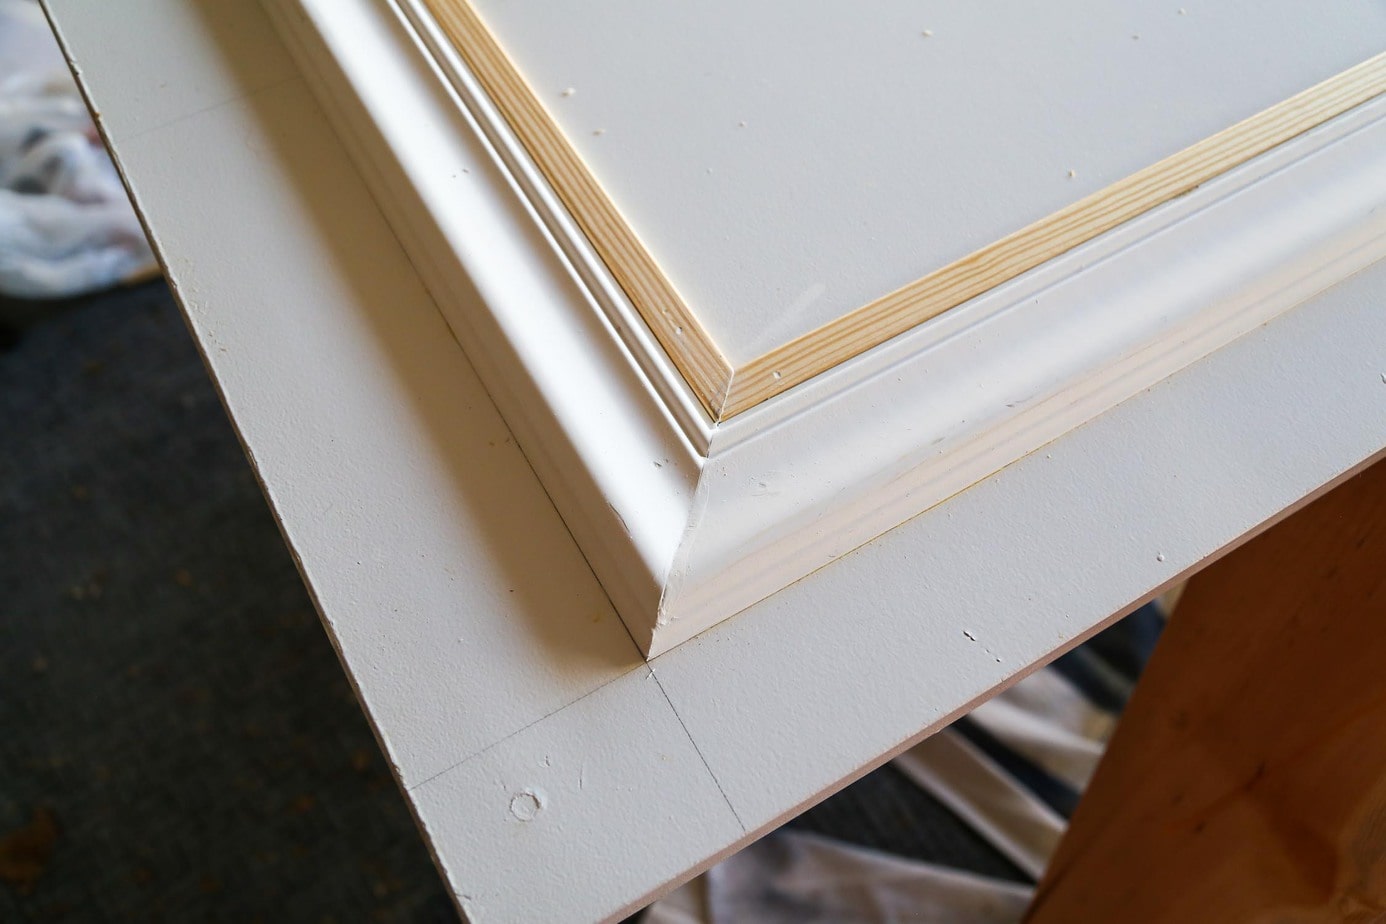
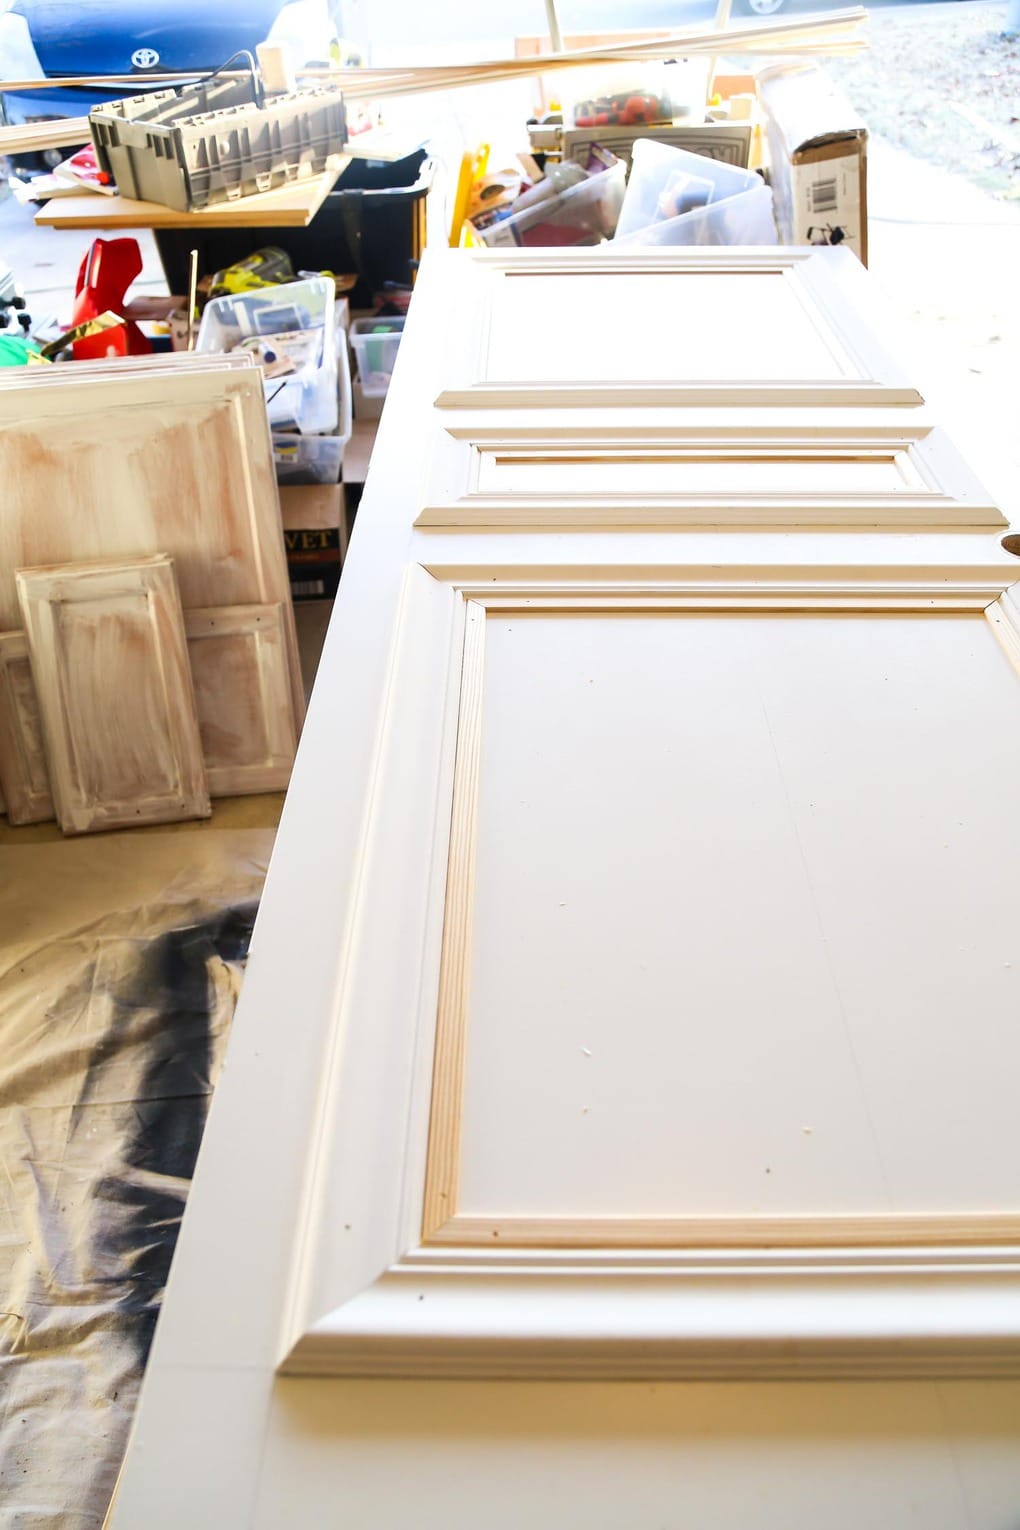
Once all of our lines were drawn, it was time to start attaching the trim. We used the miter saw to cut mitered corners, and used wood glue plus a couple of small pin nails to attach each piece of wood.
Take your time cutting and applying the trim pieces here. You want to ensure everything lines up nice and tight so that it looks well done! We did the larger trim pieces on the outside of the panels, then the small plain trim on the inside to beef it up a bit. The extra trim piece definitely isn’t necessary, but I think it made a big difference in the finished product!
Step Three: Caulk and Paint
Once all of the trim is installed, prep for paint. Start by using wood filler to fill all of the nail holes and the seams where the boards meet. Then, use caulk to fill in where the trim meets the door. Allow it to dry (it usually only takes 30 minutes to an hour), then sand it down. Once it’s sanded smooth, it’s time for paint!
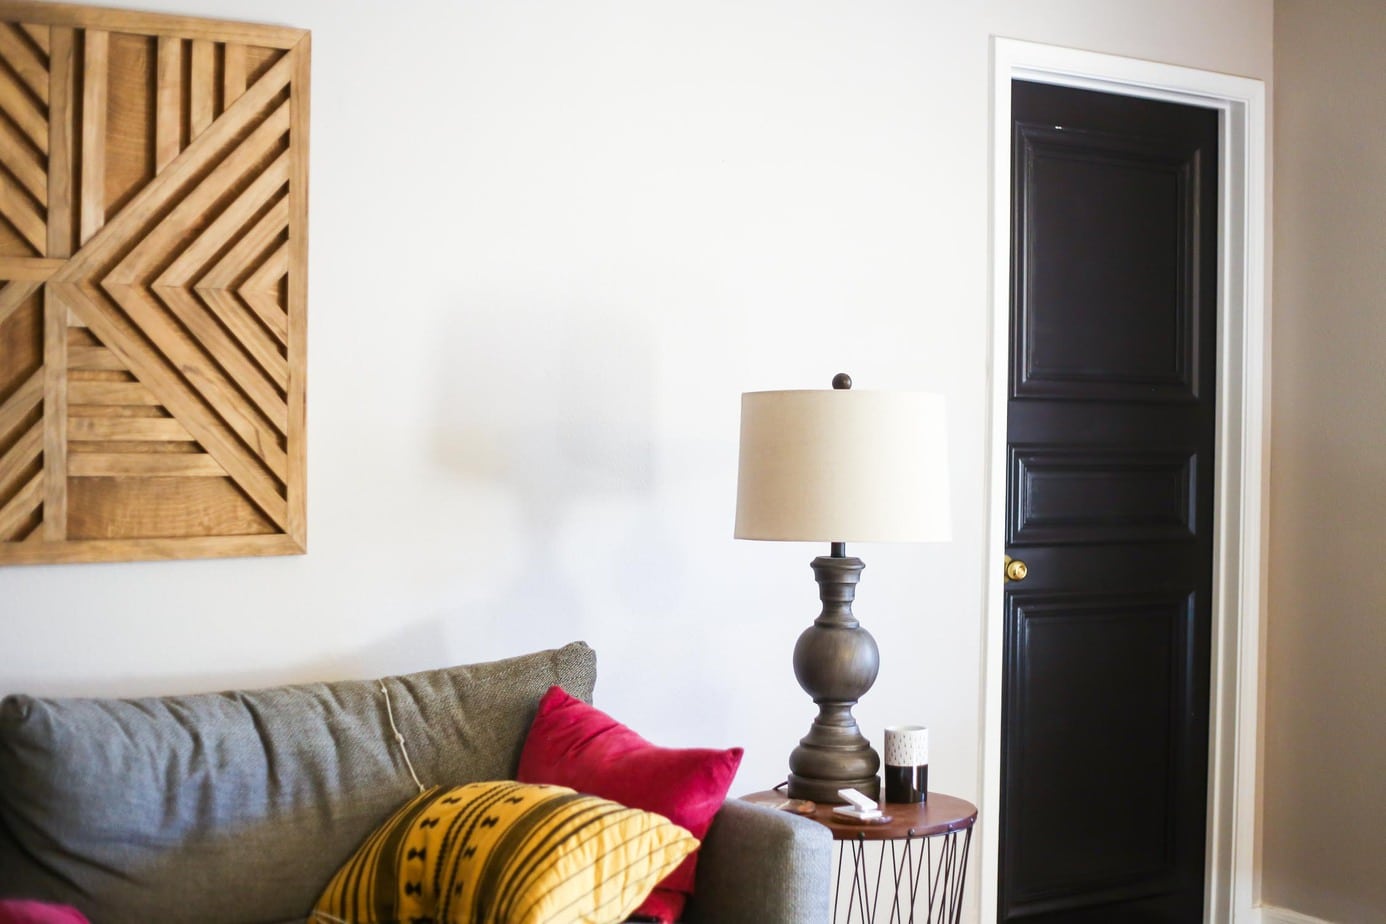
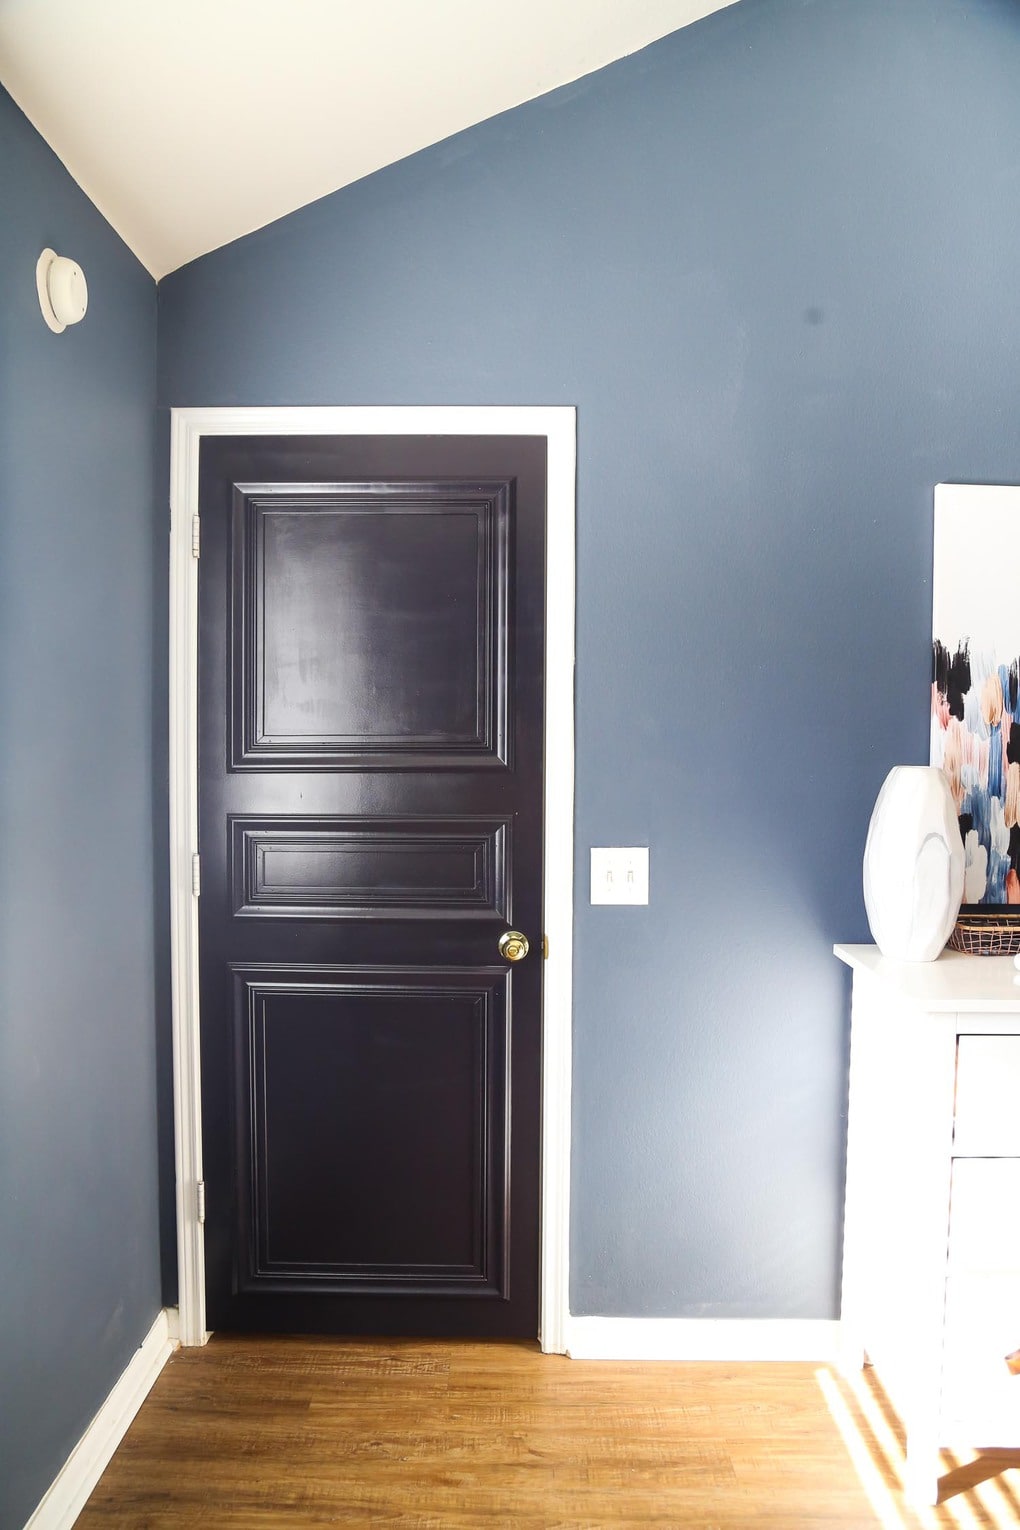
Of course, now it’s going to take us a while to get around to doing all of the rest of the doors in the house.
But I think this is a pretty darn good start.
In the end, it cost us about $100 for the trim for this door. It was definitely a bit more expensive than I originally anticipated it would be. But, it’s still less than most of the options we really like from the hardware store! You could easily save some money by picking a less intricate trim, or by using MDF and doing shaker-style panels.
We’re so excited to have this all done and I kind of can’t wait to get started on the next door. Maybe we’ll do Jackson’s room – he’d love a fun painted door.

Hi, Can you please share which moldings you used on these doors? They look awesome!!
Hi Amanda
Did you use a roll to paint the door or a paint brush to achieve such smooth finish?
Best,
Natalia
A foam roller!
Hi..
I love your mouldings on your interior doors that you painted black.
Did you put mouldings on both sides of the door????
and is the paint you used from Lowe’s low or high odour?
Hi Carolyn – Yes, we put the trim on both sides of the door. The paint didn’t have a strong odor to me, but I’m not sure if it’s classified as a “low odor” paint. I generally paint in our garage with the door open whenever possible, so I don’t typically notice the smell!
thank you, Amanda for joining my latest link party and for sharing your post about your stunning door makeover. I hope to welcome you back soon again,
warm regards,
Dagmar Bleasdale
http://www.dagmarbleasdale.com
Wow! Love how this turned out. Pinned!
Thanks so much, Ashley! 🙂
Oh WOW! What an awesome way to add some punch to a room with a small touch. I looooove this! Pinning it to my decorating board for later 🙂
Thanks, Cynthia!