DIY Basics: How to Fix Small Holes in Drywall
Are you afraid to hang any pictures because you don’t know how to fill a nail hole? Or, do you have a bunch of nail holes in your drywall to fill and you don’t know where to start? I’ve got you covered with this quick tutorial on how to fix small holes in drywall! I partnered with my friends at DAP for this post – their products are always my go-to for all types of repair work!
One thing I hear from a lot of my friends is that they’re afraid to start hanging things in their home because…what if they hang it wrong? So many people are afraid to put any nail holes in their drywall because they don’t know how to fix the holes if they change their minds.
Well, I’m here to tell you that there is no reason to worry. Fixing nail holes in drywall is one of the easiest little DIY projects around, and once you know how to do it you’re going to feel so confident to put all the holes in your wall. Seriously. Sometimes I might even go a little bit overboard. I’m telling you, once I start hanging pictures I’m drilling all sorts of holes in the wall, without abandon.
How to Fix Small Holes in Drywall
Video Tutorial
Let’s kick things off with a quick video I made to walk you through the process. This will show you exactly how quick and easy it is to fix a hole in the wall!
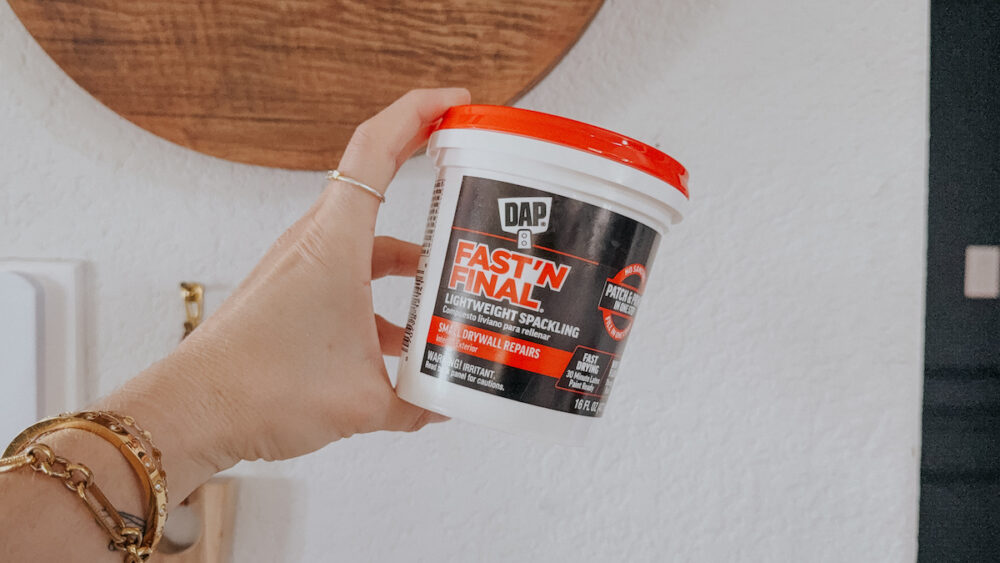
Materials Needed:
Step One: Sand the Hole (if necessary)
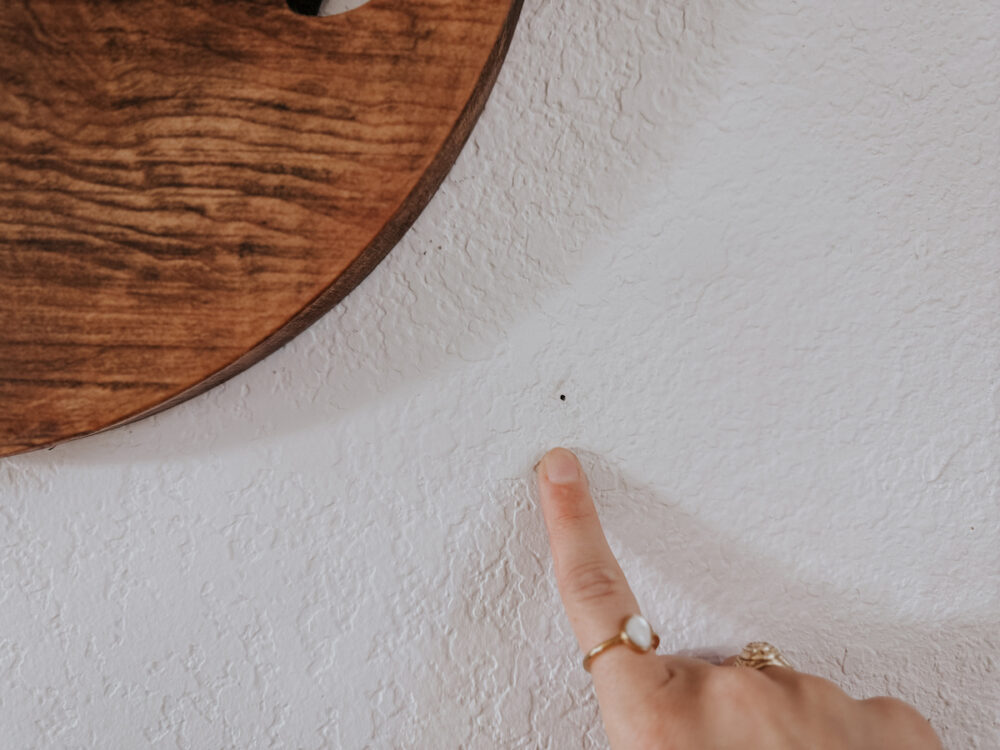
Your first step when fixing a small hole in your drywall is to take a quick inventory and decide if you need to sand the area down at all. This will depend mostly on the size of the hole. If you’re just filling a tiny nail hole or a hole from a drywall screw, you can likely just go ahead and skip this step. You can also usually skip sanding for small dents and other minor drywall damage.
However, if you’re filling a slightly larger hole (maybe from where an anchor was), then you’ll probably need to take a second to sand down the drywall to make it smooth. Basically, if the wall is still flat you’re good to go. But, if there is any drywall protruding at all from side of the hole and it isn’t flat to the touch, go ahead and sand a bit.
Step Two: Apply Spackling
Once your drywall is prepped, you’re ready to apply the spackling. You can use a putty knife here or, if you’re like me, you can also just use your finger for a little more control! Typically, if it’s a nail hole I will just use my finger, but if it’s a slightly larger hole (again, like from an anchor), I’ll go ahead and use the putty knife.
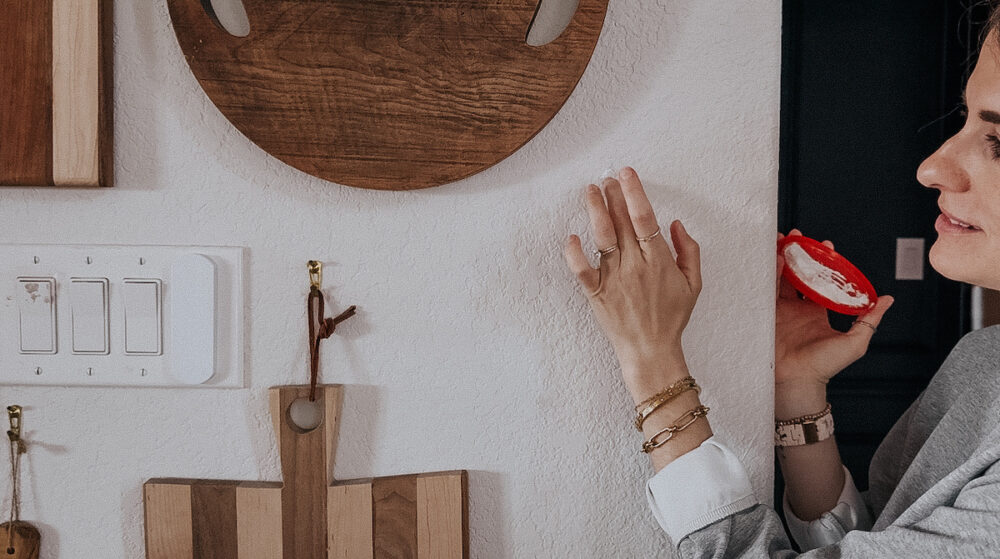
Apply enough spackling to overfill the hole just slightly, but not so much that it’s excessive. You want it to be sticking out just slightly from the drywall surface so that when you sand you don’t remove it all from the wall, but you can achieve a nice smooth surface.
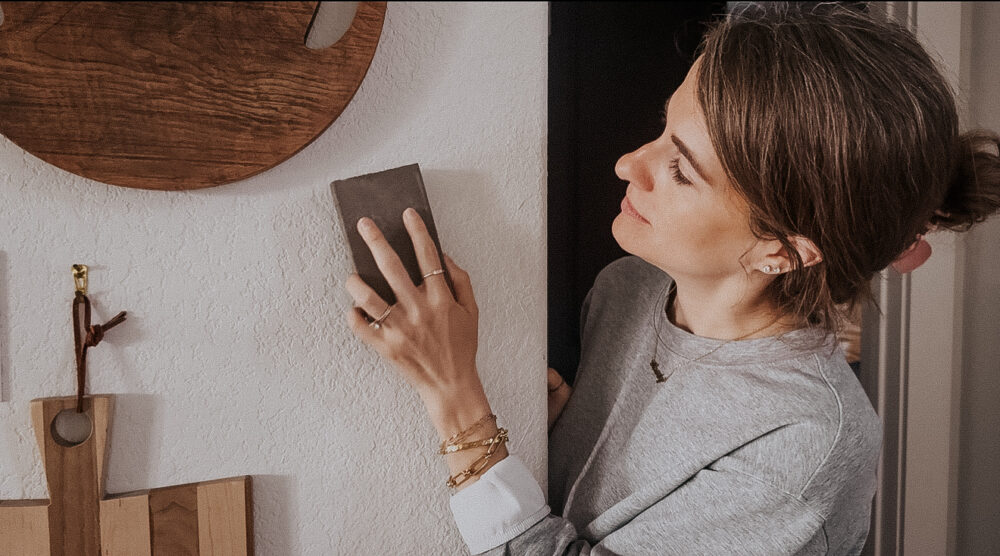
Step Three: Allow to Dry, Then Sand
Allow the patch to dry fully according to the package directions (for the Fast N Final, it takes about 30 minutes). Then, come back with your sanding block and lightly sand the surface of the drywall until it’s smooth.
Even if you have slightly textured walls (like I do!), you shouldn’t need to worry about adding texture. Since you’re patching such a small area, the spackling should blend right in to the regular wall texture and disappear once you touch up the paint.
Step Four: Touch Up Paint
You’re almost done! See? I told you this was easy. But, here’s where I’m really going to give you a bit of a secret that will make all the difference in the finished product. Your instinct is going to be to grab a paintbrush and paint right over that patch in your drywall, right? Don’t do it!
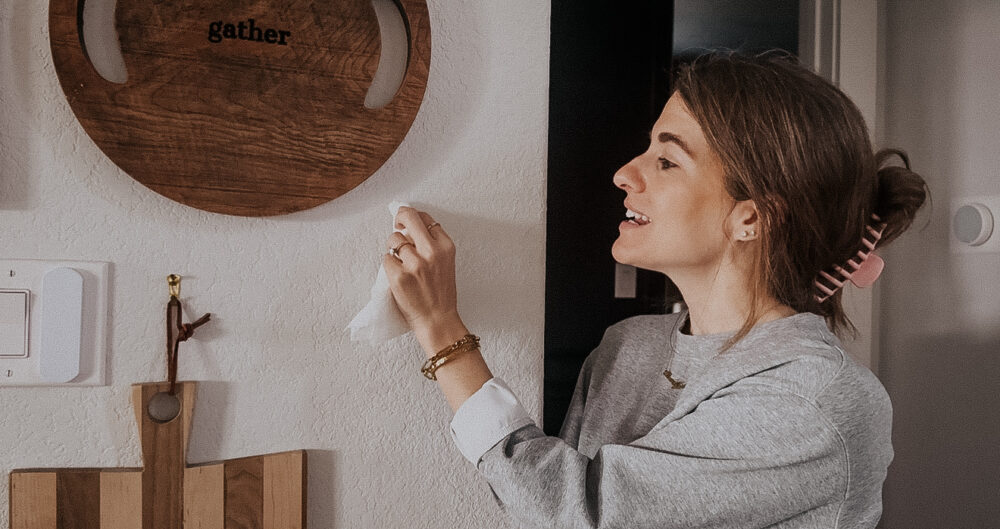
Why? Well, if you use a paint brush you’re likely to get way more paint on the wall than you really need, and you can end up with flashing. That’s where the finish of the paint looks different in one spot and it’s really obvious you’ve patched it. Instead, you want the paint to reaaaaally blend right in. So, instead of going for a paint brush I actually recommend just grabbing a paper towel. Dip it just a little bit into the paint (don’t get too much!), and gently dab it over the patch, making sure to feather it out past the edge of the patch so that it blends right in.
This is going to make a huge difference in the finished product and will make your drywall patch look so much more seamless, I promise.
And that’s how you repair drywall holes from nails or screws really quickly and easily! I promise, it’s genuinely a no-brainer and now that you know how to do it, you can be fearless when it comes to hanging things on the wall.
What About Fixing Large Holes in Drywall?
If you have a larger hole in your drywall from a really big anchor or anything else, you’re going to want to use a mesh patch kit. These are also really easy to use, and once I have a blog post showing the full tutorial I’ll come back and update this with a link. But, if you just follow the directions for a self-adhesive mesh patch, you’re going to be able to patch even a larger hole without leaving a trace.
In some cases, you’ll need a new piece of drywall that you drill into wall studs. But, that’s only for really large holes, and isn’t something we’re going to cover in this post. But, if it’s something you need help with leave a comment below and I can write a separate post!
Hopefully this little tutorial gives you a little more confidence when it comes to fixing holes in your drywall. It’s one of those things that requires almost zero DIY skills, and everyone, whether you’re a homeowner or a renter, should know how to do it.