
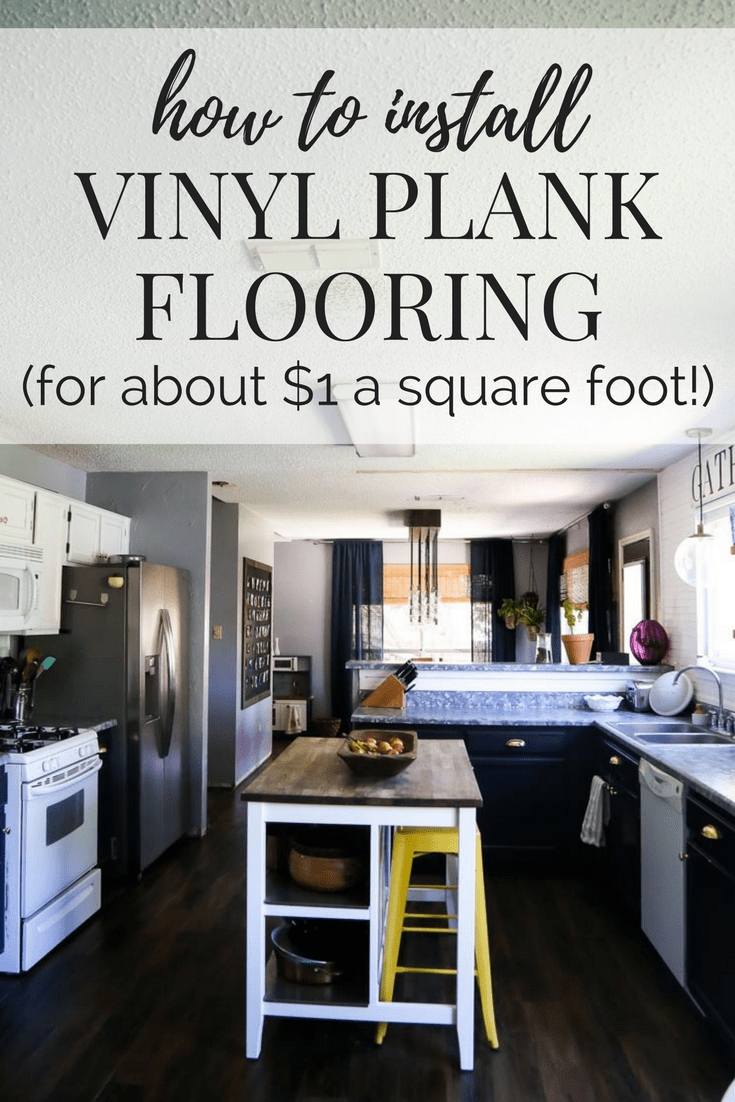
How to Install Vinyl Plank Flooring
Last updated on June 25th, 2024 at 10:04 am
YOU GUYS. I’m so excited to share this post with you. Today, we’re going to chat about how to install vinyl plank flooring. I’ll give you a peek at how our kitchen is looking so far, and we’ll do another check-in once the baseboards are installed!
So. How to install vinyl plank flooring. Let’s chat.
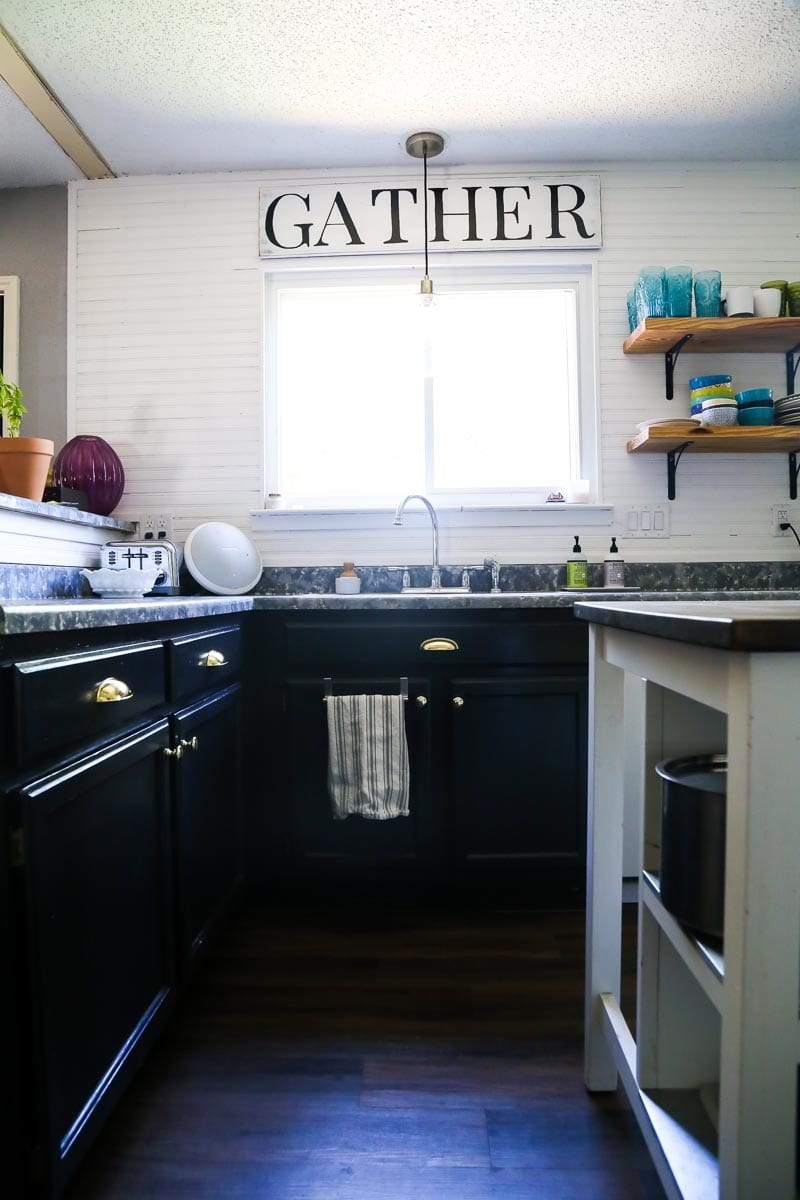
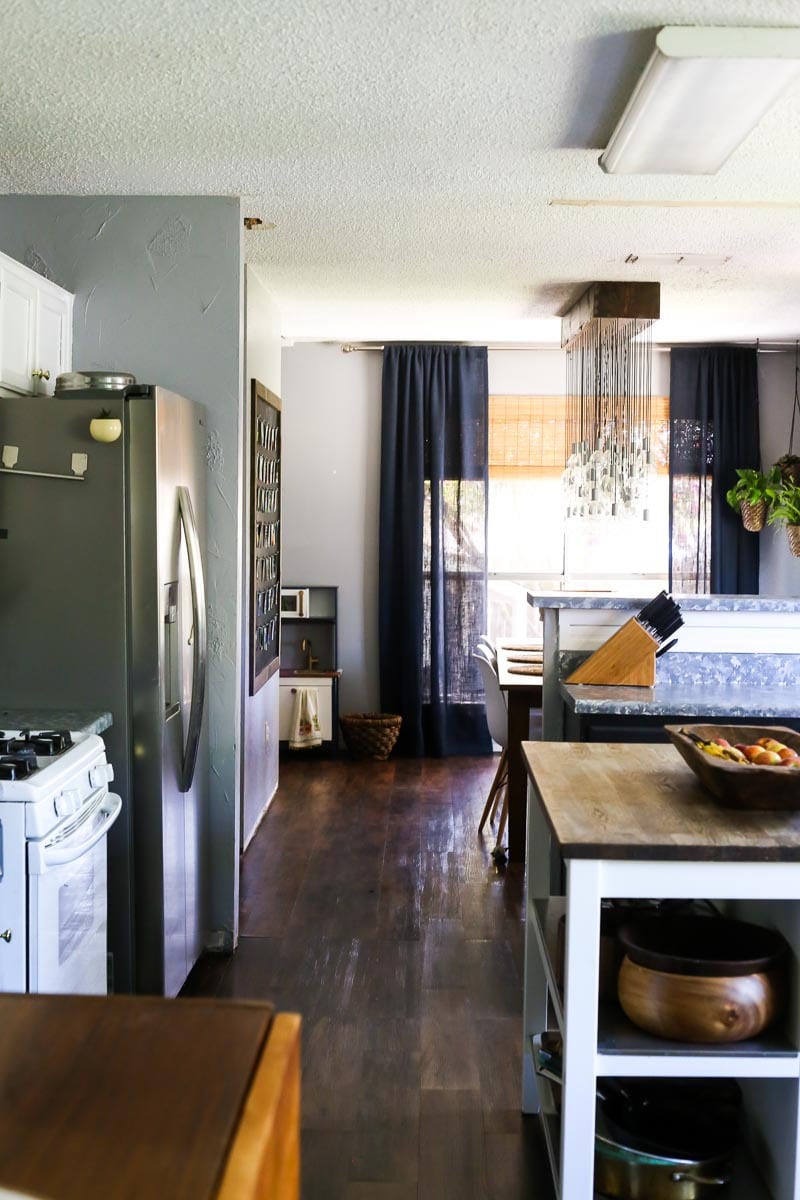
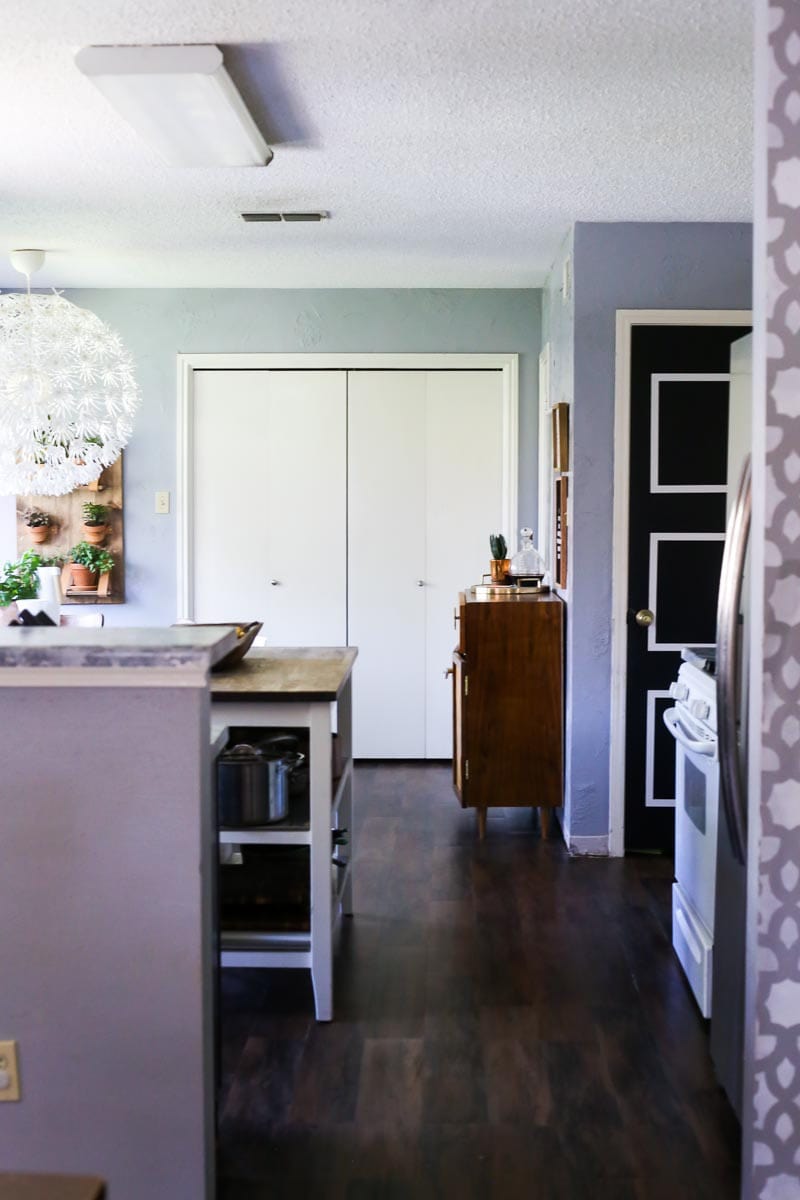
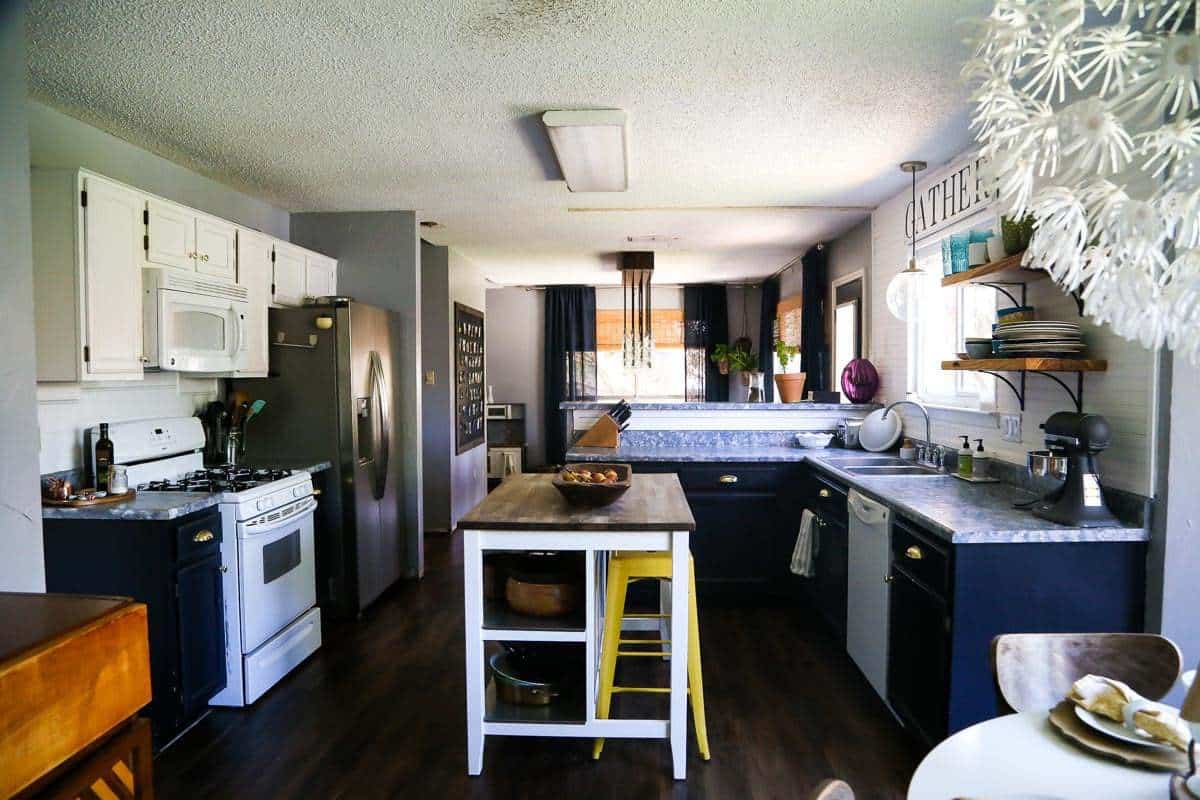
A few years back we replaced all of the flooring on the first level of our house with vinyl plank flooring. We’ve also got it in our son’s room, and our bedroom. We didn’t work on the kitchen at the time because our goal was mostly just to get rid of the carpet. But time got away from us and now it’s three years later. And, we still had horribly ugly, always dirty-looking linoleum floor in the kitchen.
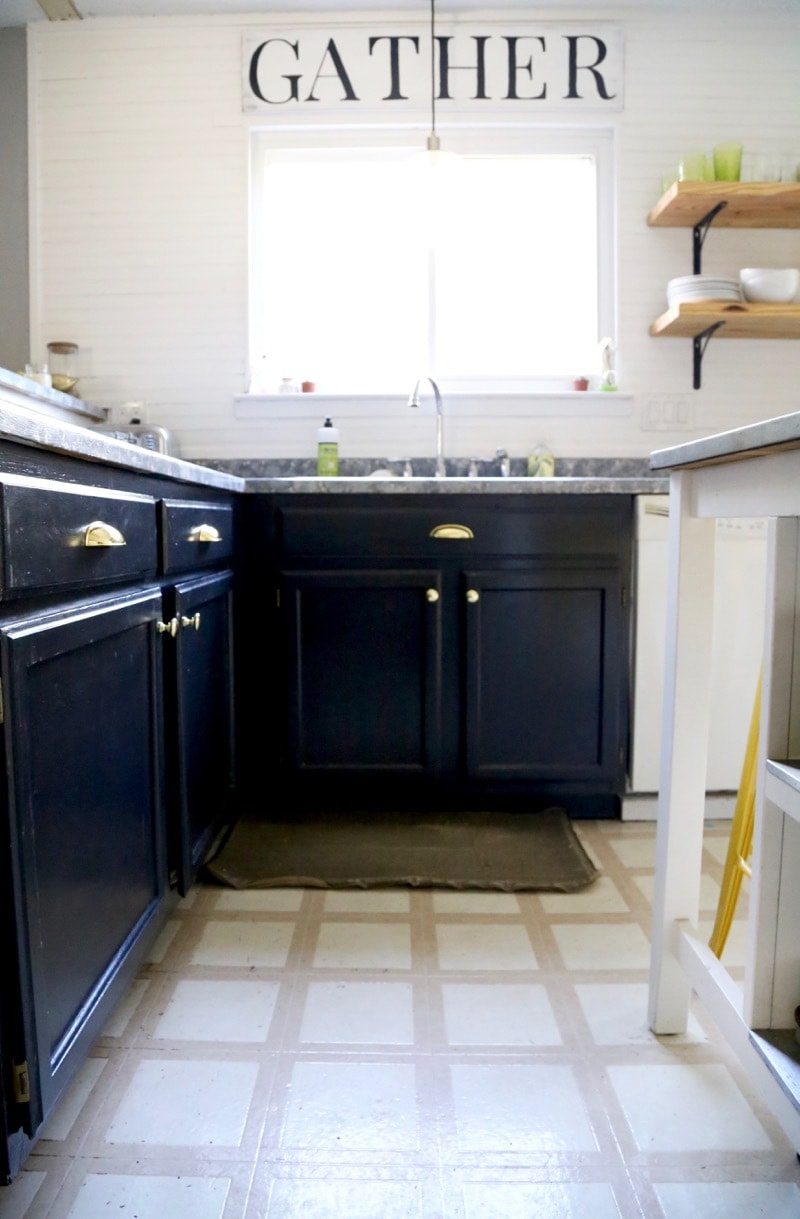
It wasn’t a cute look, and I was getting really tired of feeling like I had to mop every day. I had already planned on trying to get the flooring in the kitchen finished this summer prior to our decision to move. But, of course, making that decision meant that we basically had to get it done.
I get tons of questions about this floor, how it holds up, and how to install it. I answered our most frequently-asked questions in this post, but I haven’t ever done a detailed tutorial on how to install vinyl plank flooring. So, here we go.
This post contains affiliate links. Click here to read my full disclosure policy.
How to Install Peel & Stick Vinyl Plank Flooring
MATERIALS:
- Peel & stick vinyl plank flooring (this is the one we used, there are also great options on Amazon)
- Measuring tape
- Utility knife
- Scissors
- Speed square
- Pen
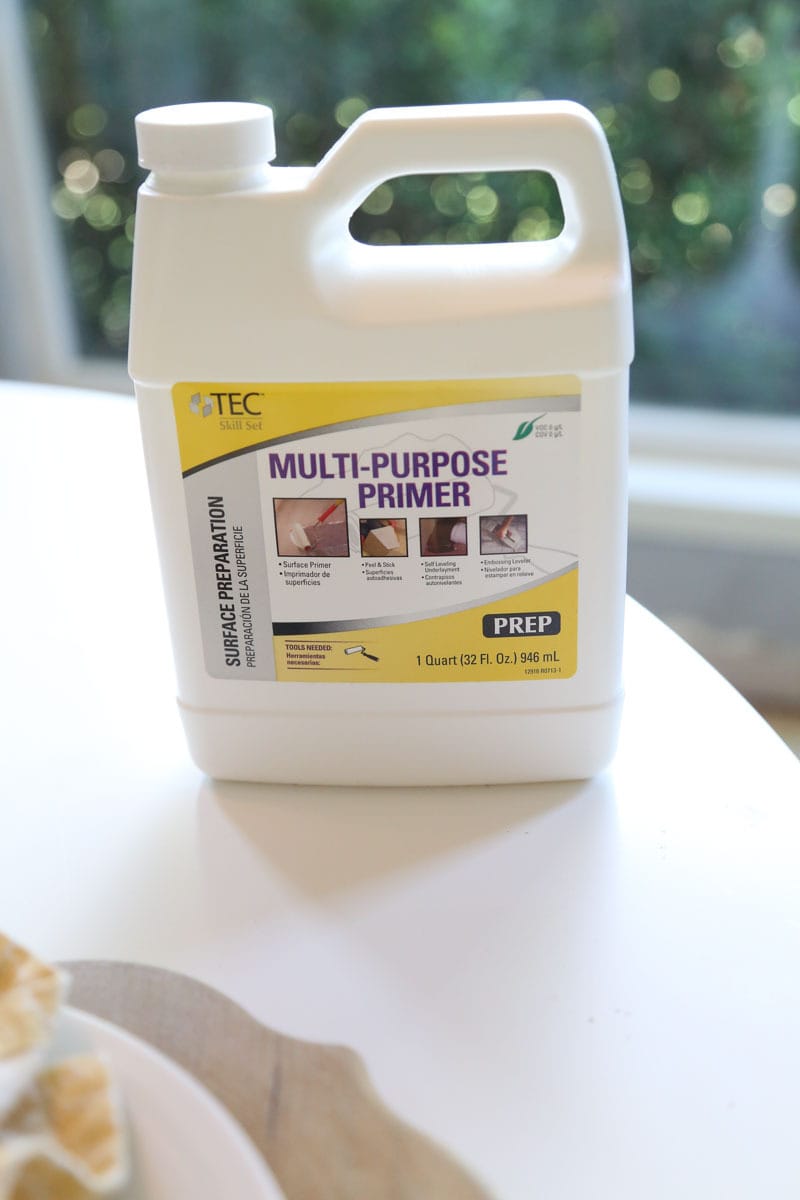
- Floor primer (I can’t find the stuff we used anywhere online, but it was TEC Floor Primer. We found it right next to the vinyl plank flooring)
- Hammer
Step One: Remove Old Flooring
Obviously, the first step is to remove your old flooring and baseboards. Baseboards generally come first. You’ll use a small pry bar and a hammer to remove all of the baseboards from the room. Then, it’s time for the flooring. If you’re working with carpet, you’ll need to pull up the carpet and pad, then remove all of the carpet tacks from the floor. If it’s something like linoleum, my experience was that you can just pull it right up. It’s super easy and fast!
Step Two: Thoroughly Clean Subfloor
Next you need to clean. I find that wood underlayment is much easier to clean than concrete, but it’s not too difficult to do either one. You just need to be very thorough. I start by vacuuming the entire floor, then sweeping, then vacuuming again. Usually that’s enough to get the floor clear, but it it’s particularly dirty you can mop. Just be sure to allow the flooring to dry completely before moving on.
If you leave something on the floor, you’ll end up with something like this:
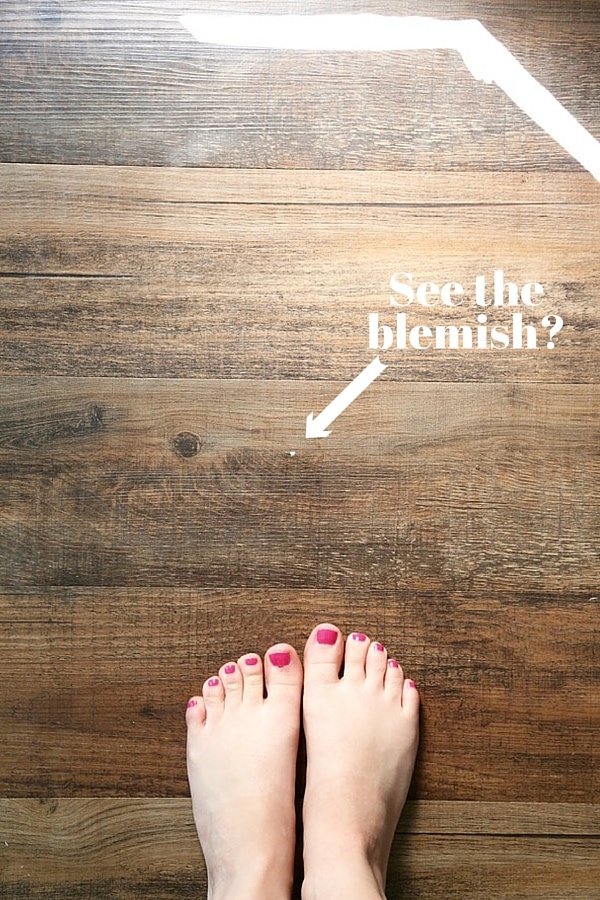
This is in our dining room, and it’s a spot on the floor where I clearly left a bit of dirt on the floor when I was laying it. Over time, the tiny particle has embedded itself under the flooring and created a blemish on the floor on top. It’s not a major deal, and no one would notice unless I pointed it out, but obviously, it’s something you want to avoid.
Step Three: Prime Subfloor
Once your floor is completely and totally clean, it’s time to prime it. This is a step that we skipped everywhere else in our house and I majorly regret it. It makes a world of difference. All you have to do to apply it is dump some out on a section of flooring and use a paint roller to spread it around. It says it takes 1-3 hours to dry. I found that in our (super hot, humid) environment, it was dry enough to begin working after about an hour.
Step Four: Begin Laying Flooring
Once your primer is dry, it’s time to start laying the floor. Think carefully about where you want to start and which direction you want to lay. If you’re carrying this flooring throughout multiple rooms, your starting point will affect everything. If you’re concerned about your walls not being straight (spoiler: they probably aren’t) you can lay a chalk line down for your first row of boards. We did this in Jackson’s nursery, see the details here.
It’s easiest to just start with a full board. For this peel and stick flooring, all you have to to do install it is peel off the backing, lay it into place, and press it down firmly.
Yes. Really. That’s all.
You can see an example of what it looks like to lay the flooring here on this Facebook live video that I did as I was working. Just keep peeling and laying until you get to the other side of the room. Once you reach a point where you’ll need to cut a board, just measure how long you need it to be, mark it on the back of the board, and use your utility knife to score it. Fold the board in half to break it apart, and you’re good to go!
In order to create a cohesive pattern for your boards, you’ll want to decide ahead of time what your starting lengths will be. For example, my first row started with a full board, then I did a 1/2 board, then I cut one to 3/4 length (so, since the boards are 24″ long, the first row was 24″ the second was 12″, and the third was 18″). Just continue that pattern all the way down the room and you’ll end up with a pattern that looks just like the real thing.
And really? That’s all there is to it! This flooring couldn’t be simpler to install – I’ve done the entire house now totally by myself. The kitchen only took me about a day and a half to do, and it would have been faster if it wasn’t for constant interruptions from my child.
Additional Tips
Of course, while this flooring is super simple to install, there are a few things you’ll want to keep in mind:
- Corners and doorways are tricky. Take it slow and steady, and do lots of measuring and testing. If you’re working with a smaller or more intricate cut, you can use sharp scissors to cut the flooring.
- Sometimes you’ll need to cut a board lengthwise (generally against a wall on the opposite side of the room from where you started, or when going through a doorway). Just remember that the line doesn’t have to be perfect since the cut part will be hidden by baseboards. If the cut is more than two inches or so, I use my utility knife and a straight edge to cut. If it’s smaller, I’ll just cut it with scissors.
- This flooring really is pretty forgiving. If you lay a piece and realize it’s crooked or has something under it, you can quickly lift it up and put it back into place without causing any issues. This is easier to do right after you lay the floor, though – if you wait more than a couple of hours, you’ll probably just need to lay a new board to fix it.
- It helps to have a hammer on hand in case the flooring gets tight. Sometimes when you’re trying to fit a board in-between pieces that are already laid, you’ll be slightly off and have a hard time pressing it in. It’s no problem at all usually – just grab a hammer and lightly tap along the seam until the board snaps into place. It’s much better to have this happen than to end up with gaps in the flooring!
And that’s just about all you need to know to install vinyl plank flooring!
Let me know if you have any questions that I didn’t cover! I’ll be doing another update on the flooring once baseboards are installed, but we’ve had enough questions on how to install vinyl plank flooring that I thought you guys might appreciate this one too.
Hi! Did you pull the appliances to lay the flooring?
Hi Linda! Yes, we did!
Awesome tutorial! And the results are so beautiful, I’d definitely install vynil plank flooring in my house!
Thanks, Diana!
This is a great tutorial! I am so confident now! Thinking about doing the same in our kitchen. Thank you for tips!
So glad it was helpful!