How to Build a DIY Planter Box
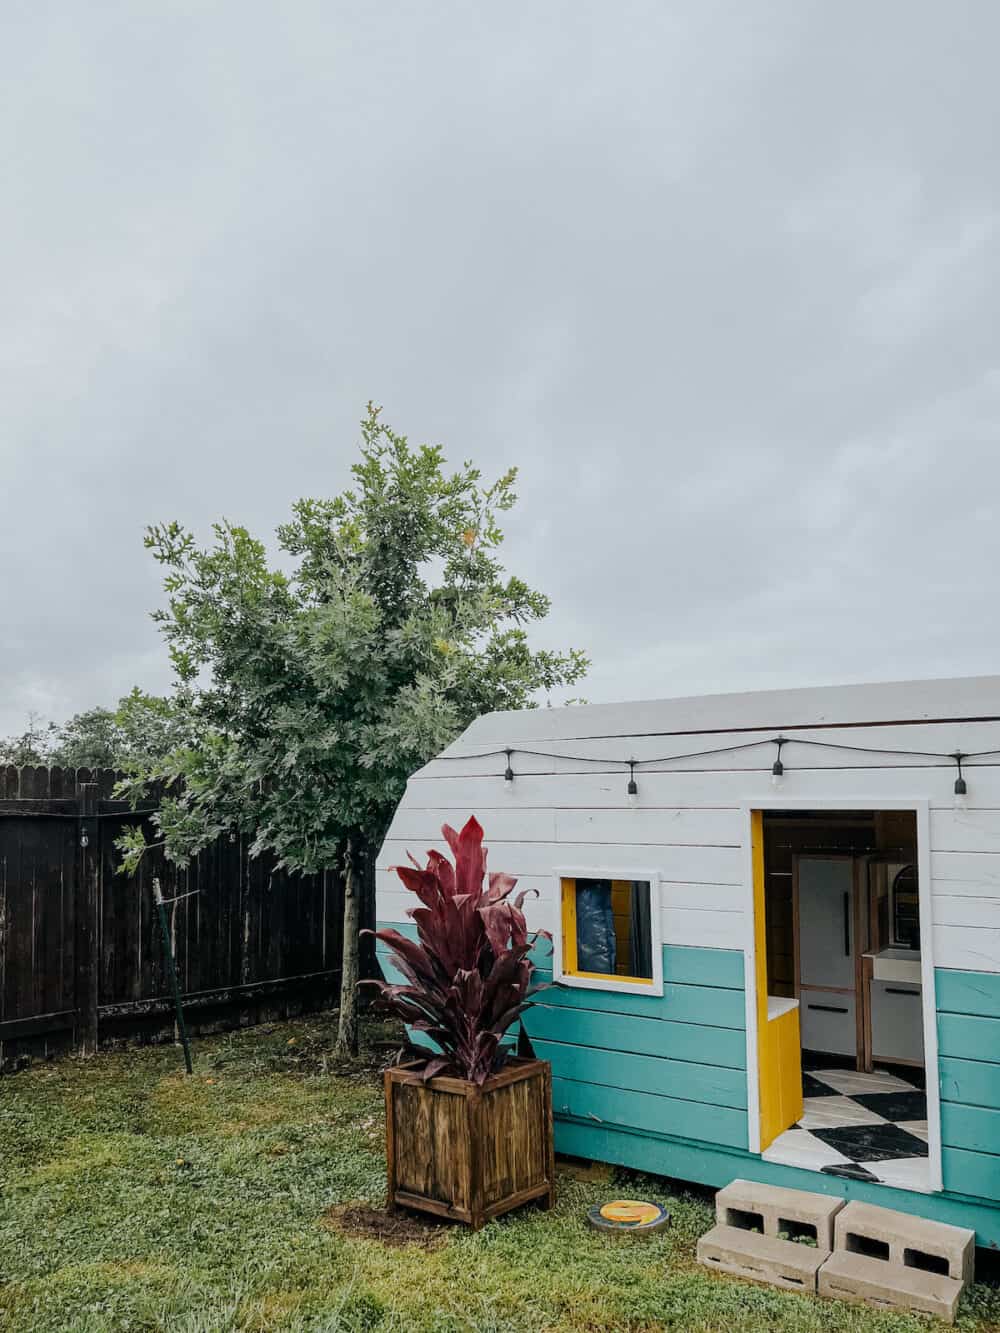
Oh hey there – it’s spring time which means all I can think about or talk about is plants. Welcome to my brain. Today’s edition? The cutest DIY planter box that I built for the area next to the play camper. Just because I wanted to.
I mean, do I need any other reason to build a new planter? I think not.
This post is sponsored by DAP.
We used to have a tall Mexican Palm tree in this spot, but it didn’t survive the winter season. Probably because I forgot to bring it inside…because it was huge. Whoops! I’ve been wanting to replace it for a few months now, and I finally decided to go ahead and build a custom wooden planter box for this spot. It gets a lot of afternoon sun, gets watered regularly thanks to the sprinklers, and having a plant over here makes the camper look extra cozy. It’s basically a must-have.
I decided to try my hand at a simple wood planter box that I can just set a plant into. I didn’t plant directly into it – this is just meant to hold the planter in the original nursery container! Of course, you could plant in it with a few modifications…but we’ll get there in a second.
How to Build a Simple DIY Planter Box
Video Tutorial
Sometimes these things can be easier to understand if you see them come together in video form. So, I’ve got a quick little video that gives you an overview of the process – once you’ve watched it, read on for the details!
Tools you’ll need
Note that I’m sharing the dimensions I used for my box, but this could easily be changed to accommodate just about any size! Use these instructions as inspiration to adjust and create the planter box of your dreams!
Step One: Prep + Choosing Lumber
There are a variety of approaches you can take when it comes to the lumber for your planter box. You can use cedar fence pickets, cedar boards, pressure treated lumber – whatever you want! I chose to go with a mix of pressure treated lumber and cedar. Why? Pressure treated wood is significantly more affordable than cedar, so that’s what I used for the bulk of the project. It’s still rot resistant, and can stand up to being outside long term. But, it can be hard to find pressure treated 2×2’s in store, so I grabbed cedar for that part.
I’ll note that I’ve even created projects similar to this (like our scrap wood plant stand) with scraps of non-outdoor-rated wood like pine. Just know that it might not last as many seasons, and definitely needs to be sealed if you go that route!
Make sure to measure the area you’d like to have your planter box, so you know the sizing will work!
Step Two: Cut + Sand Boards
Once you’ve chosen and purchased your wood, it’s time to cut and sand your boards. I used my miter saw to cut all of the wood down and then I sanded each piece individually. It’s a lot of work upfront, but it’ll save you a headache later. Cedar and pressure treated lumber are both very rough straight from the store, so it’s important to take the time to smooth them out.
Cuts You’ll Need
- (16) pieces of 1×4 cut to 16″
- (8) pieces of 2×2 cut to 15″
- (4) pieces of 2×2 cut to 22″
- (2) scrap pieces of 1×4, cut to fit the bottom once assembled
Step Three: Assemble Side Panels
After cutting and sanding all of the wood, it’s time to start assembling. This part goes pretty quickly, I promise.
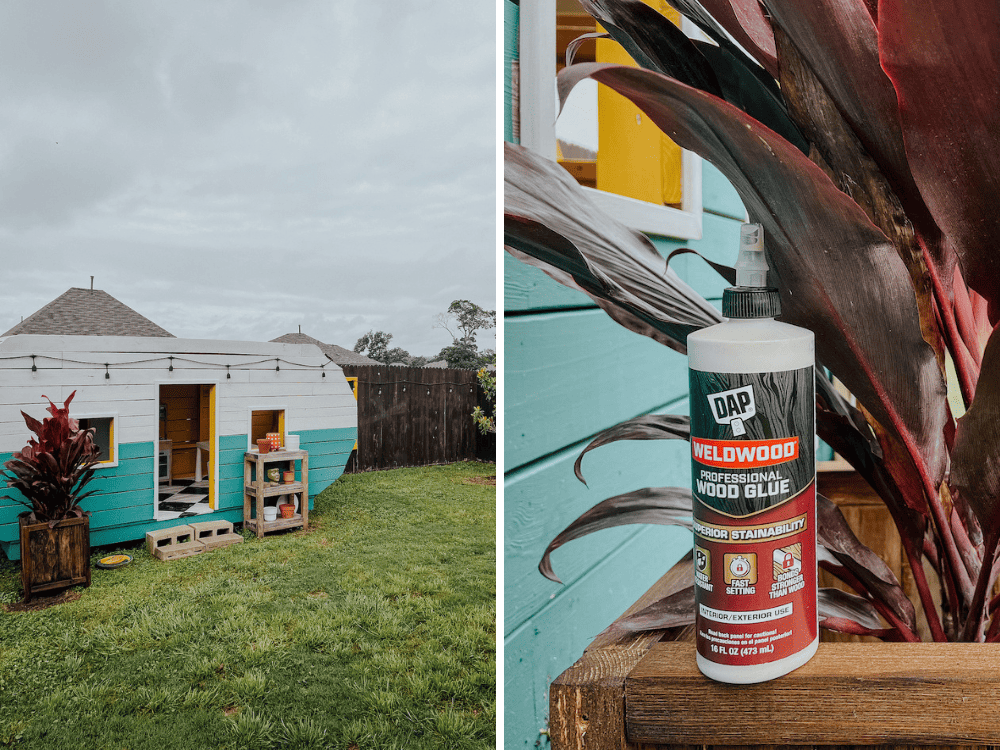
Start by drilling pocket holes in each of the 16″ pieces, then attach four of them together to create a panel. I used DAP Weldwood Professional Wood Glue and pocket holes to assemble the planter box. The pocket holes are mostly just there to act as a clamp and help hold everything together – the wood glue is strong enough to hold it together all by itself!
Just be sure you go with an exterior wood glue, like the one I used. It’s vital to choose a good wood glue, and personally I always go with DAP. The Weldwood Professional Wood glue is perfect for this kind of project. It’s professional-grade so you know you can trust it, it’s fast-setting, water resistant, and is stainable or paintable.
Simply brush your wood glue on each of the boards you’re attaching together, then use your pocket hole screws to hold everything in place while it dries.
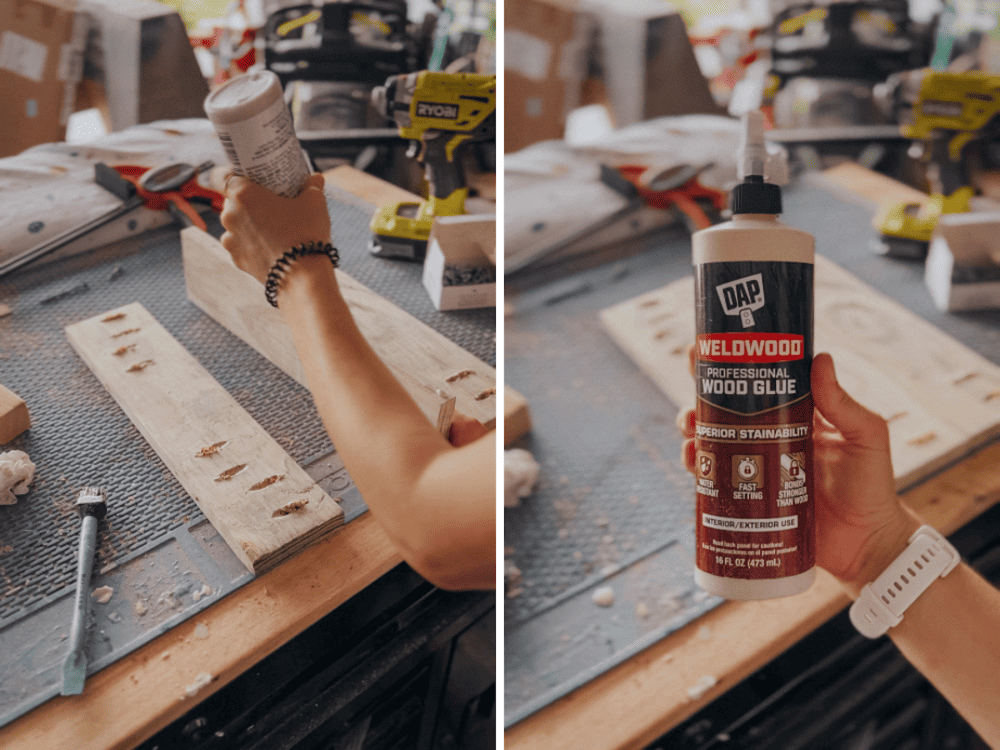
Be sure to drill pocket holes on the outside end of the two end pieces, so you can attach the legs!
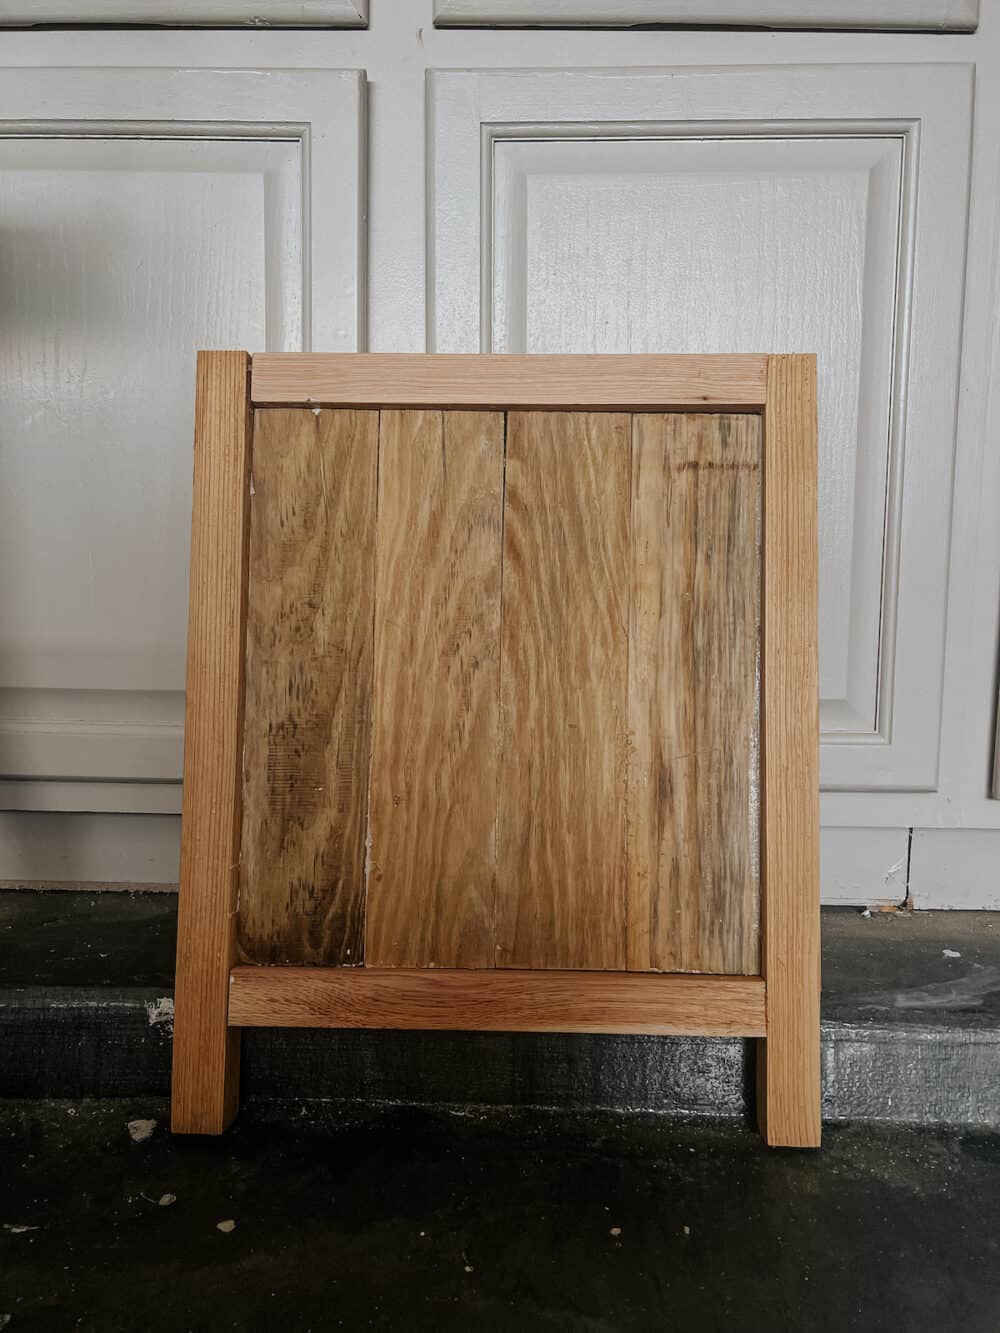
You’ll want to build four panels like this, and you will attach legs to two of them. So, you’ll end up with two panels that have legs, and two panels that are just the four 1x4s attached together.
Attaching the Legs
I planned to have a trim piece of 2×2 along the top and bottom of each panel, so I made sure to leave room for that at the top when I attached the legs. You could also go ahead and attach those trim pieces now, but I found it easier to drill them in once everything else was assembled.
To attach the legs, just use the same method as before. I had my panels line up with the back of the leg so that the finished product has an inset, and I made sure to leave room at the top to add in a 2×2. Once I attached the legs, I just drilled in the 2×2 boards on the top and bottom, drilling directly through the legs (don’t forget wood glue, too!).
Step Four: Assemble Planter Box
At this point, you should have four side panels, and two of them should have legs attached. Now, it’s time to put it aaaaall together!
Grab one of your plain panels and attach it to the two panels with legs using the same wood glue and pocket holes method. Then, flip the whole thing over and do the same with the other plain panel. Again – be sure to leave room at the top for a 2×2 trim piece if you plan to add that!
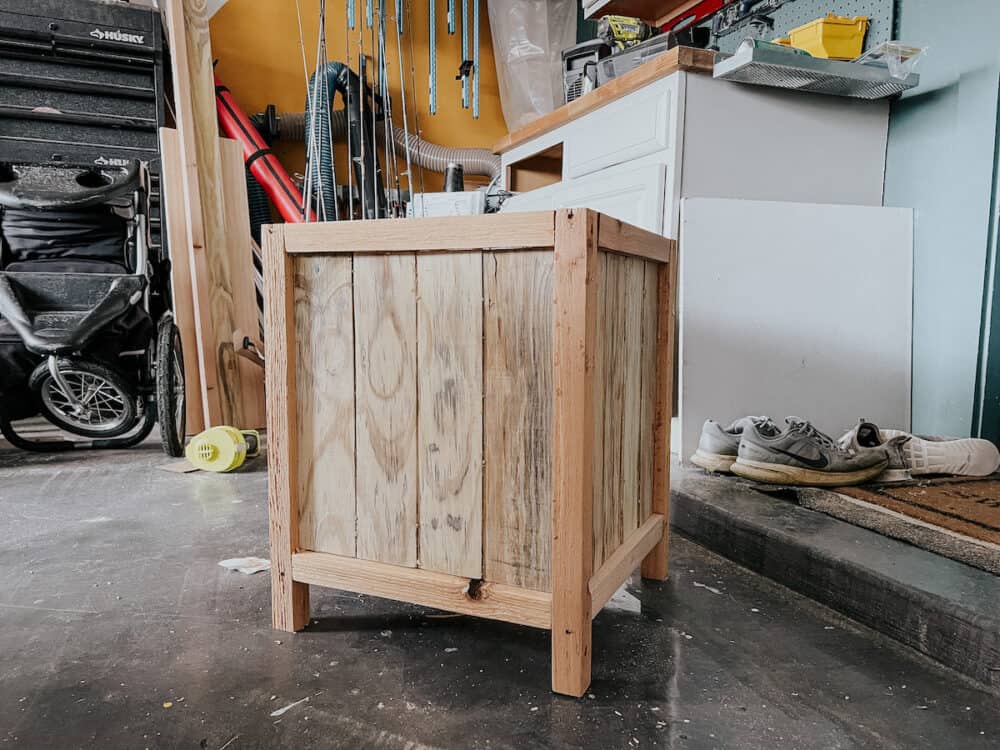
Once you’ve attached all four sides together, you should have a box! It won’t have a bottom yet…but other than that it should look pretty much complete. Let’s wrap it up!
Step Five: Attach Bottom (Optional: Add Lining)
I am not planning on actually planting any flowers or veggies directly in my planter box. My plan is to set planters inside of it. So, all I needed at this point was to measure the bottom of the planter and use wood glue and pocket holes to attach a couple of pieces of wood. These will hold my plant in place and keep things looking great!
If, however, you’d like to use this planter as an herb garden or vegetable garden and plant directly in it, you’ll need to take a few additional steps. In that case, I would add three or four support pieces in the bottom of the box – leave some room in-between each to act as drainage holes. Then, use a staple gun to line it with landscape fabric before planting.
Step Six: Finish + Plant!
And finally, you’re ready to stain or paint! I chose to stain my planter box with my go-to stain, Dark Walnut by Varathane. Of course, you could also paint it, or just use a sealer and keep the natural wood tone. Be sure to sand down the glue lines prior to staining, and allow the stain to penetrate that area of the planter box for about 30 minutes before wiping the excess off!
Once you’ve chosen the finishing method that works best for your deck or patio and it’s all dry, you’ve got yourself a simple raised planter box that can hold just about anything! I have ours in the backyard, but it would also add a ton of curb appeal on the front porch, or any other outdoor space.
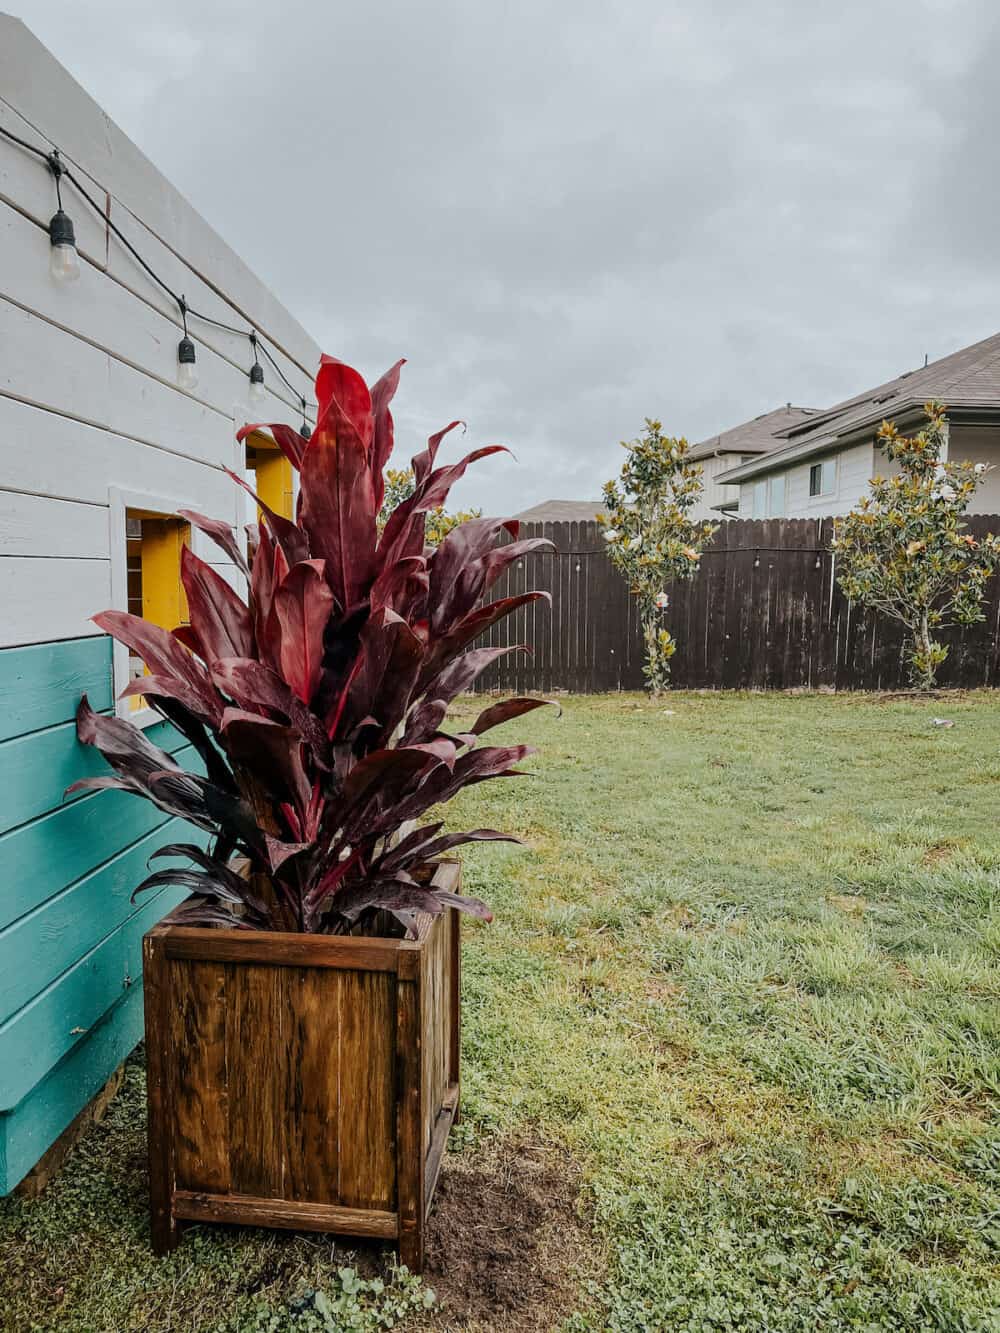
The kids are thrilled to have a new (living) plant over by their camper, and it’s got us all excited to continue sprucing up the yard for spring and summer!
If you have any outdoor building projects coming up, be sure to check out Weldwood’s Professional Wood Glue. It’s definitely my new go-to for any project like this, and I always know I can trust DAP to deliver a wood glue I can count on.
