Our New Leaning Vertical Herb Garden
I love an herb garden. Or, at least, I love the idea of it. Over the years, I’ve tried lots of different versions of a cute place to grow my plants. If I’m being fully honest, I’ve never done a great job of actually keeping up with it and keeping them alive.
I’m a rockstar with indoor plants, but the outdoor ones? Not so much.
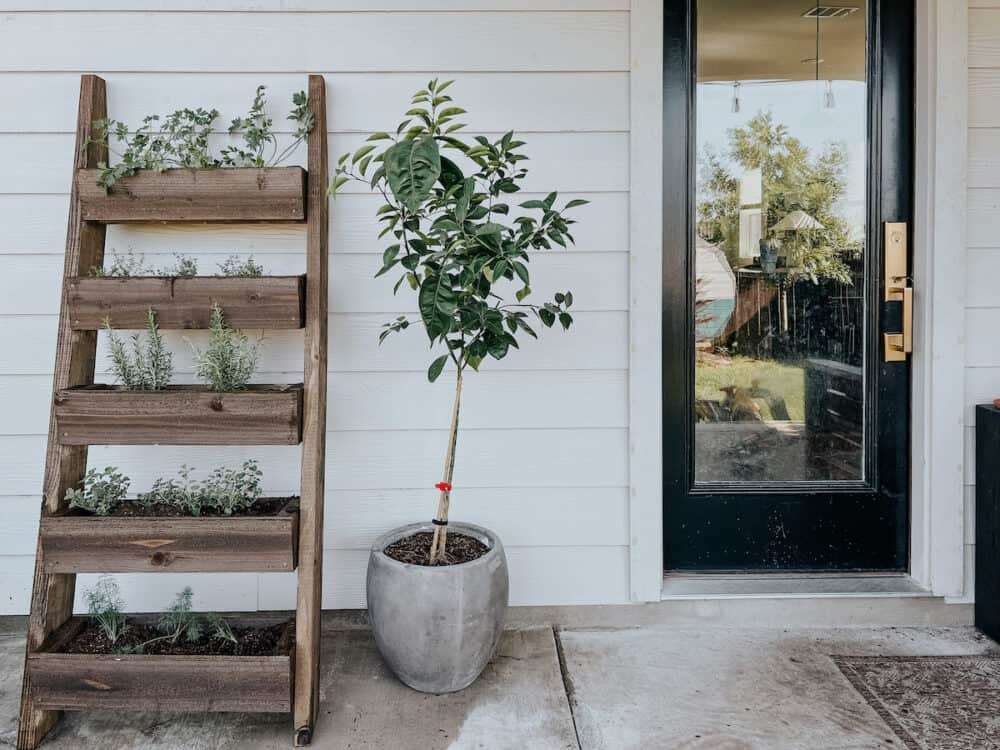
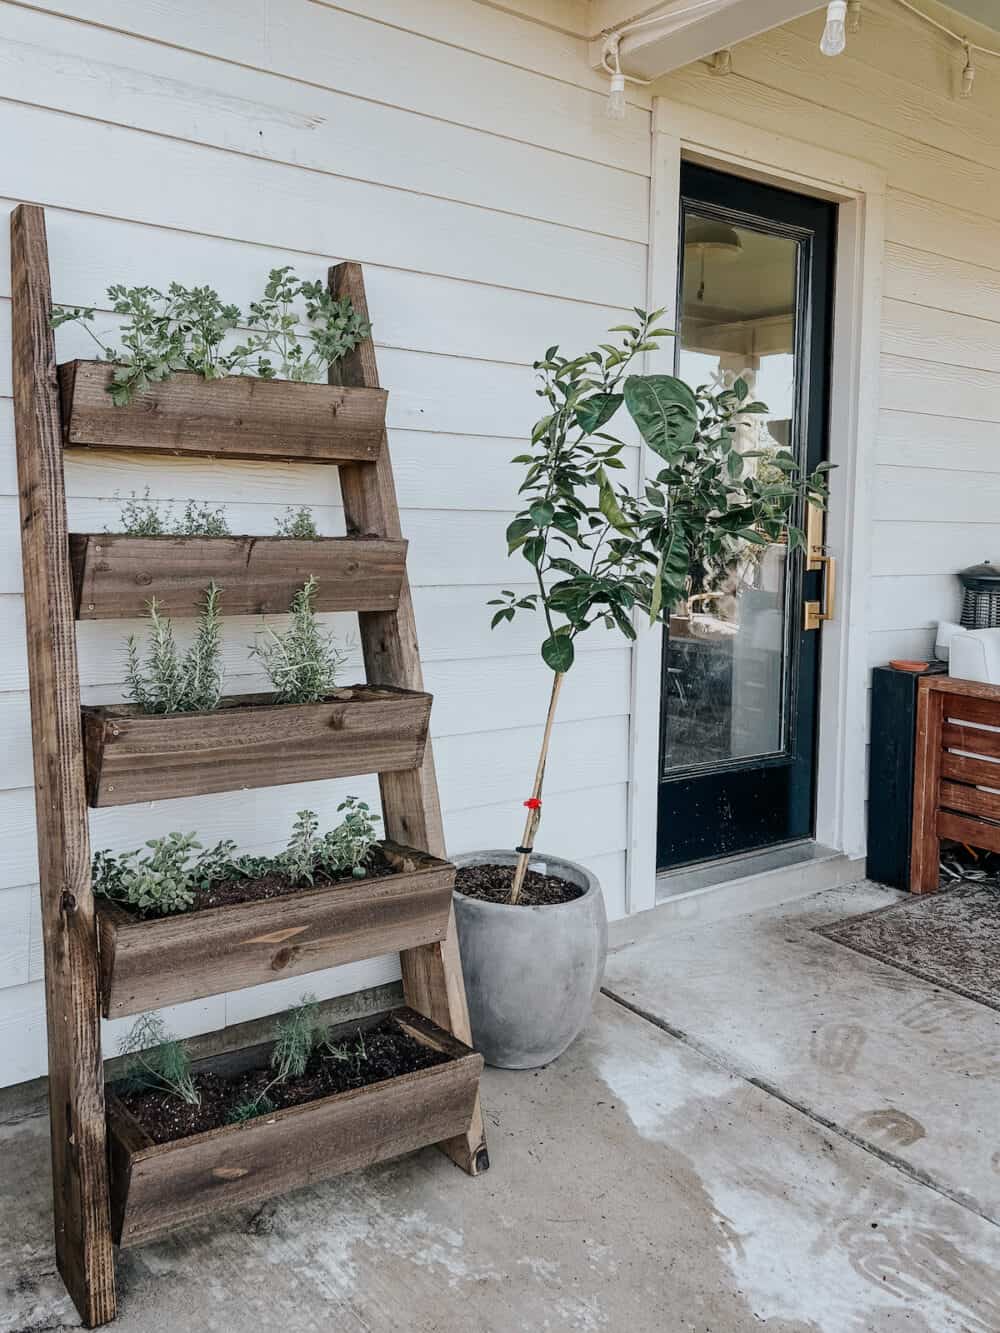
But, it doesn’t stop me from trying! I came up with (yet another) cute idea for displaying and growing some herbs in my backyard, so meet the 2023 version of our DIY herb garden: the leaning vertical herb garden.

I mean, she’s cute, right?!
What’s different about this version of the herb garden that makes me hopeful it’ll last this time around? Absolutely nothing. But, I’m feeling bound and determined to try again and I’m hoping that just sheer determination will be enough to make it happen.
Might wanna cross your fingers for me, just in case.
DIY Leaning Vertical Herb Garden
For this project, I decided to lean on the expertise and creativity of someone else, and I followed a tutorial from Ana White! It was incredibly easy to follow, really well written, and a super simple build. It took me just a few hours to build the leaning planter, and cost about $45 in wood.
Video Recap
Wanna see how it call came together in video form? Watch the video below for a compilation of the videos I took throughout this process. You can see how quickly and easily it came together, and get a feel for if it’s a project that’s right for you.
Building the Leaning Planter
I won’t go into the full tutorial right here, but you can click the link above for the full tutorial from Ana White.
The basics are as follows:
- Use cedar fence pickets and 2×6 boards to build 5 planter boxes.
- Cut two support pieces with angled edges so they’ll lean against a wall.
- Attach each of your planter boxes to the support pieces, with about 6″ between them.
- Sand and stain, then fill with your favorite herbs or flowers!
Like I said, it only took a few hours from start to finish to build this, and I am really pleased with how it turned out!

Staining the Tiered Planter
For the finish, I decided to go with Aged Wood Accelerator from Varathane. It’s one of my very favorite finishes – it’s so easy to use and gives a beautiful, really rich wood color! It’s super easy to apply, too. I used a stain sprayer, but a simple foam or bristled brush works just as well.
The best part about this particular finish is there’s no need to wipe off the excess stain. Just let it soak right into the wood and you’re good to go! It took just a few minutes to get it fully stained with the sprayer, and about 30 minutes later we were ready to fill it up.
Planting the Herbs
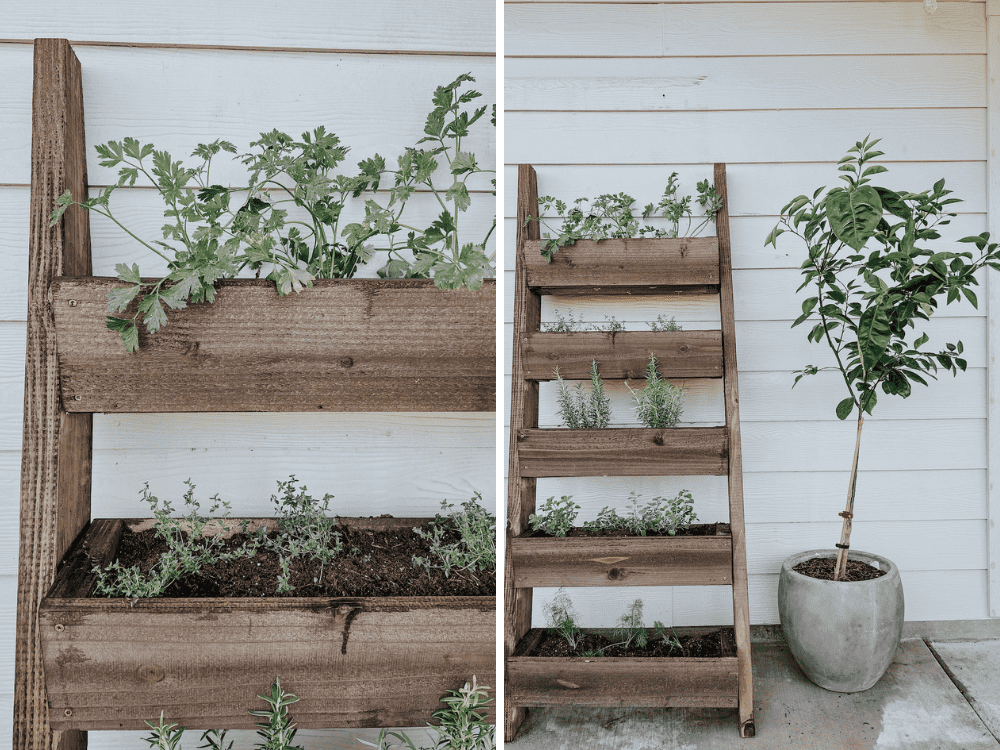
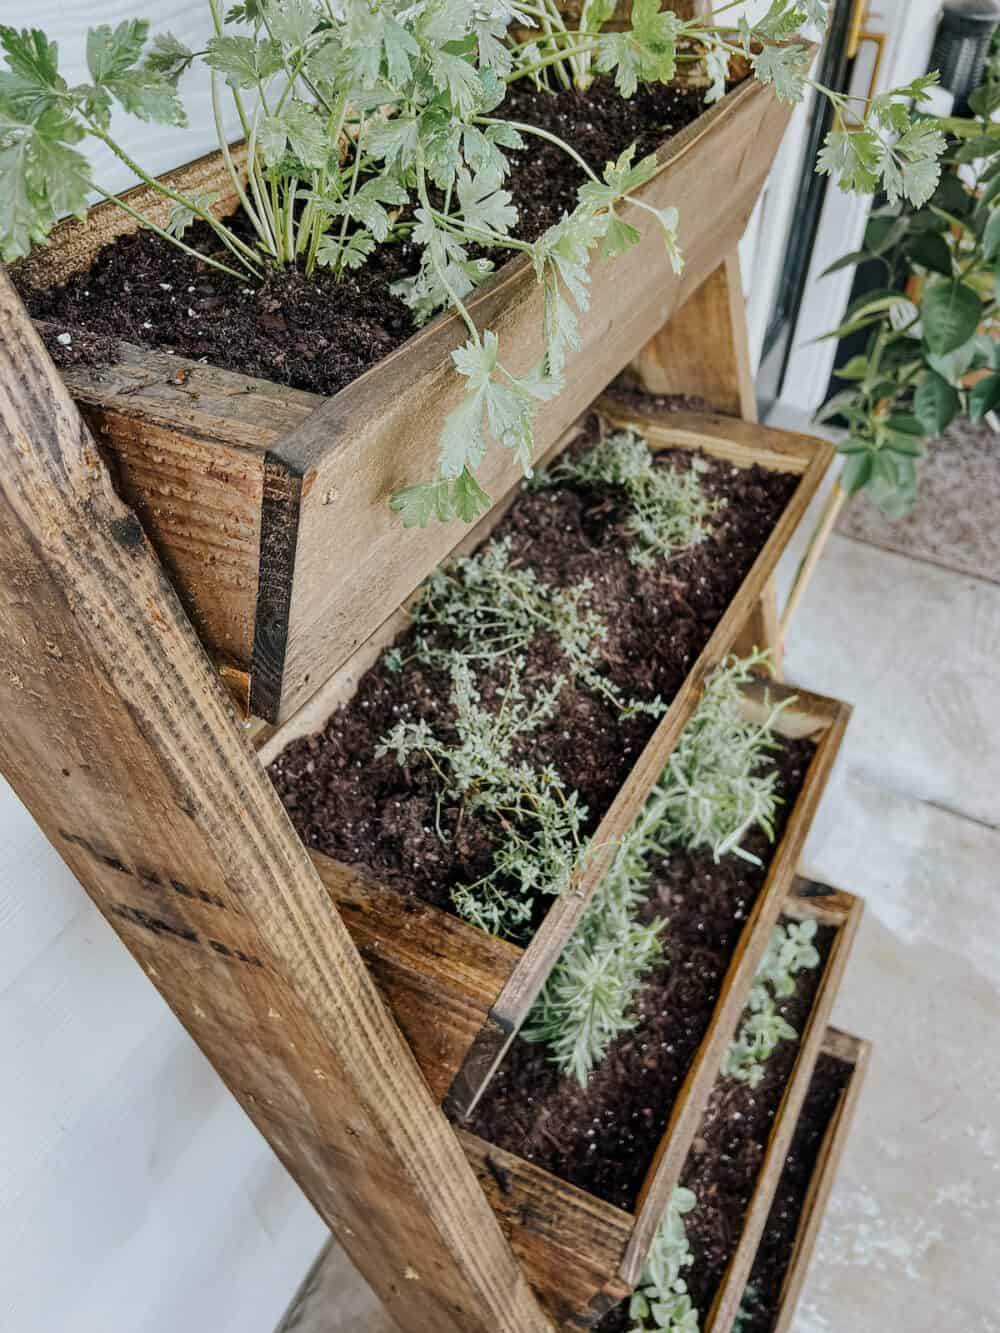
We chose to plant a different herb in each box. I know that some herbs like a little more room to grow, so I’m interested to see how they do in these shallower boxes. We tried not to crowd them, and I plan to keep a close eye on how they do over the next few weeks.
Here’s what we planted:
- Flat-Leaf Parsley
- Oregano
- Rosemary
- Thyme
- Dill


I let Corey (the chef of the house) choose which herbs to plant based on what he thinks he’ll use most. So, we’ll see how it goes!
If I’m being really honest, I’m a bit skeptical about if growing herbs is even worth it at this point. I mean, I spent more on these dang herb plants that I would to buy about a year’s worth of them them fresh from the store! But, it looks really cute on the back patio and the idea of growing my own herbs makes me happy.
So I guess it’s a win?!
You know I’ll keep you updated on how everything works out. Keep your fingers crossed for me that I don’t immediately kill them all. And that we actually use them. I guess if nothing else, next year I can just plant some pretty flowers in here, right?!
