
How to Install Cabinet Hardware
Last updated on June 18th, 2024 at 08:11 am
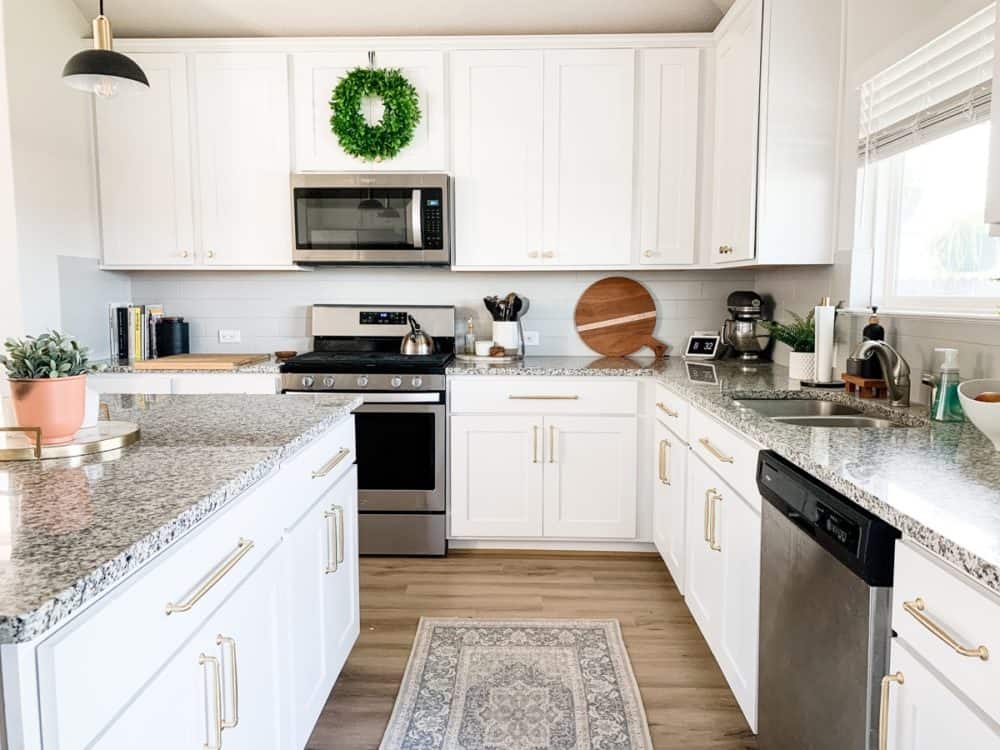
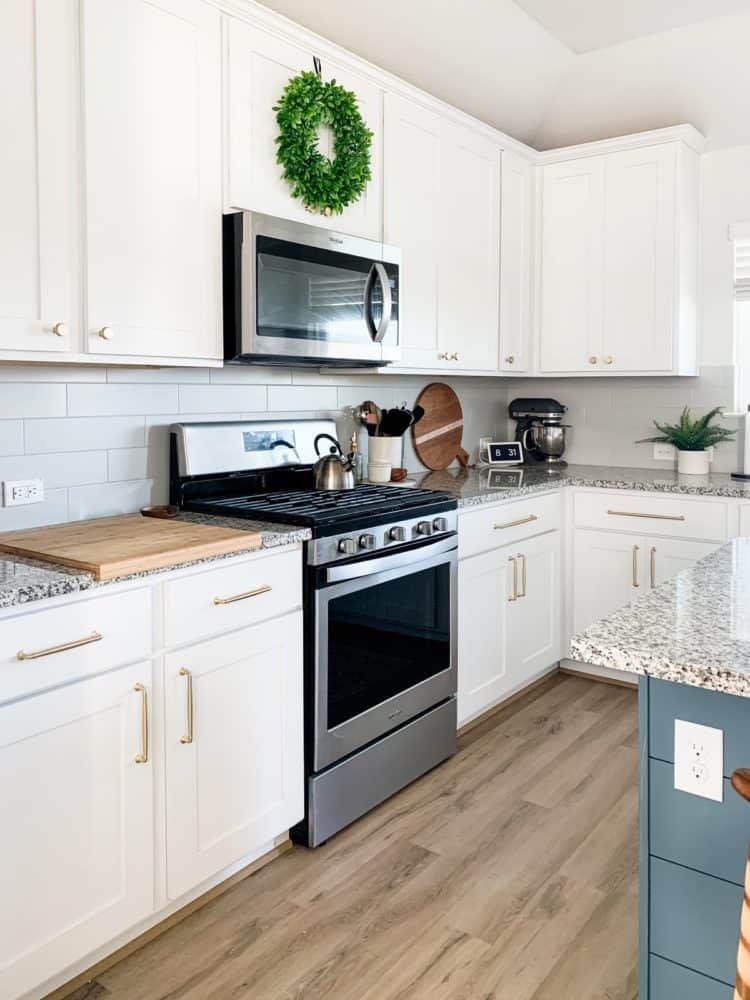
I finally installed hardware on our kitchen cabinets, and the difference is SO GOOD! Read on to learn how I installed the most gorgeous gold drawer pulls and cabinet pulls.
Do you ever have those projects that should be quick and easy but for some reason they take you ages to plan and actually get started on?
For me, the latest one was choosing the cabinet hardware I wanted to use in our kitchen.
I’ve genuinely spent the better part of the last six months actively thinking about what kind of hardware I wanted to put in our kitchen. SIX MONTHS, y’all.
Since there weren’t any holes drilled in the cabinets yet, it felt like this was my big chance to knock it out of the park the very first time. Adding knobs and pulls can make a huge difference in the look and feel of a kitchen. I didn’t want to get it wrong!
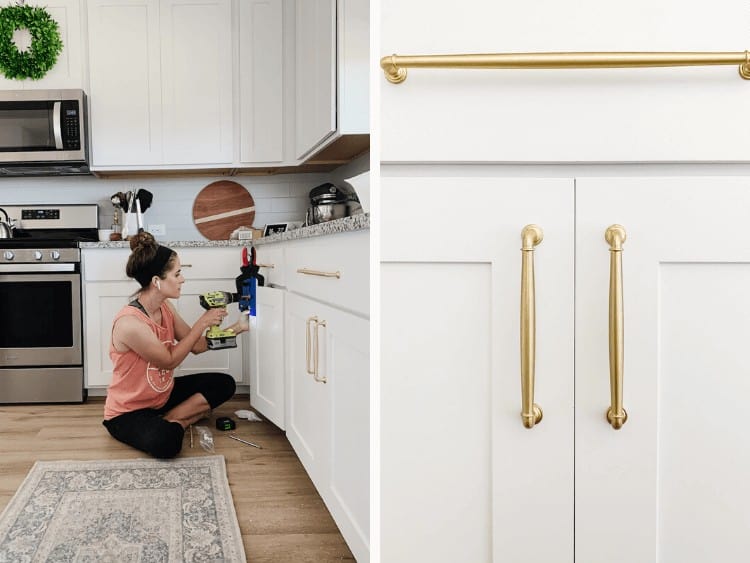
After looking at basically every option out there, I finally landed on the Classic Elegance line from Liberty Hardware. For full disclosure, they were kind enough to gift me all of the hardware for our kitchen .But, these are 100% what I would have chosen even if they hadn’t done that.
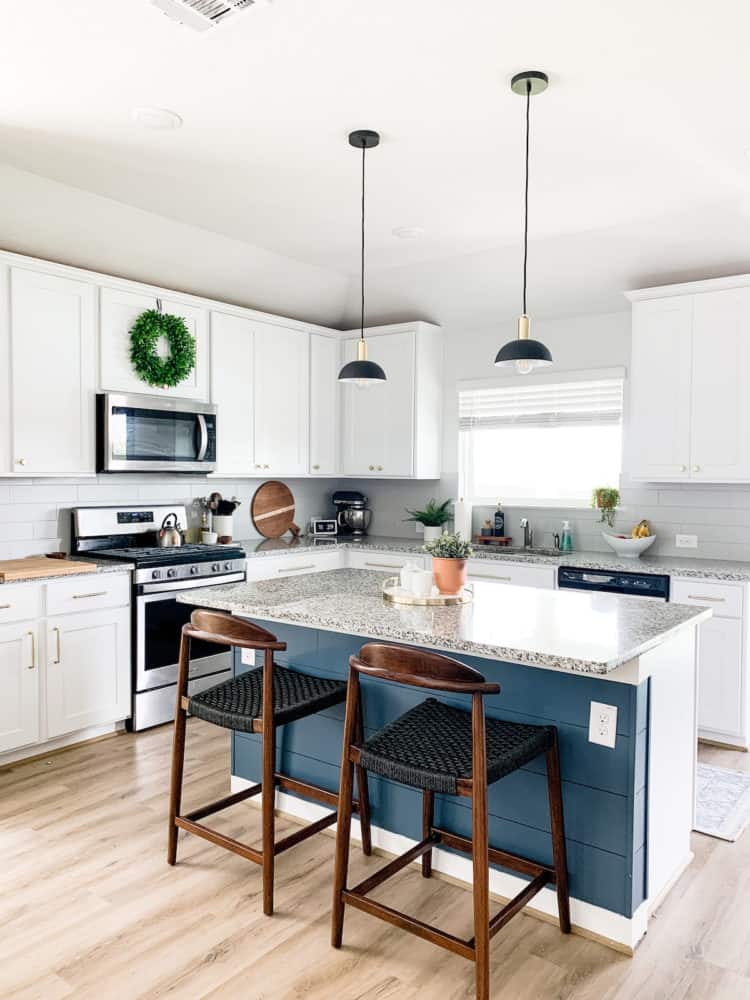
I ended up going with the 12″ Classic Elegance gold drawer pulls for all of our longer drawers, and the 6 5/8″ pulls for the smaller ones. I feel like the oversized pulls really make a huge statement in the room! I’m head over heels in love with how it turned out.
If you’ve never installed cabinet hardware on cabinets without holes, it can feel reeeeeally intimidating. I was beyond nervous when I drilled that first hole into our shiny new cabinets! But, one I pushed through and did it, it was (obviously) so worth it! So, let’s chat about how it’s done.
How to Install Cabinet Hardware
Tools & Materials
- Power drill
- 3/16″ drill bit
- Cabinet hardware jig (I like this one)
- Clamp
- Measuring tape (I really love this easy-to-read one)
- Knobs and/or pulls
- 12″ Classic Elegance Gold Drawer Pulls (update: these have been discontinued in this size)
- 6 5/16″ Classic Elegance Gold Drawer Pulls
- Classic Elegance Gold Cabinet Pulls
Drawer Hardware: Measure + Mark Holes
Let’s start with talking about the drawers. You’ll want to begin by determining the center of your drawer height-wise. My drawer fronts are 6″ tall, so this was 3″ for me. Then, set your hardware jig to the appropriate setting.
If you’re using smaller drawer pulls than I was, you may be able to use your hardware jig for the entire process. My pulls were far too long for either of the jigs we had! So, I just used them to help me space the holes consistently and appropriately (and to make sure the pulls were level).
The other measurement you’ll need is where to place your holes length-wise. This will vary depending on the width of your drawer. I’d recommend measuring each drawer individually! I thought one of my drawers was the same length as the other long ones, but it turned out to be a totally different size.
To determine your hole placement for the pulls, here’s what you do:
- Measure the length of your drawer front. For example, my long ones are 34″.
- Subtract the center-to-center measurement of your drawer pulls from that number. I was using the 12″ pulls for those, so my new number was 22″.
- Divide that number by 2 to get the placement for each of your holes. I needed to place mine 11″ from either end of the drawer front.
I used my Kreg Cabinet Hardware Jig for this. You just adjust the little ledge on the back to the spacing you want – again, 3″ for me – and tighten the knobs so it doesn’t move. Then, you rest the ledge on the top of the drawer and measure so that the center hole is exactly where you want one side of your drawer pull to be.
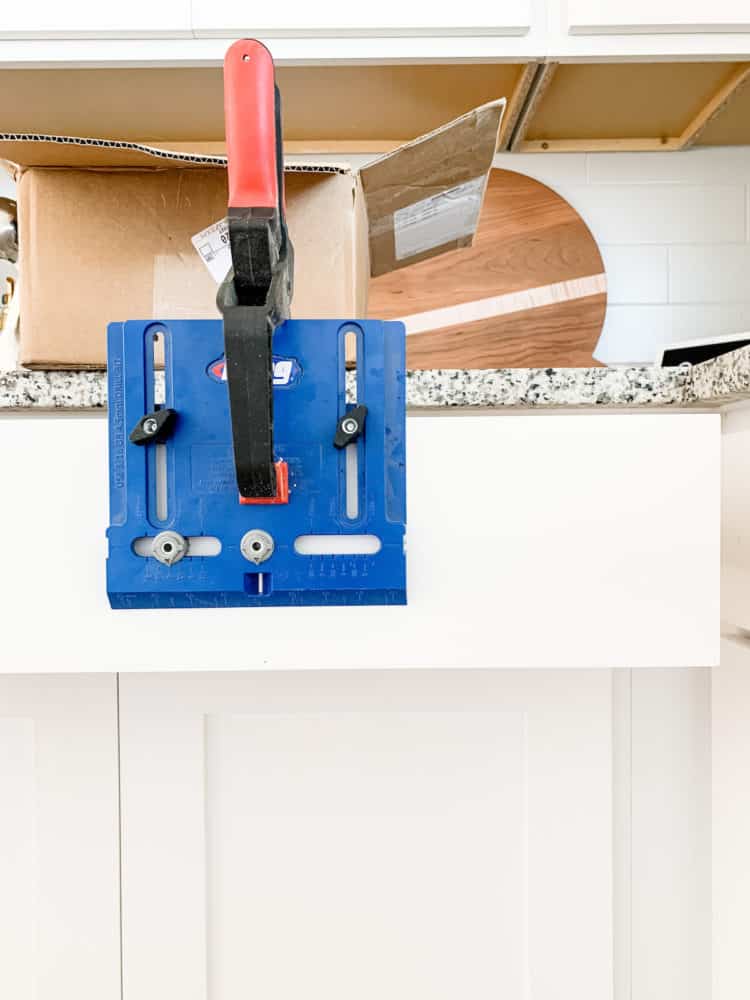
Drawer Hardware: Attach Jig + Drill Holes
Double and triple check your measurements, then clamp the jig onto the drawer front, as pictured above. Be sure to measure again and adjust if needed after you clamp it. Sometimes it can shift! Once you’re positive the jig is exactly where it needs to be, just drill a hole in the center spot! Then, pull the jig off and repeat with the other side.
Remember that with drawer pulls, it’s vital that your measurements are exact or they won’t fit. There were a couple that were ever so slightly off, and I had to make one of the holes a little bigger to make sure I could get them installed. I was grateful that I chose drawer pulls with a wide base for that very reason. I didn’t have to stress about the slightly-larger-than-normal hole being visible once everything was in place.
Once you’ve got the holes for the pulls drilled, you can simply grab the screws that come with the drawer pulls and install them. Most drawer knobs and pulls should come with two lengths of screws. So, you can choose which one works better for your cabinets. Generally, you can expect that drawers will need the longer pulls and cabinets will need the shorter ones.
Installing Hardware on Cabinet Doors
Installing the hardware on the cabinet doors is very similar. The difference is, finding the right setting for your jig is a little more nuanced than just finding the middle.
Our cabinets are a shaker-style cabinet, meaning they have a flat frame all around the cabinet doors. I chose to have my knobs and pulls sit in the center of this frame. I spaced them all 2″ from either the top (for lower cabinets) or the bottom (for upper cabinets) of the door.
If you don’t have a frame, a general rule of thumb is to place the knobs about 1.5-2″ in from the side, and between 2-3″ from the top or bottom, depending on your preference.
So, to install these, I simply set my jig to 1.5″ (the frame on the cabinets is 3″ wide). Then, I measured 2″ for the first hole and another 6 5/16″ for the second hole. The upper cabinets just have knobs (and they obviously only need one hole), so they go muuuch faster.
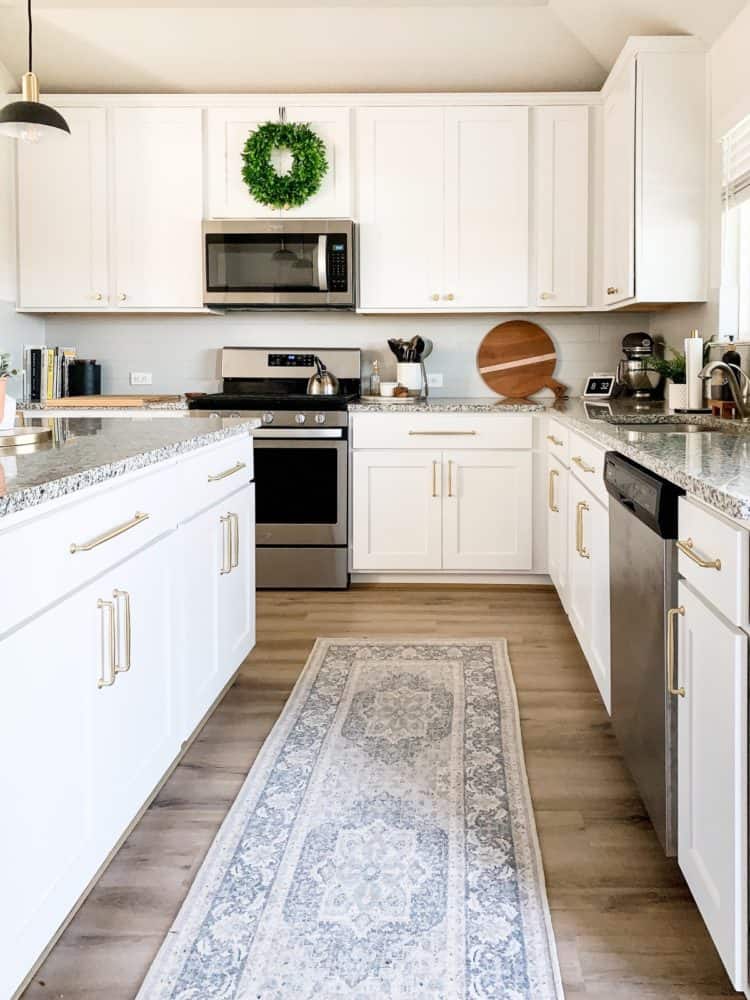
And that’s it! Installing hardware on your cabinets is a bit slow-moving, but it took me just one afternoon to knock all of these out. And, it feels like a totally new kitchen! Between this and the new pull-out drawers in our pantry cabinet, I’m feeling so good about this space!
What size knobs did you use? I have been in a rabbit hole of deciding knobs and pulls or all pulls. Your post finally made me decide to do knobs on uppers and pulls on bottom. I love the size of your knobs.
I’m so glad I’m not the only one who has spent months thinking about which handles I want on our kitchen cabinets haha We just had our kitchen cabinets painted white and I absolutely love them but I feel like there’s even more pressure now to pick the perfect handles because there are so many great options that go with white. I really like the finish of the handles you used so I’m definitely going to look into those! Thank you for the inspiration and the step by step guide!
This is beautiful! Waiting 6 months was so worth it!
Stunning ! So impressed you just jump in and do these things.
Love it!! Looks like it was always meant to be