
How to Make DIY Kitchen Cabinet Drawers
If you wish your cabinets had a little more organization, you can easily add some pull-out kitchen cabinet drawers to give you more functionality and storage! Let me show you how…
If your kitchen is anything like mine, you need all the storage you can get. I’m a bit of a passionate organizer and I’m always looking for ways to make my cabinets function better for me. There are all sorts of kits for adding more function to the kitchen cupboards, but I decided to try my hand at making my own.
Here’s the full tutorial for how we built these DIY pull-out kitchen cabinet drawers. It was easier than I expected it to be, and these kitchen drawers have been an organizational life-saver!
How to Build DIY Kitchen Cabinet Drawers
Video Recap
I shared this entire project, along with aaall the ups and downs over on my Instagram stories. I’ve compiled them here in a video for you. I wouldn’t consider this a tutorial, but you can see some of our process and what we learned along the way!
Materials Needed
- 1/2″ plywood (A quarter of a sheet was plenty for the two drawers we made!)
- 1/4″ plywood (A quarter of a sheet is great here too)
- Wood glue
- Drill/driver + screws
- Clamps
- Corner clamps
- Undermount Drilling Guide
- Full-extension undermount soft-close drawer slides (We used the ones linked here and have been really happy with them. But, any brand will work! The process may just look slightly different, depending on what you purchase).
Step One: Determine Drawer Size
Start off by measuring your cabinet and determining how large you want your pull-out drawers to be. We wanted to do two drawers in ours – our cabinets are super wide and it feels much more organized to separate things out a bit. If I were doing it again, I might just do one large drawer with partitions. I think it would have been easier!
This is where things start to hurt my head a little bit, but stick with me, we’ll get through it together. You’ll start by deciding how wide you want each of the sides to be. For example, if you’re doing two drawers, take the hinge-to-hinge measurement in your cabinet and divide that by two. That’s how wide you want each drawer set-up to be – I’d recommend subtracting 1-2″ or so just to account for any measurement errors.
If you’re doing side-mount drawer slides, you’ll also want to take the size of those into account (use the directions on your drawer slides here). For undermount drawer slides, this won’t matter.
Most cabinets are a standard depth, so in terms of how deep your drawer can be, you should be safe sticking with 21″ like we did!
I found that the math/measuring part of this process was by far the hardest part for me, so just be sure to take it slowly, think it through, and be prepared to make a mistake or two. You’ll get there eventually!
Our drawers are 4″ tall, 21″ deep, and 16″ wide.
Step Two: Cut the Drawer Sides
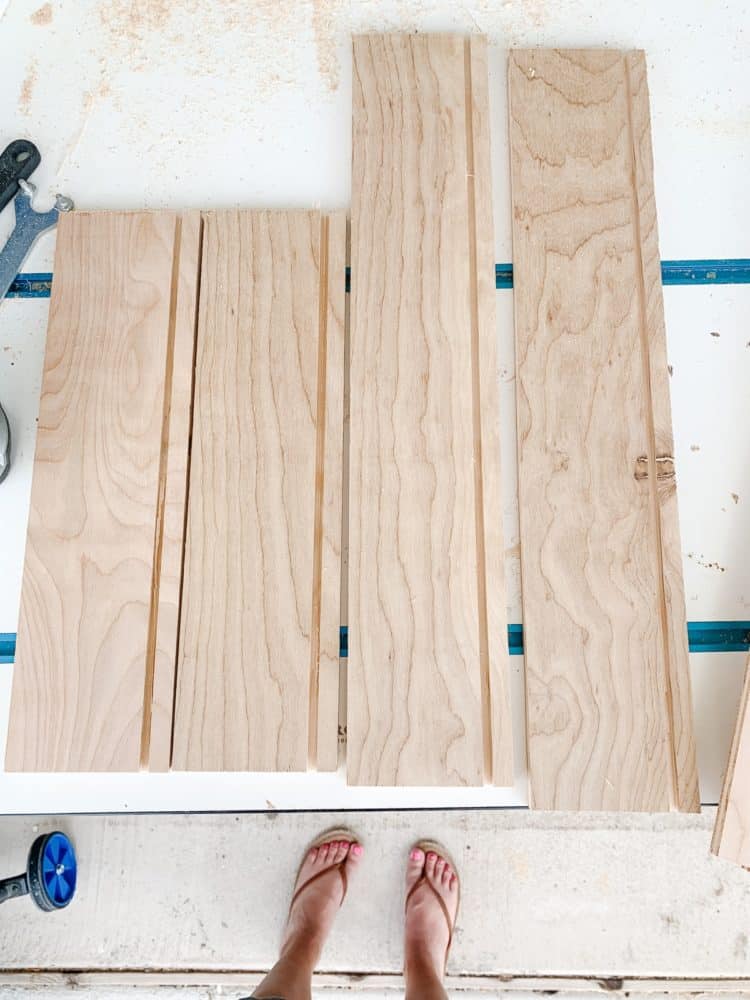
Grab your 1/2″ plywood and cut the four drawer sides. Start off with strips of plywood that are your drawer height (in our case, 4″). We used our circular saw to rip them down to the right size. A table saw would work here, too.
Then, cut them down to the right length. You’ll need two pieces for the long sides and two for the short sides.
Remember that there will be a slight overlap in each of the corners! I recommend cutting your longer pieces to the full length of the drawer (21″, in my case). Then for the shorter pieces, you’ll want to subtract the thickness of the plywood. It should be just under 1″. I recommend using my favorite, super easy-to-use tape measure to help you get an exact measurement! This may not fully make sense now, but I promise it will once the drawer comes together!
Once you have your pieces cut to size, you can use a table saw to create a dado (a fancy woodworking term for a groove!). Add it 1/2″ from the bottom of the drawer. We had to run ours through the table saw twice (moving it over 1/8″ the second time) to get it thick enough for the 1/4″ plywood to fit. I recommend using a scrap piece of wood as your test piece as you work on that!
If you don’t have a table saw (or don’t feel comfortable using one), you can always nail the drawer into the plywood from underneath. You’ll lose a bit of durability but it should be just fine.
While you’re at it, go ahead and cut the 1/4″ plywood for the base of your drawer. I recommend using a table saw or circular saw to get it done! If you’re using a dado, this should measure the interior size of your drawer, plus about 1/8″ so that there’s something to sit in the groove.
Step Three: Assemble Your Drawer

Now you’re ready to put the drawer together! We used wood glue and simply screwed into the sides of the drawers. But, if you want it to be a little cleaner you could use pocket hole screws. One thing that will be hugely helpful in putting the drawers together will be corner clamps to help hold things in place!
Step Four: Attach Undermount Slides
Once you’ve got your drawer boxes assembled, it’s time to put them in your kitchen cabinets!
You’ll want to start by attaching the hardware to the bottom of the drawers. We used this Rockler Jig-It Undermount Drilling Guide and I honestly don’t know how you’d even do this without it – it made the process so incredibly quick and easy. This is another guide that is meant for the drawer slides we used!
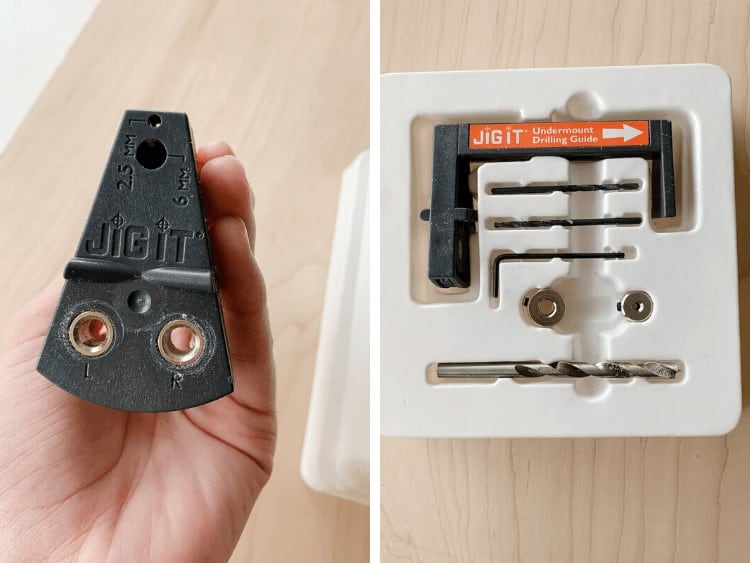
For this part, the directions on the drawer slides + guide will do a much better job of explaining things than I can! I just recommend you take your time, follow the directions for your specific drawer slides, and be prepared for some trial and error.
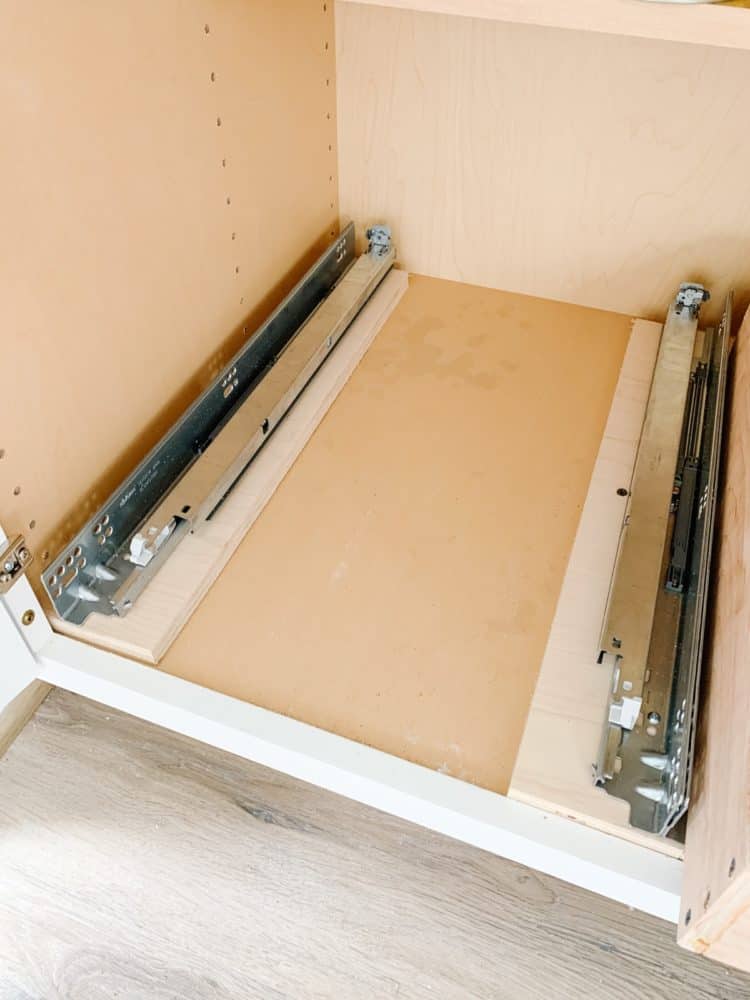
Step Five: Install in Cabinet!
Finally, you’re ready to put the drawer slides in your cabinet!
I was worried that this part would be really stressful and challenging, but overall it actually ended up being super simple! We had to attach a strip of wood to the base of our cabinets to raise the drawer slides off the base a bit. I just used some scrap plywood and it worked perfectly.
I recommend closely following the directions for the undermount drawer slides, but they can be a bit overwhelming to take in. So, here are the highlights.
Note: this really only applies if you’re doing the same layout we did. If you’re doing one big drawer or a drawer higher up in the cabinet, the process is different!
- If you have a framed cabinet like we do, you’ll need to measure the depth of your frame (and door hinge if it’s in the way). Push the drawer slide away from the wall by that much to make sure it opens. You may also need to add some wood along the bottom to raise them up.
- I found it was easiest to drive in the front screw for the slide, then adjust the back part so it was perfectly straight. Then, screw in the back screw.
- Placing the second drawer slide is the part that really hurts your head. Here’s how we did it for our particular slides and drawers: take the measurement for the interior part of your drawer. Then add 42mm (or 1 5/8″) to that to get your spacing. Measure from the outer side of one drawer slide to the outer side of another.
- Remember that you can always try again if you don’t place it perfectly the first time!
Again – if you’re just doing one big drawer, it’s much easier and there’s a little less brain-breaking math involved. Just reference the directions often, take your time, and you’ll get it!
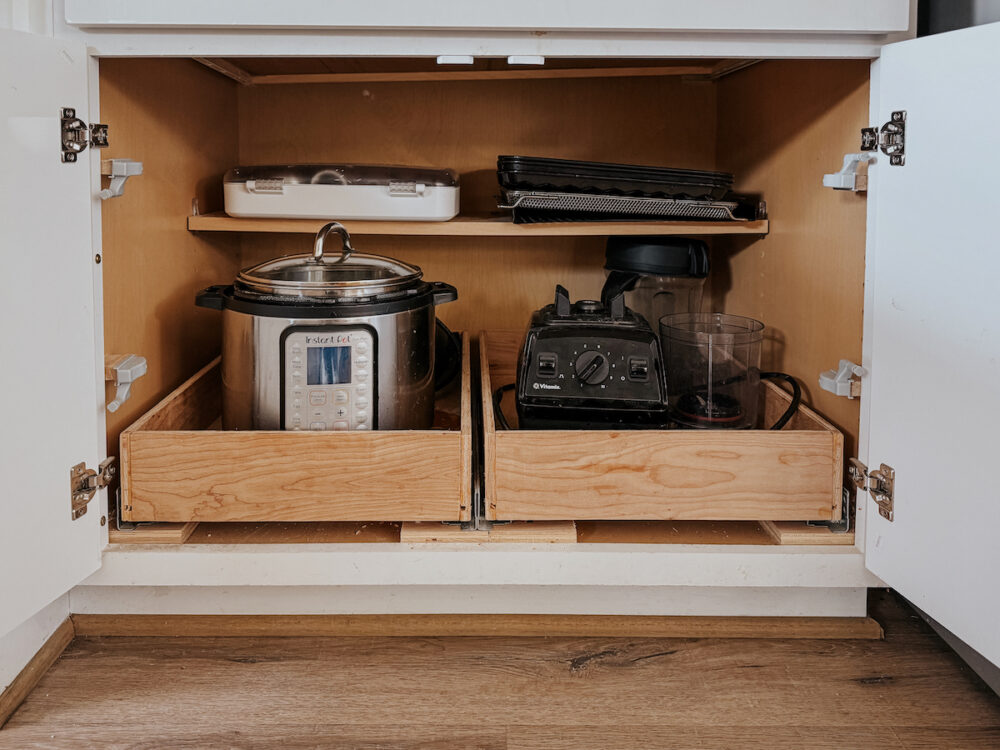
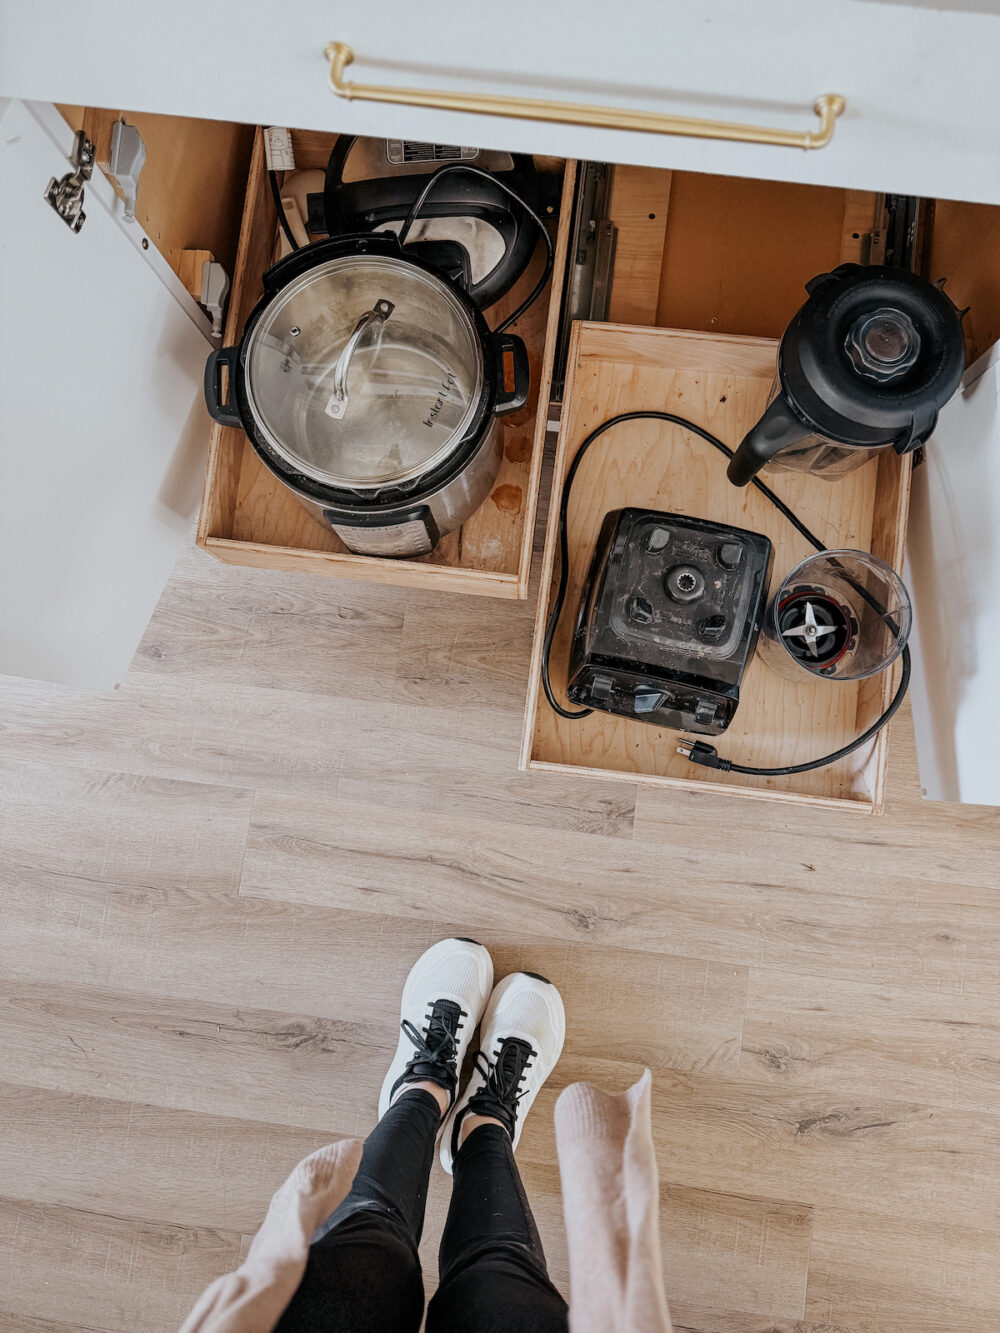
The Finished Product
Once your drawer slides are in, all that’s left to do is place the drawer on top! This is the most satisfying part because the little click you get when it all pops into place will make you want to do a happy dance.
Just pull the drawer slides out all the way, set the drawer on top, and push it back until it clicks.
And just like that, you have pull-out cabinet drawers! You can add some drawer liners to make it look a little cuter, if you’d like.
I feel so fancy with these kitchen cabinet drawers. Since adding them, I’ve gone back and added some more DIY organization to my kitchen, and it feels like such a little luxury!
If you want to see the other kitchen cabinet organization we’ve added over the years, just click around below.
The sides of the drawer slide over them. What you can also do is route a dado into the sidewall of the drawer and put a slider on the side of the drawer and allow the drawer to hang like that.
Wow! Great project. How I wish my husband can do this too. You were blessed to your husband. He knows how to do these things. Thank you for including what is the great materials to use. It is very helpful. Me and my husband were practicing this stuff right now, and I hope we can do it. Haha