Everything You Need to Know About Painter’s Tape
Last updated on May 9th, 2024 at 06:59 pm
Welcome back to our Beginner’s Guide to Painting series. I’ve been working on giving you all the information you need on everything related to painting. Today’s topic? Painter’s tape!
When I originally asked my community on Instagram what they wanted to know most about paint, painter’s tape was a topic that came up over and over again. How do you use it? When do you use it? How do you prevent painter’s tape from bleeding?!
I’ve got the answers to all of that and more. So, settle in and grab a cup of coffee and let me teach you exactly how to use painter’s tape!
What’s the Best Brand of Painter’s Tape?
Let’s start with the most obvious question.
This is (clearly) a subjective topic and everyone will have their own opinion. But if you ask me – and most of the other DIYers I know – Frog Tape is by far the best painter’s tape brand. Their tape is reliable, it sticks well, and it bleeds far less than any other brand.
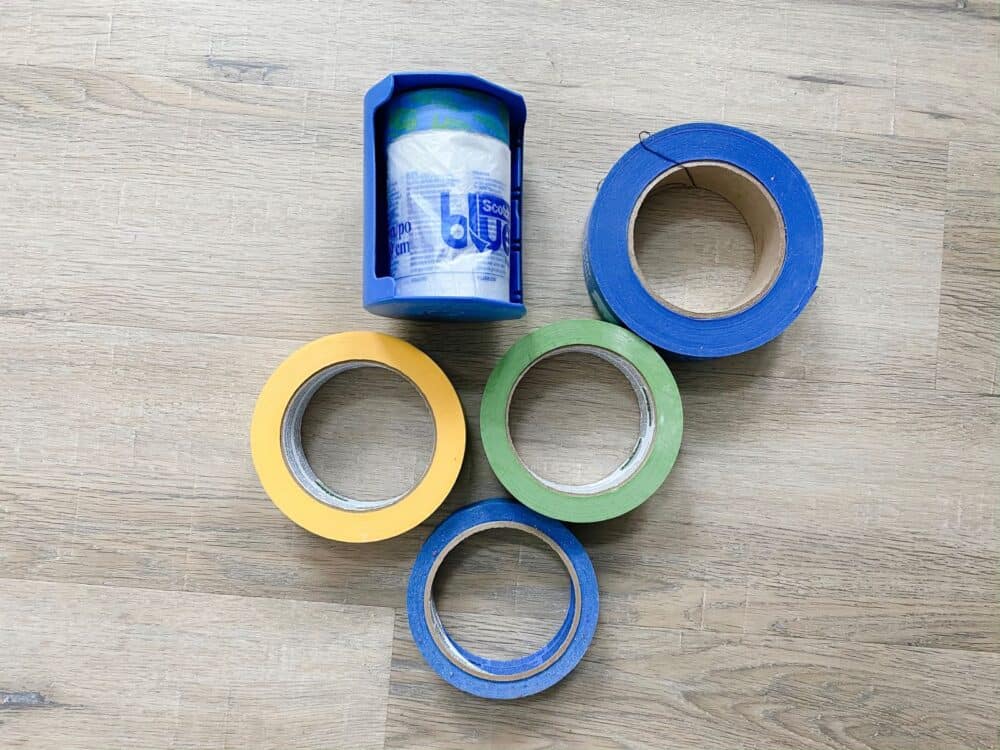
The one and only exception to this rule is if you’re painting outdoors or using a paint sprayer. Scotch Blue sells a painter’s tape that already has plastic dropcloth attached. It is such a time-saver that I always have to have on hand as well. But, especially when I’m using it outdoors, I often add some Frog Tape to it to help reinforce it. It just doesn’t stick quite as well!
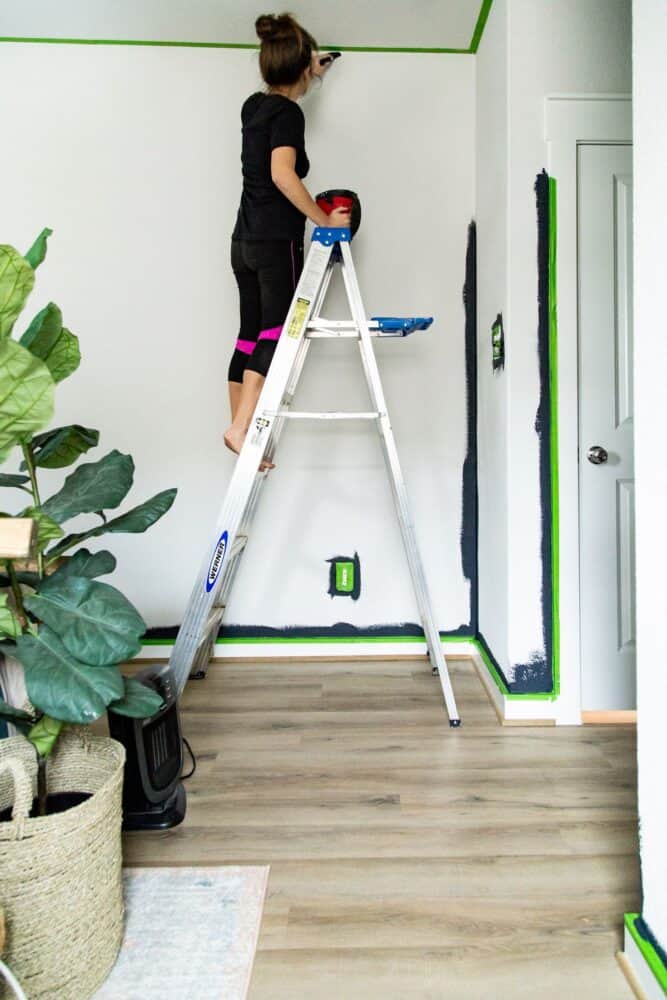
You may also notice that Frog Tape generally has two options. They have both Multi-Surface Painter’s Tape and Delicate Surfaces Painter’s Tape. I use the green, multi-surface stuff for the vast majority of my projects, But, the yellow Delicate Surfaces tape is really (really!) helpful when you’re working on an area that was recently painted. Choose the yellow stuff anytime you’re worried at all about the tape peeling off the finish on your surface.
When Do You Need Painter’s Tape?
Painter’s tape is a must-have product for any DIYer to have on hand at pretty much all times, because it’s so versatile. The most obvious way that it’s used is to tape off the baseboards and ceiling when you’re painting a room. But, I use it all the time for all sorts of other things! Here’s a (not at all comprehensive) list of things I use painter’s tape for on the regular:
- Taping off things I don’t want to paint when I’m refinishing furniture, cabinets, etc.
- Taping off the shape of a new piece of furniture on the ground to visualize how large it is.
- Taping down butcher paper on the floor or on a work surface when I’m painting something with spray paint or my paint sprayer.
- Taping up wood while glue dries (like with this project).
- As a guide when hanging a picture (learn more here)
I’m sure there’s more I’m not thinking of, but painter’s tape is a serious MVP in my house.
In terms of when you need painter’s tape when painting a room, here’s my general rule of thumb: if you aren’t sure whether or not you’ll need it, use it. I only recommend freehanding cutting in around baseboards, windows, and the ceiling if you’re very confident with a paintbrush. I freehand often and, to be quite honest, I usually end up wishing I wouldn’t have!
It’s almost always worth taking the time to tape off your baseboards, ceilings, windows, and other obstacles when you’re painting a room. It will usually save you time retouching things in the long run!
Oh, and if you need some other tips about painting rooms, here’s my full and complete guide to how to paint a room!
How Do I Apply Painter’s Tape?
The first, and most important, thing you should do is make sure that the surface where you’re applying tape is clean, dry, and free of dirt or debris. Your tape will not stick to a dirty or dusty surface. So, it’s vital that you take an extra moment to wipe it down before you begin!
One mistake a lot of people make when applying painter’s tape is to grab a biiiiiig, long section of tape and try to apply it to the wall all at once. You’ll likely end up with a tangled mess! And, it may make you less likely to try taping in the future.
Instead, work with sections no longer than about 18″-24″ at a time. Tear off a section of tape, carefully line it up where you’d like it to go, and run your hand (or better yet, a damp cloth) firmly along the edges to help it stick to the wall.
How Do I Prevent Painter’s Tape From Bleeding?
Ahhh this is the million dollar questions. This issue right here is a top reason most people become so frustrated by painter’s tape. You spend all that time prepping a room and then your paint still manages to bleed through!
The first thing to remember is that painter’s tape is meant to be used mostly as insurance. You should always still use a steady hand and try your best to avoid piling paint on top of the painter’s tape. Even the best painter’s tape is likely to bleed if you put a ton of paint on top of it! Especially when cutting in around baseboards, walls, and ceilings, you’ll want to still move slowly and carefully. Even if you do use painter’s tape.
But what about instances where you really need a crisp line?
In these instances, I have a really simple trick for you that will save you a lot of frustration.
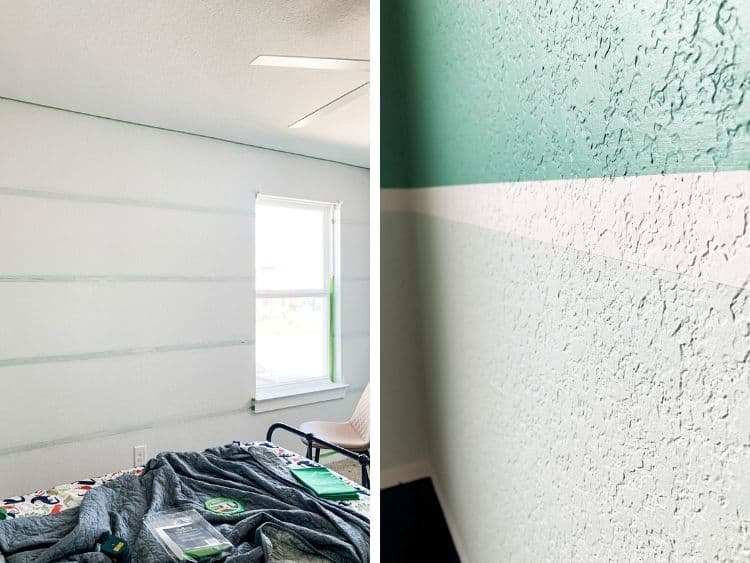
All you need to do is, after applying the painter’s tape to your surface, grab a bit of the base color (as in, whatever color is under the painter’s tape). Brush that along the edge of the painter’s tape, making sure to move your brush towards the tape. Basically, you’re trying to push the base color of paint into any gaps left in the tape. Then, when and if it bleeds, it’s bleeding the color that’s already on the wall!
Allow that color to dry, and then you can paint your new color as normal.
Other tips include applying a line of caulk on the seam of the paint (allowing it to dry before painting the new color), or running a damp washcloth over the edge of the paint to help seal it. But, I’ve never had anything work as well or as consistently as just painting a coat of the base color before I do anything else!
When Do I Remove Painter’s Tape?
This is another question that I see coming up a lot. Many people have heard the rule that you should always remove your painter’s tape while the paint is still wet.
But, what about when you’re painting multiple coats? Do you remove the tape between coats? How do you know when it’s best to pull your painter’s tape up?
You might be surprised to know that most painter’s tape manufacturers and pros actually say that you should wait until the paint has dried to remove it. Removing the painter’s tape while the project is still wet can cause a huge mess! Especially if you have a bunch of paint on the tape. To avoid a mess (and potential drips from removing tape too soon), you should wait until the paint is fully dry to the touch – about an hour or so after painting.
So, how do you prevent peeling paint?
The general recommendation is to grab a putty knife or razor blade and run it along the seam where the tape meets the wall prior to removal. This helps break up any drips of paint that might be likely to pull away with the tape and should give you a very clean line!
When you are ready to remove the tape, be sure to pull it at a 45-degree angle from the painted surface. This helps the sharp edge of the tape pull away more smoothly from the wall. And, if there are any spots you missed with your razor blade it won’t be likely to peel up the paint! Also, remember to move slowly! It can be tempting to just rip the tape off the wall, but moving slowly and steadily will prevent any paint from coming off with the tape when you pull!
How Do I Make Sure I’ve Applied it Straight?
When applying tape around baseboards, ceilings, or windows, my best advice for getting a nice, straight line is simply to move slowly and steadily. Also, follow the line of the existing wall as best you can. Remember that no one is going to be up close inspecting your baseboards (and if they are, don’t invite them back to your house!). So, if the tape line is off by a centimeter or so here and there, it’s honestly not the end of the world. If you use 18″ pieces of tape and work slowly, following the line of the wall, you should be perfectly fine!
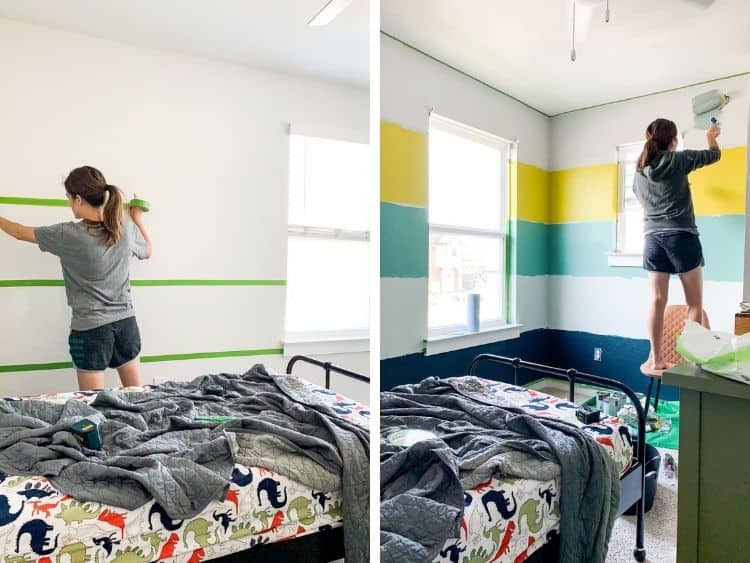
Where this can get a little trickier is if you’re working on a project like stripes on a wall or an accent wall where two colors need to meet. On a large, more obvious scale like that, it’s a little more important to end up with a really straight line.
You have a few options here:
- First, and most reliable, is using a laser level. This will place a perfectly level and straight laser line on whatever plane you want it to and in whatever direction you want. Simply set it up and align it where you want your tape to be, then apply your tape along the laser line. To be honest, I often really struggle to set these things up properly. I find they have a bit of a frustrating learning curve, so I tend to lean towards the more manual, old school methods.
- Measuring tape and a pencil. This method is more prone to error if you aren’t perfectly accurate. But, it never fails me! Measure and mark where you need the tape to go. For example, 20″ off the baseboard if you’re making an 20″ stripe. Then, make a light mark on the wall with a pencil every 18-ish inches across the wall. You’ll end up with a series of small pencil marks at the exact height you need your tape to go! From there, you can simply apply your tape so that it lines up with those pencil marks. When I do this, I usually also go back and double-check my lines using a level!
- A friend and a level. Finally, you can simply use a regular old level to help you apply your painter’s tape straight. Though, depending on the application you may need to recruit a friend for a second set of hands! This works for both vertical and horizontal lines – just hold the level straight on the wall and apply the painter’s tape right along it!
How Do I Use Painter’s Tape with Caulk?
This is a question that I personally have Googled before! I find that painter’s tape and caulk can be a frustrating – and often messy – combination.
But, I’ve learned the key is to place the painter’s tape about 1/8″ further from the caulk line that you’d think you need to. The caulk needs to be able to spread a little bit. If you place your tape too close to the line, you’ll end up with a really sharp ridge that looks silly. Instead, give the caulk just a little more room to spread out, and this time be sure to remove it while the caulk is still wet!
If you need more caulking tips, I have a full guide to how to use caulk right here.
Any more painter’s tape questions? Drop them in the comments below and I’ll do my best to help!