The KonMari Method: Komono
Today I’m sharing how I finished decluttering and organizing the “komono” section in my home – all of the miscellaneous things like my laundry room, our bedrooms, and the garage! Read on to see my best tips for decluttering your home.
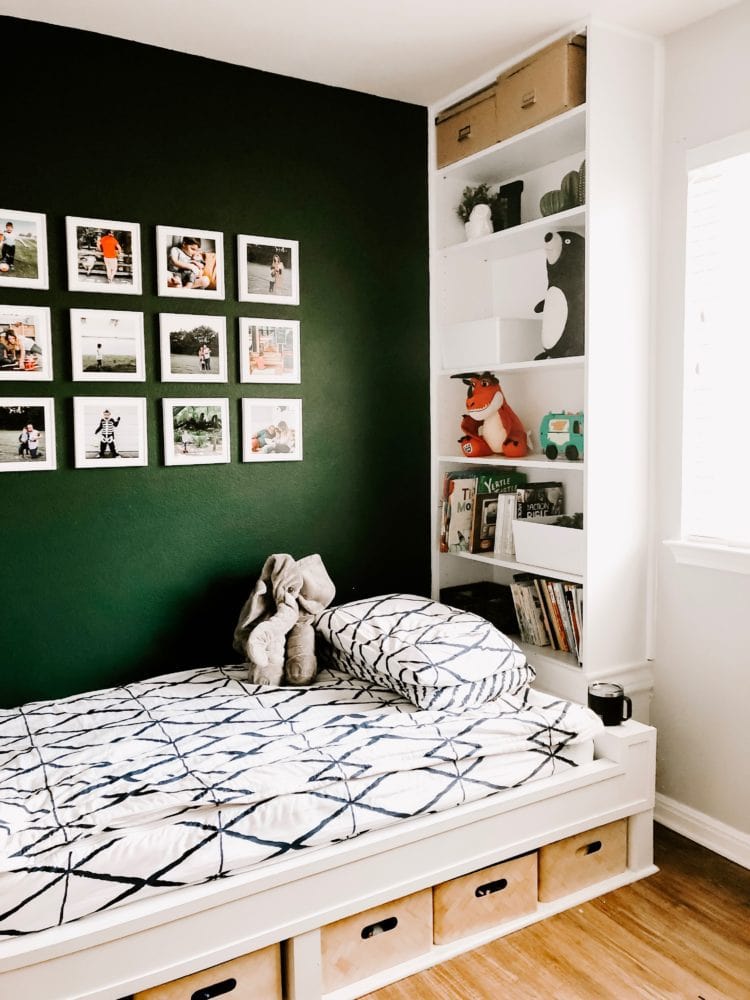
PHOTOS | BEDDING | WHITE BASKETS | ELEPHANT
Y’all, we’ve almost reached the end!
I’ve been on a mission over the last month or so to completely declutter my home from top to bottom using the Konmari method, and this week I wrapped up the most challenging category – komono. There’s only one category left, and then I can call my home fully decluttered.
I was going to say fully organized, but let’s be real – I don’t know if I’ll ever achieve that status!
One of the reasons it was so important to me to go through this process at such a quick and determined pace is that our home is small. It’s just over 1,100 square feet, which feels pretty tiny when you have two kids, two dogs, and two adults all trying to squeeze themselves and their junk comfortably in the space. Something had to give, and it was high time to get rid of some of the excess.
If you’ve been following along, you’ll know that we’ve made some fantastic progress, and I know many of you have been doing great as well! Here’s a quick reminder of where we’ve been and what we’ve accomplished (along with what’s coming up):
- Clothing
- Books
- Papers
- Komono Part 1: Kitchen
- Komono Part 2: Everything else (you are here!)
- Sentimental Items (that’s next week)
This week, I’m just going to be sharing the progress we’ve made, along with sharing a few of my top tips for decluttering your home using the Konmari method. Some of it will be things we’ve already covered a bit, but at this point in the process it’s always a good idea to have a reminder of a few key tricks.
Decluttering With the KonMari Method
The Komono category is so broad that it’s almost impossible to cover every single thing you’ll need to address. That’s why I like to take it by room – I started with the kitchen and worked my way around the entire house until I was sure I had addressed everything.
Another method is to use a checklist – I’ll share my KonMari method checklist at the end of the post if you want to print that out and use it to reference!
Rather than taking you step-by-step through each room here, I’m going to just show you a few before and afters, along with my best tips for how to tackle this part of the process.
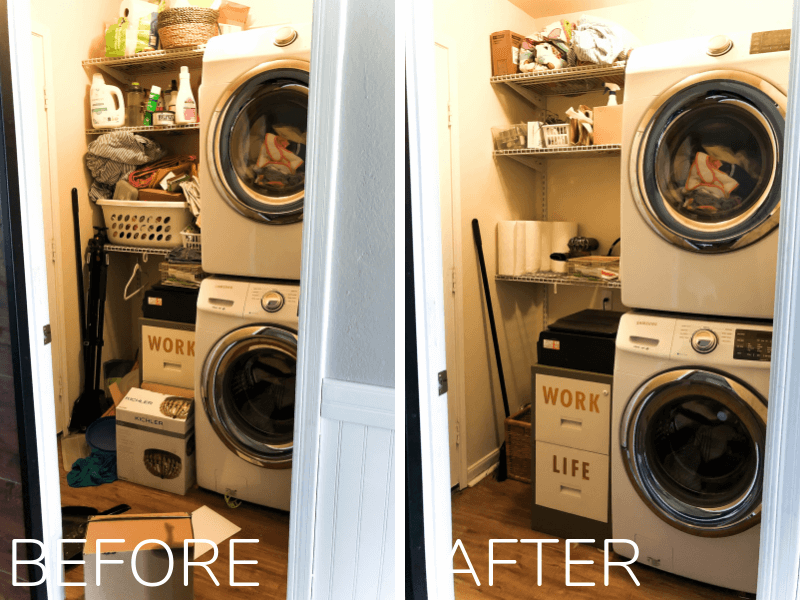
Tip #1: Work at Your Own Pace
If you’re feeling overwhelmed by this process, the very best thing you can do is slow down. This should be enjoyable and feel good – if it’s stressing you out, give it a break!
Personally, I’m an advocate for getting it all done relatively quickly, but that’s just because I’m one of those people who can’t rest until something is totally done. That, and it’s my job to bring you this content quickly and efficiently so that you can do it at your leisure! Don’t try to squeeze it all into just a few weeks if you feel like you can’t – especially once you get to this category!
If you do want to move quickly but aren’t quite sure where to even begin, I wrote a mini e-book a couple of years ago that walks you through the entire process in just 30 days. It gives you action items each day that should take somewhere between 15 minutes and half an hour, and helps you get your entire house organized in just a month. You can learn more right here (it’s free!).
Tip #2: Banish All Guilty Feelings
I can’t tell you how many times I’ve gotten an email from someone who says something along the lines of, “I know I should get rid of X, but I just am having such a hard time!”
Let’s just nip that in the bud right now.
If you’ve chosen to go through the Konmari method to declutter your home, then it’s probably fair to assume you want some space and margin in your home, and you’re feeling low on storage space. In order to fix those feelings, you’re going to have to get rid of at least something.
However. I’m not here to tell you what you should and shouldn’t get rid of, and I’m not here to judge you for what you decide to keep (neither is Marie Kondo – promise!). If you have the storage space to keep something and you want to keep it, then do it with zero guilt!
Even if that something you want to keep is your dryer lint collection from middle school.
I won’t judge.
(I mean, maybe just a little, but it’s cool! You do you!)
The end goal of this process is that you end up with a space that makes you happy. A space that makes you excited to come home. A space that you can look at and feel proud of, because it only contains the things you love the most in the world.
If that dryer lint collection falls into the category of “things you love most in the world,” then by all means – keep it proudly!
I repeat – no guilty feelings allowed. Keep what you love, discard what you don’t.
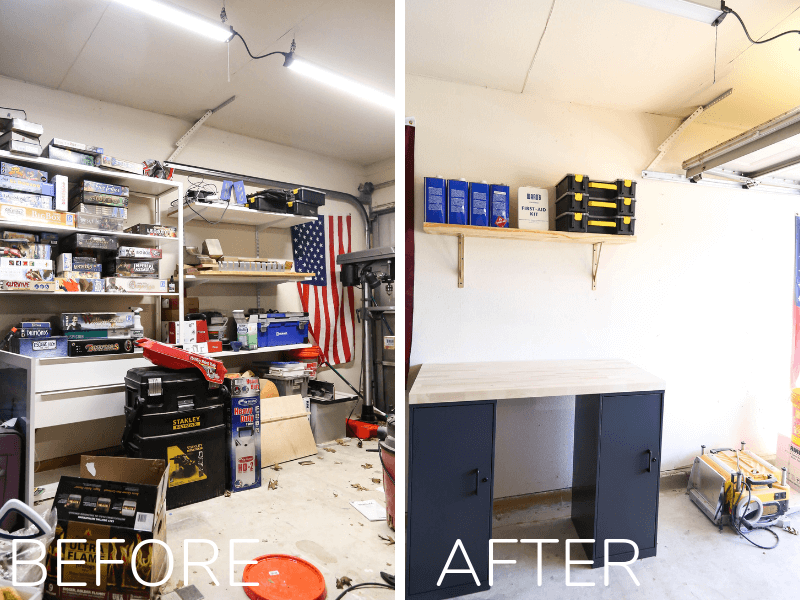
STORAGE CABINETS | WORKBENCH TOP | TOOL STORAGE
Tip #3: Don’t Be Afraid to do Without
One of the things that tends to hold people up the most when it comes to purging clutter in your home is the feeling that you just might need something someday.
I get it. We’ve all been there before and kicked ourselves for getting rid of something that we ended up needing a week or two later. It’s annoying.
BUT.
You’d be surprised at how many of those things you “need” are actually totally unnecessary. If you toss your panini press that you haven’t used in two years and suddenly have an intense craving for a good panini, you can achieve basically the same thing with two pans and your stovetop. If you get rid of the extra pillows because you never have guests and get a sudden call two weeks later from a friend coming into town, they can use a throw pillow! Or you can sleep with one less pillow for the night! Or you can (gasp) run to Target and grab a new one!
A little bit of creativity goes a long way, and if you’re allowing an unused item to take up valuable space in your home just because you might need it someday, it might just be time to let it go and see what happens.
Tip #4: Embrace the Empty Space
Once you’ve finished decluttering a room and clearing out some major space, it can be tempting to immediately fill it right back up with something new.
Maybe it’s a free shelf in the linen closet, maybe it’s an entire hanging rack in your closet, or maybe it’s a empty corner because you finally sold that armchair you always hated.
I highly encourage you to spend some time just enjoying the margin these free spaces give you before you rush out and find something to fill them up.
The last thing you want to do is repeat the cycle of filling your home with junk you don’t need just to fill up some space, right?!
You may be surprised to find that you love opening up your closet and seeing your clothes all spread out with tons of breathing room.
Maybe you discover that you can re-arrange your living room to fill up that empty corner and have more space for the kids to play.
It might be jarring to see some spaces in your home look a little bit empty, but you won’t regret taking your time replacing the things that are gone – and you may end up finding that you don’t want to replace them at all!
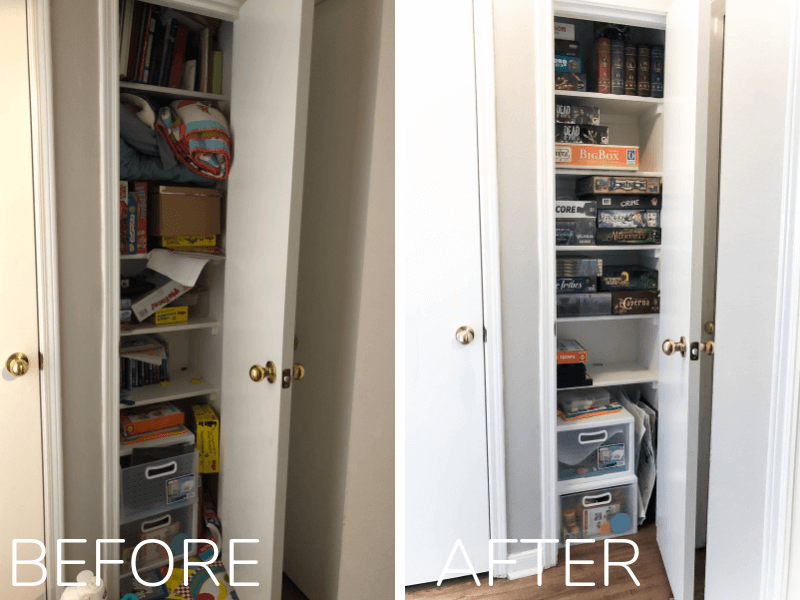
Tip #5: Address the Things You’ve Been Ignoring
Finally, another fun little side benefit of going through the Konmari method in your home is that it really forces you to take a close look at the spaces in your home that you often ignore.
Suddenly, the awkward place where junk collects when we walk in the door is super obvious. And all of the sudden, I notice the places on the wall where the paint has chipped off. Or, it’s glaringly obvious that I’ve only replaced the outlets in half of the room and they look really strange.
As I was working in each room, I took note of the things that were suddenly more noticeable. Now, I have a to-do list of super simple fixes that I can do around my house to make it work even better for me (and look nicer!), and I can start slowly working on these things.
This is the sort of stuff that you never notice in your home unless you’re taking a really close look at it, so I highly recommend taking the time to do this in each room.
But what if I’m still overwhelmed?
If you’re still feeling like you just don’t know where to begin, I’m here to help!
Click here to download my FREE Konmari method checklist that will walk you step-by-step through every single piece of the process. All you have to do is sign up for my newsletter on that blog post, and you’ll get the checklist sent straight to your inbox (it’s at the back of the ebook!).
And that, my friends, wraps up the biggest and most challenging category in the entire Konmari method!
Next week, we’re going to chat about sentimental items and then we’re done!
Let me know how you’re doing in the comments below – I’d love to hear about your progress!
NEED MORE HELP?

If you’re decluttering your home and need some help, check out my workshop 30 Days to a Tidy{er} Home. It has daily challenges to help you stay motivated, detailed checklists so you don’t miss a thing, and includes access to a private Instagram page so you can follow along with me as I go through the process! This is a game-changer if you struggle to get your home organized. Click here to learn more – and if you’re interested in a quick sample, CLICK HERE to get the first week for FREE!
