How to Use a Spray Paint Tent
I do a lot of paint spraying. Chances are, if you’ve been reading the blog for any length of time you’ve seen me use my trusty paint sprayer to paint trim, furniture, cabinets, and just about anything that sits still long enough for me to paint it. But, one thing I’ve always struggled with is dealing with the wind. When you spray something outside, it’s inevitable that you’ll end up with bits of leaves, dirt, or even bugs in it! It can create a big issue…which is why I’m so excited about my newest tool in my painting arsenal. Today, it’s all about how to use a spray paint tent!

This post is sponsored by Wagner.
I’ve tried a spray shelter once, years ago, and it was a bit of a nightmare. It took me a solid hour to put together, and it collapsed on me a little while later. Needless to say, it wasn’t something I’d recommend and I found the whole experience really frustrating. But, I love the idea of being able to use some sort of spray paint booth or tent when I’m working on painting outside, so I decided to give it another go with Wagner’s Large Spray Shelter.
And, y’all? It was so simple to set up! And it worked like a charm. This is 100% going to be my new go-to when I’m painting outside, and I’m excited to share it with you today.
how to use a spray paint tent: FAQs & Tips
Why should I use a spray paint booth?
First of all, let’s talk about why you might want a paint shelter in the first place. If you’re working on painting something outside (whether you’re spraying or not), it’s almost impossible to keep debris off your piece. There are bugs, leaves flying around, dirt getting kicked up from your dogs and kids…it’s a mess! And, if you don’t catch and remove the debris in time, it can destroy the finish on whatever you’re painting!
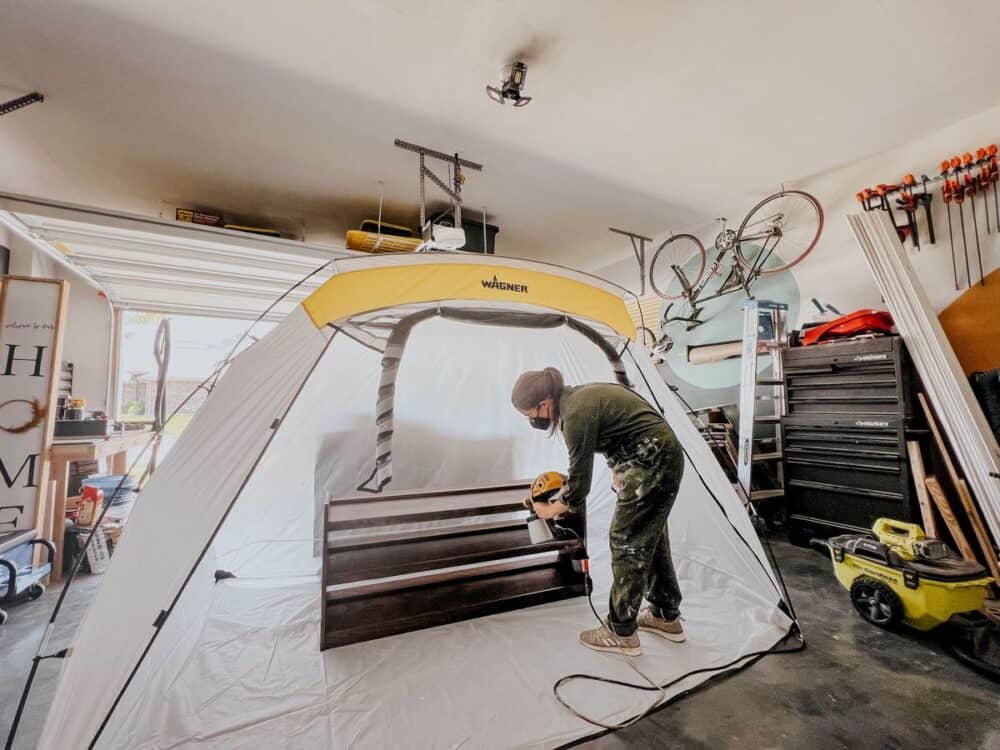
With a paint shelter, your piece is fully protected. No matter how windy it is, no matter how many curious bugs fly by, you’re good to go. Your piece will stay pristine and protected until it’s dry and ready to be brought inside.
And, if you’re painting inside a garage like I was for this project, it does the opposite too! Paint overspray can be really annoying, and if you’re working in a tight space, it’s hard to keep from getting paint on everything around you. But, if you work in a paint shelter, any stray paint will just end up on the walls of the shelter. Not all over your garage.
So really, the question is, why wouldn’t you want to use a spray paint tent?!
how do I set the paint booth up?


This is the part I was the most nervous about. But thankfully, I didn’t need to be! It was so easy to set Wagner’s spray shelter up. I do recommend grabbing a second person to help you if you can – it will go a lot faster that way. Here’s the basic setup process:
- Lay out the spray shelter on the ground.
- Grab one of the poles and insert all of the pieces into the connectors so that it’s fully extended.
- Slide the pole through one of the sleeves on the spray shelter. If you start with the front sleeve, have the ends of the pole pointed towards the back corners. If you start with the back sleeve, have them point towards the front!
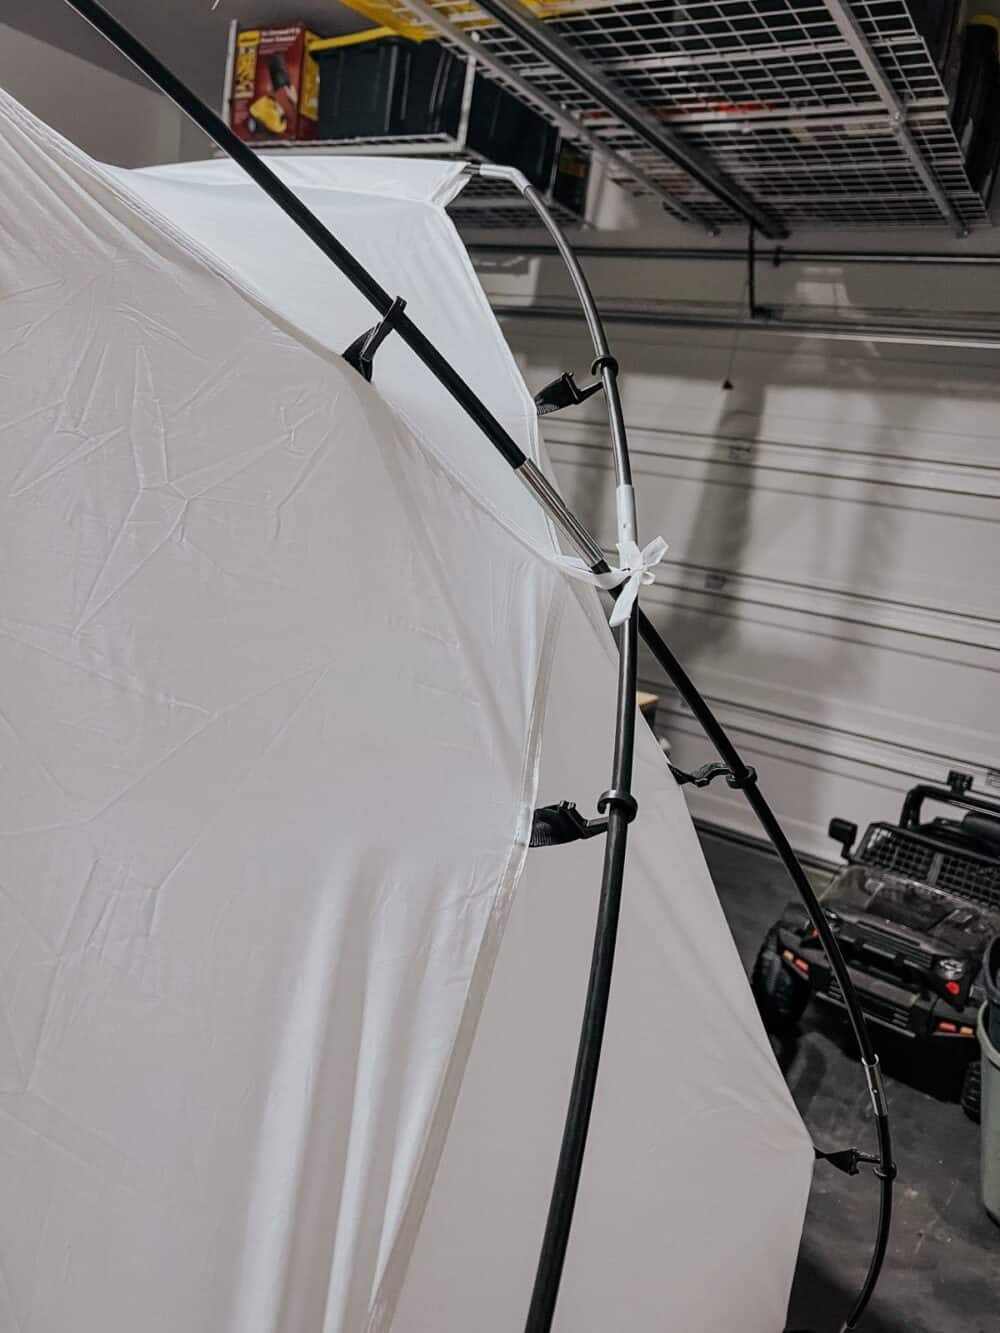
- Repeat for the second pole. The two poles should cross on both sides of the tent!
- Insert the pins on all four corners of the tent into the ends of the poles. This is the part where having a second set of hands to help steady things is really valuable!
- Finally, there are clips along each side of the tent that attach up and down the poles. Clip those into place and tie the string where the poles cross on each side. Done and done!
If you need some extra help, Wagner has a really handy video that walks you through the process!
But, what if I need to set it up alone?
No big deal! It’s totally possible to set this spray shelter up by yourself, you might just need a little more patience. Here are a few tips:
- When you get to the part where you’re actually raising the tent (inserting the pins on the corners), try bracing the tent up against a wall or the side of your house. This will help it to not be so floppy, and act as a second set of hands for you!
- Start by inserting both pins on one side of the tent before moving to the other side. This helps things stay a little more steady, and makes it easier to get that second pole set up!
- You can also set a step stool, ladder, or spare piece of wood up inside the tent as you work to help hold the center of the tent up! The hardest part is keeping the poles up in the air while you insert the pins, so if you can utilize anything laying around to help prop it up, it’ll be easier!
how big is wagner’s spray shelter?
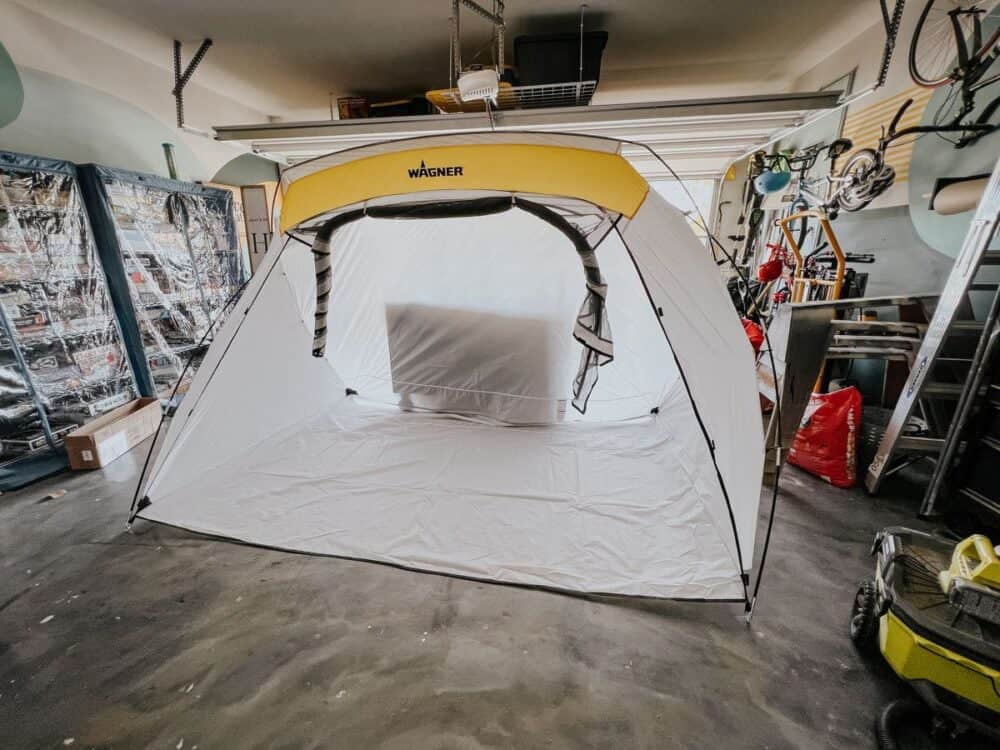
This particular spray shelter is 9′ wide by 6′ deep, and it’s 5.5′ tall.
They also have a medium spray shelter that is 4.5′ x 4.5′ x 5.5”, and a small spray shelter that is 35” x 30” x 39”.
How do I store it?

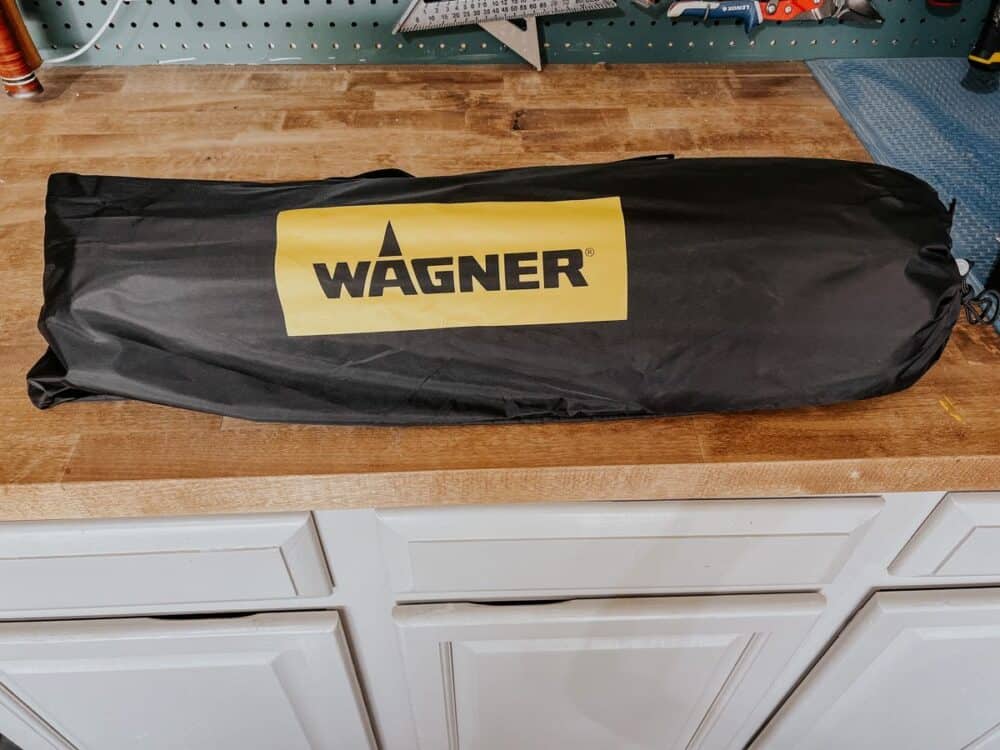
If you’re worried about how much space it takes up, don’t! This little spray tent can be stored in a bag that takes up almost no room, and I promise it’s actually easy to get it back in there!
When you’re done using your spray shelter, just disassemble the tent and break down all of the poles. Then, fold up the spray tent itself and roll it up. If you’ve ever been camping in a tent, you’ll be very familiar with this process! Tie the string around it to help hold it together, and slide it into the bag. Then, add the poles back in and you’re ready to store it!
anything else I should know?
Here are a few other highlights of this little spray shelter that might convince you that you should give it a shot:
- It has a mesh screen in the front that you can close. This is how you make sure no bugs or debris get into the tent while your paint is drying!
- There is a floor on the tent, so you don’t need to worry about your grass or garage floor. You also don’t need to set up a drop cloth before you start working, which is great!
- It will get dirty if you’re spraying in it! Just accept that it won’t stay white forever and think of it as a really fun canvas to remember all of your past painting projects by.
- It comes with tent stakes that can be used to help anchor it to the ground if you’re working in the grass. if you aren’t, you might want to use a paint can or something else in the corners to help weigh it down!
I’m really excited to have this in my toolbox now! It’s going to save me a lot of headaches when it comes to painting furniture and other things outside. If you want to give it a shot, click here to grab yourself one!
