A Big Girl Room Makeover Fit for a Princess
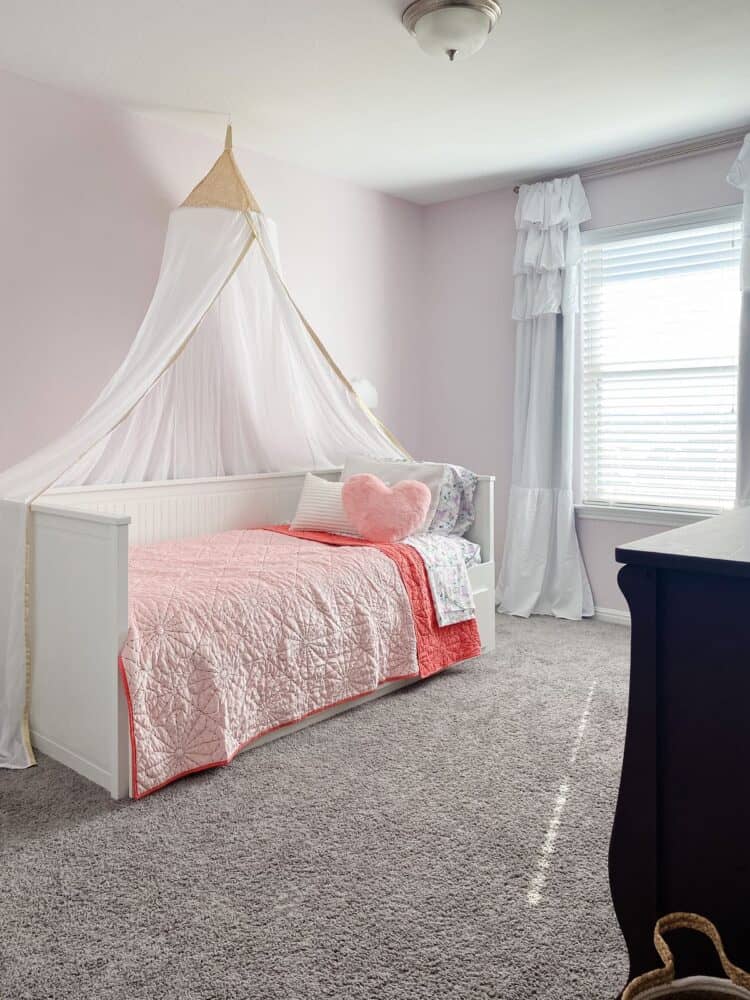
I helped my friend, Parisa, give her four-year-old daughter’s room a major makeover! Here’s the big reveal of the “princess room” she requested, complete with a canopy and rainbow mural!
This post is sponsored by Wagner, all opinions are mine! Thanks for supporting the brands that support Love & Renovations.
When my best friend and neighbor told me that she was wanting to work on a room in her house to give her four-year-old daughter a big girl room, I basically begged her to let me help her with it. I have two boys, neither of whom has any sort of interest in a princess-themed room…but I’ve always dreamed of tackling a super girly kids room makeover!
Thankfully, she was happy to have the help, so this week we dove into a makeover on her daughter, Dylan’s, room. Dylan is a vibrant and vivacious four year old who loves all things pink and sparkly and princess-y. She’s been asking for a pink, rainbow-filled, princess room, and we wanted to deliver for her in a way that wouldn’t break the budget or contain too many things that she’d quickly outgrow.
Oh, and we wanted to do the whole room makeover in two days because Parisa (like all of us) has a lot going on, a busy family, and not a ton of time!
Challenge. Accepted.
One thing to consider when you’re working on kid rooms specifically is that it’s a great idea to give them some freedom and control over what their room looks like, but you also don’t want to have to spend a fortune re-doing their room every few years. I’m all about giving kids exactly what they want in their room, within reason. Their opinions and preferences change so frequently that it’s always best to stick to budget-friendly options so your wallet doesn’t cry when they decide they want a totally different theme two years down the road.
So, let’s talk about this specific makeover. Dylan’s room before was more or less completely unused. They painted it pink shortly after moving in (but Parisa was never happy with the shade of pink they ended up with), and due to some shifting needs in their family over the last year or so, Dylan has been sharing a room with her sister. Things have settled for them and they were ready to focus on giving Dylan a space of her own – and we had a blank slate to start with!
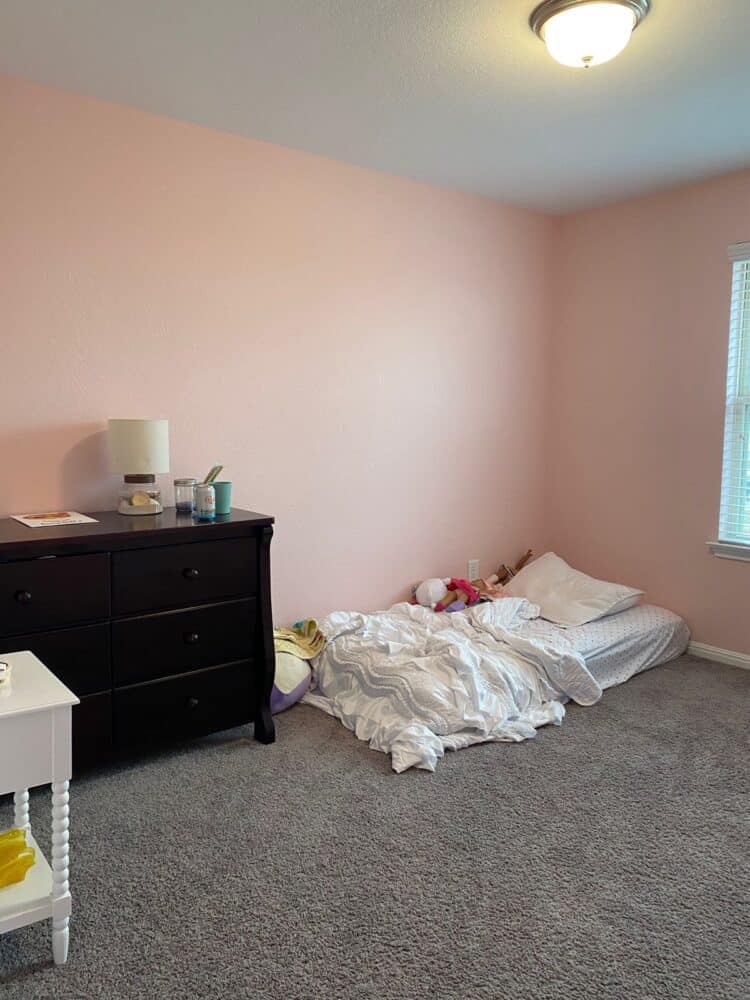
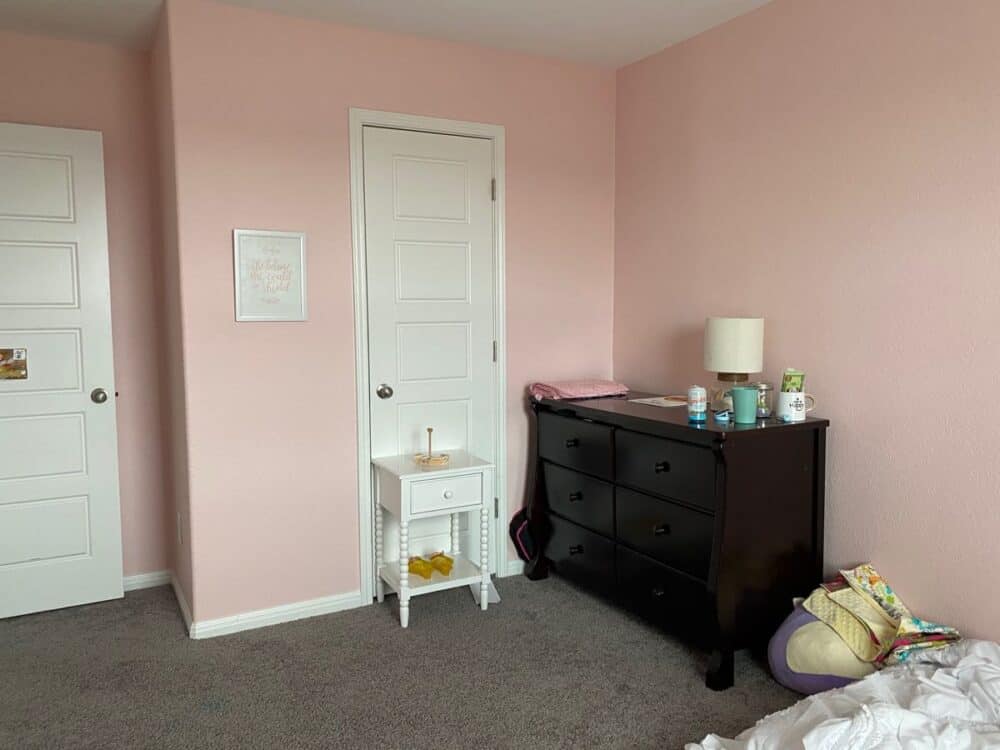
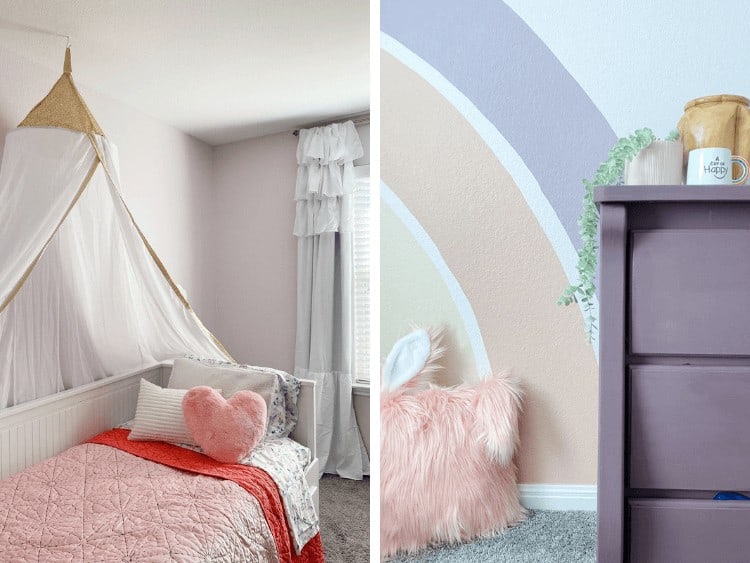
We decided to paint the walls a very pale pink, and add a rainbow mural in one corner. Paint treatments like this are my favorite way to do kids’ rooms, because you can make some really bold choices with almost zero commitment! We painted colorful stripes in Jackson’s room and a scalloped ceiling in Grant’s – both are going to be no big deal to change when the boys are ready, but it adds tons of personality for now.
For the walls, I used Parasol by Behr and, as I’m sure you could guess, I used my Wagner SMART Sidekick Power Roller to get the space done. I rave about how much I love this thing all the time, but here are a few highlights of why it’s so great:
- It fills your roller up for you, so you don’t have to bend over all the time to refill it.
- Because it fills the roller from the inside out, it’s always fully and evenly saturated – that means you get better, more consistent coverage!
- It cuts my painting time in half, generally speaking. I painted this entire room from start to finish (including taping off the baseboards and ceiling, and clean-up) in under 3 hours.
- Despite what you might think, it’s very simple to clean! I shared an overview on how I clean it in this Instagram highlight, but the basic idea is you just have to fill a 5-gallon bucket with soapy water, put both ends of the machine in the water, and let the water run through the tubes. It’s a mostly hands-off process!
You can read more details about how to use the machine on this blog post (along with a video on how to clean it) – it really is truly a game-changer when it comes to painting!
Oh, and if you aren’t familiar with painting rooms and need some help getting started, this post has everything you need to know about how to paint a room!
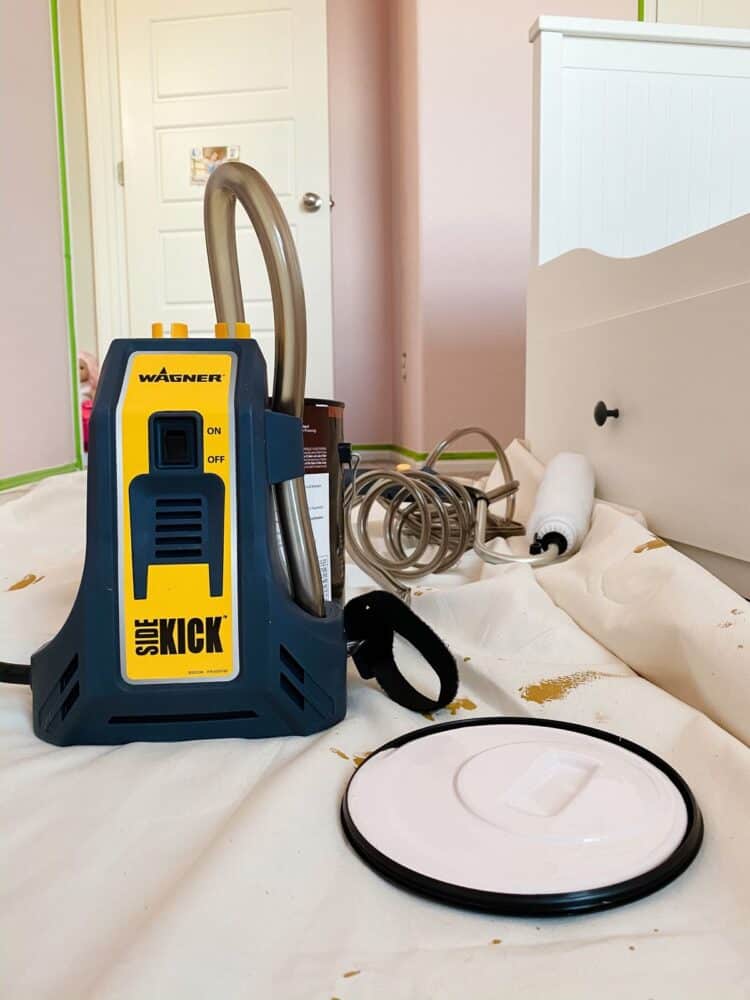
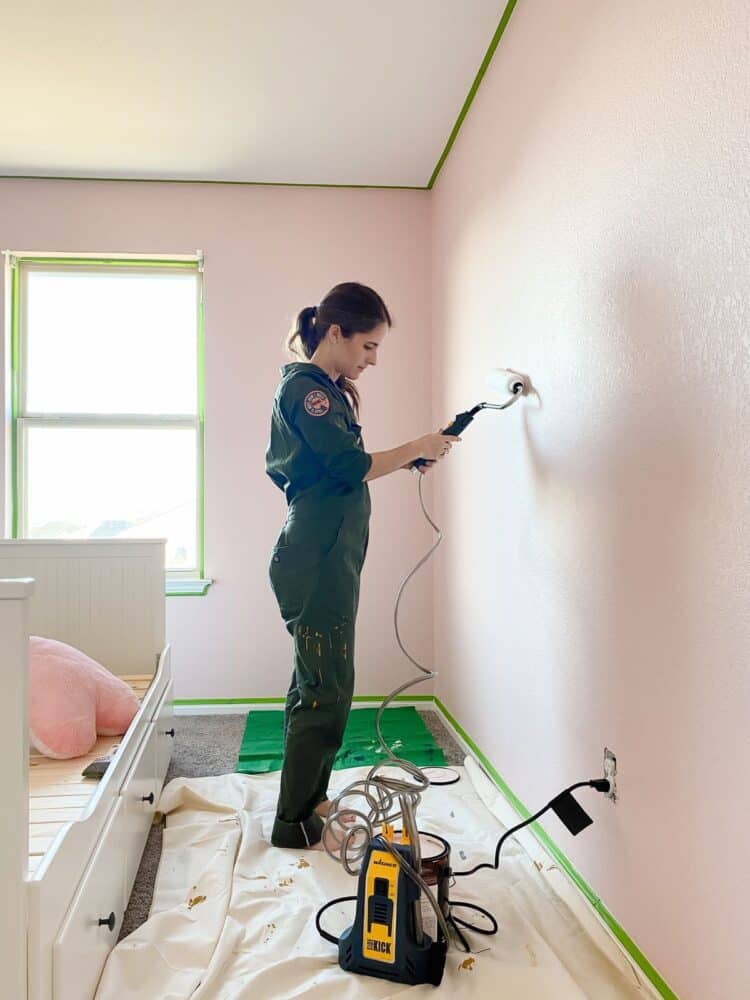
I’ve talked about how much I adore my SMART Sidekick about a zillion times over the years. If you want to see more examples of projects I’ve used it on, here are some examples:
- I first used it in our second home right after we moved in (and I knew my life was changed forever!)
- I also used it in our bedroom in this house – it was such a great time-saver when I was working on such a massive undertaking with the trim!
- I used it to help me paint Parisa’s bedroom accent wall late last year as well!
Once I finished painting the room with my Sidekick, we moved on to the rainbow mural. I did a similar mural in our garage a few months back, so I had a process that I knew was really simple and would work well.
how to paint a rainbow mural
COLORS USED:
(All colors are by Behr, and I just used a sample jar for each – it was more than enough)
- Fig Preserves
- Flower Pot
- Rice Crackers
- Mystere
Start by determining how high you want you rainbow mural to go. I tested a few different heights and decided that somewhere in the neighborhood of 5 feet off the ground was right for us.
Take your height and divide it by the number of colors you have to determine about how wide each stripe should be. I wanted to have about 2 inches between each stripe, so I subtracted all of the gaps before I calculated the width of my stripes.
Here’s what the math looked like for our specific rainbow:
- The height is 60″, so that’s my starting number.
- I needed to account for gaps between four colors, so that’s 3 gaps (# of colors – 1). At 2″ each, that’s 6″ worth of blank space.
- 60″-6″ means I’ve got 54″ of wall space to cover with my colors.
- Now, I take 54″ and divide that by my number of colors (4), to find that each rainbow needs to be about 13.5″ wide.
Make sense? Once you know your measurements, you’re ready to start marking things out.
I start with a piece of string thats a couple of inches longer than my tallest arch (so, about 62-ish inches). I pin or nail one side of the string into the bottom corner of the wall (if you’re doing a full rainbow and not just a half one like I did, you’d pin it at the baseboard where you want the center of the rainbow to be). Then, I tie a pencil to the other end of the string right at the point where I want the rainbow to start.
I wasn’t too precious with measurements here, so what this looked like for me is I pinned one side of the string to the corner, then held the pencil up on the wall at 60″ and wrapped the other end of the string around the pencil. Then, I tied it so that when I was pulling the string taut, the pencil would be at 60″.
Now, pulling the string so it’s straight and taut, draw an arch on your wall, following a curve all the way down to the baseboard. If you’re doing a full rainbow, I’d start at one end and go up and over to the other end. Don’t pull so tightly that you take the string out of the wall – remember that this is just a general guide and a little imperfection is okay!
Now, cut the width of your rainbow stripe off of the string (for me, that was about 13.5″). Re-tie the pencil and repeat.
If you’re leaving a gap between the stripes, you’ll want to then cut enough off for the gap (again, for me, that was 2″) and repeat. I measured and marked a starting point on the wall each time to help me make sure that I was tying the pencil at an appropriate spot.
Continue until you’ve drawn arches for all of your colors!
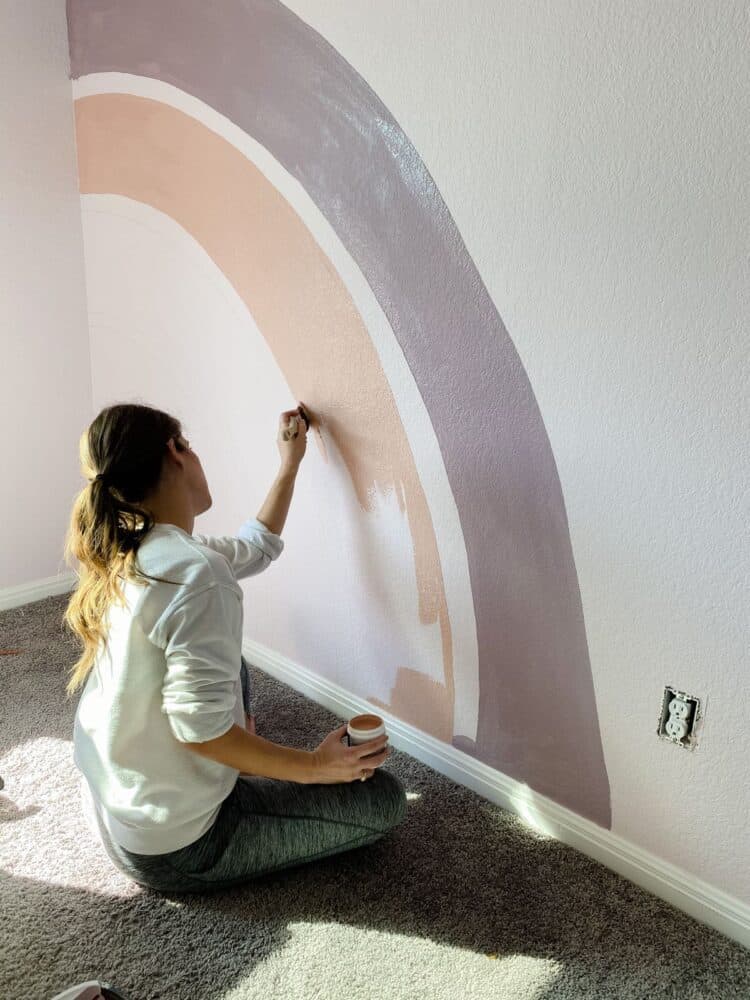
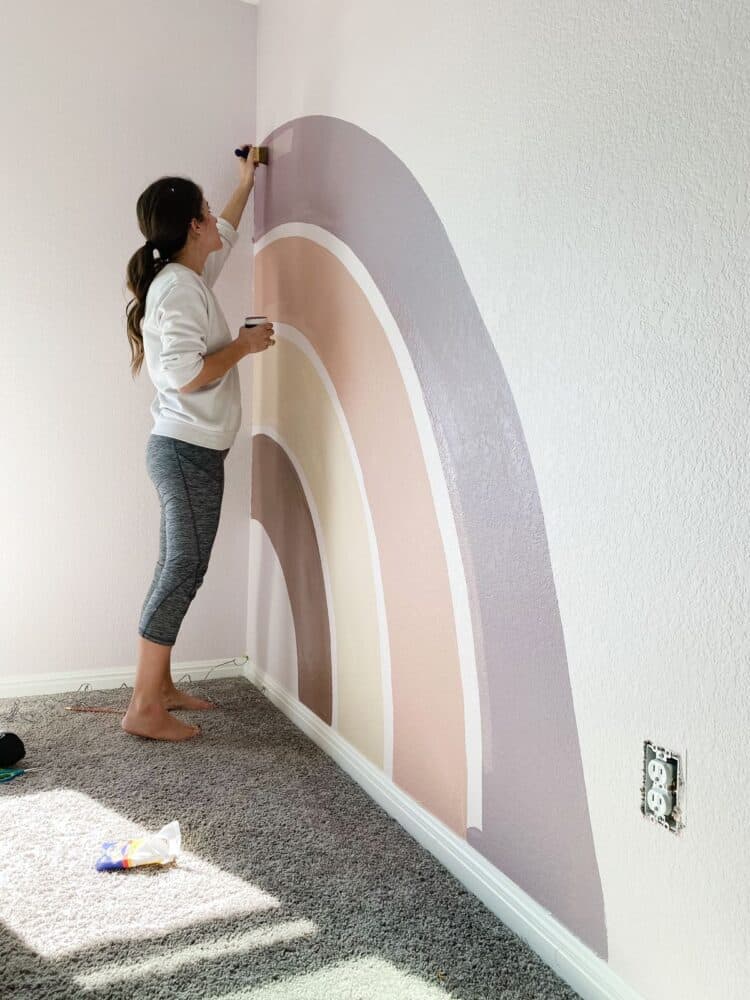
Once you have your pencil markings on the wall, you can grab a good angled paintbrush (I recommend this one) and fill in the stripes. I made sure to have one paintbrush on hand for each color because I’m lazy and impatient, but you could clean it between each color if you aren’t in a rush.
Just remember that perfection is overrated here and it’s okay for the lines to be slightly wavy or imperfect. For me, this is one of those projects where perfect lines are a little bit boring! To get the best arched line possible, get a bit of paint on the end of your paintbrush (don’t overfill it or you’ll get drips!), and start by pressing up on the wall an inch or so below where you want the arch to be. Then, slowly push the paintbrush up to meet your pencil line and drag it along the line in an arch. Once you start to get poor coverage, refill the brush and repeat!
Once you’ve painted the first coat on all of them, you’ll probably want to go back and fill in some of the lines a little better – I did lots of tweaking and adjusting before I decided it was done.
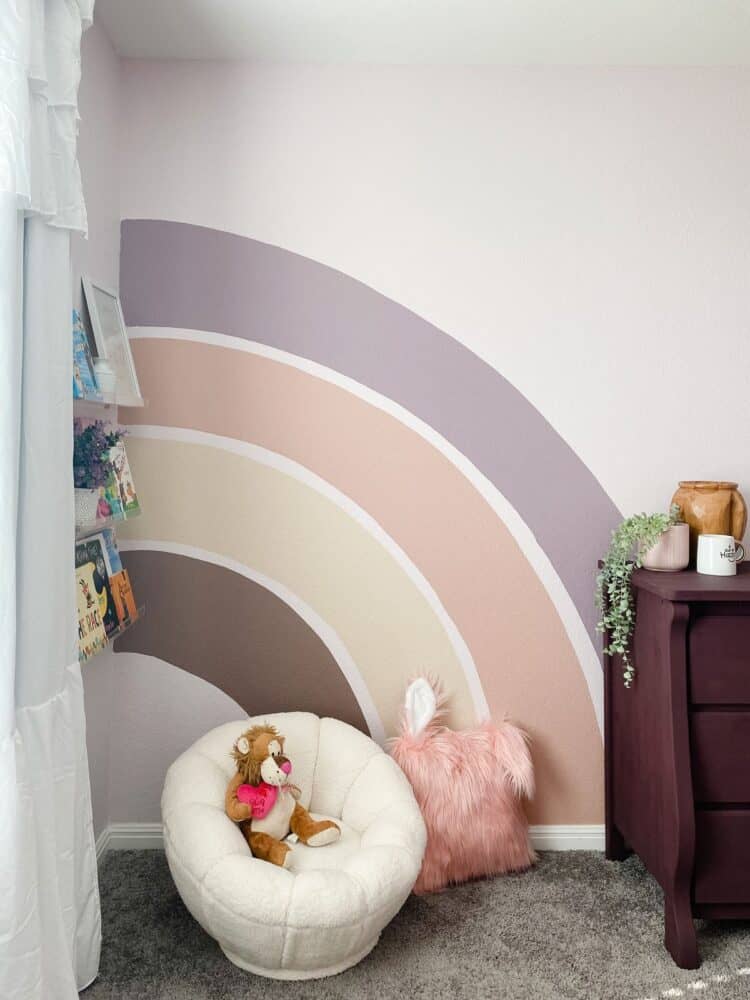
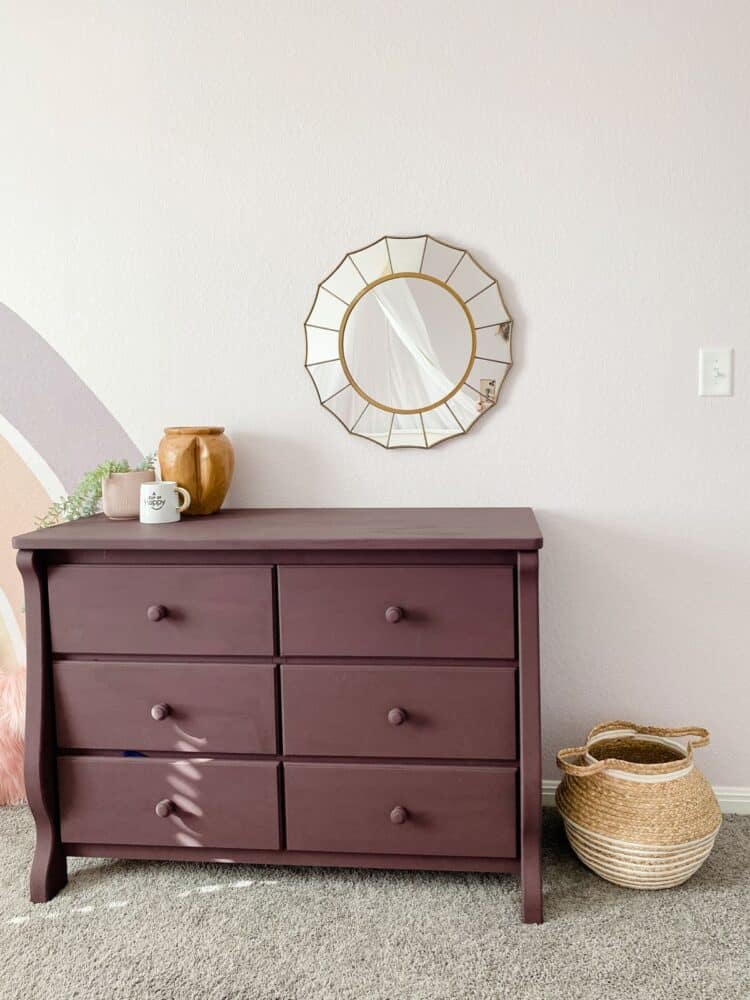
In addition to painting the walls, we gave the existing dresser a fresh coat of paint (we used this chalk paint by Behr in the color Vignette), and brought in some new furniture and accessories! I’ll link all of the sources for you at the bottom of the post.
This was such a fun space to tackle, and it was so satisfying to get a whole room transformation in just two days. This is the sort of project I find so satisfying, because it’s a great reminder that you can make some serious progress in a space without spending an overwhelming amount of time, money, or energy making it happen!
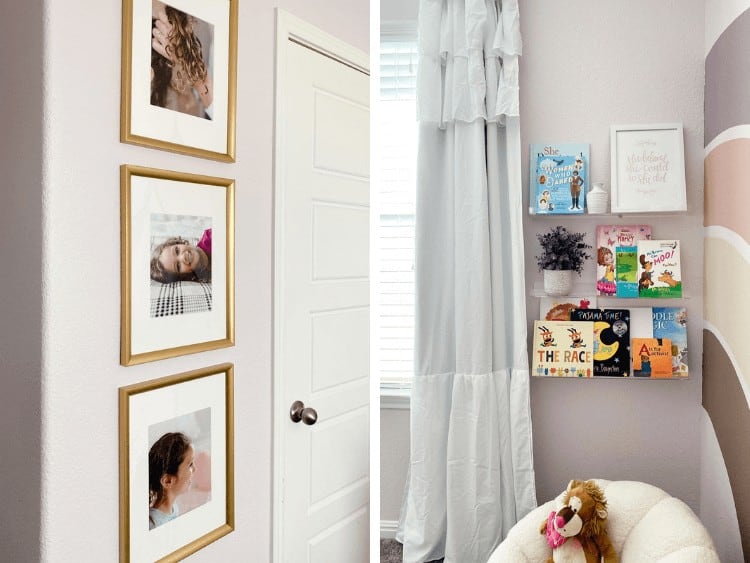
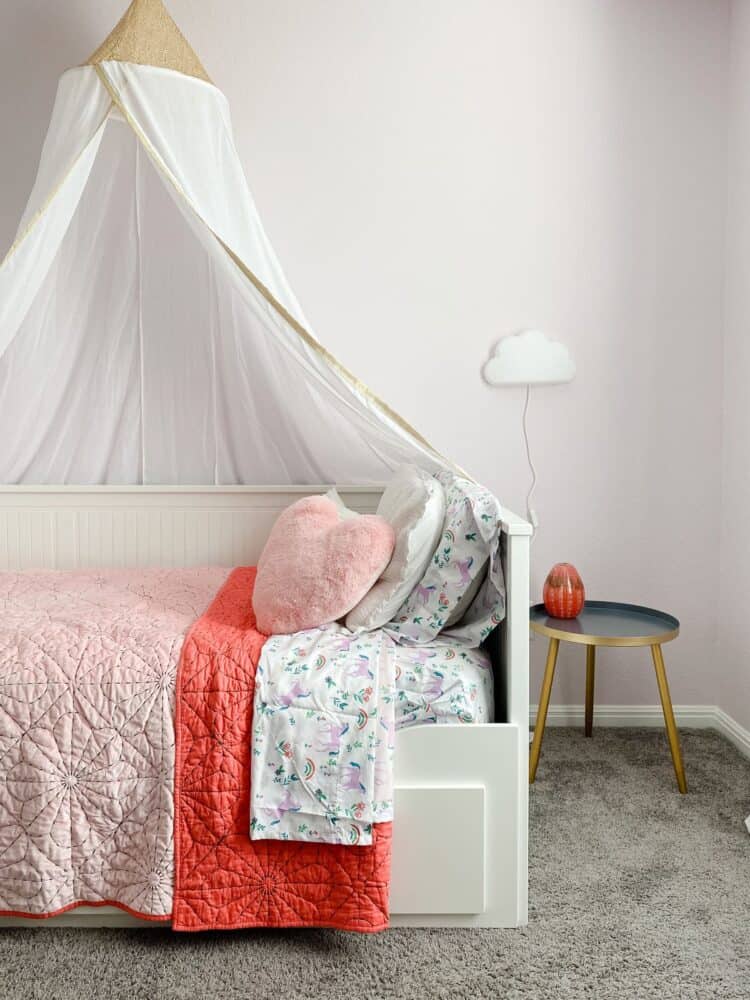
ROOM SOURCES
- Bed
- Comforter
- Heart throw pillow
- Canopy
- Wall lamp
- Side table
- Gold frames
- Acrylic wall shelves
- Reading nook chair
- Rabbit throw pillow
- Faux plant
- Planter
- Curtains
- Curtain rod
- Mirror (similar)
And, of course, the real MVP of this room makeover – the Wagner SMART Sidekick Power Roller! You won’t regret trying one out…it just might change the way you paint rooms forever!
