
How to Wallpaper Over Textured Walls {Skim Coat + Prep Tips!}
Want to wallpaper your textured walls? I’ve got you covered with this detailed tutorial on how to prep textured walls for wallpaper.
I’ve done a lot of wallpapering over the years. I love what it can add to a space, and I’ve learned that it’s a job that’s easy enough for me to do myself. But, up until this point I’ve always wallpapered directly over my textured walls. I’ve never had to prep textured walls for wallpaper!
In our previous homes, we had light, orange peel or knockdown texture. After lots of practice, I learned that you CAN wallpaper over textured walls. And, I did it with success – often!
But, in this house we have heavily textured walls. There was absolutely no way I’d be able to wallpaper directly on top of them without some serious prep work. I’ll be honest – I debated if it was even worth wallpapering with all the prep that would be required. But, I really want some wallpaper in my dining room so I finally decided to go for it. And today, I’m going to teach you how to prep your textured walls for wallpaper. It wasn’t nearly as hard as I expected it to be!
How to Wallpaper Textured Walls
Video Tutorial for Drywall Prep
Sometimes these things are easier to wrap your brain around in video form. I put together a quick video showing my full process to help you out! It walks you through how I prepped my heavily textured walls for wallpaper from start to finish. Hopefully, it’ll help things feel less intimidating!
How to Prep Textured Walls for Wallpaper
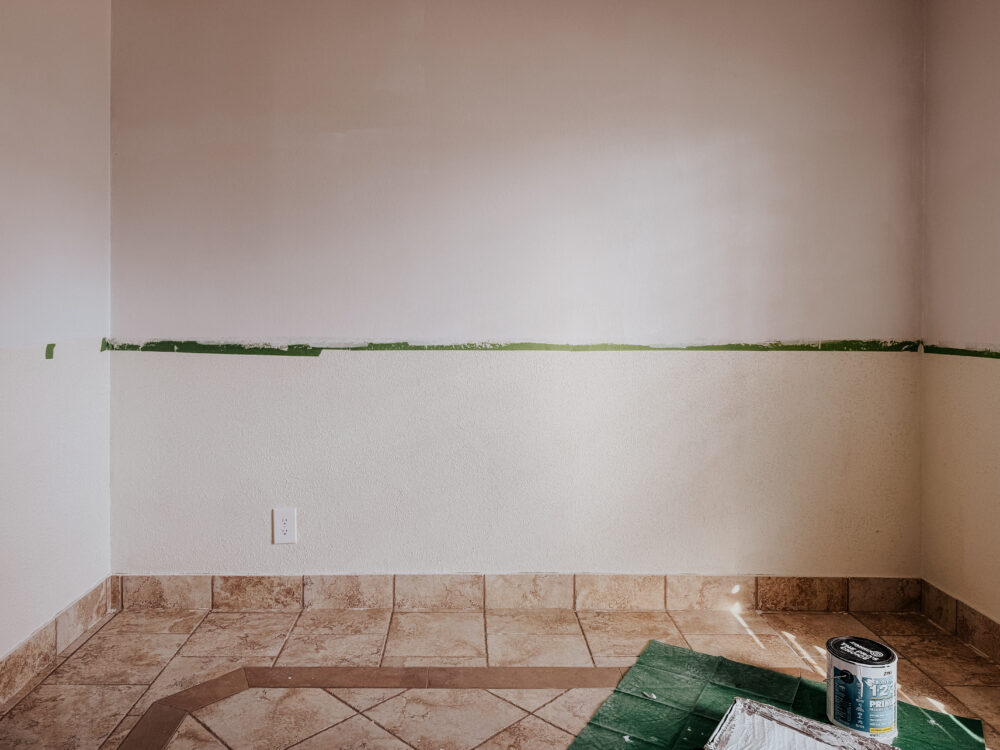
Now, let’s break it down. If you’re going to be applying wallpaper on top of heavily textured walls, your first step is going to be to smooth those walls out. Bumps and ridges in the drywall texture can show through the wallpaper, and can affect adhesion of the wallpaper. If you want a job that looks well-done and lasts a long time, this prep work is worth it!
I’ll note again – if all you’re dealing with is light orange peel or knockdown texture without any sharp ridges, you may not need to do this! Read here for my tips for wallpapering right on top of textured walls.
Materials You’ll Need
Here’s a quick list of everything I used to prep my textured walls for wallpaper:
- Drywall sander + 120-grit sandpaper (I rented this from Home Depot. It was about $50 for 4 hours, which was plenty of time!)
- 12″ drywall knife
- Drywall mud pan
- Joint compound
- Sanding blocks (120 or 180 grit are great!)
- Primer
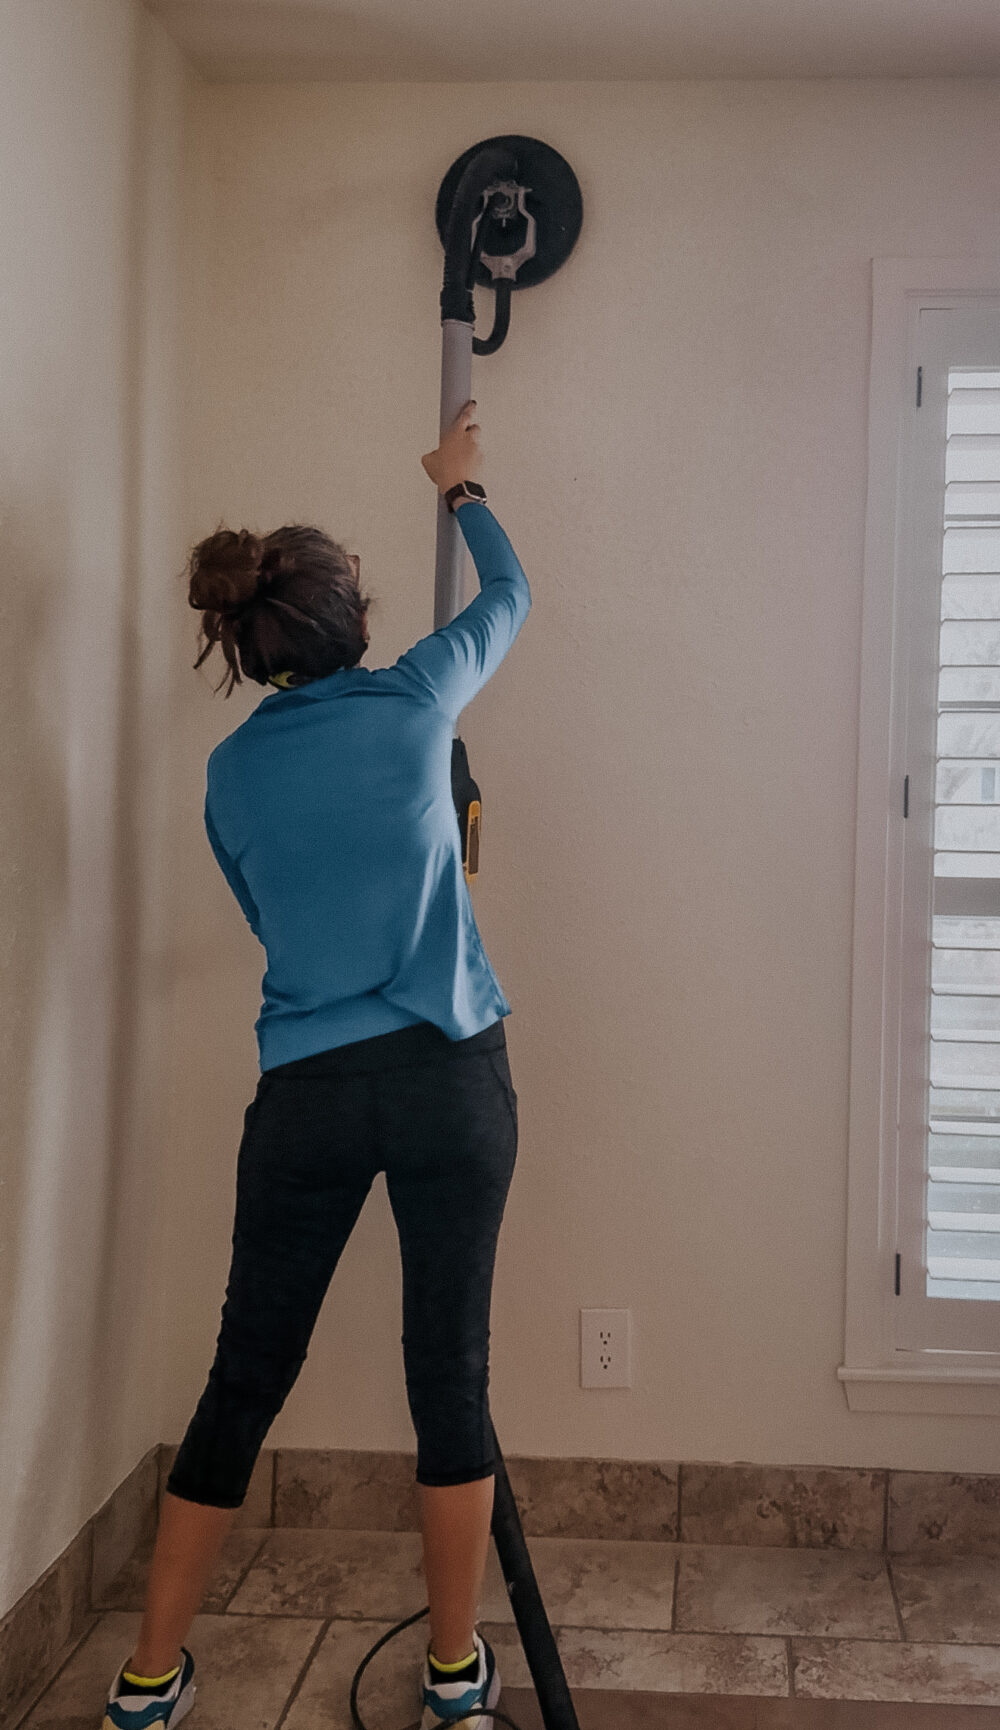
Sanding (Optional)
You may or may not need to sand your walls. If you don’t have a lot of sharp points on the drywall, you can probably jump straight to skim coating. But, as you can see from the image above, our texture was thick and sharp. You could practically cut yourself on it! It would have taken a ton of join compound to skim coat it, and it would have been a really frustrating process.
So instead, I rented a drywall sander. It cost about $50 for a 4-hour rental, which was plenty for me. I wasn’t trying to get the walls completely smooth, I was just trying to knock down the high points and get it to a point where I could skim coat. It took me about two and a half hours to sand the entire room, and it was a great shoulder workout!
There’s not much technique involved here. Just slowly and evenly run the drywall sander over the drywall until it’s visibly smoother. I recommend running your hand over the sections you’re working on to test it out. It shouldn’t feel sharp or pointy at all!
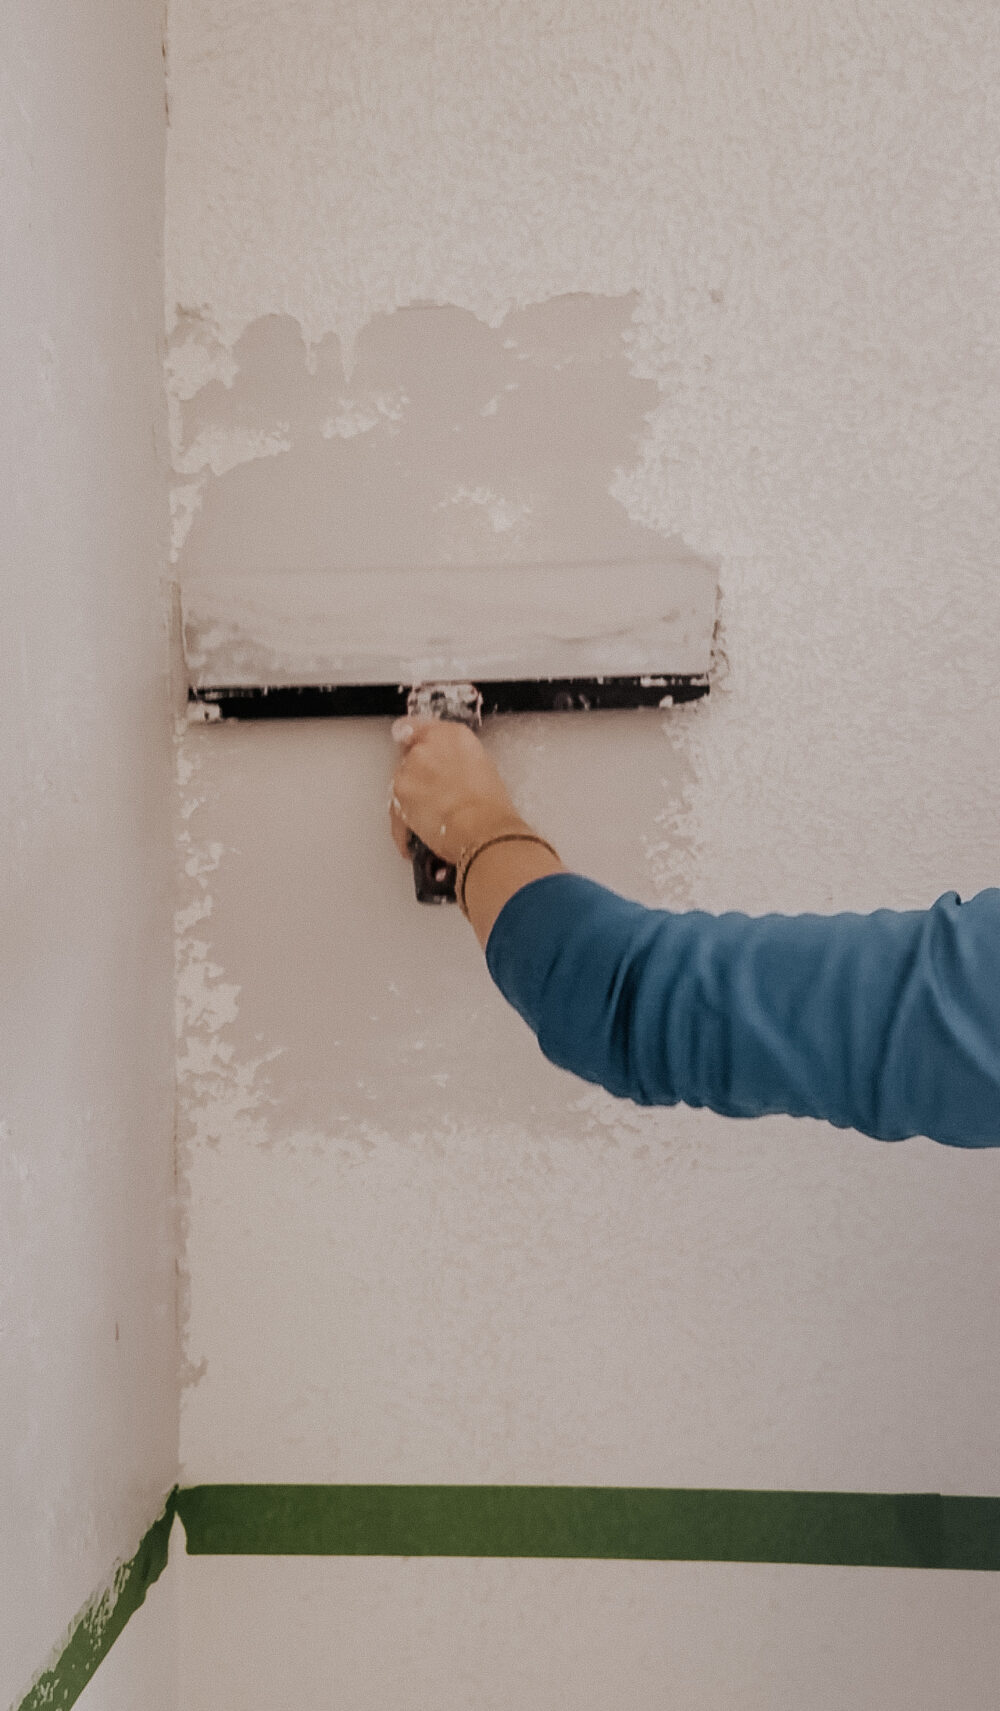
Skim Coating
The next step is the one I was most intimidated by – skim coating! Basically, you’ll be adding a thin layer of join compound to the walls to fill in the indentations in the texture and make it all a smooth surface.
I recommend using a really wide drywall knife for this (12″ or 14″ is great) to reduce the ridges you create as you work. Simply put some drywall mud into your drywall pan, then scoop it onto the drywall knife.
Working at about a 45-degree angle, slowly drag your drywall knife down the wall to apply it. It takes a bit of practice to get the exact technique here. Just remember that if you’re prepping for wallpaper, it doesn’t have to be perfect! You just need it mostly smooth.
Continue working around the room until the walls are fully skim coated. I got a 5-gallon bucket and used less than half of it to do the top half of this room. It took a couple of hours from start to finish, and wasn’t nearly as challenging as I expected it to be.
It will probably need about 24 hours to fully dry. If you want to apply a second coat, you can, but one coat should be plenty for wallpaper prep!
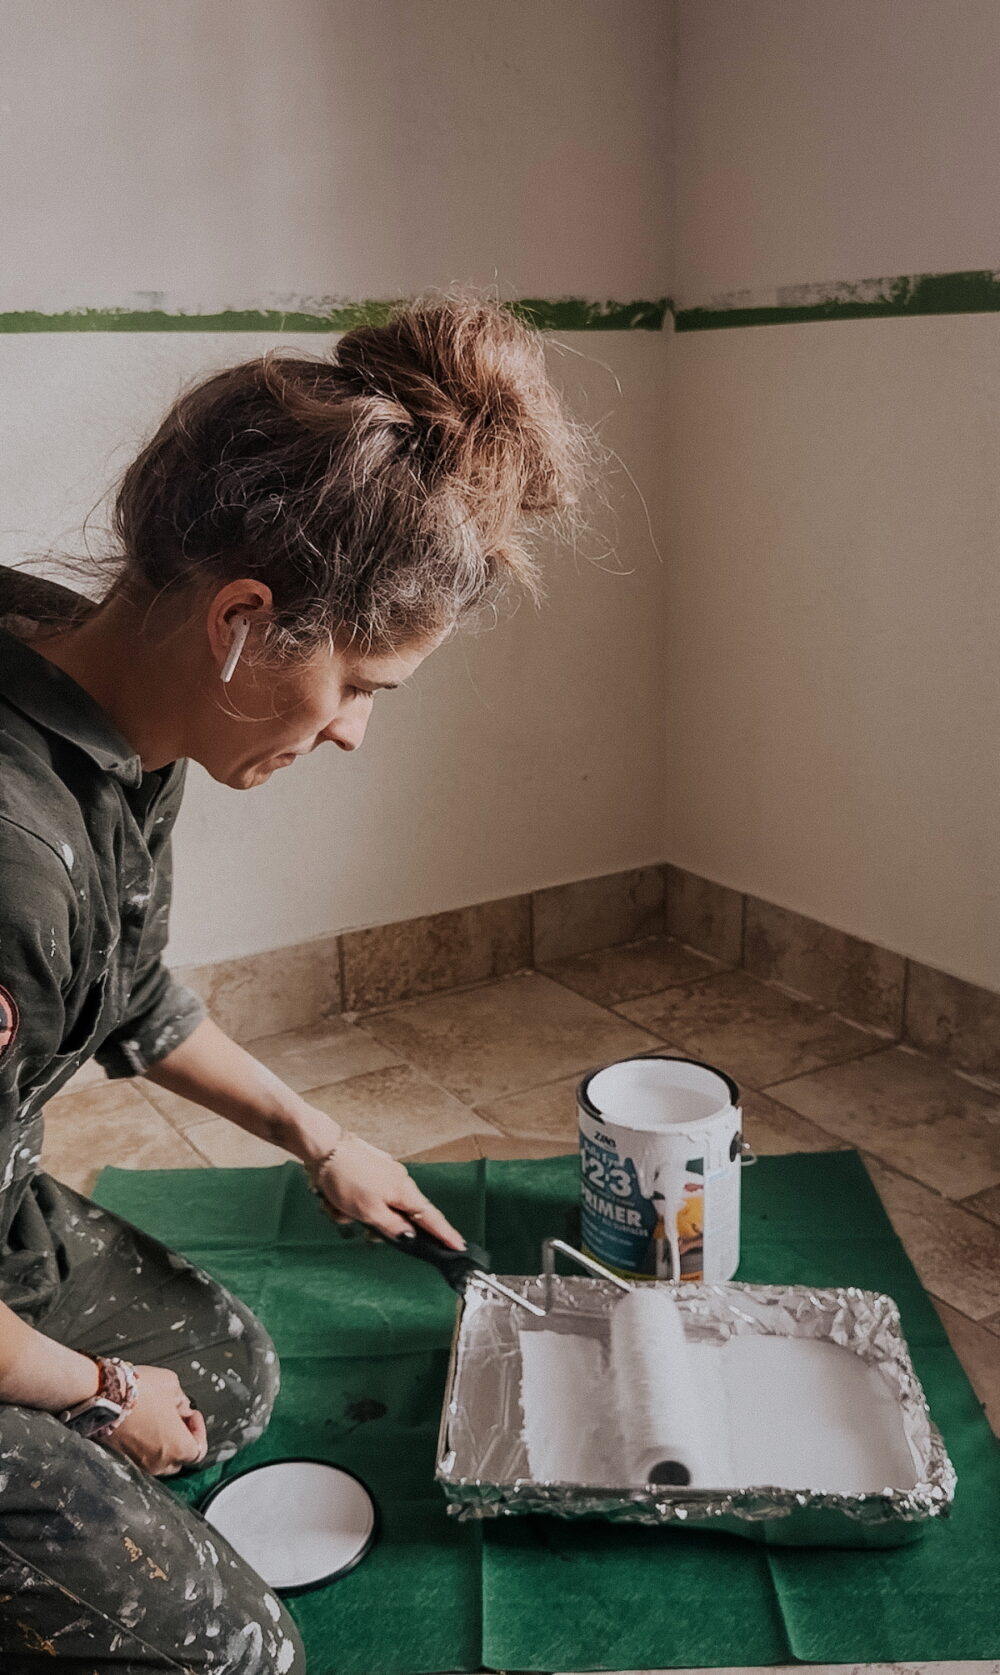
Final Prep + Priming
After your skim coat is fully dry (about 24 hours), grab a sanding block and lightly sand the entire area. This is dusty, so I recommend wearing a mask. And, you know, be prepared for some cleanup afterwards. Look for any ridges made by the drywall knife, or any areas that are still bumpy.
This doesn’t require much muscle or effort – just a very light sanding should be plenty!
Your final step is to prime the walls. This is a really important step – joint compound is very porous and needs to be sealed before you can apply wallpaper. I like this primer best! One coat should be plenty to seal the drywall and get you ready to go.
The primer does need a minimum of 24 hours to cure before you apply wallpaper. But, if you can wait 3-4 days, even better!
Frequently Asked Questions
How hard is it to prep textured walls for wallpaper?
I’ll be honest – I expected this project to be really hard. And, it IS very labor intensive. It took me a full day to prepare this one small room for wallpaper. But, it was much simpler than I anticipated it would be.
I certainly wouldn’t call this easy – it’s physically taxing, takes a lot of time, and creates a ton of mess. However, I would say that it requires very little skill, and I expected it to be more complicated!
I’ve never done this before – is this project beginner-friendly?
Absolutely! As long as you’re prepped to spend a good amount of time working on it (and doing a lot of clean-up), this is absolutely a project that a beginner could take on.
How do I wallpaper the walls?
If you want tips for wallpapering, check this post for my full tutorial on how to wallpaper walls!
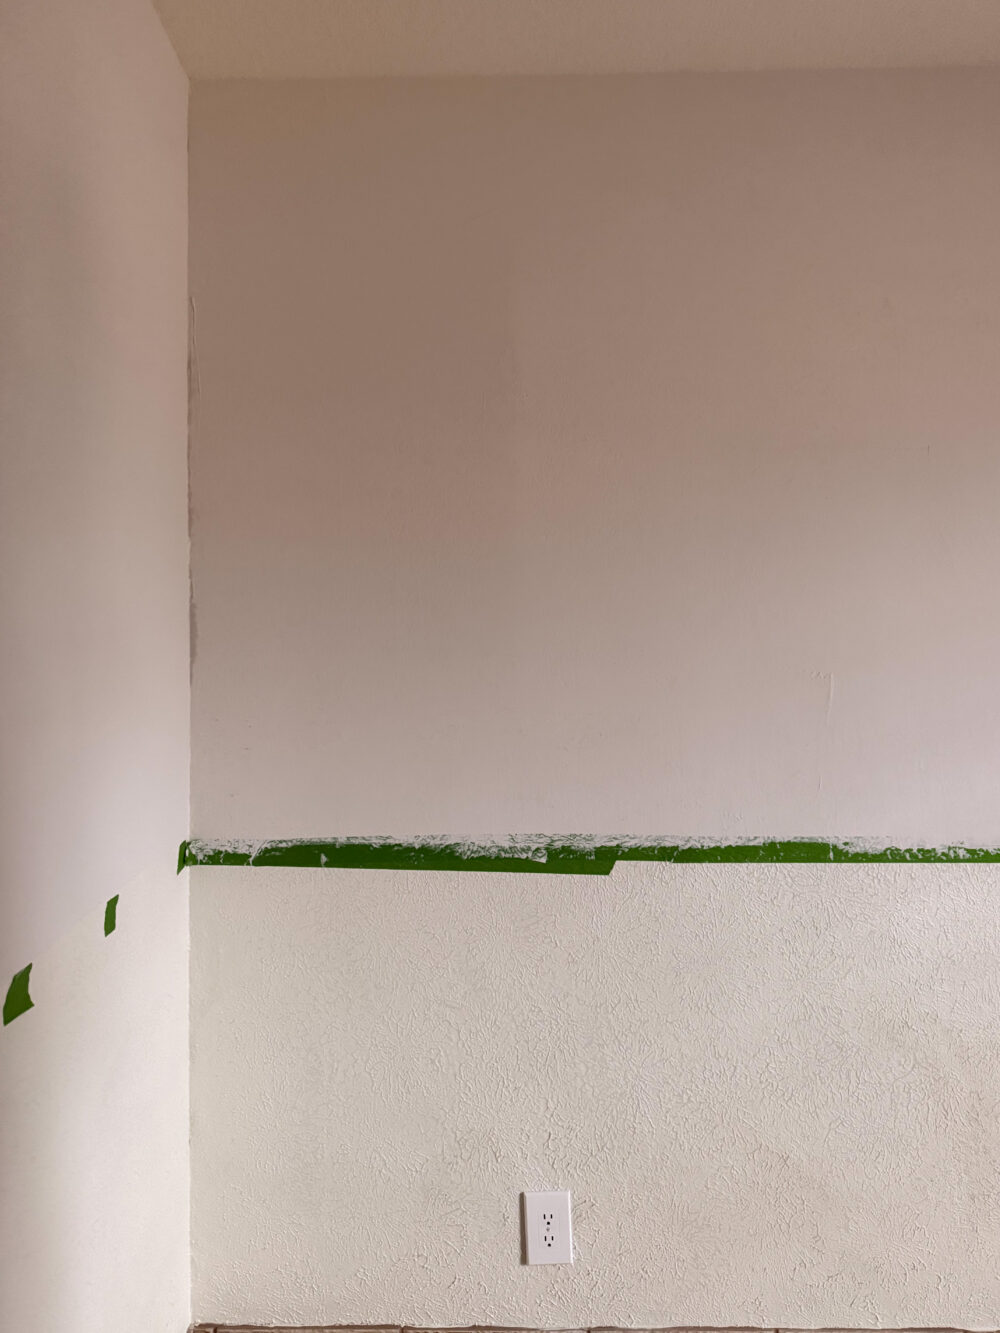
Why didn’t you skim coat the bottom half of the walls?
I got this question a lot as I was sharing on Instagram. There are a couple of reasons for this:
- Skim coating for wallpaper is pretty easy, but skim coating for paint requires much more work (and skill). If I were to paint these walls as-is, you’d see a ton of imperfections! I didn’t want to take the additional time to skim coat the bottom half to a point where I could paint it.
- The rest of our house has this same texture. I could have just skim coated this room and made it a goal to get to the rest later, but I don’t really have plans to. I’m happy to live with the texture. So, I worried that if I skim-coated the bottom half of these walls, it might feel disjointed from the rest of the house.