
Two-Day Bathroom Refresh
Last updated on March 4th, 2023 at 11:42 am
This week I tackled a quick, cheap two-day bathroom refresh in the boys’ bathroom upstairs! I’m sharing all of the details today – read on for a look at their fun, bold new bathroom. This post is sponsored by Kreg.
I’ve had a lot of fun in this house working on the kids’ spaces. We have a very specific style throughout most of our home (and it’s neutral, moody, and super cozy), but when it comes to the spaces where the boys spend their time I’ve made a conscious effort to have a little more fun.
Jackson’s room is full of colorful stripes, Grant’s room has a scalloped and painted ceiling…and now their bathroom has some really bold, yellow walls!
This project all came about when my friends at Kreg reached out to me to let me know they were having a sale on their Cabinet Hardware Installation Kits and they wondered if I had any cabinets that needed some love.
It was a perfect fit since all of the cabinets in our house came without hardware! I used Kreg’s cabinet hardware jig to install cabinets in our kitchen earlier this year, and I was ready to turn my attention to the boys’ bathroom.
I decided that I would not only add some hardware to the cabinets, I’d also give the bathroom a little bit of a refresh just for fun. Because if you can’t let loose a little in a kids’ space, where can you?!
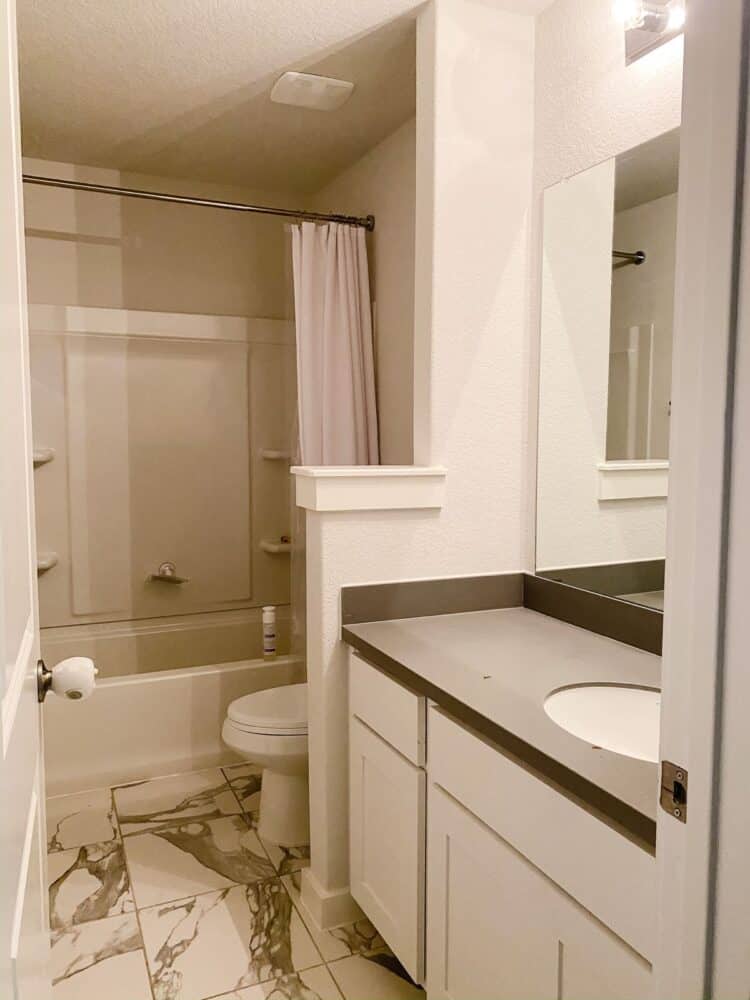
Here’s a look at the before – it was a completely blank slate with lots of white. Not a lot of fun, but it was fine.
Two Day Bathroom Refresh
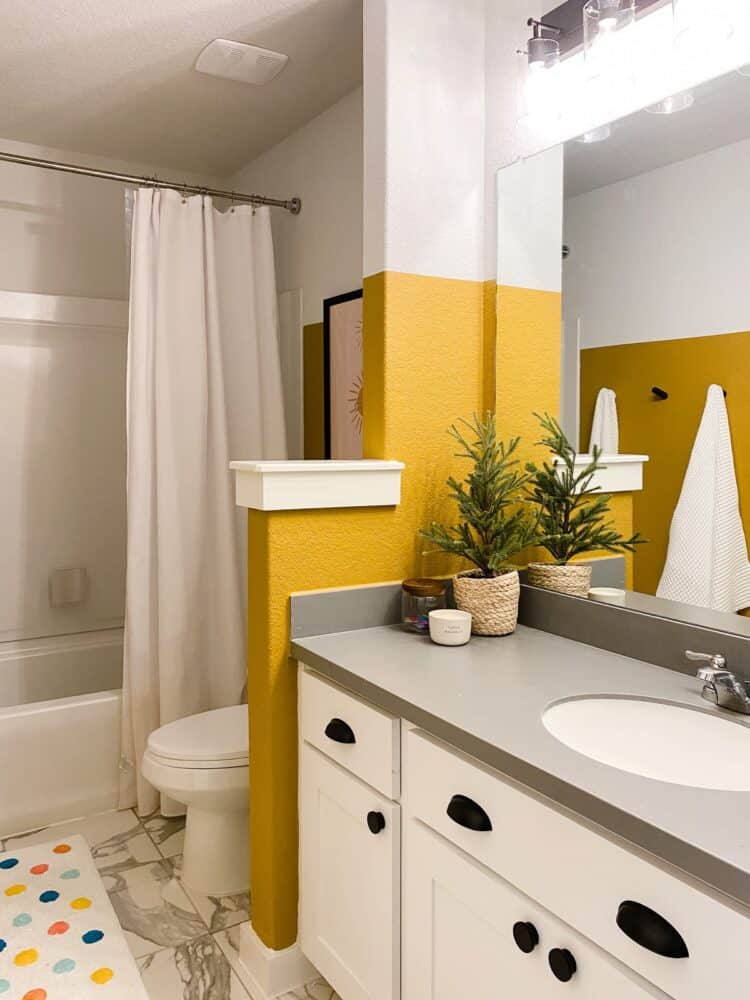
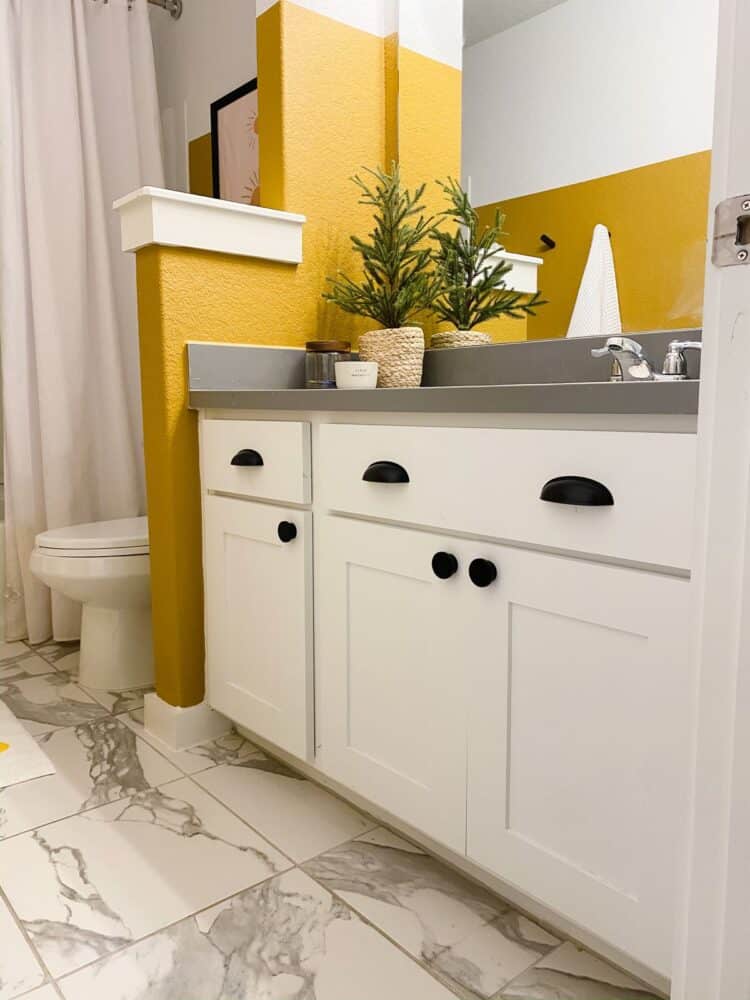
I decided to tackle the whole makeover in just two days. On day one, I started off by taping off a line 2/3 of the way up the wall and painting the bottom part Wild Ginger by Behr. It’s a bold choice, but the kids love it and it makes me smile too. I love doing out-of-the-box colors like this in kid spaces because paint is so easy to change if you get tired of it, so why not have some fun?!
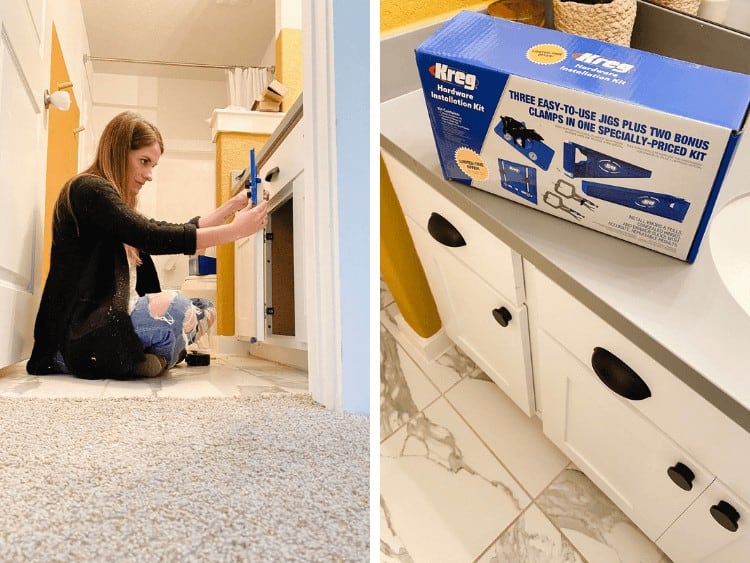
After painting, I turned my attention to the cabinets. I used the Cabinet Hardware Jig to install these cup pulls and these cute little knobs on the cabinets. The beautiful thing about using a jig like this to install hardware on your cabinets is that it makes it foolproof. Drilling holes into your beautiful, new cabinets is scary, but if you have a jig all you have to do is set it up and drill your holes with confidence!
You can click here to watch my Instagram highlight of this makeover and see some up-close looks at how the jig works. It took me about 20 minutes to set up and install the hardware on this entire cabinet set – and everything is perfectly spaced.
And I think we all know it wouldn’t look quite so perfect without the jig.
Oh, and I had a couple of people on Instagram ask about the size of the jig – it’s made for pulls up to 5″ wide (measured center-to-center of the holes). But, the pulls in my kitchen are 12″ and I still used it! If your pulls are wider, you’ll just use it a little differently and measure for each hole. Click here to read the post on our kitchen and see how I used this jig for larger pulls.
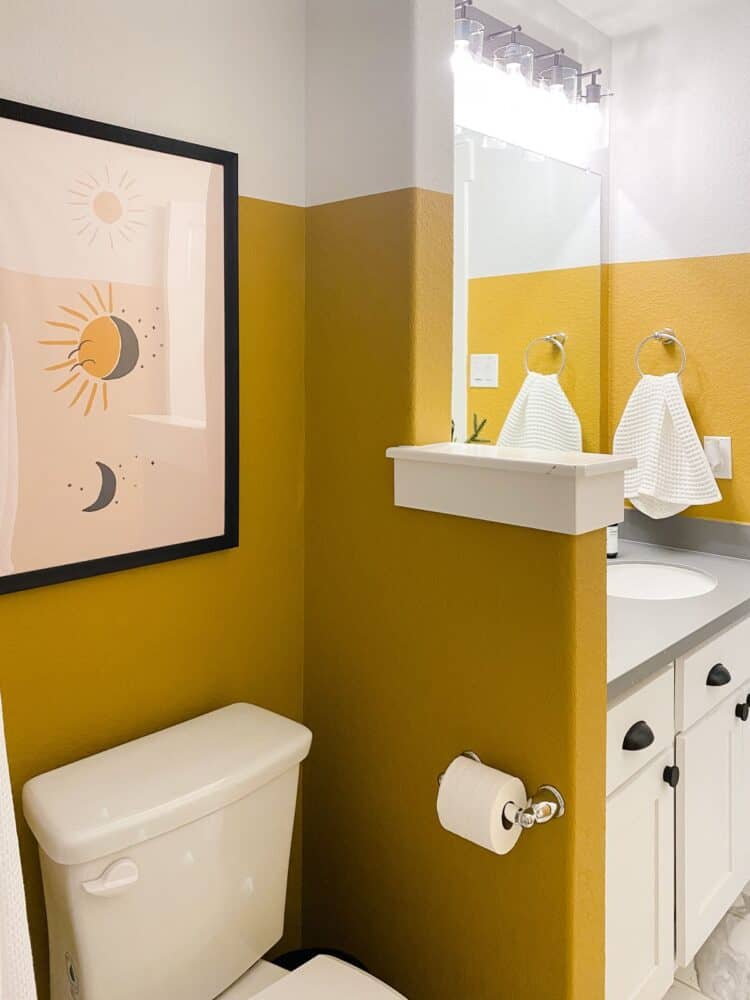
The other touches I added throughout the room include a new light fixture, some art, and swapping out the towel rack for some hooks (because my children are much more likely to use those!). Everything I added is linked below!
I also added the adorable little bath mat that actually acted as my inspiration for the entire room – I saw it and knew immediately it would be my jumping off point!
Will the bathroom stay like this forever? Absolutely not. I firmly believe kid spaces should grow with them and evolve over time as they feel inspired and want to change it. But, for the next few years I think this is a really fun look that the kids will enjoy!
Plus, I’ve got big plans for a larger renovation in here down the line – new counters, new bathtub, a window…the works!
But it sure is cute for now.
If you have any cabinets in your home that need new hardware and you’re nervous about drilling the holes, I highly recommend this Kreg jig! I’ve used it in two rooms now and it has made the job so much easier both times.
If you have more in-depth work to do on your cabinets, the Hardware Installation Kit will be your BFF (it looks like it’s currently out of stock on their website, but it’s in stock here!). In addition to the Cabinet Hardware Jig, it also comes with Drawer Slide Jigs (which are perfect if you’re building drawers for inside your cabinet, or for building furniture!), and a Concealed Hinge Jig for swapping out your hinges. It also comes with two clamps perfect for keeping everything in place. I’ve used all three of these jigs at various points, and I can officially recommend all of them as a great tool to make some tricky jobs easier!
SOURCES:

Thank you so much for your time in putting this together. I hope to work on
So fun! And the lights you all ended up choosing look great in the new space. I used the Kreg hardware jig to add hardware to the brand new cabinets at our last house and it was so much better than my homemade one 😄