10 Tips for Dyeing Easter Eggs With Toddlers
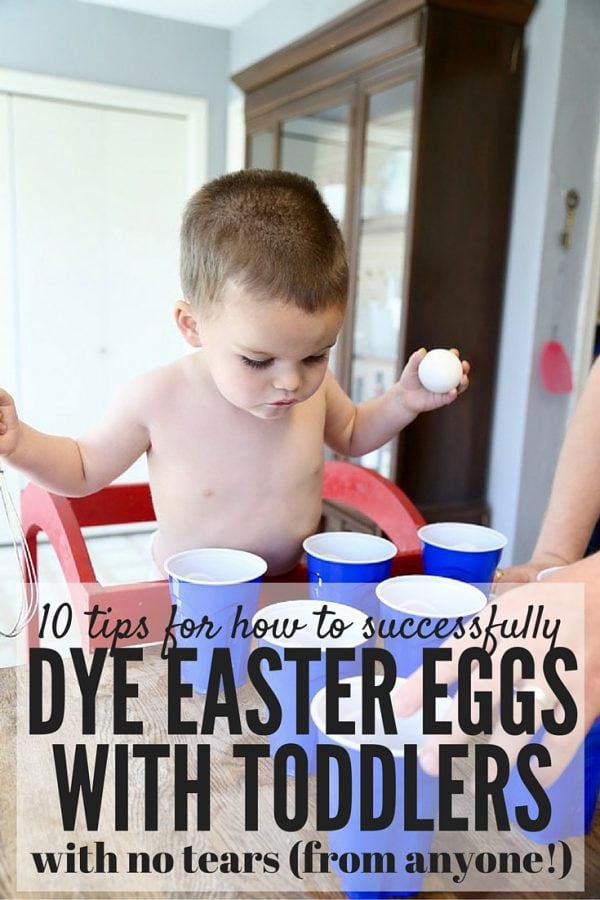
The holidays are way more fun when you’ve got little ones running around but the festivities can be overwhelming! Today, I’m sharing a few tips for dyeing Easter eggs with toddlers easily – no tears from anyone!
Dyeing Easter eggs was always one of my absolute favorite parts of the Easter season when I was growing up. I loved to watch the eggs slowly change colors and I loved to see how creative I could get with my decorating. Last year we skipped the traditional egg dyeing and had Jackson paint some craft eggs instead – it was a perfect sensory activity for him at that age, but we knew that this year he was ready for the real deal.
He had a blast – and so did Corey and I! This is one of those activities that could have been incredibly stressful, but thankfully we did a little bit of preparation beforehand and were able to make it through with no tears from anyone. That’s a rarity these days!
How to Dye Easter Eggs With Toddlers
Here are my tips for a successful Easter egg decorating session with toddlers:
Have an easy place to put the eggs.
When they come out of the dye, they’re dripping and wet and messy. Jackson was likely to dump them in another cup or accidentally drop them on the floor in his excitement if we weren’t ready and waiting with a quick spot for the eggs to dry. Oh, and don’t forget to keep that spot out of reach of your toddler. Trust me on this one.
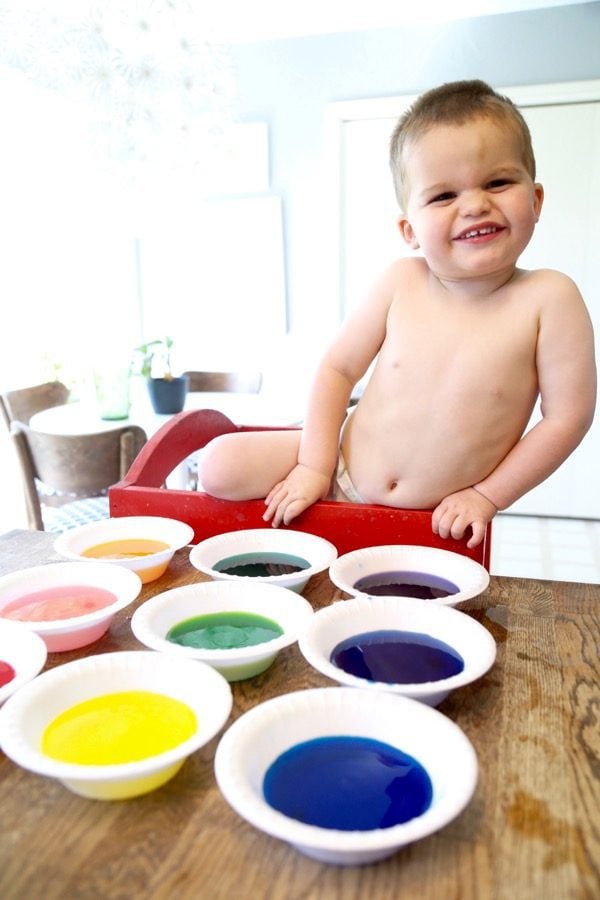
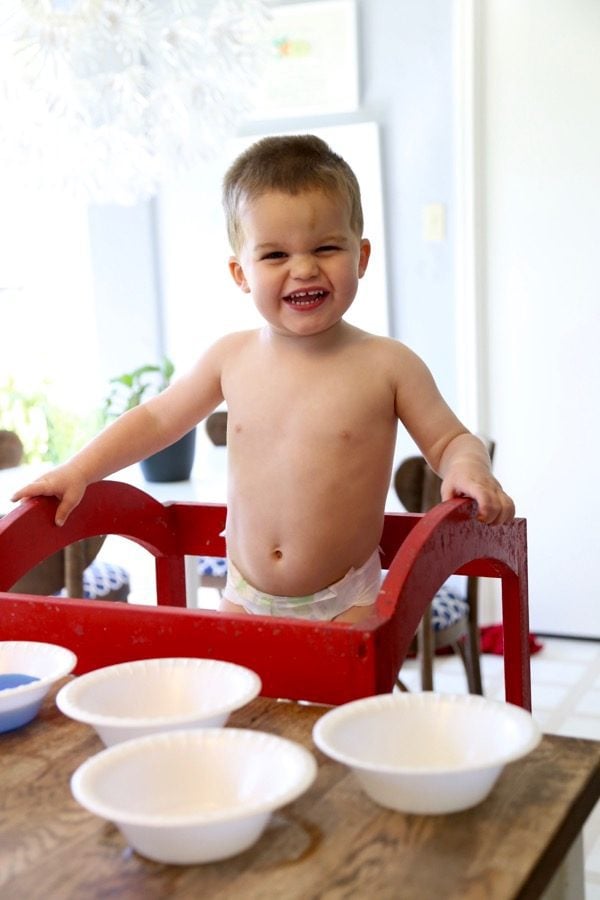
Do it naked (the kid, not you)!
Unless you want to deal with some mega-stains afterward, just take the clothing off. This is not a clean activity.
Prepare for a mess
Jackson dumped a cup of dye, squished an egg with the whisk, and got egg paint everywhere. If messes stress you out, you’ll need to take a few deep breaths before you dive into this activity.
Lord knows I did.
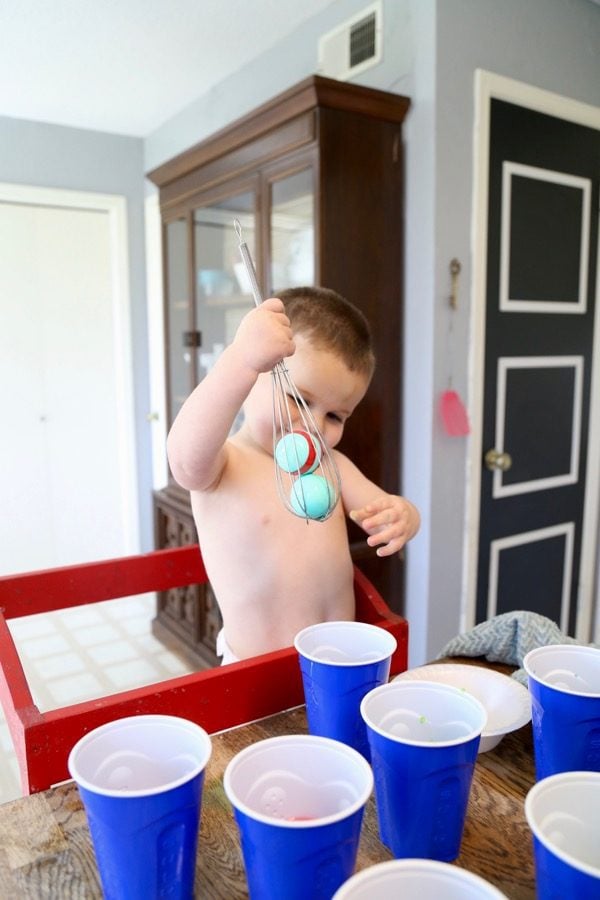
Use a whisk!
This is hands down the best tip I can ever give you. Use. A. Whisk. Jackson was able to get the eggs out of the dye totally by himself, and he literally spent the entire time that we were dyeing eggs playing with the same egg, putting it in and taking it out of the dye with the whisk. He was enthralled for a good 20 minutes!
Plan for the wait time.
Jackson had a hard time waiting for the dye tablets to dissolve and waiting for the eggs to actually soak up the dye. I came in with a plan for a few different things he could do while we waited (such as helping me punch out the holes in the box where we could let the eggs dry, stirring the cups full of dye, and playing with the measuring cup) so I knew that he wouldn’t get too impatient and lose interest.
Use disposable dishes!
Some people will swear you need “real” dishes to make it a little harder to accidentally dump them over, but the cleanup with disposable dishes is too easy for me to even consider using the real thing. We started off using bowls, but quickly realized they weren’t deep enough for the eggs to be completely submerged so we switched to plastic cups – worked like a charm. Jackson did knock one over, but I think he probably would have done the same thing if it was a real glass – only the real glass would have broken!
Don’t worry about getting fancy.
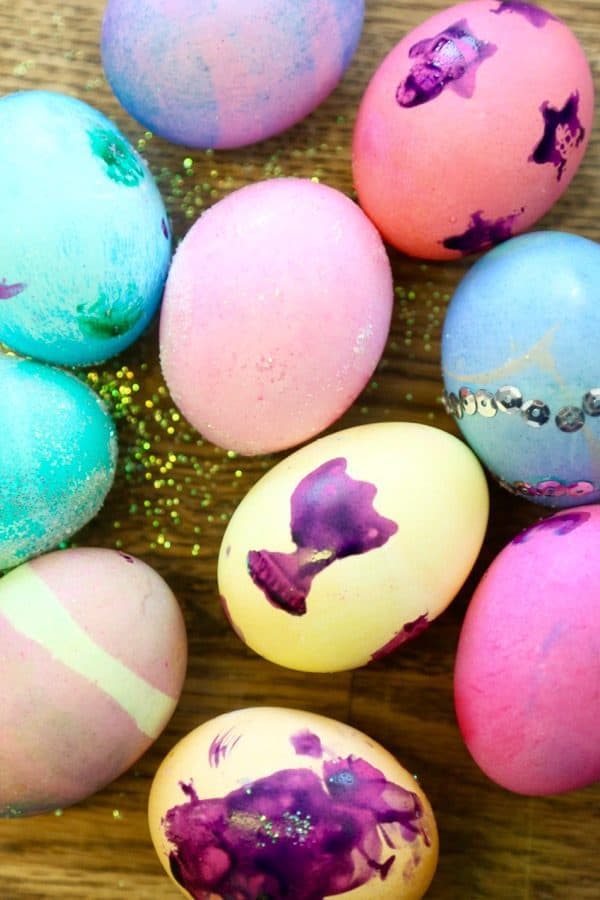
Your kid couldn’t care less. I originally wanted to research fun and creative decorating ideas that go beyond just using the dye tablets, but then I remembered this is Jackson’s first experience dyeing eggs and he’d be thrilled with whatever we did. We had a kit that included some extras (like paint, rubber bands, and stickers) and that was more than enough to make him happy.
If they’re happy, let ’em be.
Like I mentioned before, Jackson spent almost the entire time playing with the whisk and one egg. At first, I wanted him to see the other eggs getting dyed, but then I realized that he was happy and there was no reason to stop him. Corey and I dyed the other eggs ourselves while he played with the whisk, and by the time he was done everything else was dried and ready to be decorated with the extras!
Use rubber bands to create stripes!
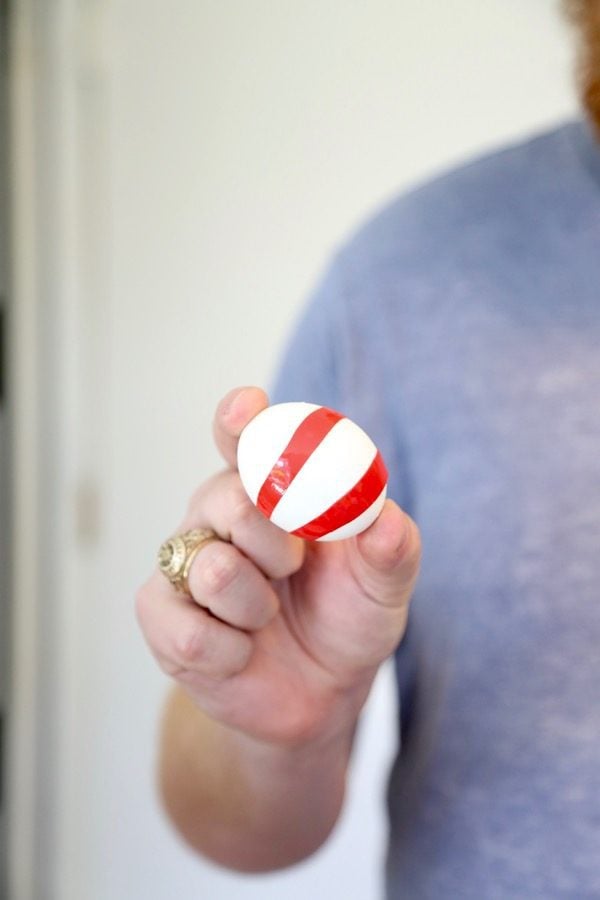
I can’t believe I’ve never done this before – but it was a great idea! The kit we bought included some small rubber bands to add on to the eggs before you dye them – it ended up making stripes on the eggs. It was a fun way to do something different with the eggs, and Jackson was fascinated by it.
Use vinegar and baking soda to clean your hands afterward.
Ever wondered how to get Easter egg dye off your hands? Vinegar is what dissolves the dye tablets in the first place, and when you mix with baking soda, it’s a super quick and easy way to get the dye off of your hands with minimal scrubbing!
I’m glad we decided to keep our Easter egg escapades simple this year – when he’s older we’ll have plenty of chances to get crazy with unique decorating ideas, but for now, we were all pretty happy with some dye tablets and plastic cups.
Need more ideas for making life with a toddler a bit simpler? I’ve got you covered.
- Chore Ideas for Toddlers & Preschoolers
- Board Games that Even Your 2-Year-Old Can Play
- Do’s and Don’ts of Toddler Behavior
- How to Decorate Your Home With Kids & Pets
- DIY Wooden Tree Swing
- Jackson’s Big Kid Room Reveal
What are your best tips for Easter egg decorating with little kids?

These are great! Thank you for the tips! I plan on using them tomorrow with my 2 year old 🙂
Okay, the whisk idea is genius–even for adults! So much better than a spoon or those bent wire contraptions that come in the kits.
I know, right?? It made things WAY easier.