
How to Apply Gel Stain to Make Over Cabinets (With No Heavy Sanding!)
If you have stained cabinets or wood in your home that you don’t love the look of, but you also hate the idea of stripping and sanding, this post is for you! I just transformed our kids’ bathroom vanity using a $25 can of gel stain and it was shockingly easy. Read on to how to use gel stain and transform yours too!
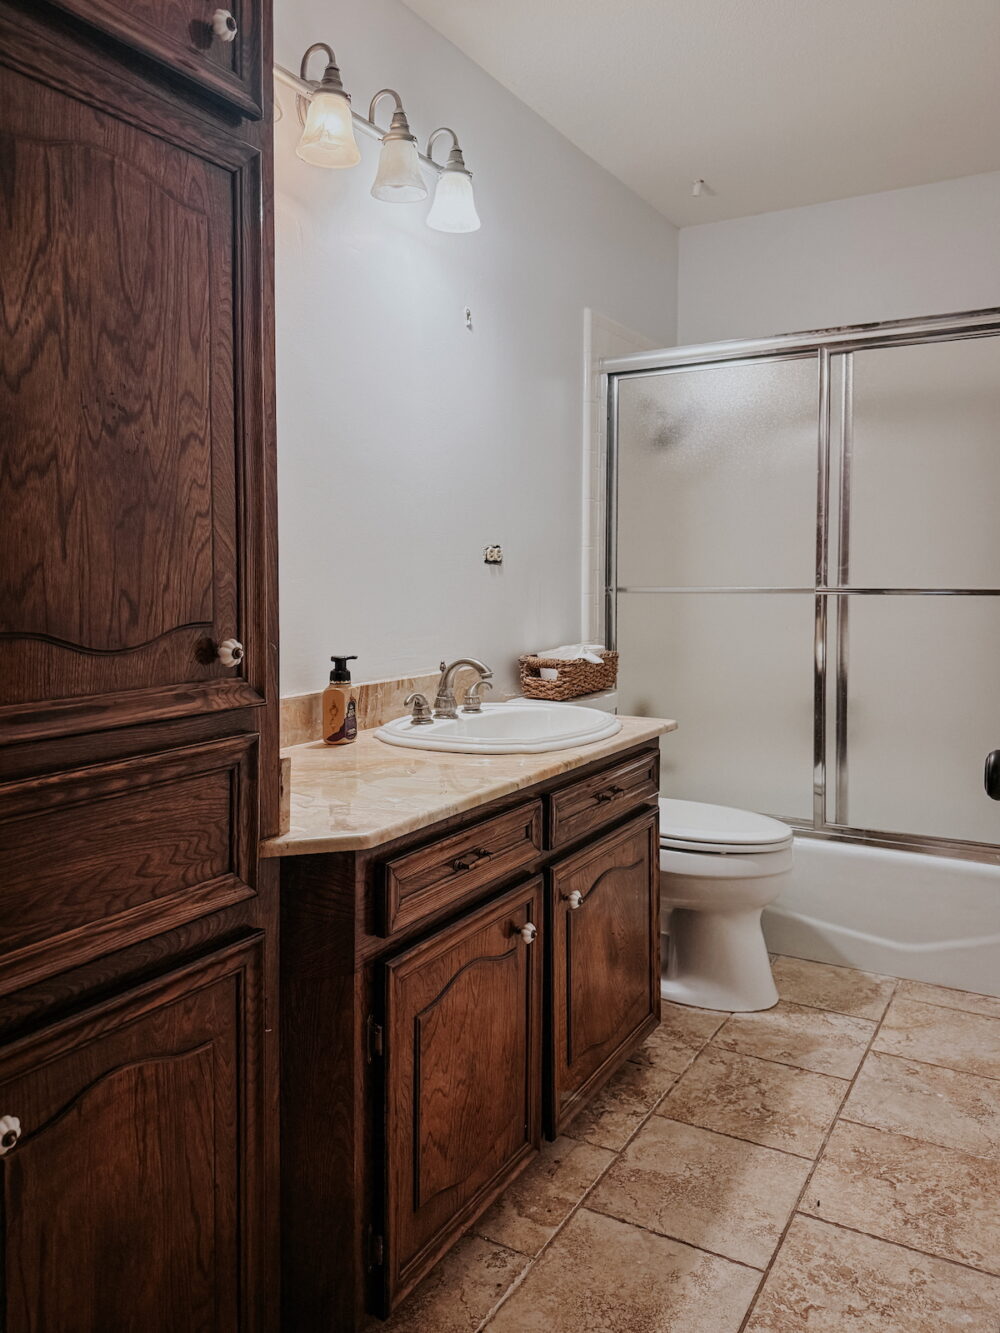
I’m currently working on giving my kids’ bathroom a big makeover on a tiny budget. Like, the most expensive thing I plan to do is replace the toilet. Every other project I’m tackling in here is going to cost about $100 or less. This one? It only cost about $40.
One of the things I love the most about this home is that all of the cabinetry is stained wood. I’m really tired of having painted cabinets everywhere in my house, and I’m excited to work with the existing cabinetry. But, the cabinets in here had seen better days. The countertop and cabinet stain combo wasn’t working for me (and goodness knows I don’t have the budget to replace the counter), and things were just generally feeling dated and a little tired. I knew that a darker cabinet stain would work wonders to make the countertops feel a little more modern and intentional, so I set out to try gel stain for the first time in my life.
And, well, I’m a convert. It was so incredibly easy to use, required almost zero sanding or prep work, and looks absolutely stunning. Why wouldn’t I love it?! So, today, I’m going to teach you exactly what I did to transform this vanity with nothing but a $25 can of gel stain and some fresh hardware.
How to Make Over Cabinets with Gel Stain
Video Tutorial
Love a video walkthrough? I’ve got you covered! Here’s a quick video tutorial for how to apply gel stain to a vanity.
What You’ll Need:
- 180 or 220-grit sanding pad
- Krud Kutter or other cleaner/degreaser
- Gel Stain (I used Varathane Gel Stain in Kona)
- Brush or lint-free cloth (I like to use this cheap brush)
- Polyurethane
Patching the Hardware Hole
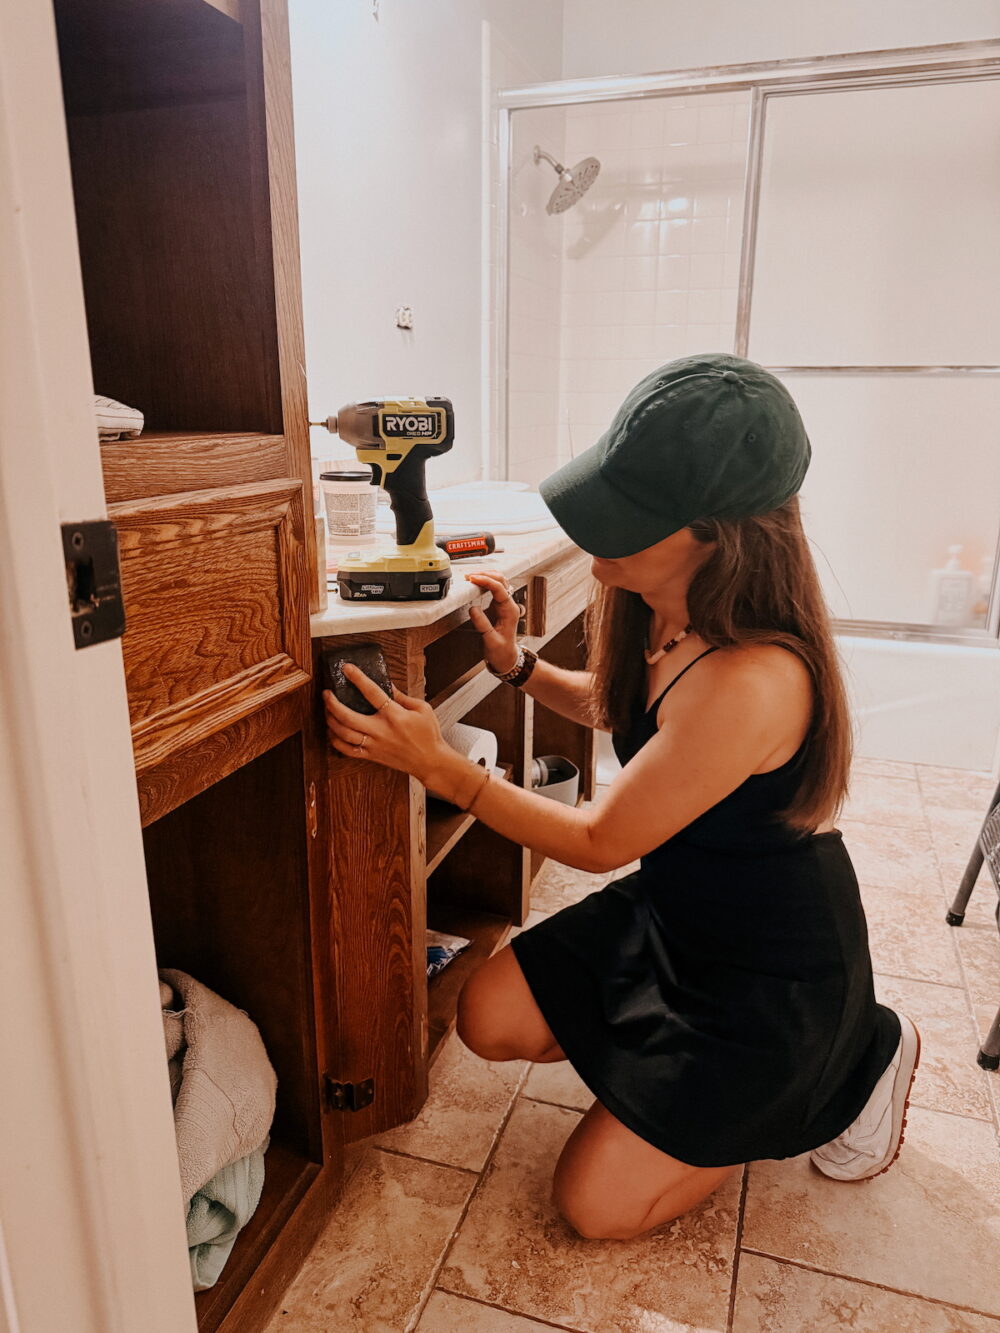
If you, like me, are planning to move the hardware on your cabinets, you’ll need to tackle this step first. Most people probably are keeping the hardware location they’ve got. I just happened to have a unique situation with cabinet pulls in the dang middle of the doors. If you’re planning to move yours too, start by removing the cabinet hardware. Then, use wood filler to fill in the hole. I recommend mixing it with a little bit of your stain before applying it, to ensure as even of a color as possible!
If you need help learning how to use wood filler, click here for my full tutorial with everything you need to know.
Prepping the Cabinets
Once your wood filler has dried, you’re ready to get into the rest of the prep. Thankfully, with gel stain, it’s minimal! Start by removing the cabinet doors and drawers – it’s a lot easier to deal with everything when you can take the doors out to the driveway and spread out a bit. If you don’t have space, you can do this with the everything in place, too. Next, you’ll want to spend a bit of time lightly sanding everything with 180- or 220-grit sandpaper. You aren’t looking to remove the finish here, you just want to scuff it up! The gel stain will adhere better to a not-perfectly-smooth surface, so just take a few minutes to go over everything. You can do this by hand, it shouldn’t take long!
After scuffing up the cabinets, grab some Krud Kutter or another degreaser and give everything a really good wipe down. It’s very important to get the wood really clean for the best possible finish. Give it a few minutes to dry afterwards, and then you’re ready to stain!
Staining the Cabinets with Gel Stain
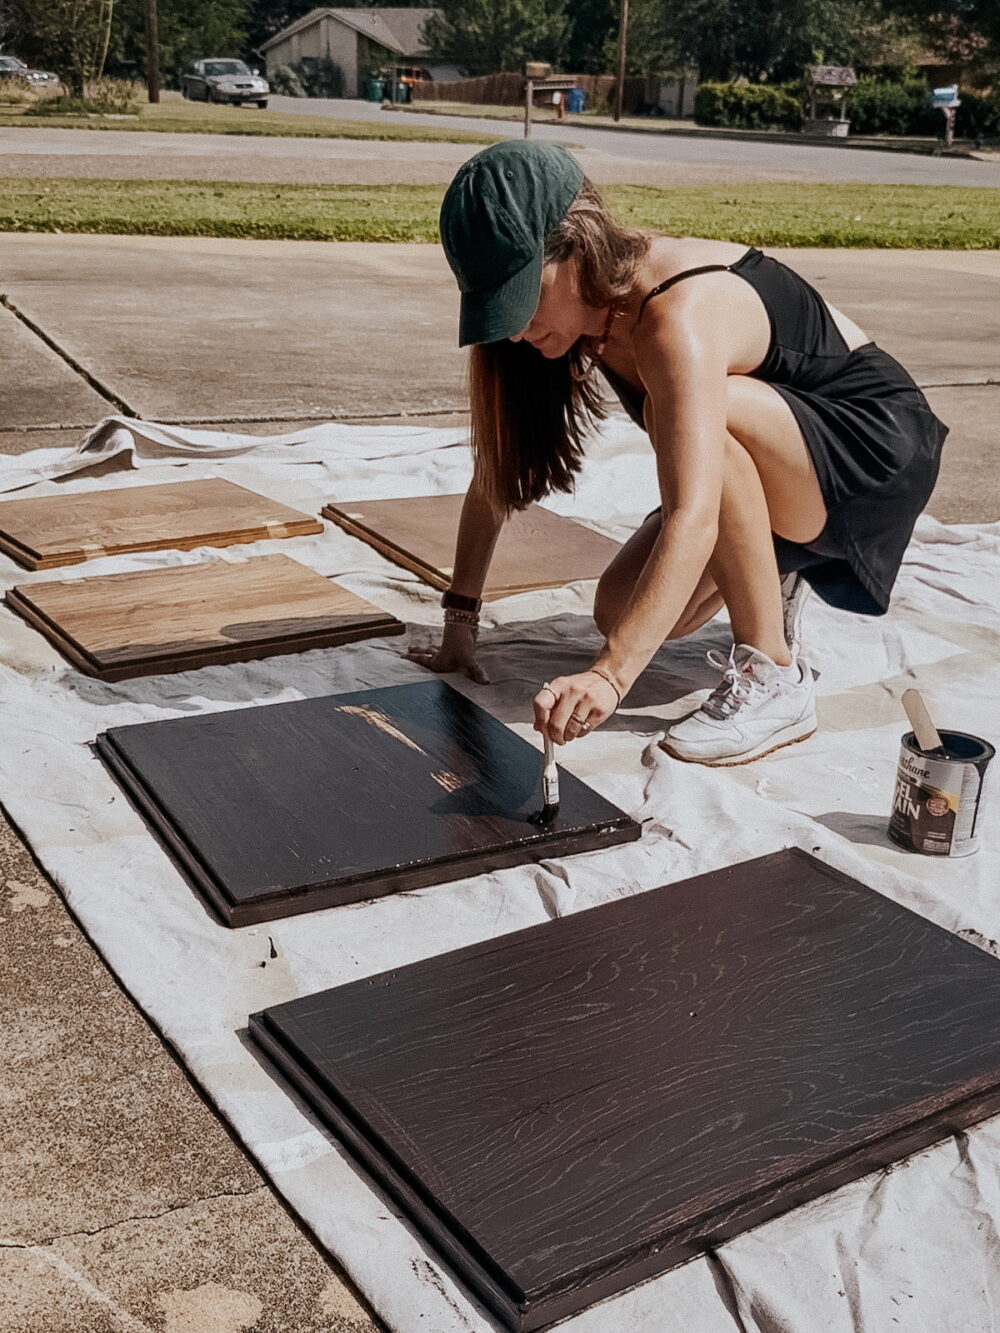
I highly recommend reading the directions for the specific gel stain you’re using, but most will be more or less the same. You’ll apply the stain using a brush or a lint-free cloth. Start by applying it against the grain to help it get into the grain and really saturate. Then, brush with the grain to help even out the color. This works really well for the doors or the sides of the cabinet. For the narrower support pieces, it’s you’ll probably just brush up and down with the grain. I mostly just did the two-step method for the doors.
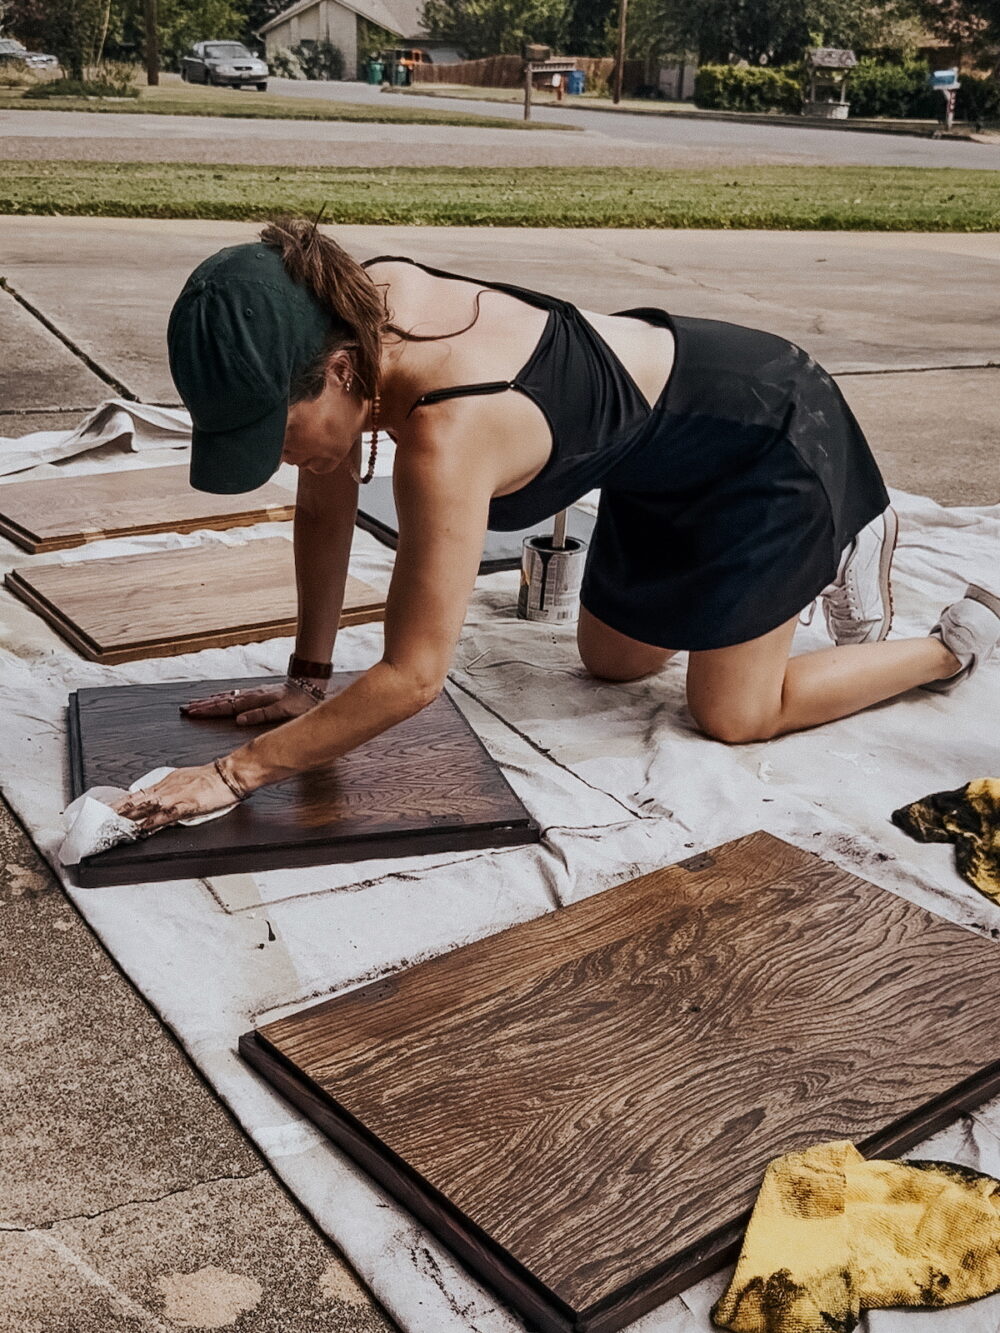
Gel stain is a much thicker consistency than regular stain (it’s almost pudding-like), so it will go on thick. That’s okay – just trust the process! The color will lighten significantly when you remove the excess, so don’t worry if it feels too dark! After you’ve applied the stain, let it sit for 3-5 minutes. Then, grab a paper towel and wipe off the excess. You can also use a lint-free cloth for this but it will be nearly impossible to clean and I found it didn’t work as well as a good ol’ paper towel.
Gel stain is a little harder to remove than regular stain, but I found a method that worked well: start by wiping against the grain to remove the bulk of the excess stain. Then wipe in a circular motion to remove the rest. You’ll go through quite a few paper towels, just keep grabbing a clean one when you notice you’re just spreading it around and it’s no longer absorbing.
Continue working until you’ve got all of the excess stain removed. If you want a more saturated color, you can wait 2 hours and then apply another coat to help it get a bit richer!
Once you’re done, be sure to lay out the paper towels or any cloths you used and allow them to dry fully before throwing them away. Stain can spontaneously combust on towels if it doesn’t get a chance to dry out! It should just need a couple of hours to fully dry, then you can throw it away as normal.
The part that will take the longest is the doors – you want to stain both sides, so you’ll need to do one, let it dry, then flip it and do the other. It’s tedious, but worth it!
Sealing the Cabinets
After giving the stain a solid 8 hours or so to dry, you are ready to seal it all up! You can see my full guide to how to seal (painted) cabinets right here. It’s basically the same process! I used Varathane Oil Based Polyurethane because it’s what I had on hand, and I’ve had really great luck with it in the past. I also really like this triple-thick polyurethane!
Don’t skip or rush this step! Apply two full coats to the cabinets for a really durable finish that will last basically forever. Once it’s dry, you’re ready to reinstall your hardware and call it a day!
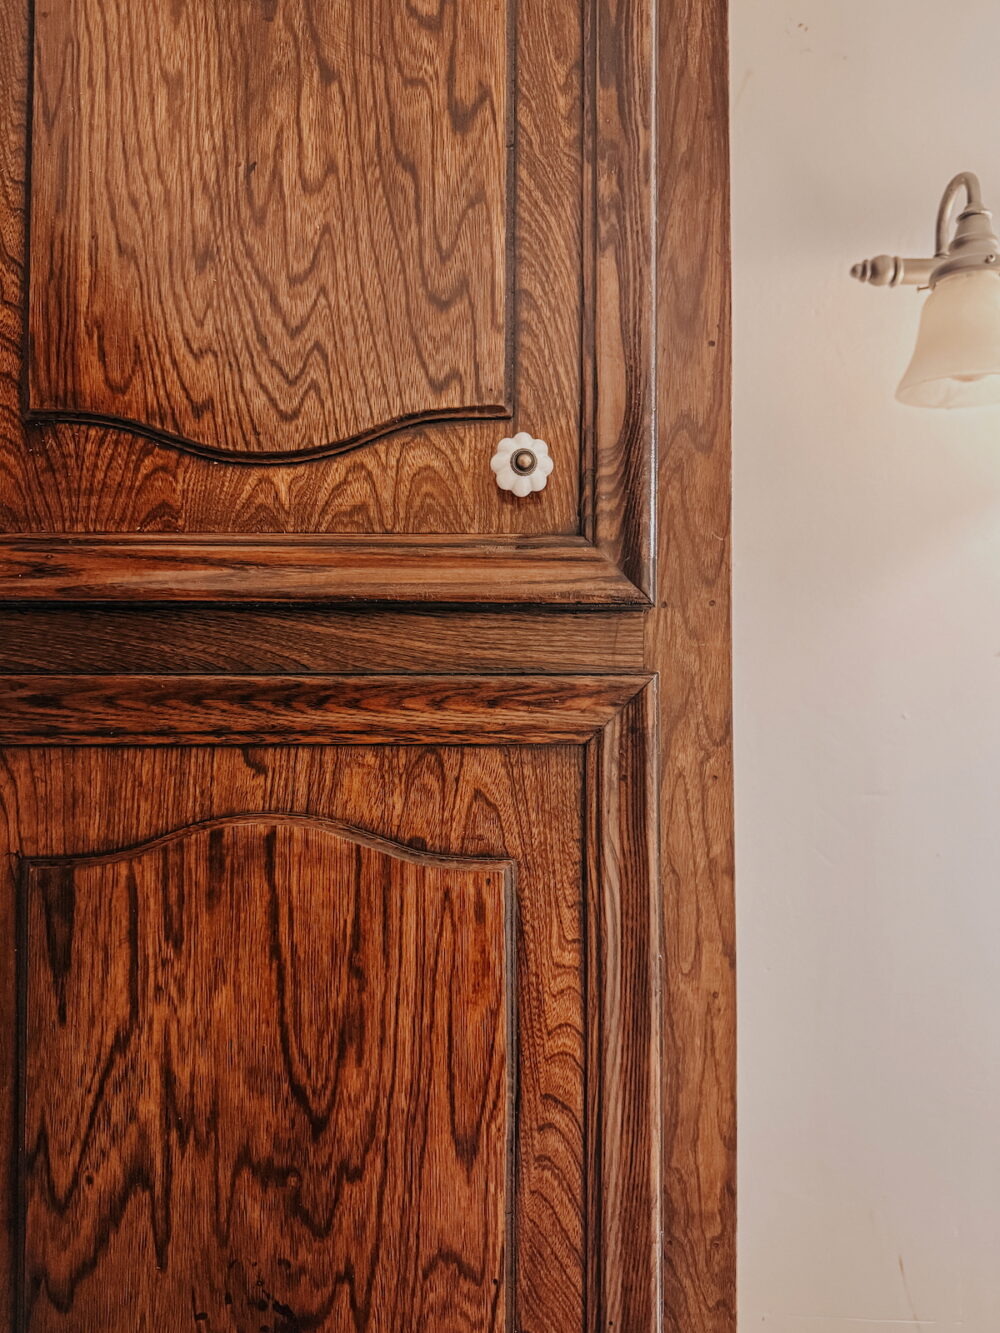
Using Gel Stain on Cabinets: Before and After
Overall, this project took me basically two days to get done. One full day of staining and dry time, and then a second day of sealing, dry time, and putting everything back together. It’s not very labor intensive at all – just requires a lot of waiting around while you wait for things to dry!
I wasn’t sure what to expect with this project. I’ve never used gel stain before and I didn’t know if it would really look all that different. In the end, I was absolutely blown away by how much of a difference it made. Even my husband commented that it looked so much better than he expected it to. It’s hard to see how drastic the transformation is in photos, but in person it’s very dramatic. It feels cleaner and fresher, and the darker color really sets off the countertop really nicely. I’m going to be painting a dark and moody color in here and this new stain color is going to make a itfeel even more special.
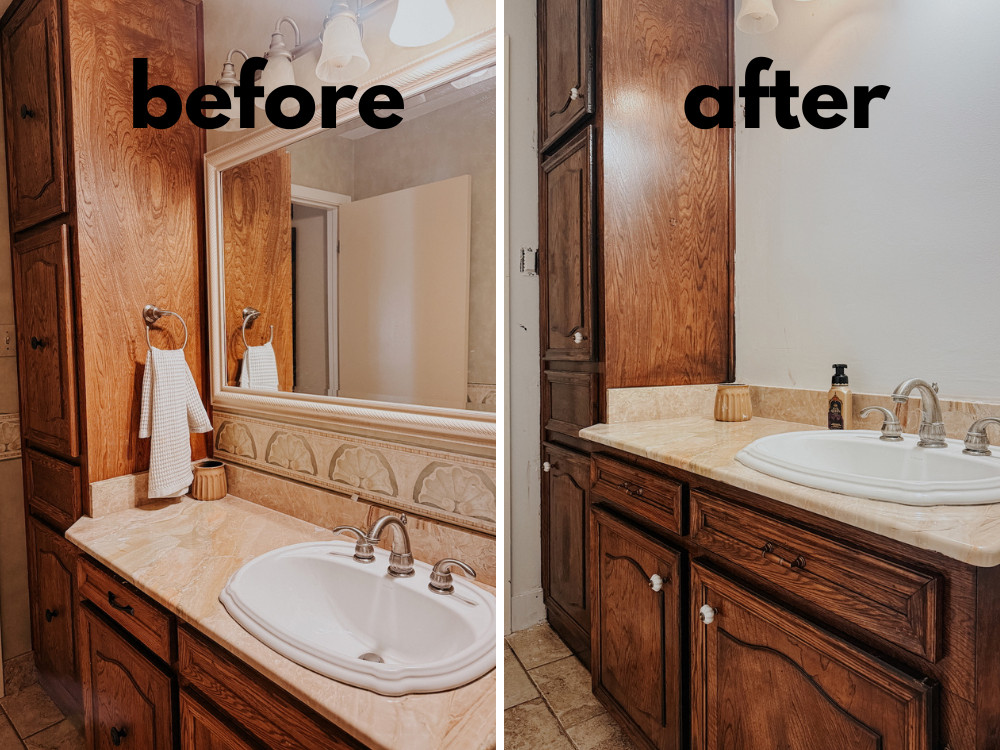
I’m so glad I took the time to tackle this project, and I’m beyond pleased with the result.
My next step is going to be to add trim to the walls and finally paint them and I am beside myself with excitement soooo stay tuned for all the fun!