How to Seal Painted Cabinets
I’ve painted a lot of cabinets in my day. And most of the time, as long as you follow the proper steps for painting cabinets, you really don’t need to apply a top coat. Using a high-quality primer and really great paint is often all you need! But sometimes…well, sometimes you need a little more. Our kitchen island was one of those cases. Despite all of my best efforts at properly prepping and painting, it won’t stop chipping. It gets so much use on a daily basis that it makes sense. We’re constantly opening and closing cabinets, banging into it, etc. So today, we’re going to talk about how to seal painted cabinets. And hopefully, get rid of those chips and scratches once and for all!

Painting Your Cabinets
First of all, let’s touch on painted cabinets. This is a hot button topic and one a lot of people are passionate about. I think painted cabinets, in the kitchen or otherwise, are a great idea. I’ve done it a ton of times! It’s a lot of work, but it’s 100% worth it in the end. And even better, this is the first time I’ve ever really had an issue with chipping!
If you want to learn more about how to paint your cabinets, I’ve got a couple of posts that might be of use.
- This blog post will teach you my favorite trick for how to paint cabinets without sanding.
- And this blog post shows you how to paint laminate cabinets.
- Finally, if you want to catch up on when I painted our island (and see the before), this is the post for you.
Choosing a Sealer
Now that you are all caught up on how to paint cabinets, let’s move on to what you need to do if they’re already painted and you’re struggling with some chips.
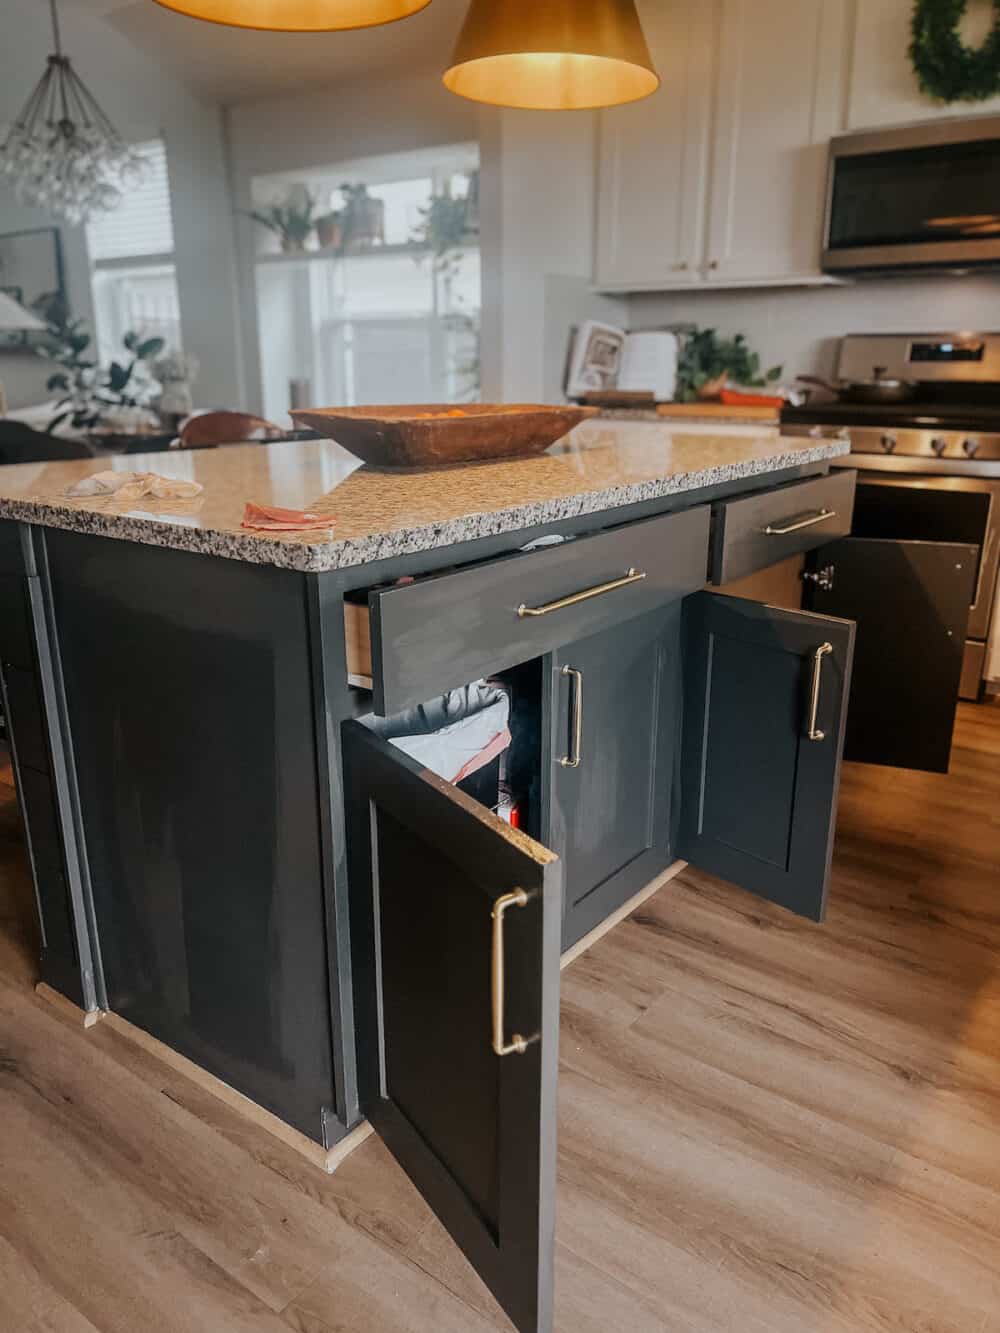
Like I mentioned before, sealing isn’t always a requirement for painted cabinets. In this specific case, the cabinets really tend to chip on the door where we keep our trash can. It gets open and banged around approximately 100 times a day, so it makes sense! The rest of the island has held up pretty well. But, I got tired of dealing with chips on that door, so sealing the entire thing just made sense.
Most polycrylics or polyurethane products would be perfectly fine for this job. The key is to check the directions and make sure that whatever finish you choose is meant to be applied to painted surfaces. Additionally, oil-based sealers have an amber hue to them and can affect your paint color. So, if you’re working with white cabinets be sure to choose a water-based sealer!

To seal our kitchen island, I went with Watco Crystal Clear Laquer. It’s compatible with painted surfaces, really easy to work with, and super durable. This is generally a product that won’t yellow on you, so it should also be a great choice for white cabinets. That being said, I always recommend testing it out on an inconspicuous spot before you commit!
The one thing to note about this product is that it’s incredibly durable, but it is stinky. Open some windows and turn on a fan, because it’ll stink up the whole room for a few hours while it dries. If you prefer to avoid anything too smelly, this polycrylic is a great option that doesn’t have much of a smell at all!
How to Seal Your Cabinets
Now, let’s get into the nitty gritty of how to actually seal the cabinets!
- Start by ensuring your painted cabinets are clean, not chipping, and in good condition. You want to be sure the paint you’re sealing looks great!
- I like to apply my sealer with a high-quality bristle brush. You can use a roller if you prefer, but I like the control a brush gives me. Make sure not to go over your laquer after you’ve applied it. The more you mess with it, the more likely you are to end up with brush strokes!
- Once you’ve applied the first coat of sealer, let it dry for two hours.
- There’s no sanding required for this specific product, so after it has dried for two hours you’re ready for your next coat!
- At least three coats are recommended, with two hours of dry-time in-between. If you ever let it dry for more than 6 hours, you should go ahead and lightly sand before applying the next coat to avoid brush strokes.
- Once you’ve applied all of your coats, let it dry for 24 hours before using the cabinets again (I just left all of our doors open). Then, be gentle with it for about a week while the sealer cures.
Spraying Kitchen Cabinets
If you’d prefer to spray the sealer on your cabinets, that’s an option too! It requires a little more prep work upfront, but it’s certainly a much faster way to seal painted cabinets.
Sealing painted cabinets with a paint sprayer is basically exactly the same process as above. You’ll just use a sprayer instead! Click here to learn all about how to use a paint sprayer.
The Finished Product
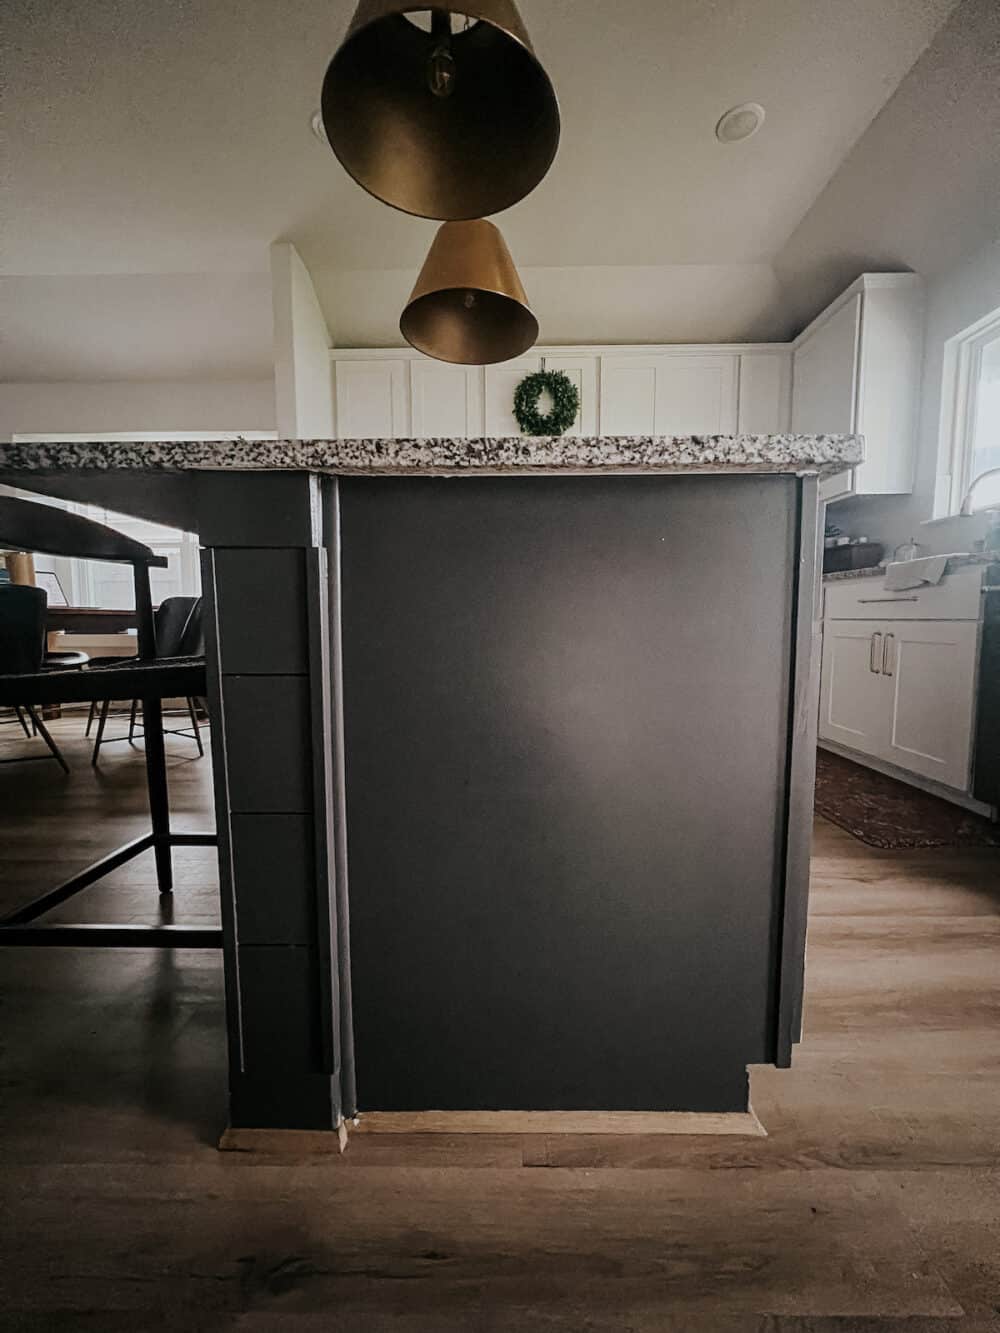
And that’s it! That’s how you seal painted cabinets in your home quickly and easily. From touching up the paint to being totally done sealing, it took me about one full day while the kids were at school. It was tedious, but most of the time was just spent waiting in-between coats of sealer!
I’m so happy to have this done and actually did it a few weeks back because I wanted to live with it a bit before sharing the process with you. I can say that several weeks in things are holding up really well. I’m hopeful that this will put an end to my constant need to be touching up our painted kitchen island!
If you do have touch ups to address, this is my favorite way to deal with them!
It feels so good to have this big item crossed off my to do list, and I’m feeling inspired to get a few more things tackled. We’ve got a lingering list of random repairs that need to be done around the house and I think it’s time to finally buckle down and get ’em all done.