
How to Install FloorPops Tiles: My $100 Tile Makeover
Curious about how to cover your ugly tile without breaking the bank? Today, I’m sharing how I completely transformed my bathroom floor for just $100 with some FloorPops x Chris Loves Julia peel and stick tile!
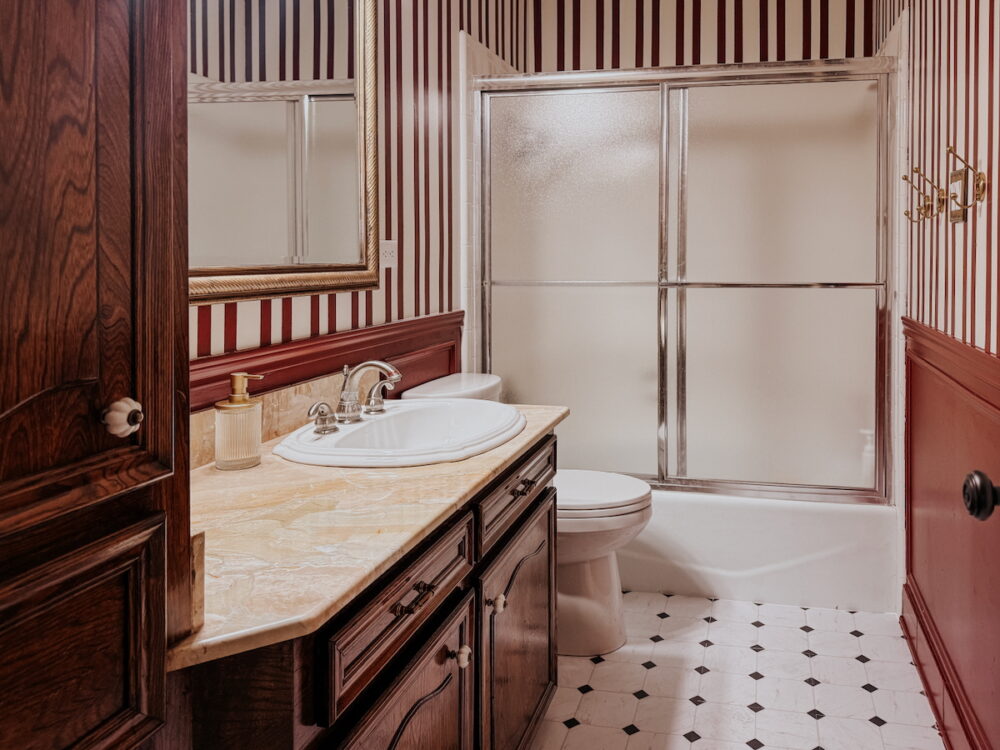
When I started working on my super budget-friendly bathroom makeover, I knew that I’d have to figure out a solution for the floors. I was going to be pouring a lot of effort into making this space look different, I didn’t want to leave a floor that clashed with the rest of the room.
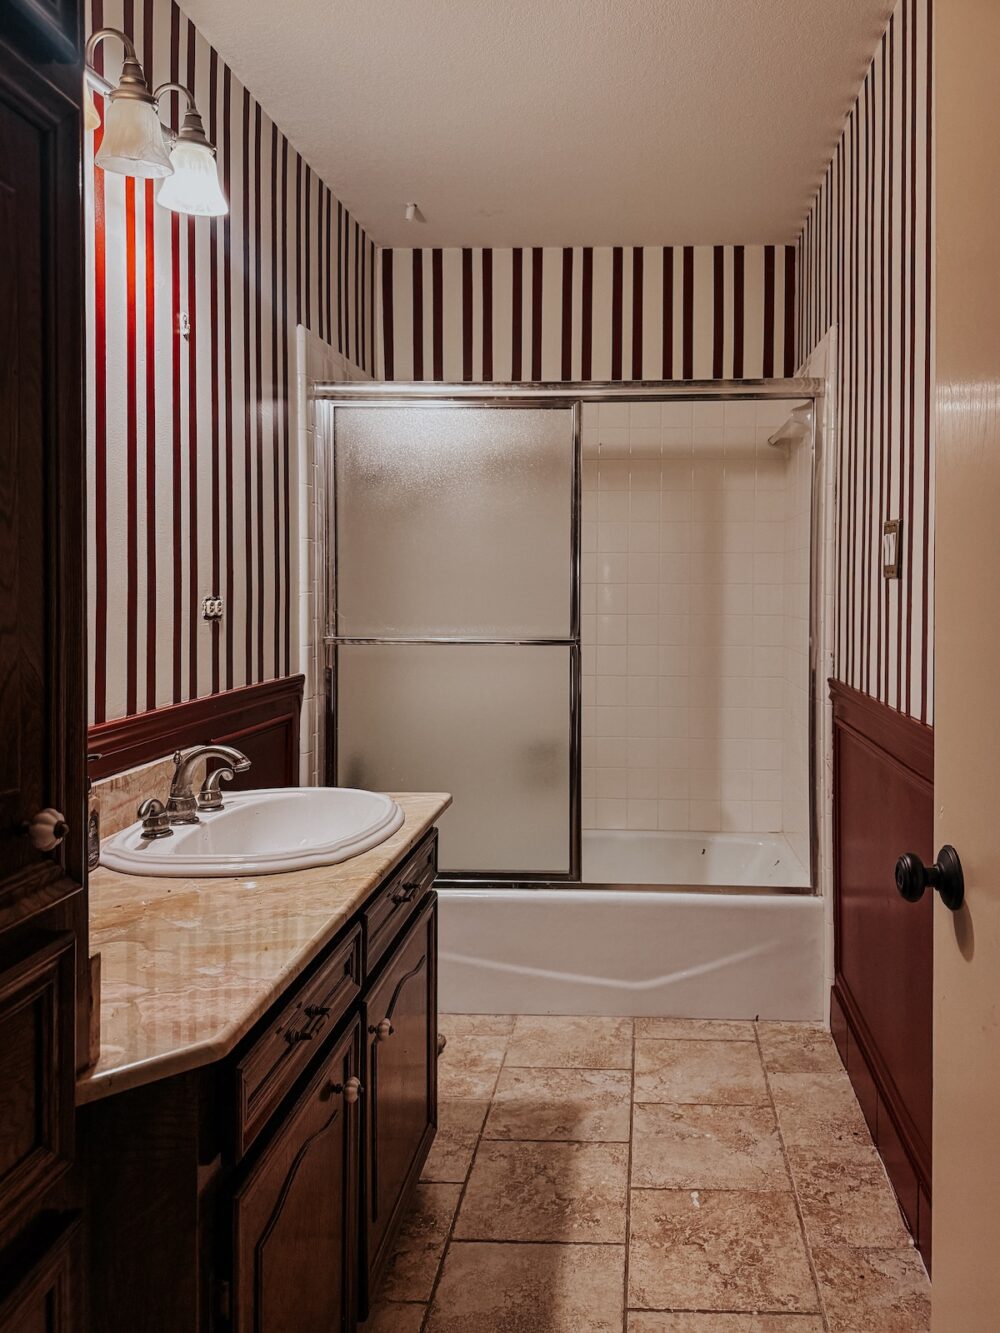
When it comes to dealing with ugly tiles, you generally have three options. You can rip it up and replace it, you can paint it, or you can lay something on top of it. Ripping the tile out was much larger of a project than I wanted to tackle. I’ve painted tile flooring before and that’s a great (and super affordable!) option, but I wanted to try something different this time. Right at the same time as I was researching, FloorPops released their new Chris Loves Julia collab and their Cricket product line was exactly what I wanted for this bathroom.
I put in an order the day it released, and it was a whopping $96 (including shipping!) to get enough tile for the whole bathroom. I saved it for the last major project in here and oh my goodness did it ever bring it all together.
How to Install FloorPop x Chris Loves Julia Peel and Stick Floor Tiles
You’ll Need:
- KrudKutter cleaner
- FloorPop tiles (I used 4 boxes for my bathroom!)
- A straight edge tool
- Utility knife
- Shoe molding (optional)
- Nail gun (optional)
- Caulk (optional)
How to Prep the Floor for Peel & Stick Tile
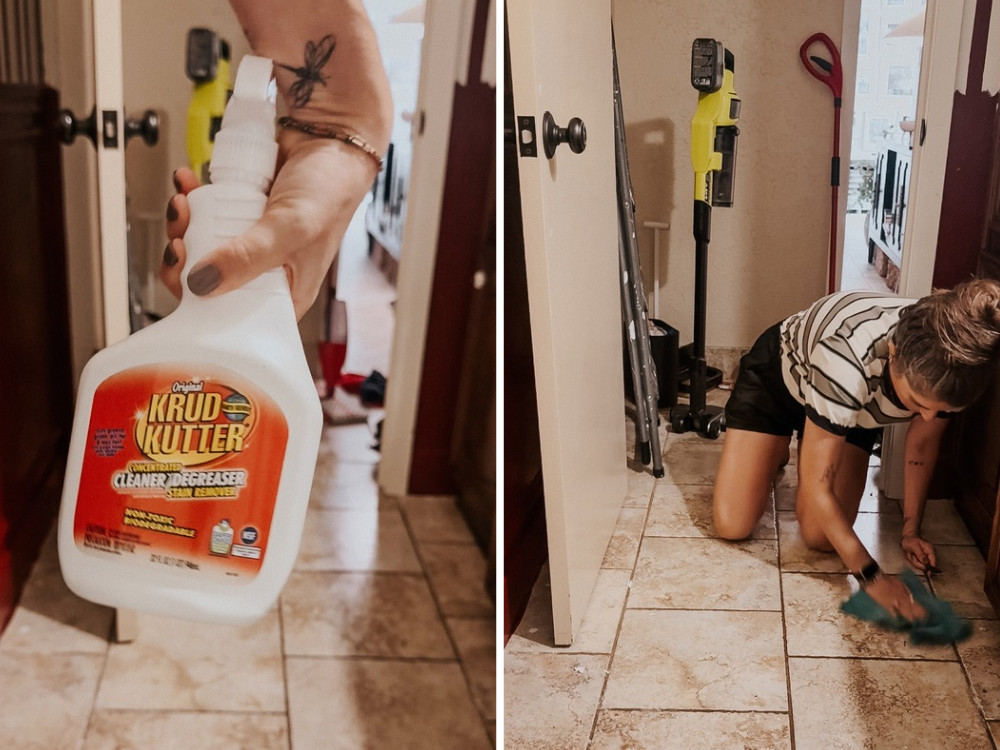
Your first (and, as always, most important) step is going to be to clean the floor. As with any project like this, the prep work is the most annoying part but also completely vital. The flooring will not properly adhere if you don’t clean the base layer really, really well. So, take your time!
I recommend starting by vacuuming and mopping the floor, then scrubbing with Krud Kutter. This will help remove any remaining scum or debris and will get it super clean. Mop one more time and then let it fully dry before you start to lay the floors.
Tips for Laying the First Tile
Once your floor is clean and dry, the next phase is to plan out and lay your first tile. This is another really important step, because if that first tile isn’t laid completely straight, it’ll throw off the rest of the pattern.
Here’s what I recommend doing during this step:
- Without removing the backing, lay out a full row of tiles across the floor to see how it will hit the walls. For example, if you start with a full tile, will you end with a really tiny sliver? You can also measure the room and divide by the width of the tiles for this, but I find it’s easier to just visualize it by laying them out! Decide if you want to start with a full tile or a partial tile (if a full tile will end with a tiny sliver, I recommend cutting your first tile in half).
- Decide where you want to start, measure the length of one tile away from the wall, and draw a straight line on the floor all the way across. This will be the line you use to line your tile up on instead of using the wall. Walls are almost never actually straight, so if you follow the wall it will make it more difficult for you later.
- Once you’ve got the line drawn on your floor, line up the first tile with the line you drew, peel off the backing, and place the tile.
Once you’ve got that first tile laid, the rest is easy!
Laying the Remaining Tiles
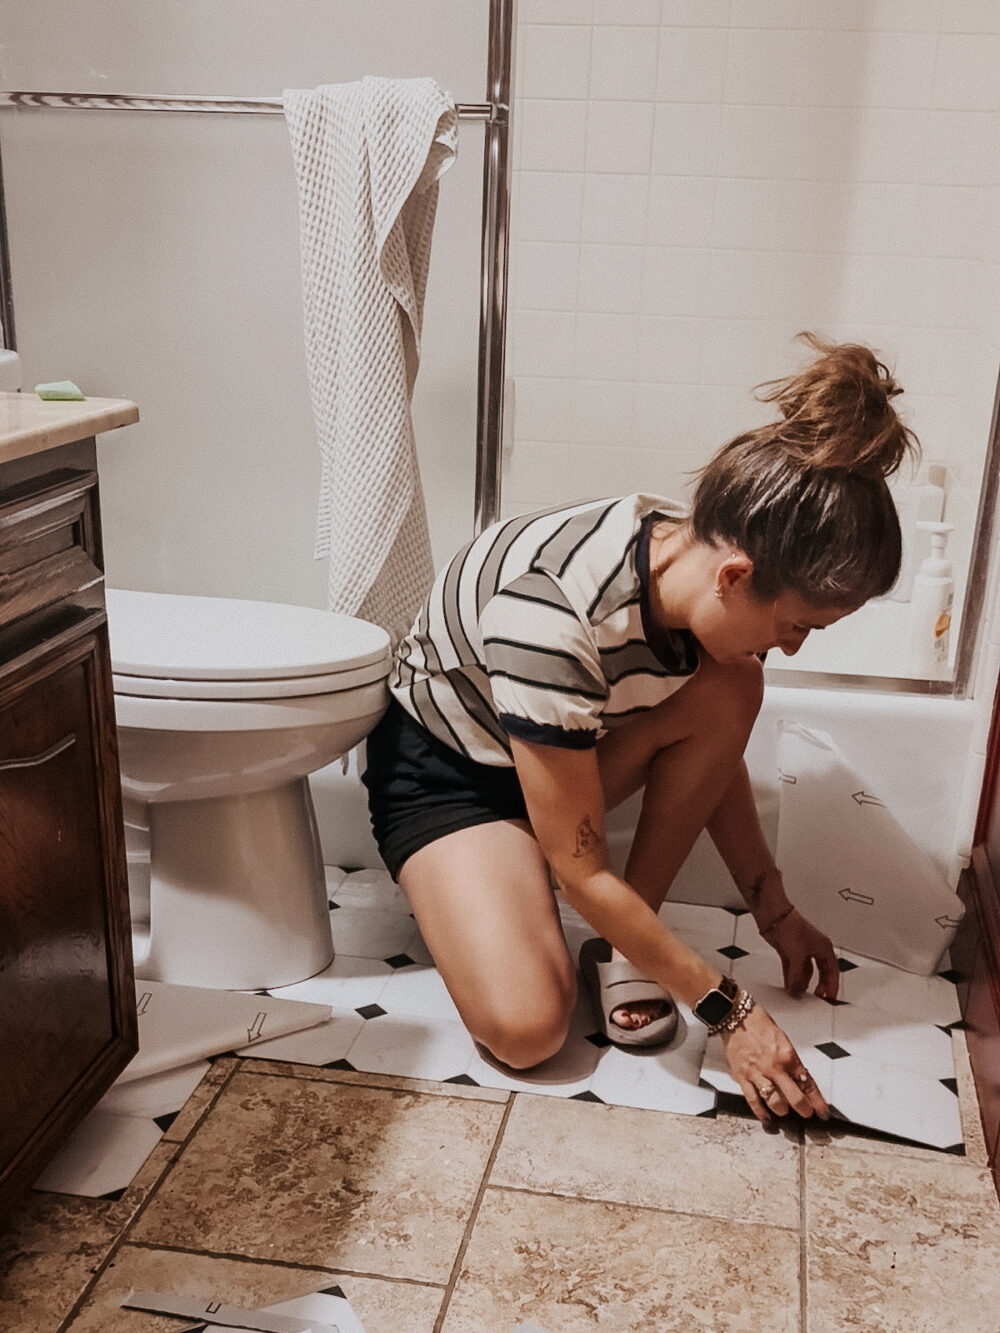
Continue to work across the room, peeling off the backing and laying your tiles carefully. Press down all around the tile to make sure it sticks! I had a few tiles that I needed to place a couple of heavy books on to help the adhesive have a second to work. It can be helpful to use your body weight to press down on the tiles as you work to help them fully adhere.
Once you reach the end of a row, you’ll need to measure and cut the tile. You can use a straight edge tool and a utility knife to score the tile, then bend it to snap the excess off. You can also use sharp scissors for more intricate cuts! Continue working until the entirety of your floor is installed.
Adding the Finishing Details
If you’d like, you can install shoe molding around the room to help hide any rough edges. My walls were far from straight, so this was a really helpful way for me to conceal some less-than-perfect edges. Simply nail them directly into the baseboards or, if you have tile baseboards like me, you can use a silicone adhesive to glue them on!
This is a totally optional step, but I found that it really helped the space feel more polished and professional-looking!
The Before and After + My Honest Thoughts
And that brings us to the final result! Here’s a look at the side-by-side comparison of how this bathroom looked before and after installing the FloorPops tiles.
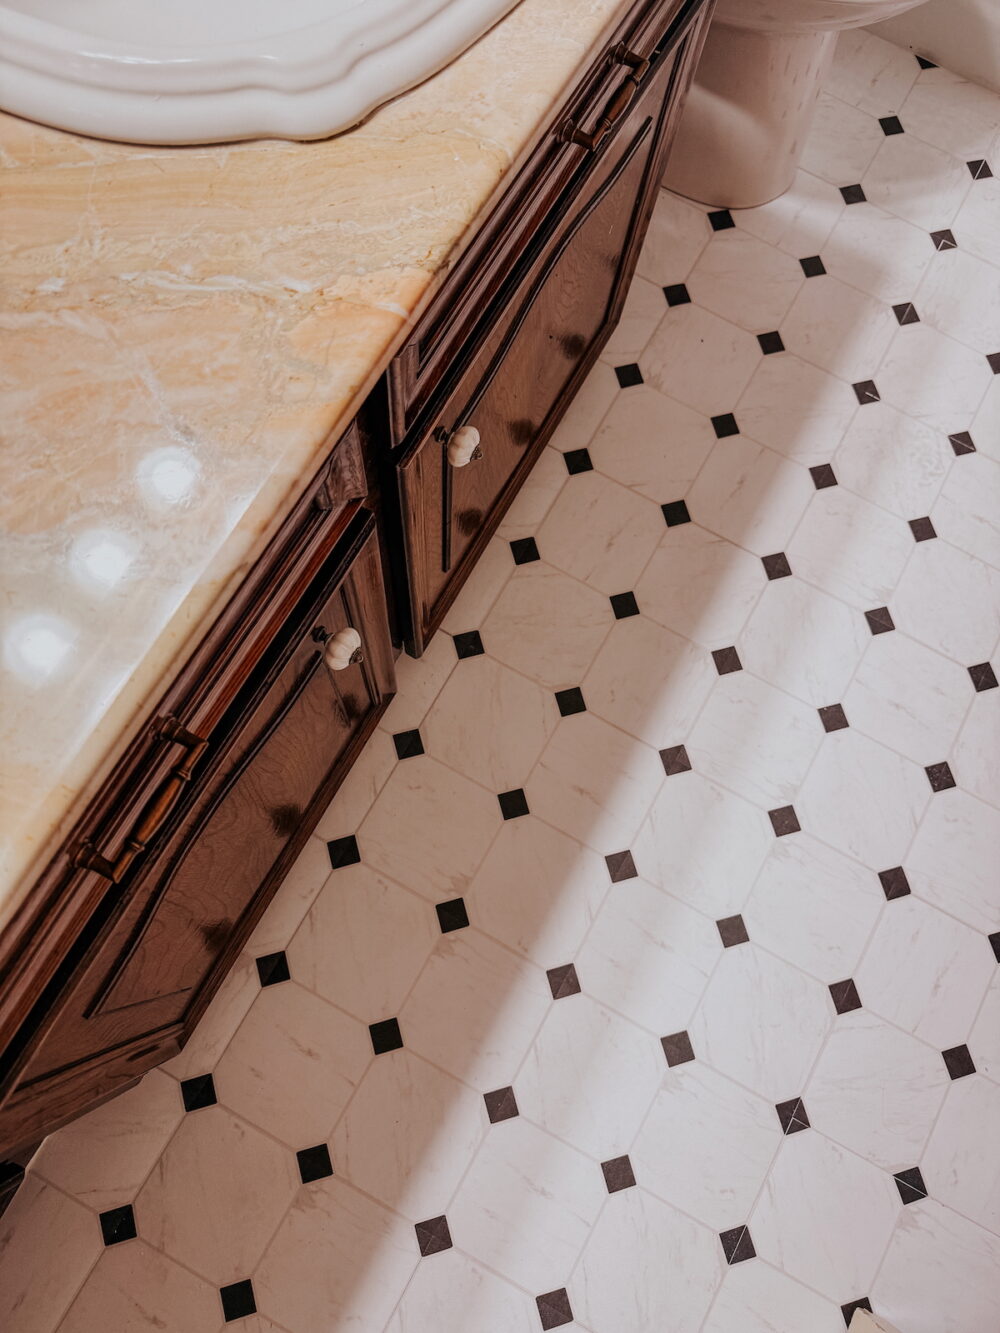
I’ve had this floor installed for just over a month now, and so far it’s holding up great! I had a few tiles that didn’t seem to want to stick at first (they were a little popped up in the middle), but I placed a couple of heavy books on them for a few hours and the adhesive grabbed right on. Only time will tell how it holds up in the long run, but so far I’m really pleased with how simple this was!
Would I Do It Again?
So far, the answer is a resounding yes! These tiles were really easy to install and they completely transformed the space. I was a bit disappointed in how hard I had to work to get some of the tiles to adhere – the adhesive wasn’t quite as strong as I prefer for peel and stick tile. But, once it had a bit of time to settle, we haven’t had any issues. If you’re working on a wood or concrete subfloor, you can add this peel and stick tile primer to help it adhere better!
I’m most interested to see how the tiles hold up around the toilet and bathtub. We have two boys who aren’t always super neat using the bathroom, and I’ve heard of people having issues with moisture on these peel and stick tiles. My hope is that as long as I stay on top of keeping the floor clean (which I generally do!), we’ll be fine. But, you know I’ll update this post if I find that they don’t hold up well!
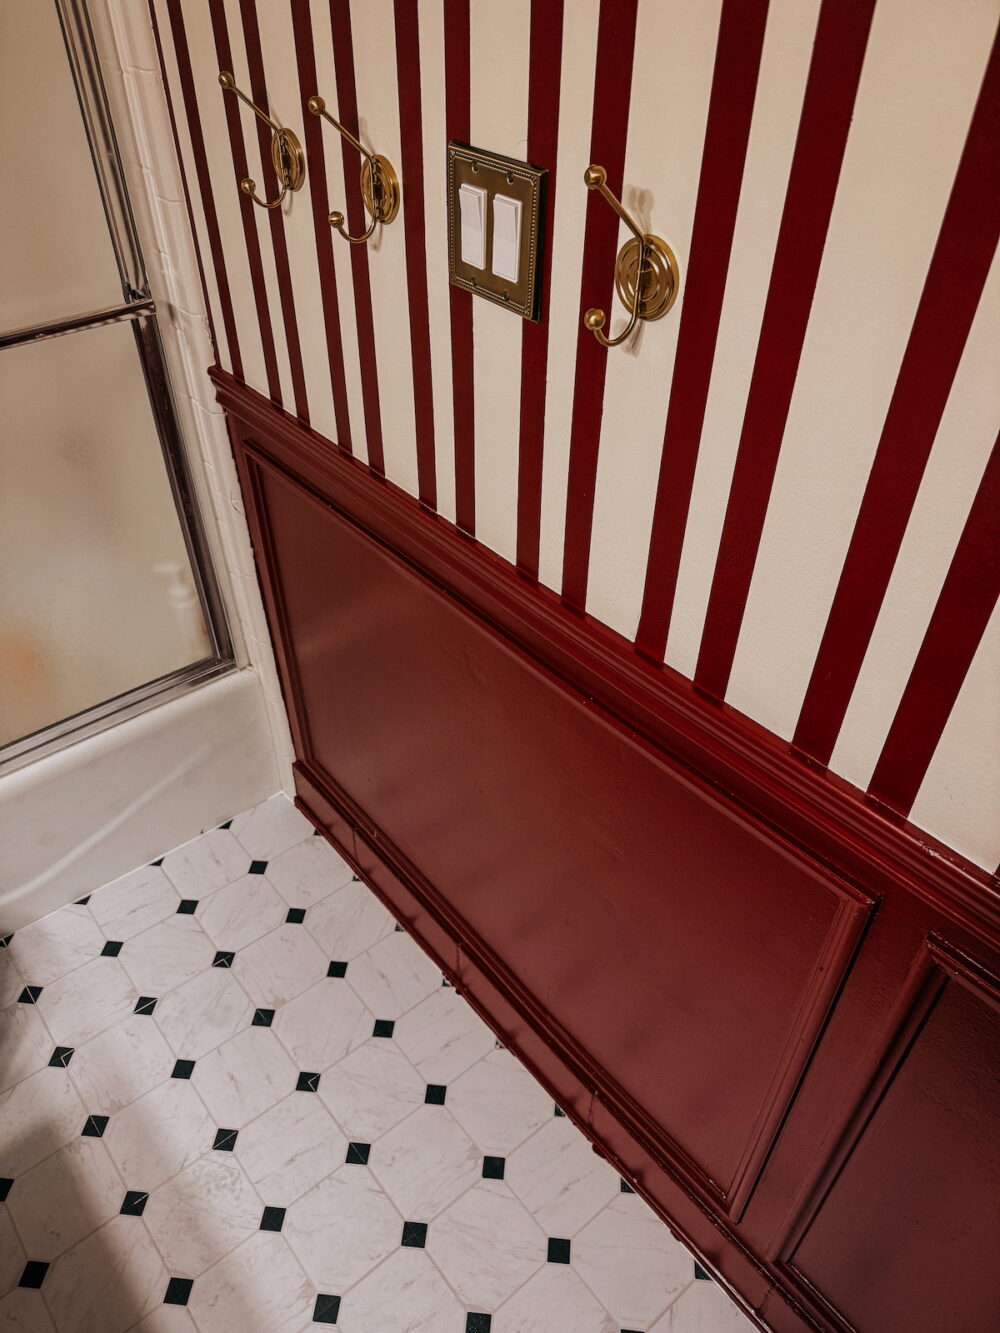
With this part of the project done, all that’s left are some finishing touches! Stay tuned for the big reveal of the FULL bathroom makeover, along with a full budget breakdown.