
Installing Brass Light Switches in the Entry
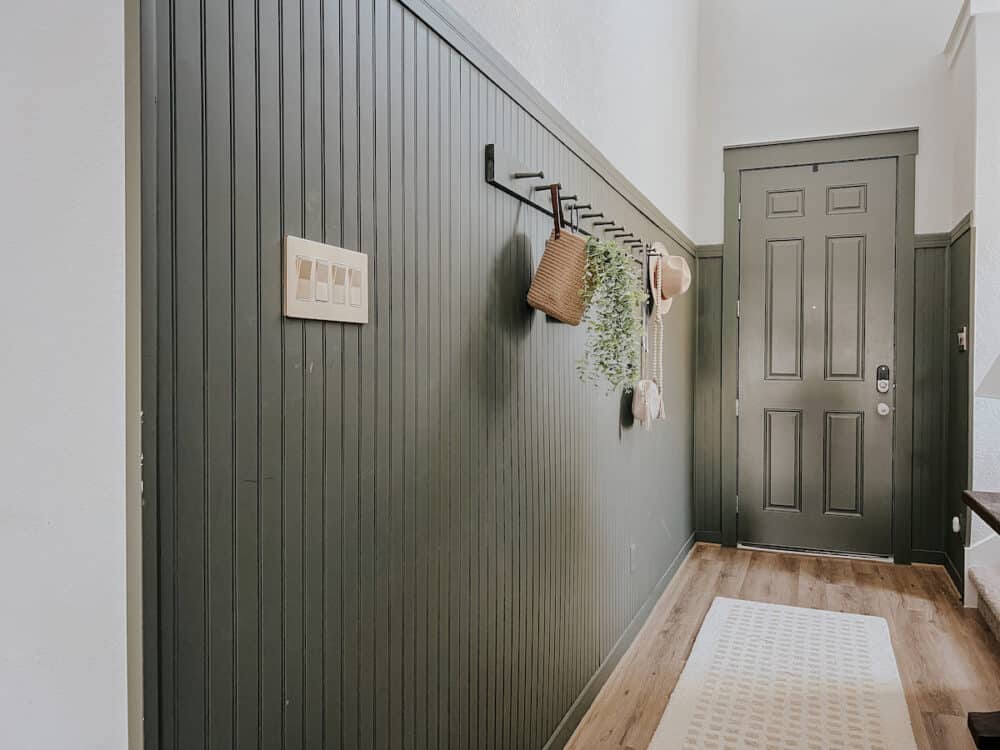
Over the last few months, I’ve been taking some small, intentional steps towards making our entry feel a little more complete. We gave it a makeover shortly after moving in, but after living with it for a while it felt like it needed some tweaking. I’ve been making some changes (I’ll link them all in a minute!), and the latest was swapping out the light switches for brass light switches. It’s a teeny-tiny detail that makes all the difference.
First up, here’s a look back at what’s happened so far to make this entry shine.
- I painted the baseboards and front door (a small project, but a major change!)
- Swapped out the wallpaper for something a little quieter
- Added a new runner
- Hung a long peg rail on the empty wall
- And I changed the powder room door knob for something that feels special
These little projects have all made the biggest difference, and I’m really thrilled with how things are looking. But, I still have some small changes I want to make…starting with some new brass switches!
choosing brass light switches
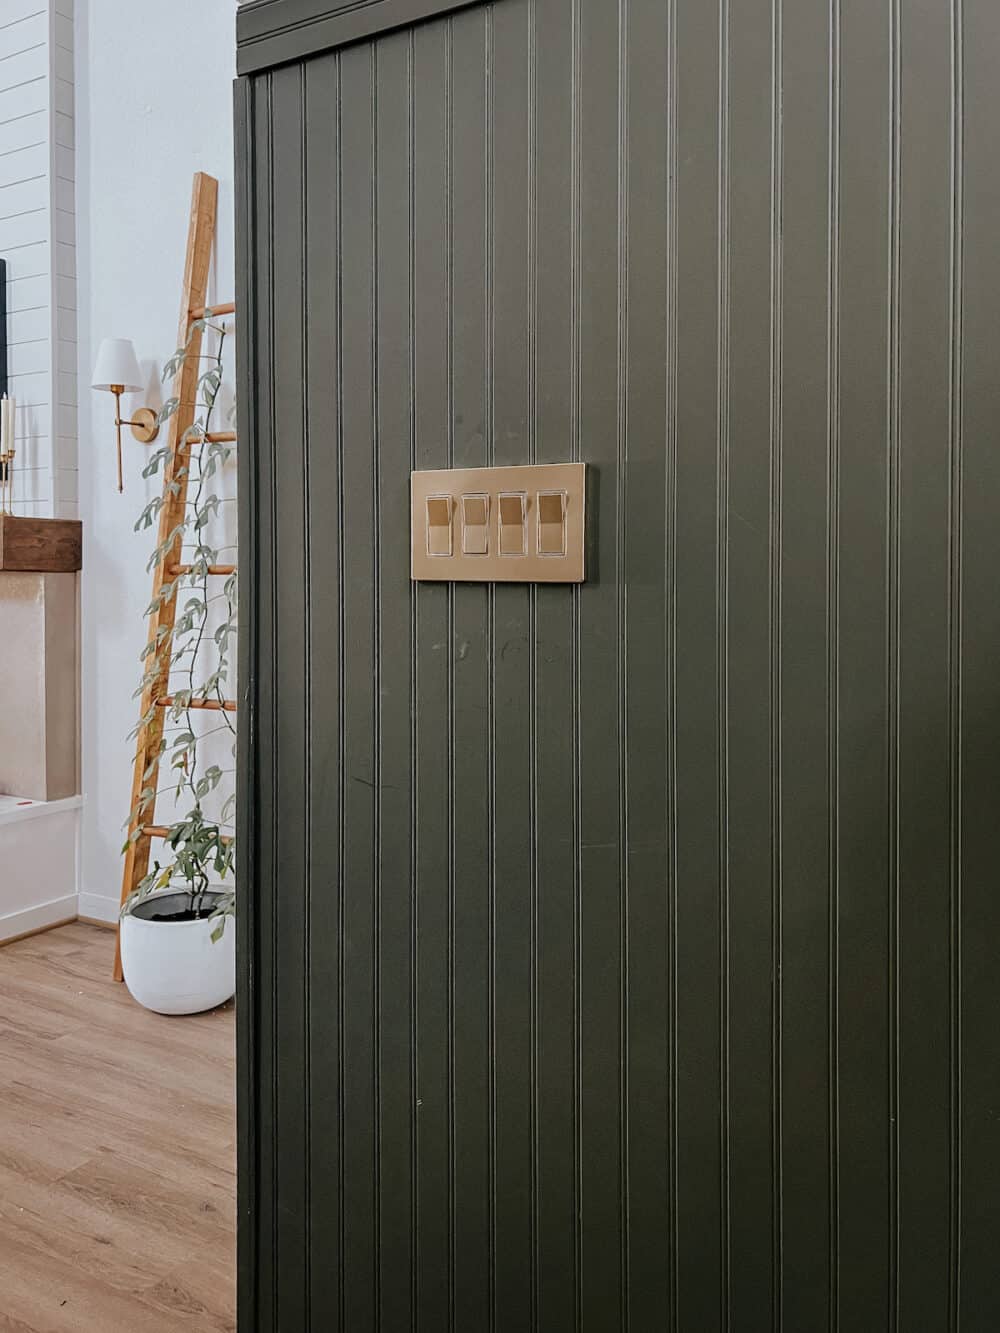
The first thing I’ll note is that it can be tricky to find the right brass light switches. If you’re just swapping the plate out, you can choose whatever you like and run with it. But, I wanted to swap the plate and the switches. The key here is finding a brass light plate and brass light switches from the same brand so that the gold color matches!
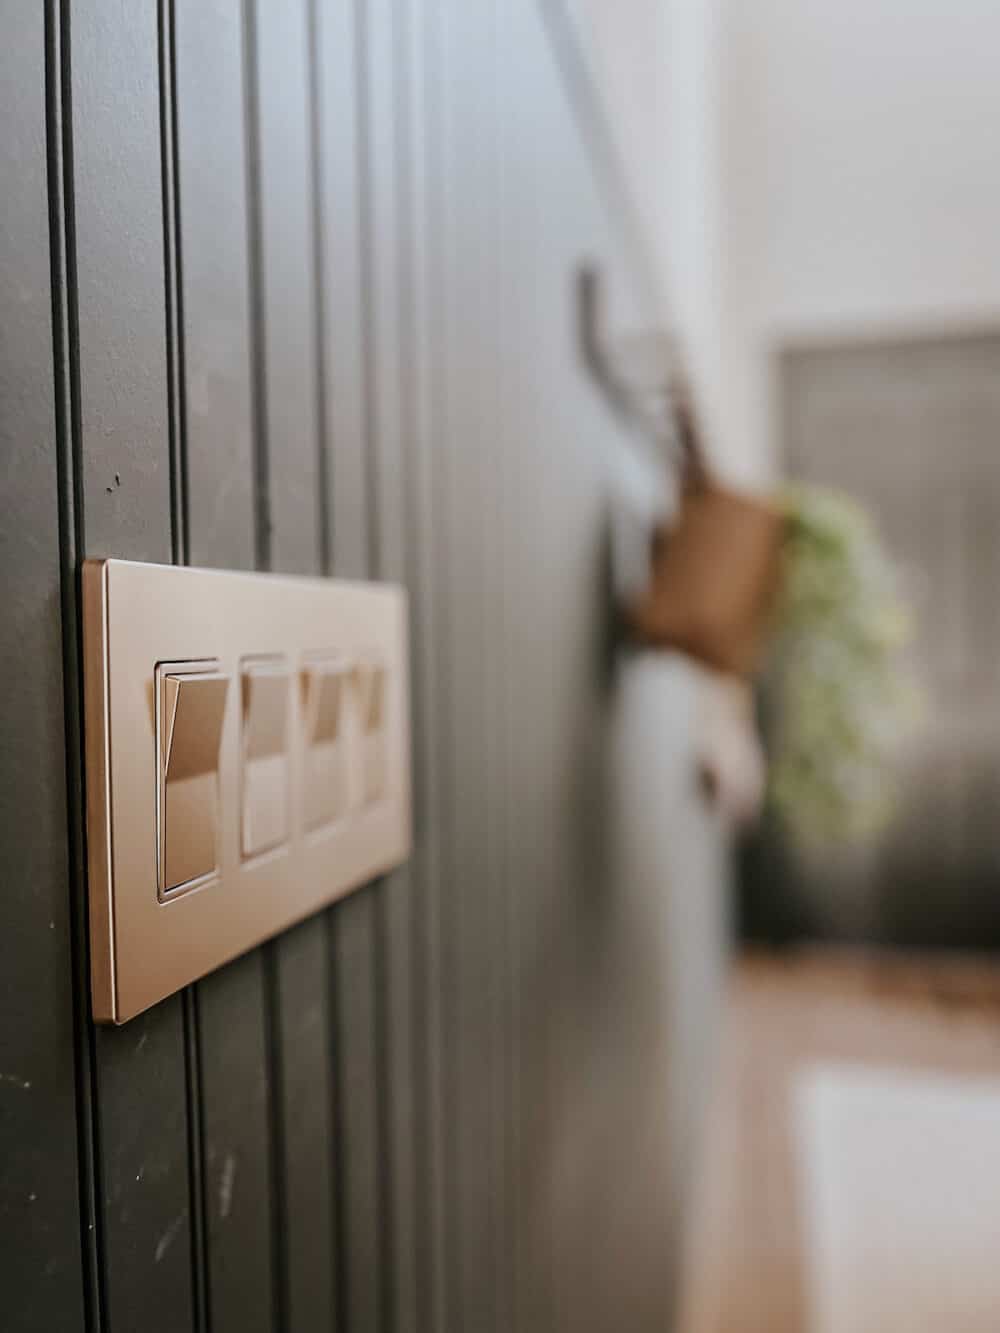
I did a ton of searching to find something that was simple and streamlined, was a flat rocker switch (versus the toggle switches), and had matching plates and switches. I landed on these brass light switches and these screwless wall plates, both from ENERLITES. The color of the brass is great, and I like that they have a ton of variations of plate sizes, so when I swap out other switches throughout the house, they’ll all match!
installing light switches
I always get a tad nervous going into a lot of detail on electrical stuff here on the blog, because I am by no means a pro! But, swapping out light switches is a pretty simple job. If I’m comfortable doing it, anyone can do it!
I won’t go into the full details here. Check this blog post from a reputable source if you need a tutorial! But, here’s a verrrry brief overview. The first step is to flip the breaker to make sure no electricity is running to the switch. Then, just open things up and take a look. You’ll notice some differently colored wires attached to the wiring in your house. Just take note of what colors match up, and make sure that you match them up when you’re installing your new switches!
It’s a bit of a tedious job, and I had a grand total of eight switches to replace. So, it took some time. But, in the end it was totally worth the effort. These little details add up to a really impactful change. I love how the new switches and switch plates look!
Another thing I’ll note is that you can also swap out the sockets and electrical outlet plates for brass if you’d like. Electrical outlets are just as easy to swap as light switches are! In our entry, though, we’ve got these paintable outlet covers to help the outlets blend in with the paneling. They’re my favorite way to go on most spaces!
what’s left?
I’m quickly reaching the end of my (current) list of things I’d like to do in here. I still want to swap out the family photos on our staircase for a gallery wall with more photos, and I think I’ll eventually change out the entry table for something with a bit more storage. But, in terms of the smaller, detailed projects – this was it for now!
I love the new brass light switches, and I think that over time you’ll probably see us switching more and more of the switches in our house for this! We’ve already got them in Grant’s room and in the powder room, so this isn’t our first go-round.
Light switches are one of those tiny little details in a home that you don’t realize can be so impactful. Taking the time to think about works best for your space and how to make them blend in (or stand out, if that’s what you want!), can make a huge difference!