DIY Console Table for the Entry
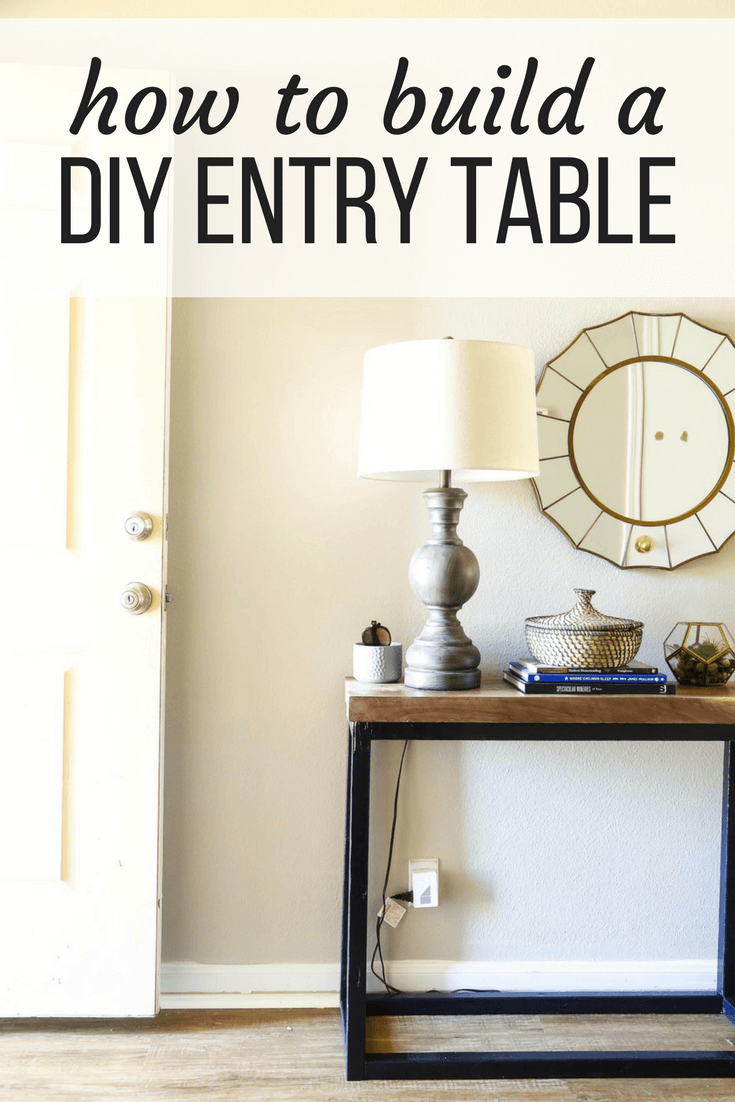
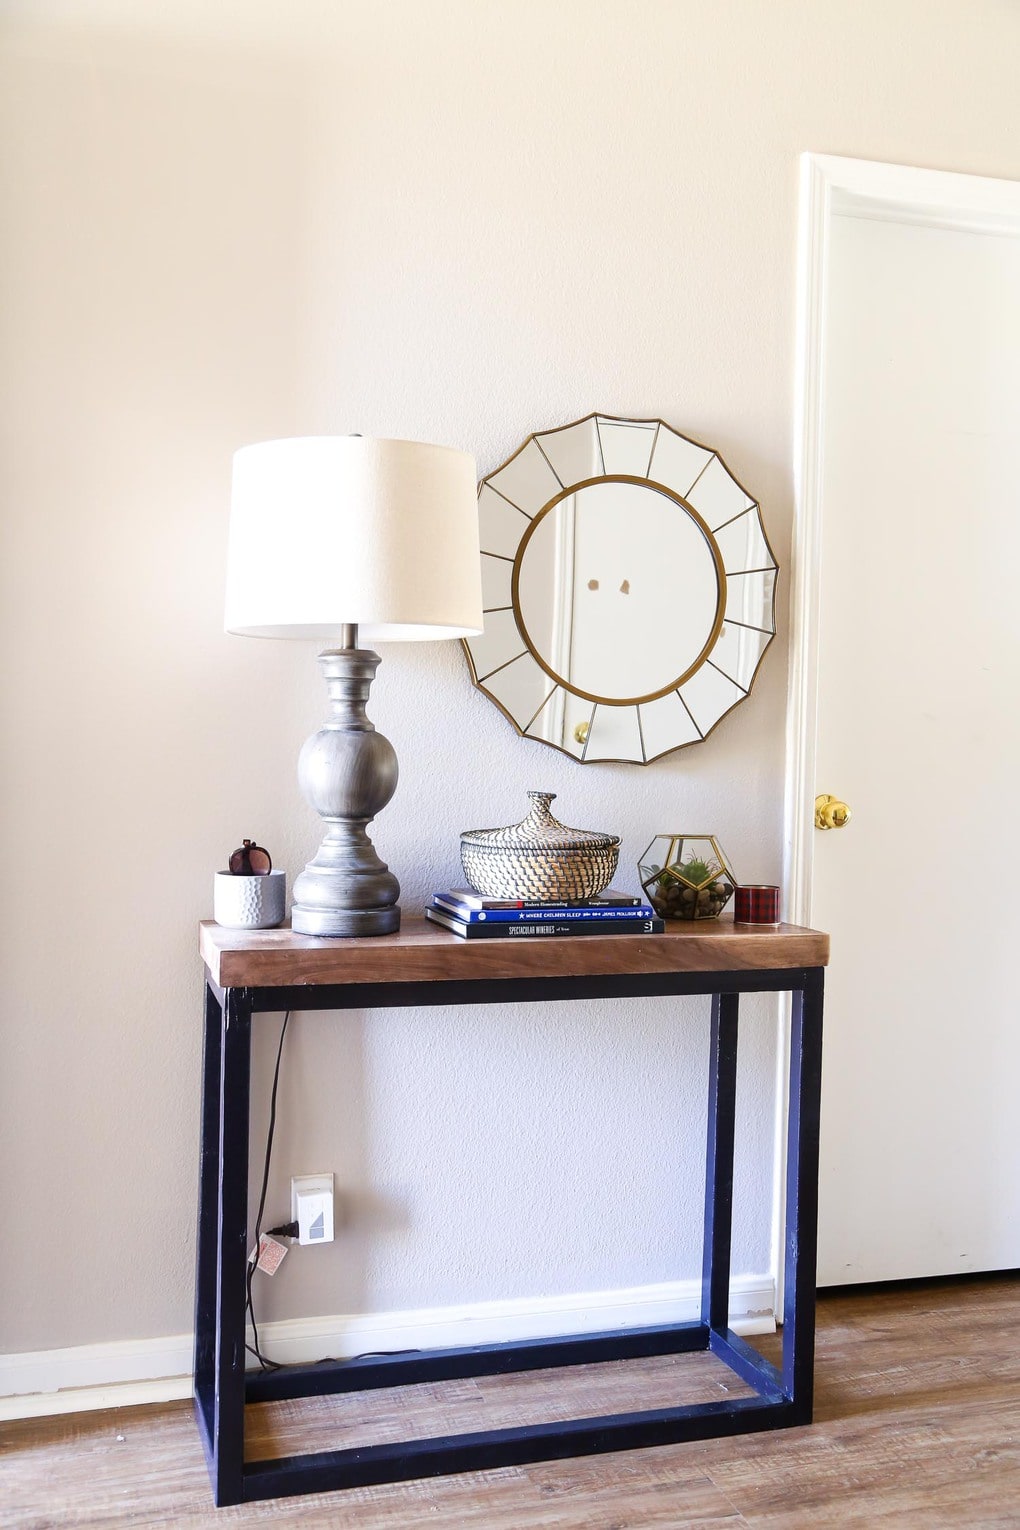
We recently wrapped up a DIY console table for our front entry and the finished product is so gorgeous – and easy to build! If you need a easy DIY entry table idea, this post is perfect for you!
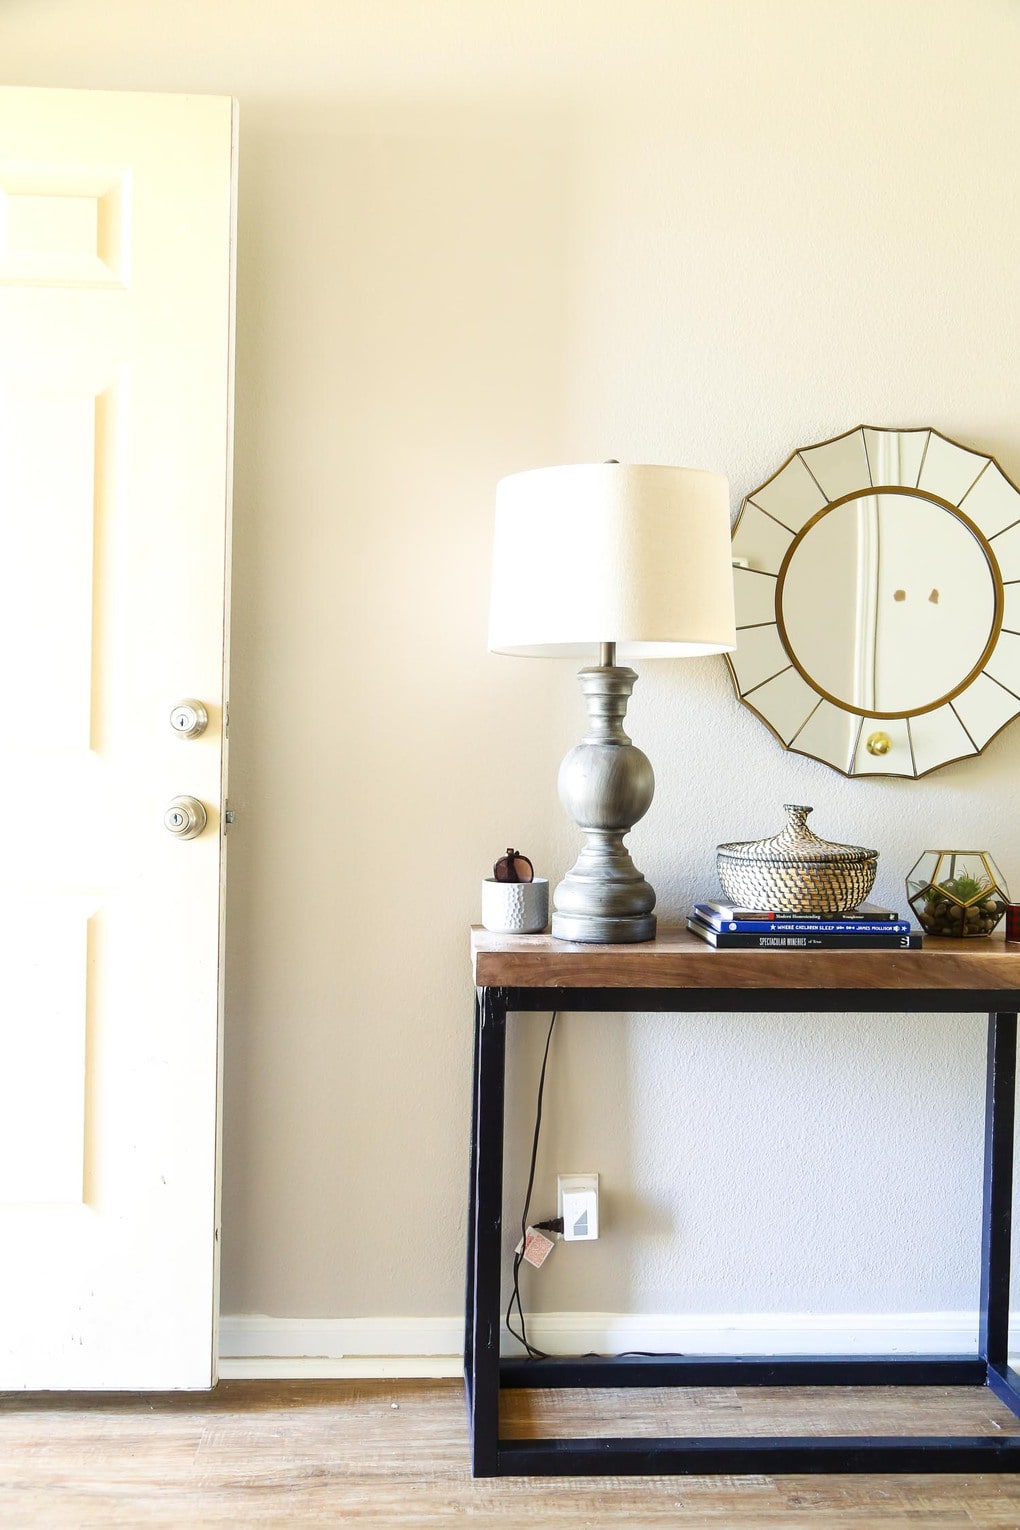
One thing I always lamented not having in our old house was an actual entryway. I’ve always dreamed of a sprawling entry with hooks and a bench and a cozy feel that says “hey, you’re home!” But, instead, we had a front door that opened up to a looming staircase right in your face and the living room was right next to that. So, I set aside my dreams of an actual entry for another house.
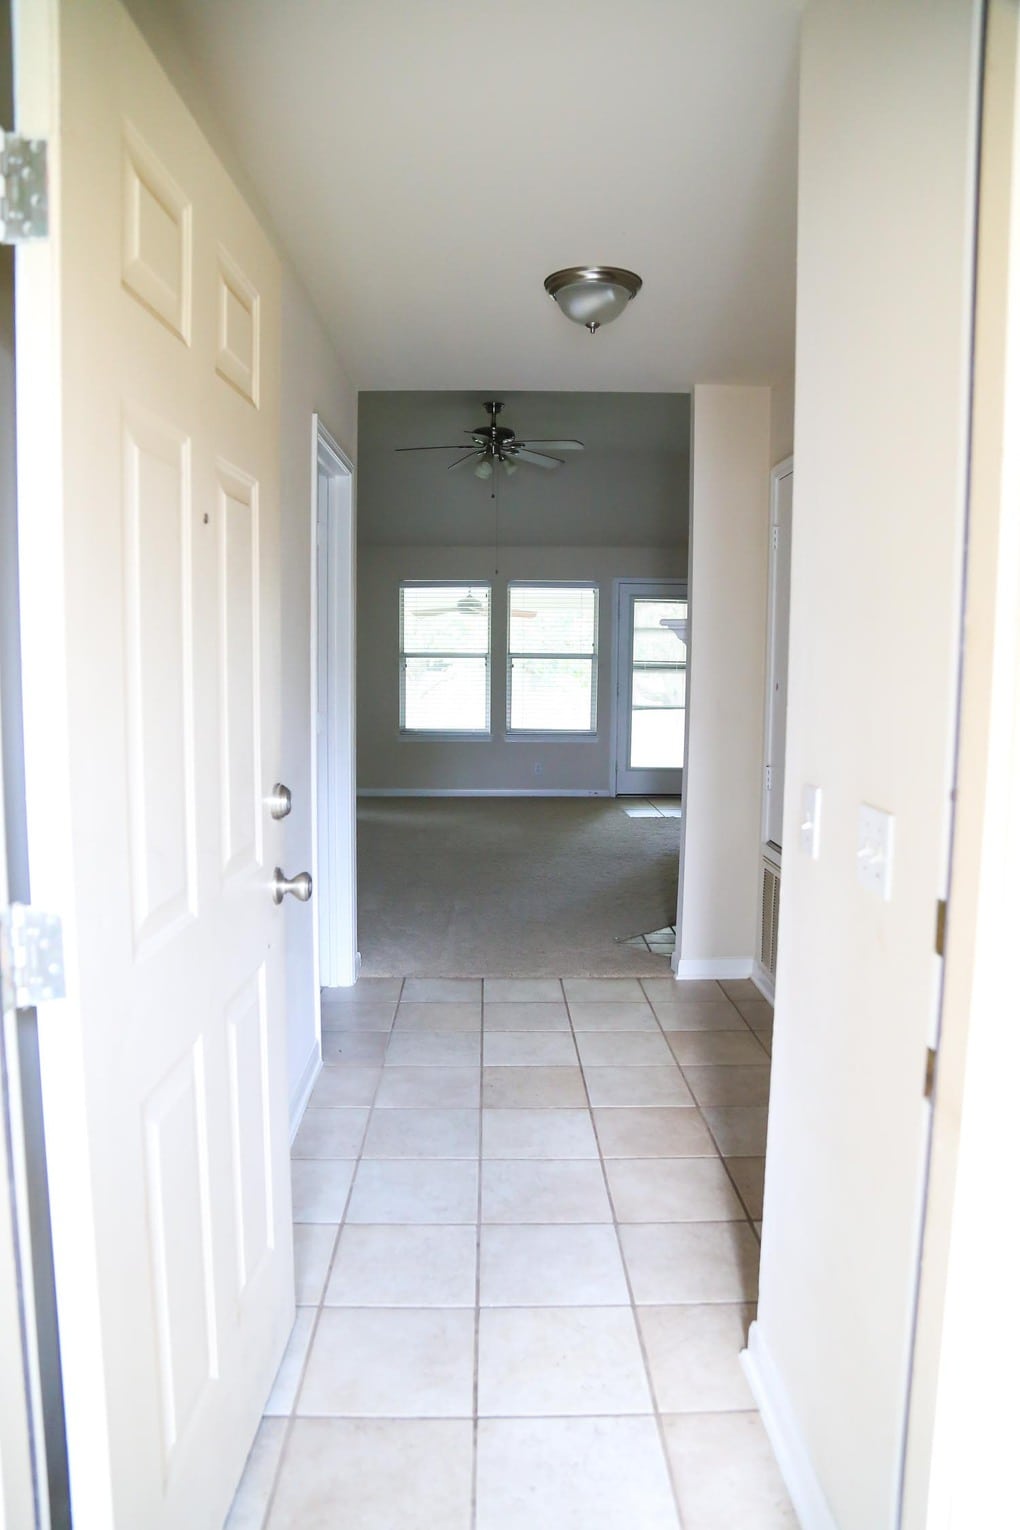
Well, in this house I still can’t say I have a formal entry but I can say that I have much more to work with than I ever have before! If you’ll remember from when we first talked about our new house, we have a small hallway that greets you when you first walk in the room and, while small is definitely the word to emphasize here, at least it’s something, right?!
That space has sat empty since we moved into this house back in November, but I’ve been talking about building a DIY console table for it for quite a while now. I wanted something modern and simple that would give us a spot to toss our keys when we walk in the door but would also feel cozy and welcoming.
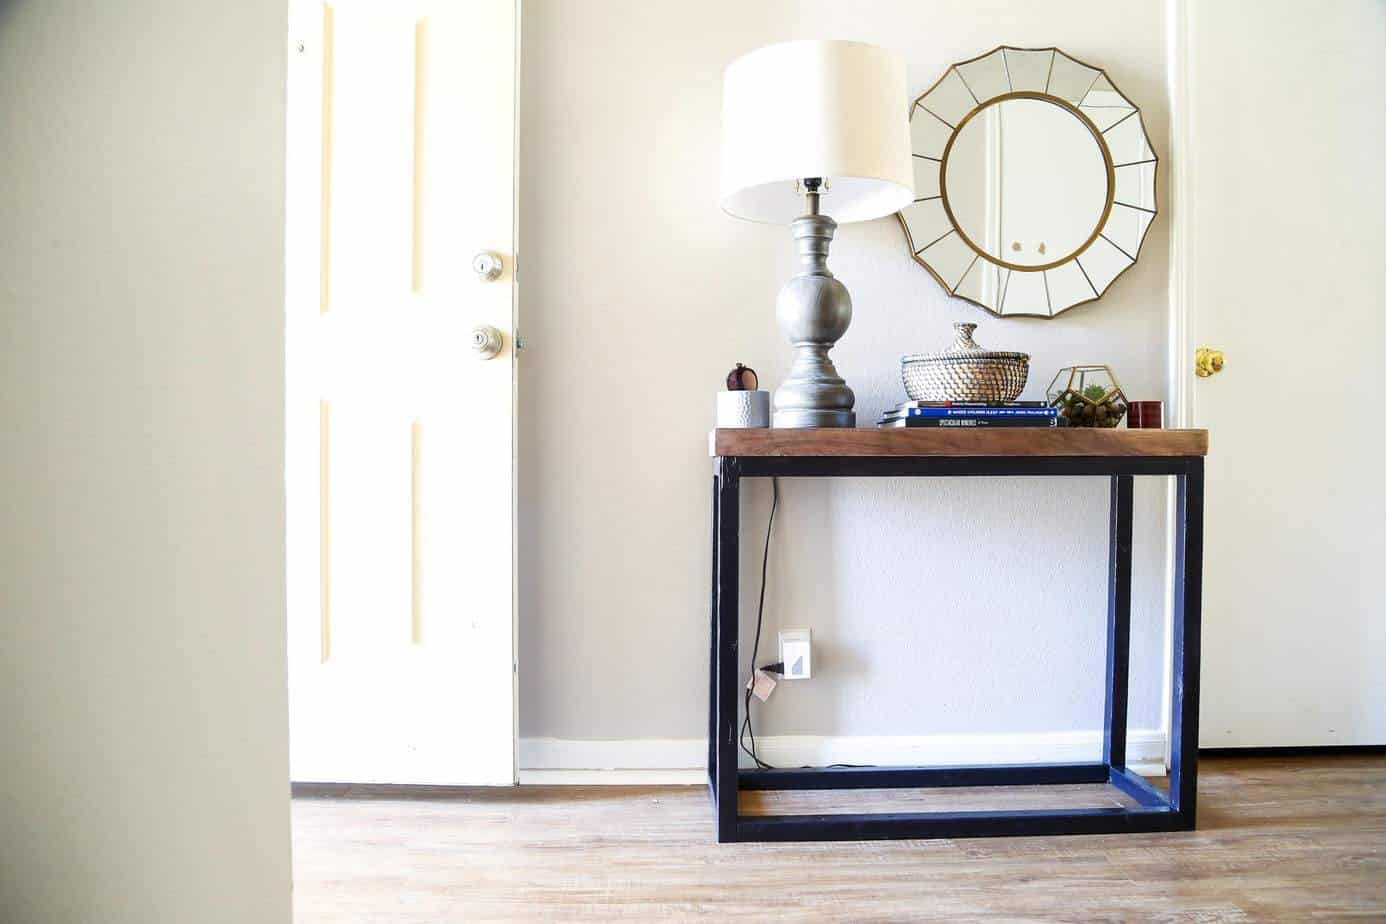
It took us a little longer than we anticipated to get it done, but if you follow me on Instagram then you’ll know that the DIY console table is complete and I’m in love.
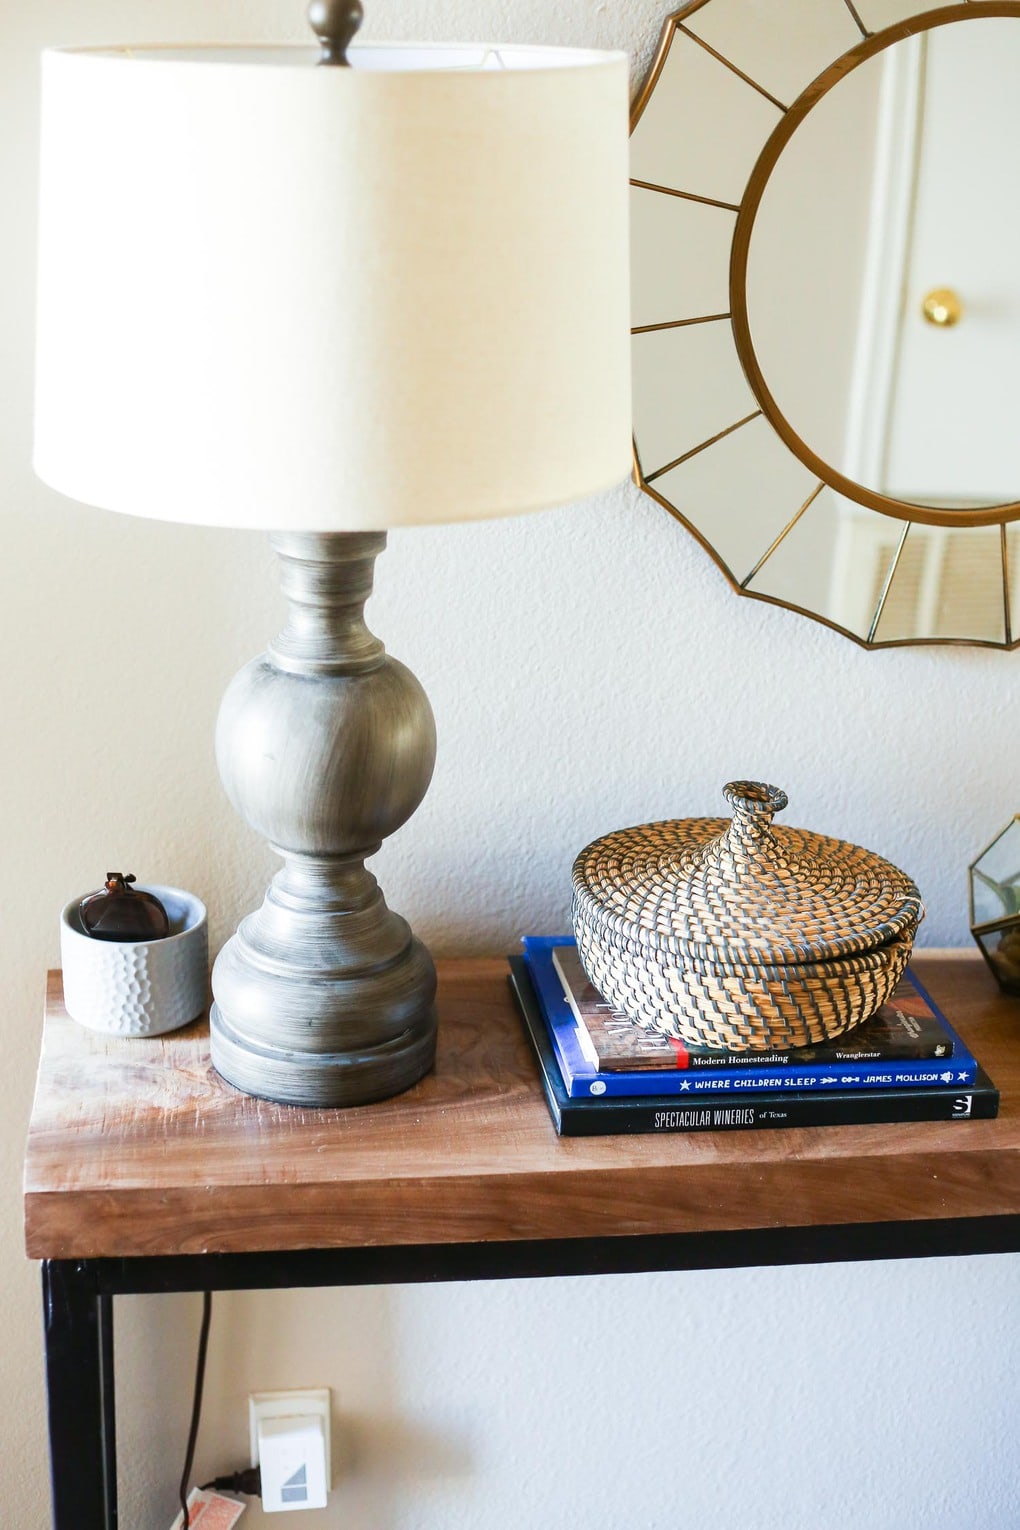
I feel obligated to point out the fact that the mirror above the console in these photos likely won’t stay – in order to look like it “flows” with the table we had to hang it very low, but it’s not actually functional at this height. We’re still playing around with other options, and we still need to hide the lamp cord (and replace the lamp, because it’s broken) among other things, so this space is still very much a work in progress.
But we built a pretty table!
I wanted to share this little in-between phase of our entry because sometimes I personally feel frustrated when it feels like bloggers are able to take a room from empty to complete in just one blog post. Theoretically, I know that there’s a lot that goes into the behind-the-scenes where they tweak and adjust and make mistakes – but when those in-between times don’t ever get shown I start to feel like maybe I’m failing if I do have some awkward in-between phases. I know I can’t be alone in feeling this way so I’m working on sharing more of the messy stuff around here. The art doesn’t always work and the cords sometimes look silly and there are still a million things on the “to do” list for this little space – but we’ve checked one thing off and that’s worth celebrating!
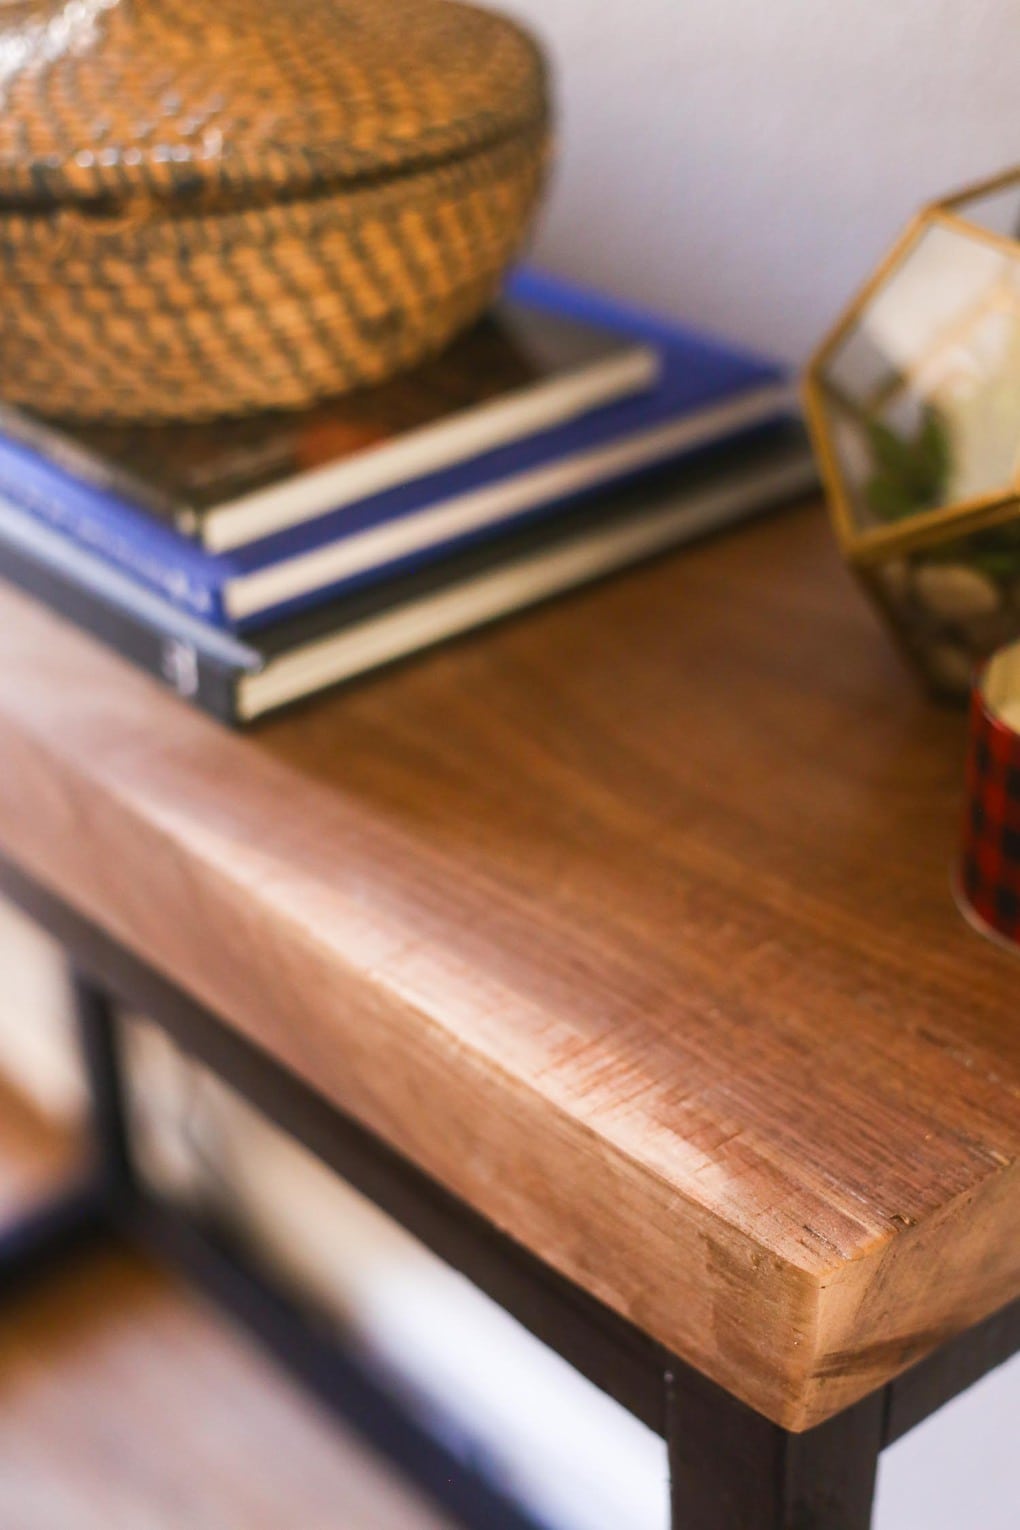
My original intention was to build this table totally by myself, but Corey ended up being available to help out with it quite a bit, which was perfect because we would never have ended up with this gorgeous walnut slab for the top if it wasn’t for him. And, let’s be real, this table wouldn’t be half as gorgeous without that top.
I got a few questions on Instagram when I shared the table about how we get these gorgeous chunks of wood (like for this and for our DIY mantel from the old house). It’s part luck and part knowing where to shop. The wood from the mantel we actually got because Corey noticed some oak trees being cut down near his office and asked if he could have the wood. They gave it to him for free, and we still have probably half a tree’s worth of wood sitting on the side of our house just waiting for us to decide what to do with it. But, this slab of wood involved a lot less luck – just a little shopping!
When we want nicer wood that can’t be found in a place like Lowe’s or Home Depot, we hit up Woodcraft. It’s a woodworking supply store that sells all sorts of beautiful wood slabs and lumber, and they’ve never failed us. With a little research you can likely find other suppliers in your area for wood slabs, but Woodcraft is a great place to start if you’re just getting started – we found the slab for this table for just around $100, which isn’t necessarily cheap but is totally worth it for a 2-inch thick slab that absolutely makes the table. And, in the end, we still spent quite a bit less than we would have if we had purchased something from a store, so it’s a win in our books.
So, that being said, let’s chat about how we built the table, shall we?
This post contains affiliate links. Click here to read my full disclosure policy.
How to Build a DIY Console Table
Materials Needed:
- Wood slab for tabletop (we used a 2-in thick walnut slab. Alternatively, you could purchase wood from your local home-improvement store, just be sure to get something wide enough and shoot for something with a 1.5-2″ thickness!)
- Four 8″ 2X2 boards. We just used plain ol’ whitewood for this (the cheap stuff you can find at the hardware store) because we wanted to save money. You could use something a little nicer if you’d prefer, though!
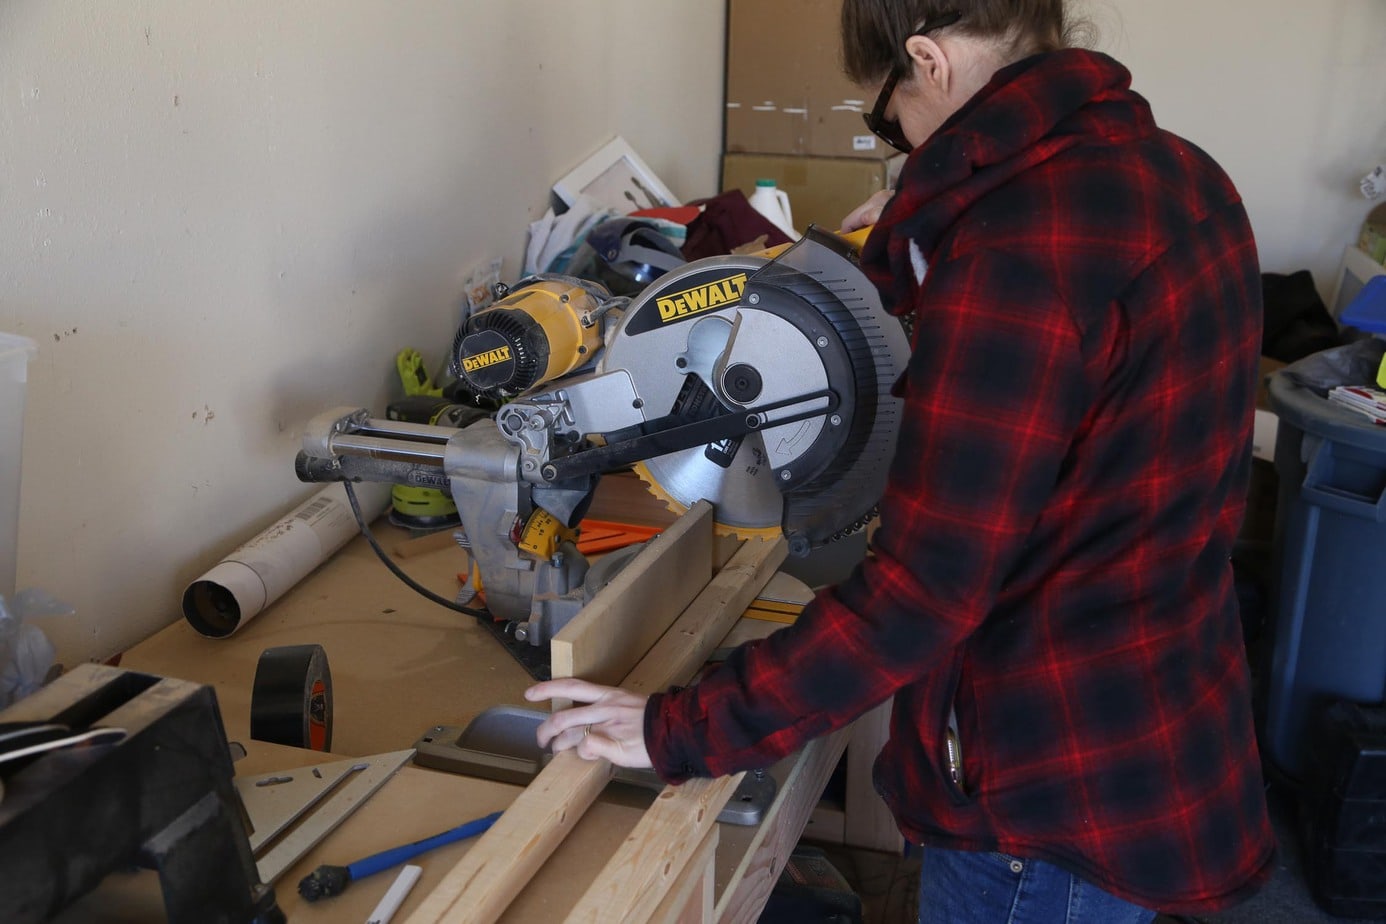
- Miter saw (learn how to use one here if you aren’t familiar!)
- Wood glue
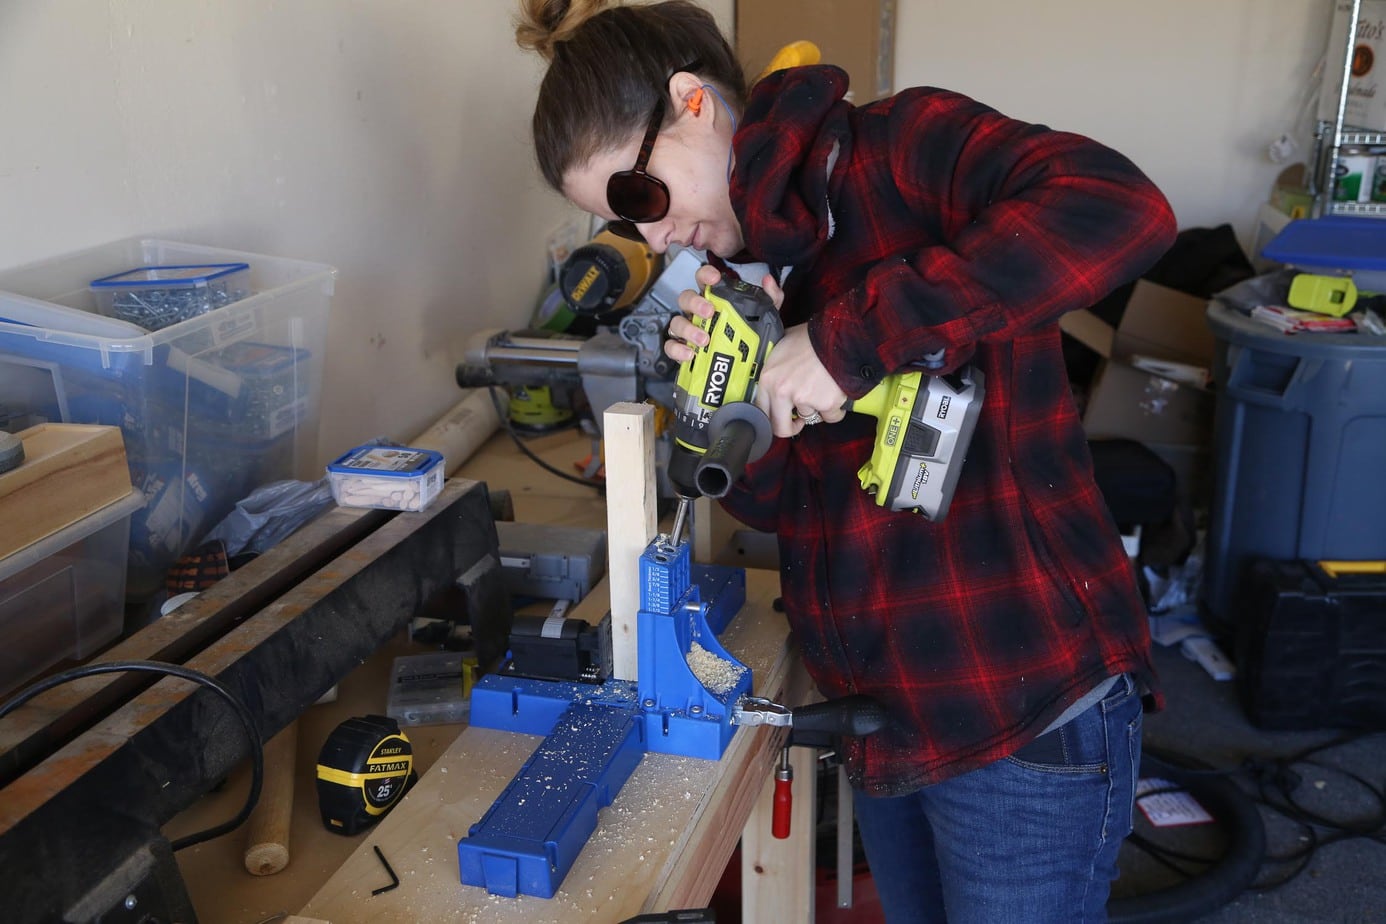
- Kreg Jig + pocket hole screws
- Pocket hole plugs
- Wood filler
- Sander or sanding blocks (I like this one)
- Black paint
- Lacquer (for base of table)
- Polyurethane (for tabletop)
STEP ONE:
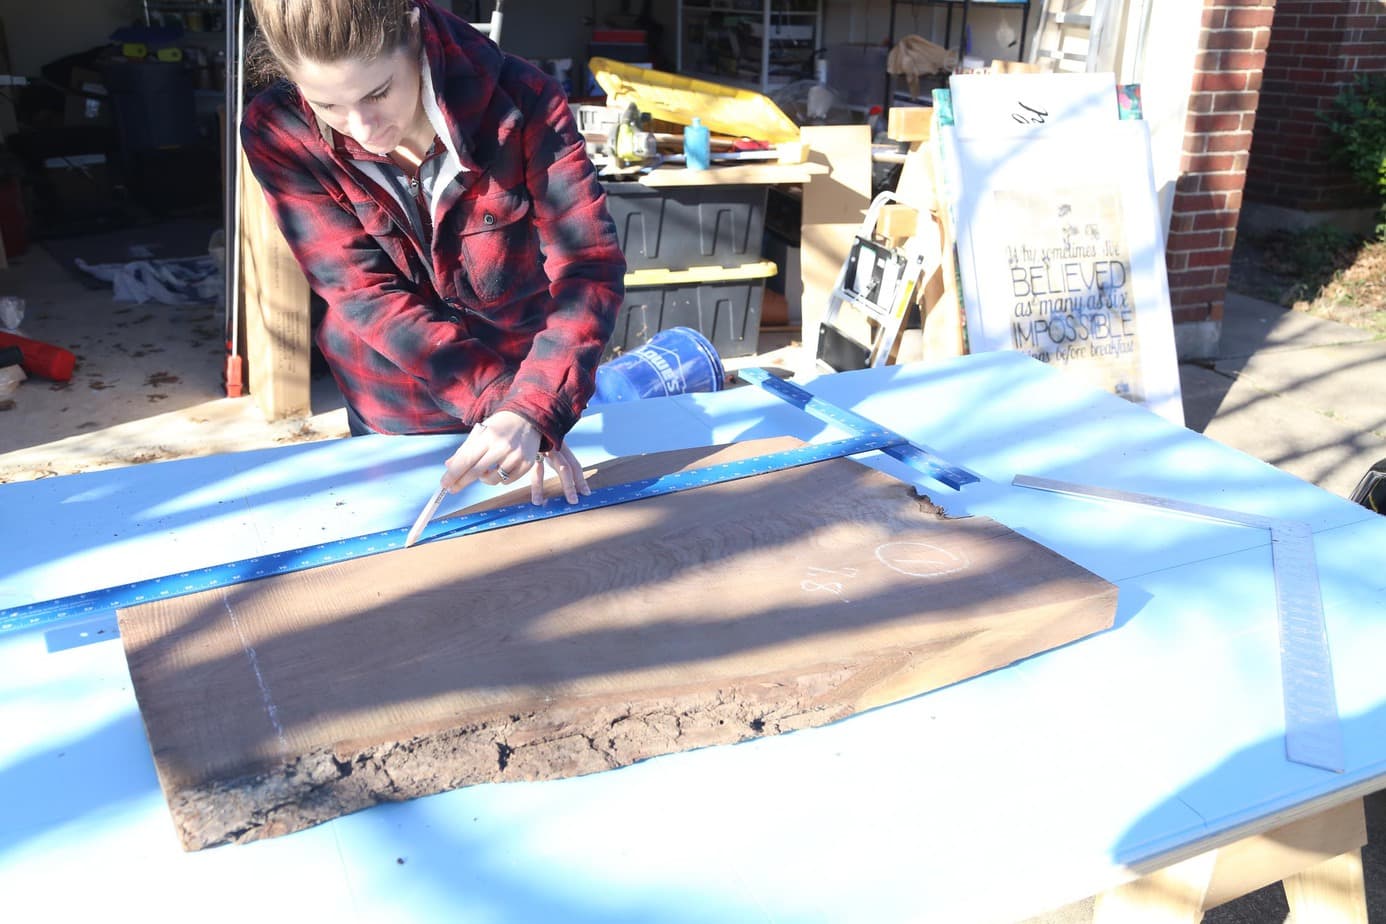
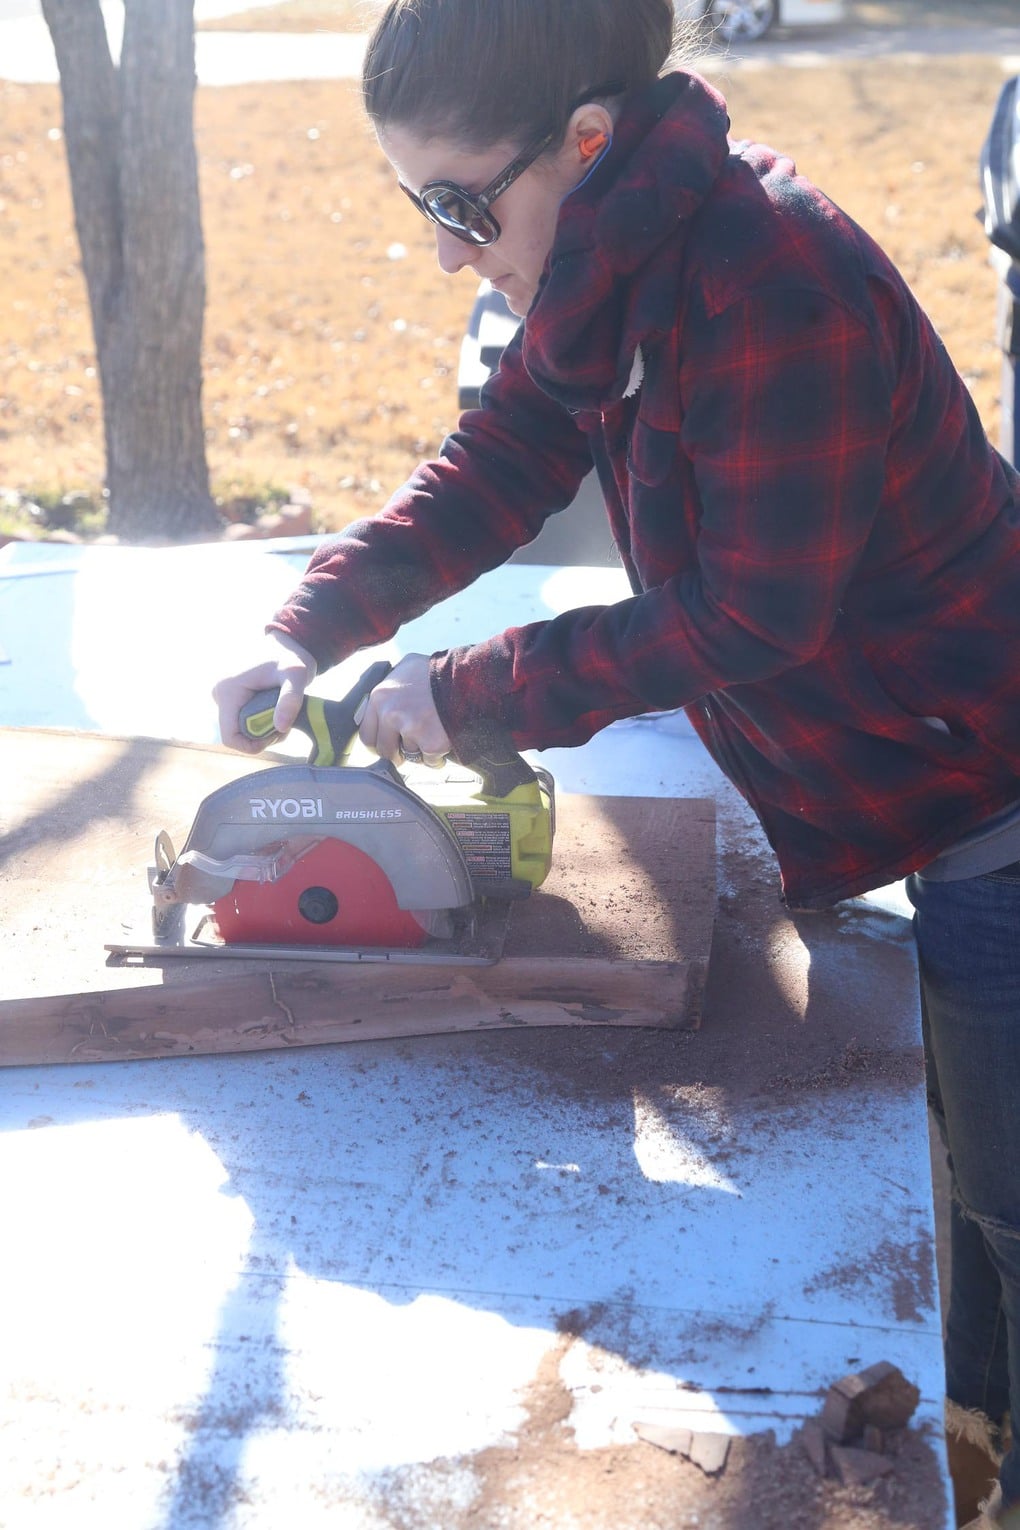
You’re going to start by building the base of the table. We based our measurements for the table off of the wood slab that we had – it comes in an irregular shape, so we cut the sides down to create a rectangle:
Then, we measured the top and used those measurements for the base of the table. We didn’t want much of an overhang, but we also didn’t want the base to sit completely flush with the top, so we subtracted about half an inch from both the width and depth of the base to allow for a (very) slight overhang. If you aren’t working with a wood slab like we were, base your measurements on the space you’re working with. A good rule of thumb is that a console table is generally about 30″-33″ tall and somewhere around 12″ deep. Ours is 30″ tall and 13″ deep. The length really just depends on your space!
STEP TWO:
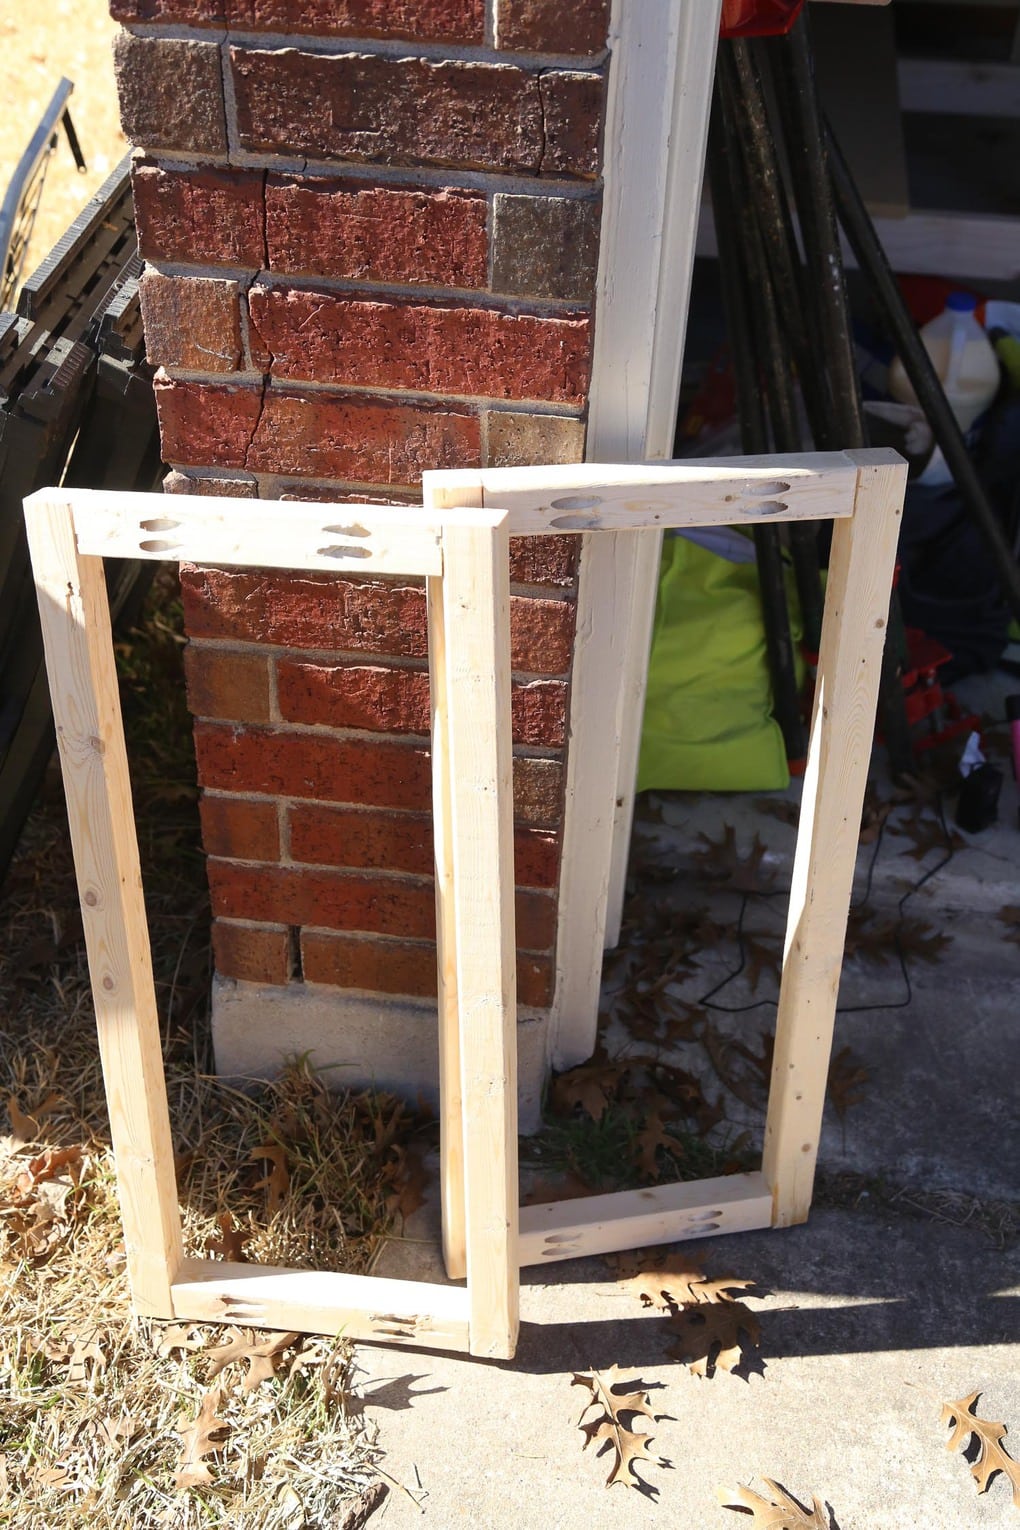
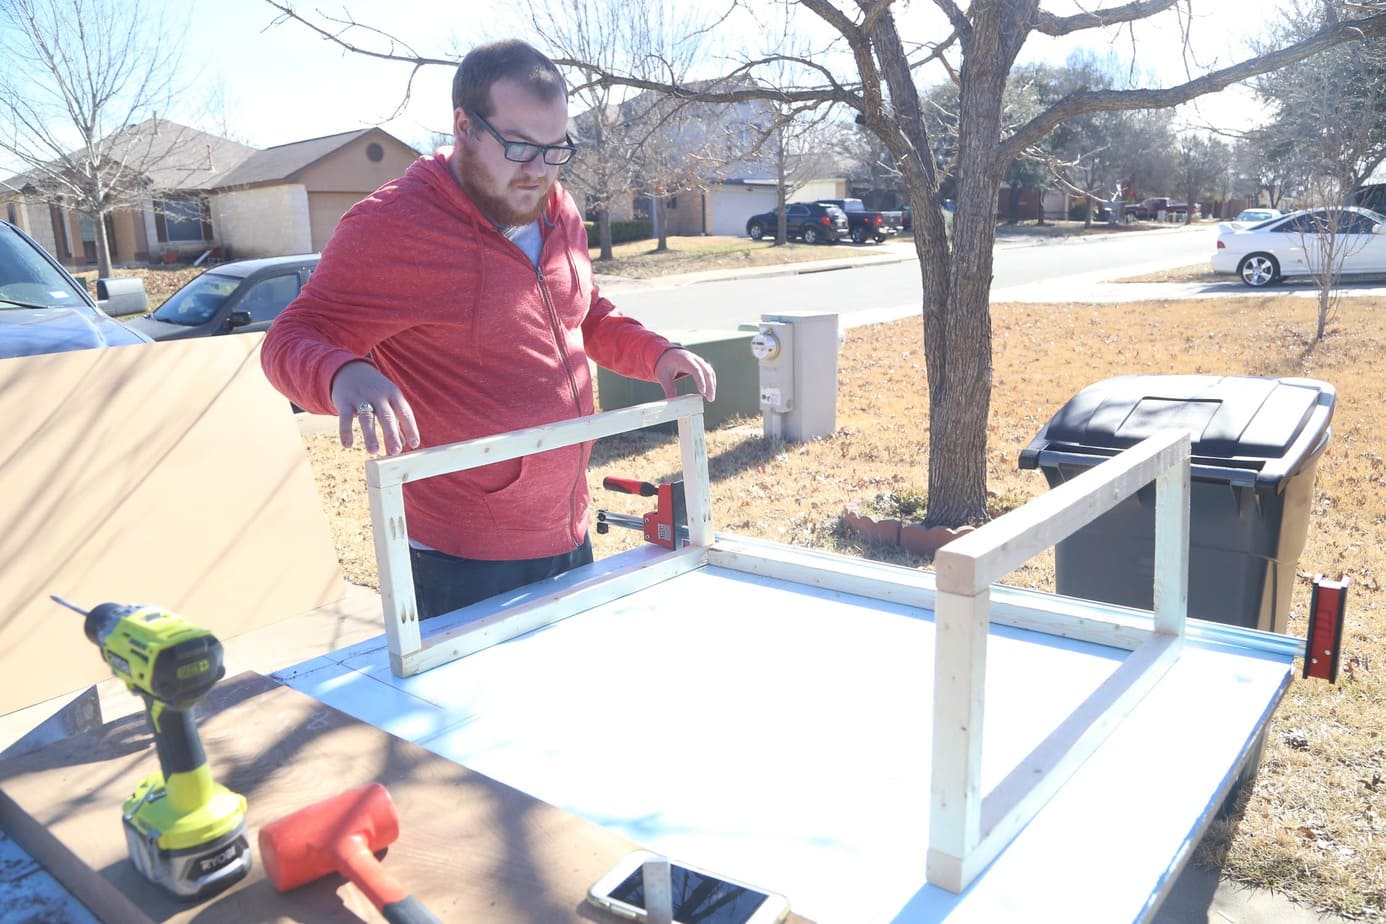
Once we had our top cut down and knew our measurements, we got to building the base. We started by building the side pieces, and then attached them using the longer pieces. So, since our table was 30″ tall and 13″ deep, we basically built a rectangle using two 30″ long boards and two 10″ long boards (since the boards themselves are about 1.5″ wide, the connecting pieces are shorter to account for the width of the other boards).
We attached the boards to each other by adding a bit of wood glue and then using our Kreg Jig to attach two pocket holes to each side.
Once you’re done, the sides should look a little something like this:
Then, it’s time to finish off the base. You should have four 2X2 pieces cut down to the length you want the table to be (minus about 1.5″ to account for the side pieces) and you’ll use the exact same method of glue + pocket holes to attach the pieces to finish off the base.
At this point, we used these pocket hole plugs to fill in the holes created by the Kreg Jig. Obviously, you can leave those holes open, but with such an airy piece of furniture, the holes would be really obvious. We just inserted the plugs into the holes using a bit of glue, then allowed it to dry.
STEP THREE:
Once that glue is dry, it’s time to bust out the wood filler. We used this to cover up the seams where the pocket hole plugs are, the seams where the boards attached, and any little cracks or gaps in our wood. The wood we used for the base isn’t the highest-quality wood, so sometimes it will have cracks and fractures in it. As long as they don’t interfere with the structure of the wood (for example, you’d never want to use a piece that has a crack right where you’re adding a screw), you can just fill these in with the wood filler. Allow it to dry fully, then thoroughly sand it down. You want to give the entire base a really thorough sanding to ensure that the wood filler isn’t noticeable, remove any glue drips, and get the wood nice and completely smooth.
After you sand, it’s time to paint (see this post for my tips on painting furniture) and seal! I painted it with HGTV Home By Sherwin William’s Domino (the same color I used on our master bedroom door) and used a lacquer to seal this piece because my inspiration for this table was a console table that had metal legs, so I wanted to emulate the slight shine that you get with metal – lacquer is also just a really durable finish for a table in a high-traffic area, which is always a good idea!
The final step is to seal the top (we used this polyurethane) – or stain it if you’re using a wood that doesn’t have a naturally gorgeous finish like walnut does – and attach it to the base. Corey just used extra long screws and drilled in from underneath the base.
And that’s it!
I’m still mulling over how I want to finish out this little area – we’re planning on building a sliding barn door for the laundry room (which is right next to the table), and I’m considering some sort of fun accent wall treatment for this side of the entry (wallpaper? faux brick? stencil? I can’t decide!). I also need to add a hook or two and maybe a basket underneath to help us house all of the random things that collect by a front door, but this is a solid start!
Update: See the small gallery wall we added above this table right here!
Now that the DIY console table is done? I’ve got to get that barn door built because my laundry room door currently opens into my washer and dryer and I’m tired of dealing with the cramped space every time I need to wash some clothes!

That table is beautiful and you made it yourself!! I’d love for you to share over at a new party called Let’s Party https://themarkandjanshow.com/2018/02/07/lets-party-7/ … we look forward to seeing you there!
You could have avoided filling the pocket holes. If you had rotated the short piece the holes would have face the walnut and the floor and they’d have been invisible.
You’re right, that would have worked too! Thankfully, they’re very quick and easy to fill. 🙂
This DIY console table is so easy to make and looks decent too. Thanks for sharing. 🙂
Totally disagree about the mirror! My eye goes up anyway bc of the nearby door. Hang it higher and centered, then add some art below on the right side (either hung or leaning). You just need a little height yo the right of the lamp, but that mirror would be functional and gorgeous higher up!
Thanks, Courtney! I’ll have to give that a shot when I’m playing around with it!