
The Fourth House’s Garage: Epoxy Floors + Fresh Paint!
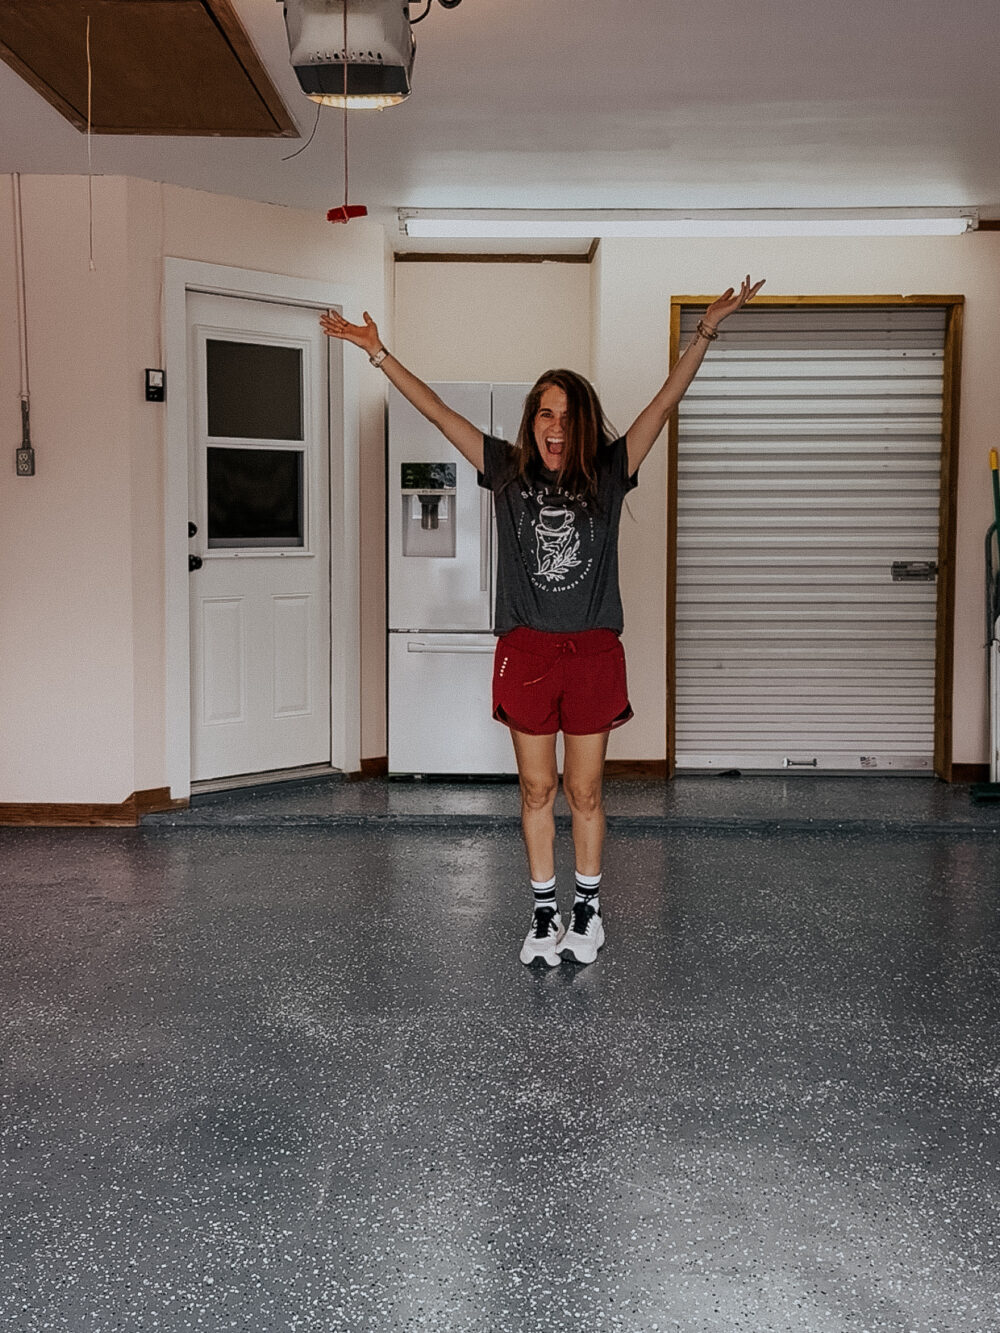
Friends, the first official project at the new house is done, and I’m SO HAPPY with how it turned out. We’re in a unique situation in this house – it’s the first time we’ve ever had enough extra space to slowly get settled into the garage workshop. Typically, we have to dump all of my workshop stuff in the garage and kind of work around it as best we can while we organize. This time, we have a secondary 1-car garage, so we’ve been able to keep everything in there. It’s a total game-changer to be able to slowly move in!
Because of this setup, I was able to keep the garage empty for the first couple weeks we lived here. And last week, I finally got around to getting it cleaned so I could paint the floors and walls.
Why I Love an Epoxy Floor
Every time I talk about my obsession with epoxy floors in the garage, I get questions about why. So, here are just a handful of reasons it’s such a good choice:
- It’s so much easier to clean. Concrete naturally sheds off dust and absorbs stains. It can be really hard to keep it looking and feeling clean. Sealing it with an epoxy floor eliminates aaaaaall that dust and leaves you with an easy-to-clean floor that won’t track junk into your house daily.
- It’s so durable. Concrete can be prone to cracking, stains, and just generally looking rough over time. Epoxy flooring is incredibly durable and will hold up for decades.
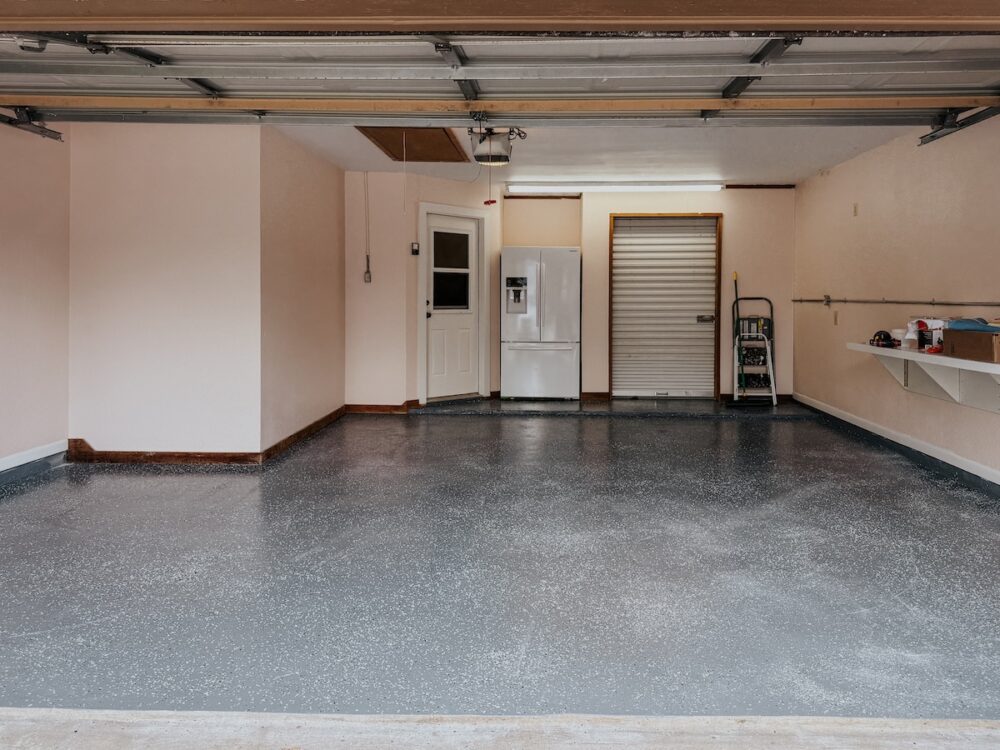
- It looks great. Our garage floor was full of stains, spills, and cracks. It looked dingy and dirty and old. Adding an epoxy floor brightens up the space and makes it look so much nicer – and you know I love to make every space I can look as nice as possible!
- It feels like an extension of the house. And finally, I love how adding an epoxy floor makes the garage feel more like an actual part of the home. I spend a lot of time working in my garage, and anything I can do to make it feel cozier is a major win.
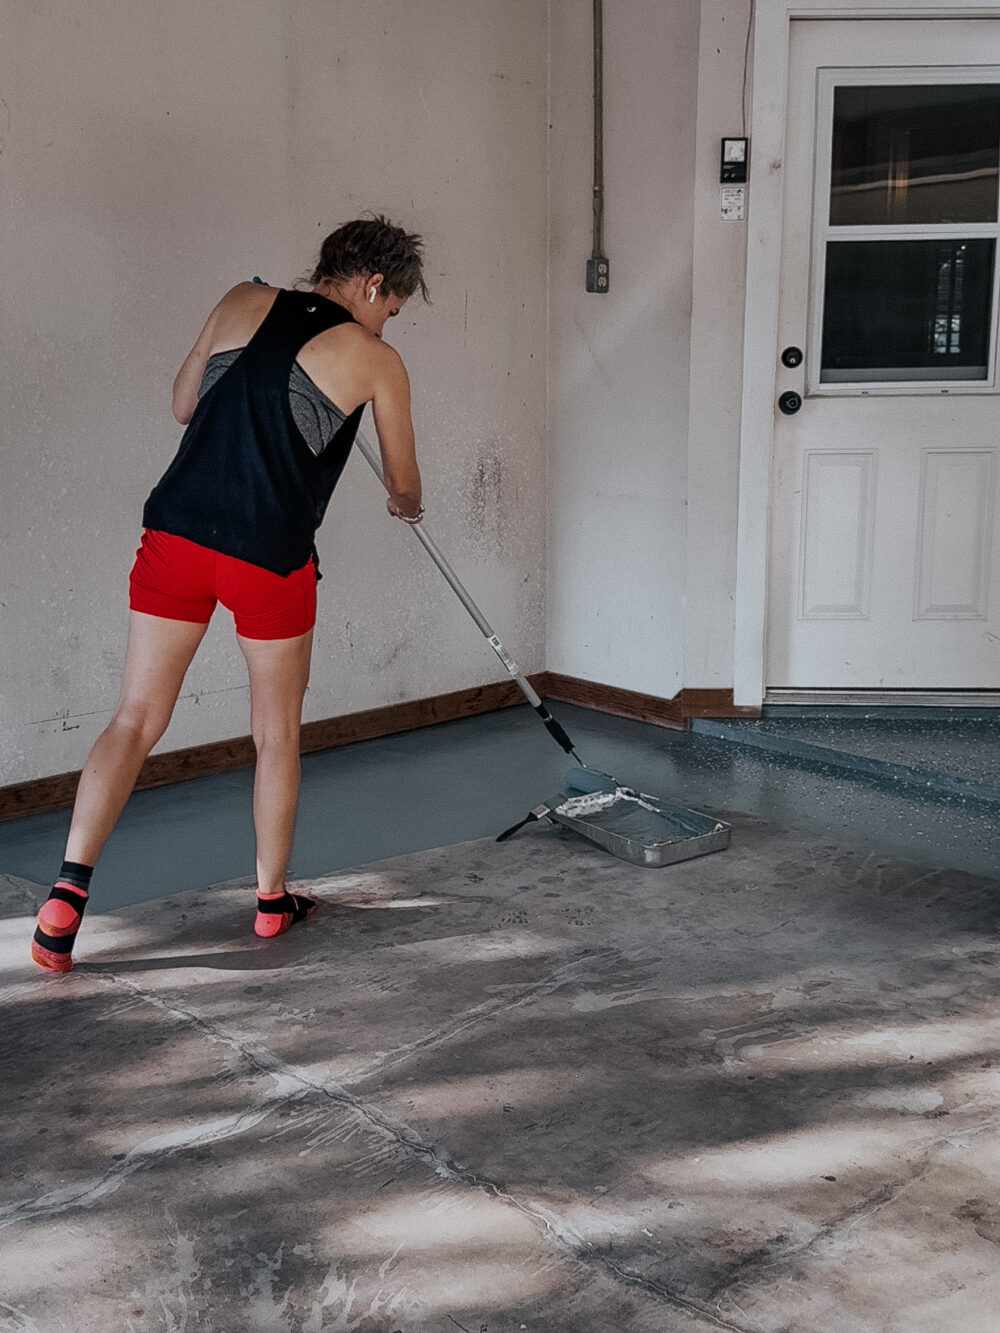
How to Add an Epoxy Floor to Your Garage
When I shared that I was doing this on Instagram, I got lots of questions about the process and how easy it is. I’m here to tell you this is a project ANYONE can do. It takes patience and the ability to empty out your garage for a few days, but beyond that, it’s so simple.
I’ve worked with two different epoxy floor products over the years.
- I used Rust-Oleum’s RockSolid metallic garage floor in both our first house and our third house. It’s a really pretty, swirly floor that looks and feels really great. It’s so durable and I really love the look of it. That being said, this product can be a little finicky to work with. If you have a lot of temperature variation during the dry time, or if you don’t complete all of the preparation steps really thoroughly, you can end up with bubbles in your finished product. Ask me how I know. I love the look of this stuff, but I don’t recommend it for epoxy newbies.
- In my best friend Parisa’s garage and now in our garage here, I used Rust-Oleum’s EpoxyShield garage floor coating. It’s really easy to work with and practically fool-proof. If you know how to use a paintbrush, you can handle this stuff. It has a more traditional epoxy floor look with the speckled finish, and I like that you can add more or less depending on the look you prefer.
I love and recommend both products, but I personally have a preference for the EpoxyShield product. It’s easier to work with and more beginner-friendly. And, as someone who doesn’t have a ton of patience in these types of products, I need that!
I highly recommend using the directions that come with the EpoxyShield kit to guide you, but if you want an overview of the process, you’ll find an epoxy floor tutorial here.
Watch the Epoxy Floor Come Together
Wanna see it all happen in real time (well kind of)? Here’s a quick video to show you what the process looks like, along with my best tips and tricks.
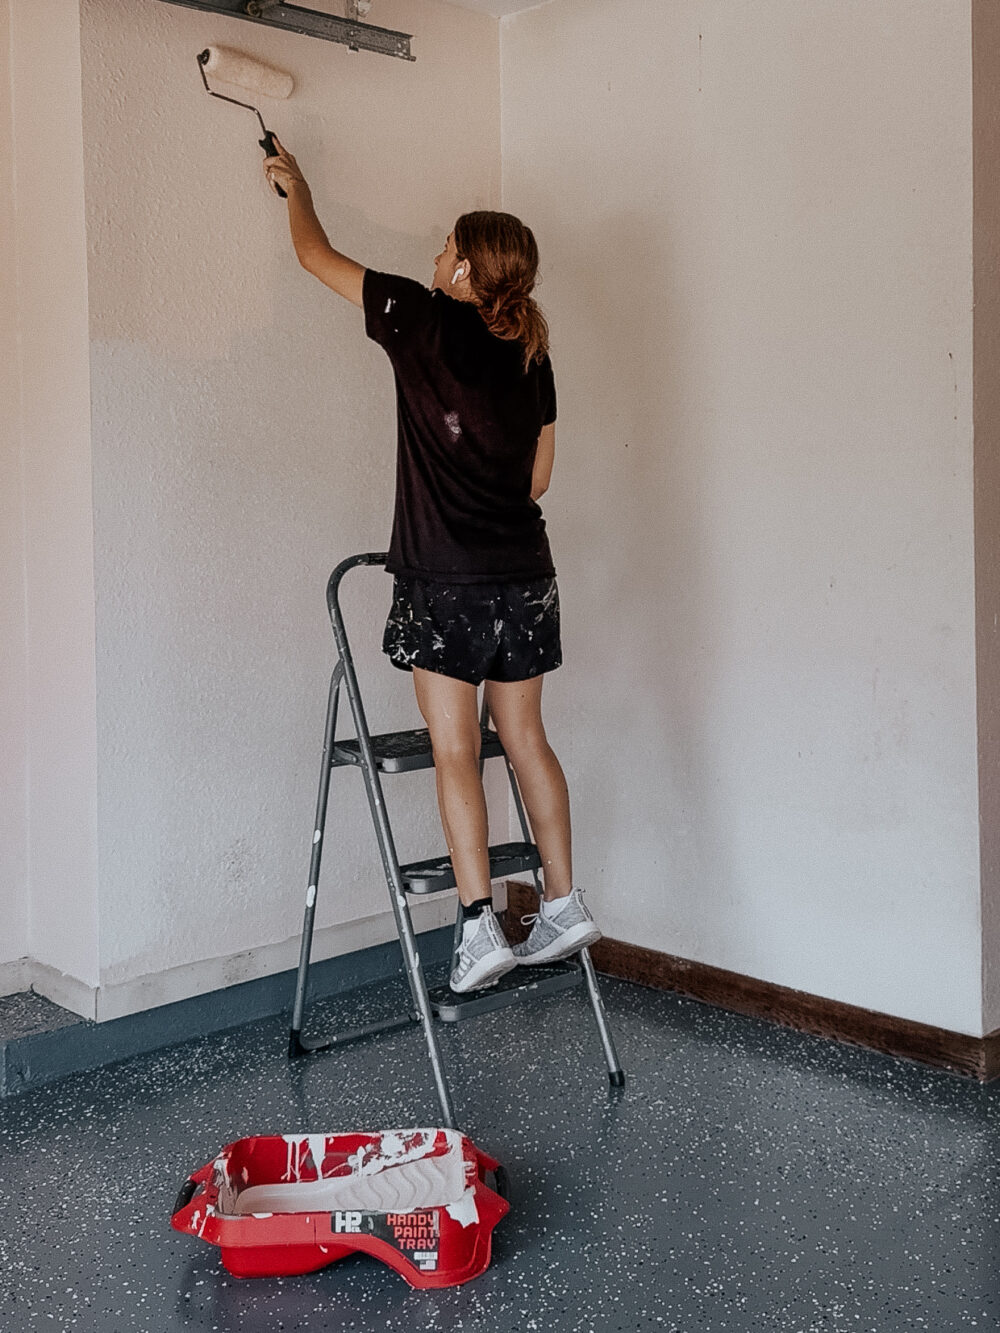
On Painting the Garage Walls
After I got the epoxy flooring finished and it had a couple of days to dry, I moved onto the walls. I sometimes have people ask why I spend the time painting the walls in a place like the garage – especially when I haven’t painted a single wall in my actual house yet.
But, here’s the thing – why wouldn’t I? I spend hours every week in my garage working on projects. I duck in and out of it a dozen times a day to grab random tools or a drink from the fridge. Heck, I see it just as much as any other room in my house (even more than some of them). So, why wouldn’t I want to put some effort into making it look nice?!
I’m a huge believer in pouring a little effort into less obvious spaces if it makes a difference in your day-to-day. And having clean, freshly-painted walls definitely makes a difference for me. I mean, just look at that before and after.
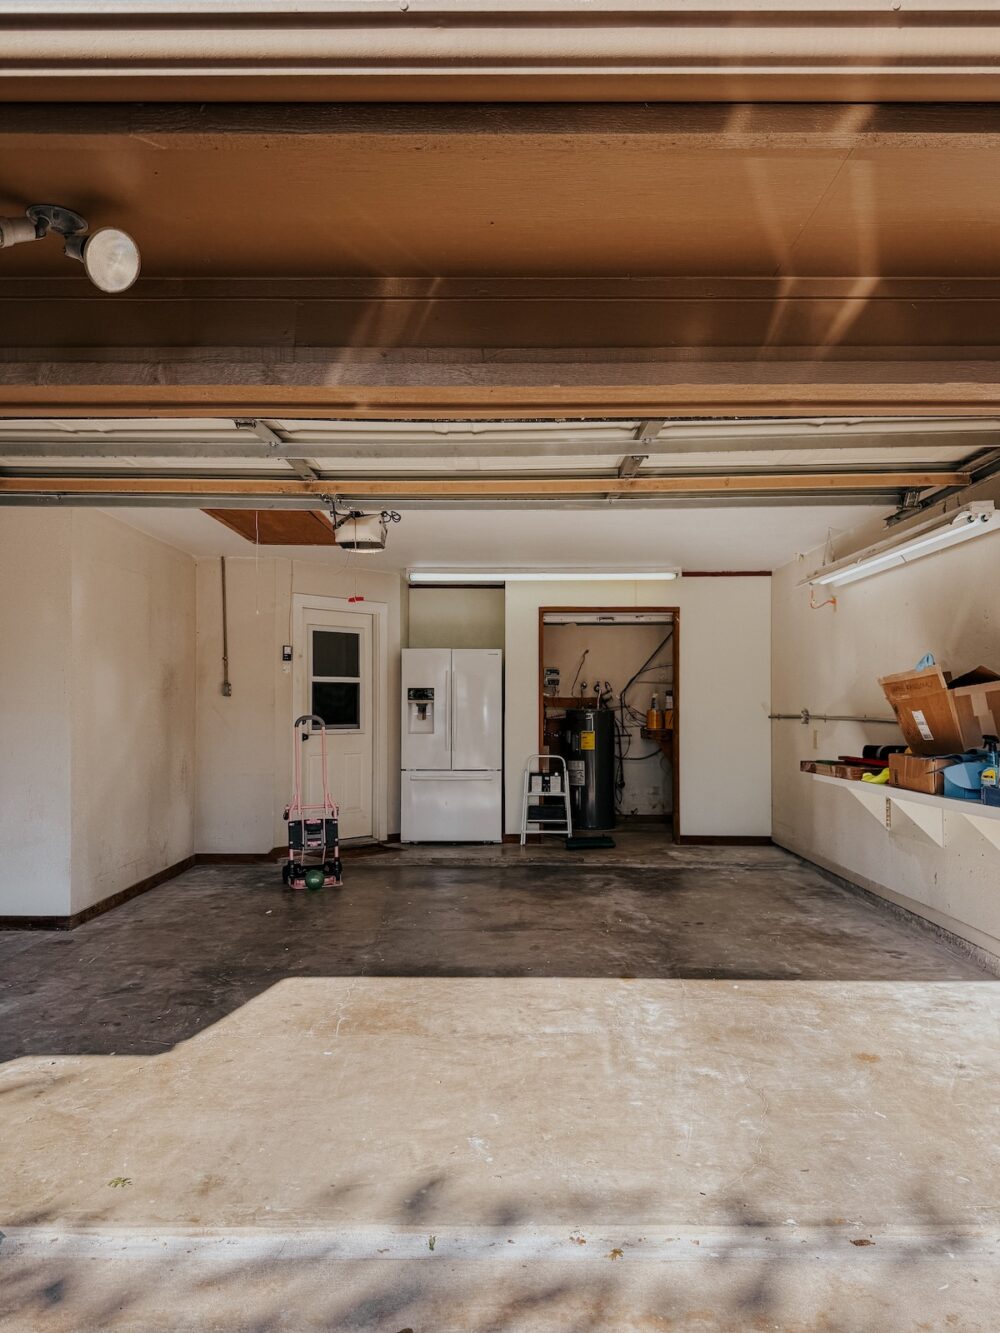
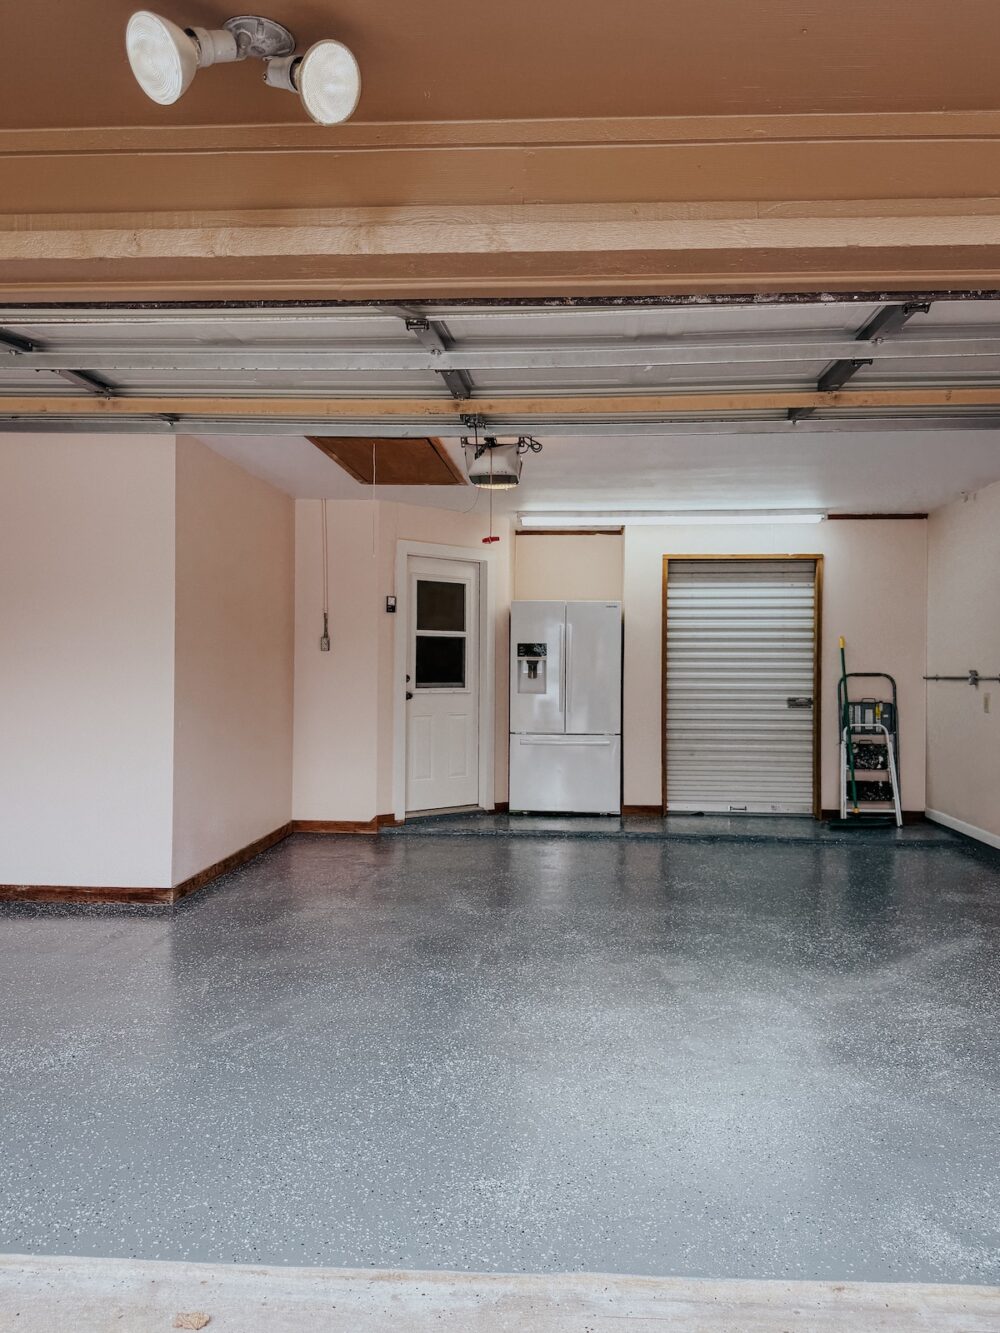
It’s striking, no?!
I went with Wing It by Clare for the walls in here. It was a little bit of whim to go with pink paint, but I’m so glad I did. I wanted something that felt feminine and clean and would help camouflage the sawdust that ends up all over the place in my workshop. I was worried it would feel too pink, but it’s actually perfect. It brightened up the space so (so!) much and looks absolutely beautiful.
And just like that, I’ve got a fresh, blank slate ready for me to start bringing all of my stuff in. I’m really grateful to be able to tackle the garage this way for the first time ever, because I know it’s going to save me so much effort when it comes to organizing!
Next up – we’re adding a giant pegboard.