
Two Easy Halloween Air Dry Clay Crafts to Try This Year
If you’re looking for Halloween and fall crafts for adults, these little air dry clay projects are perfect! They’re quick and easy, and they’ll bring some handmade charm to your home this Halloween.
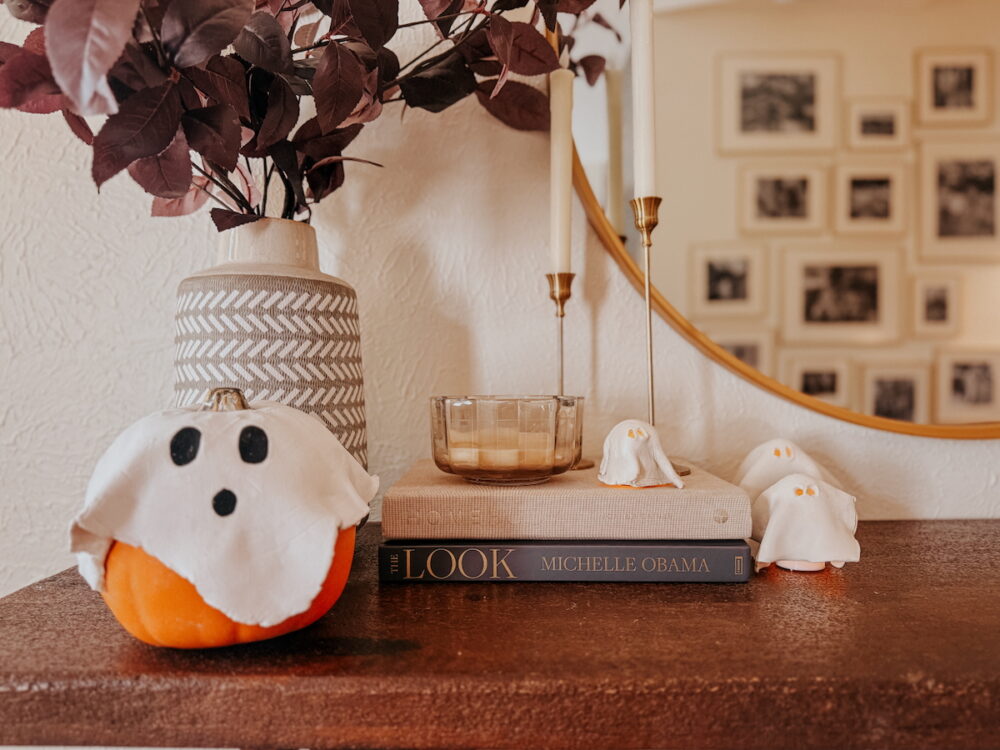
As soon as the “ber” months roll around, I start crafting. I’m not a huge crafter the rest of the year, but there’s just something about the fall season that makes me want to get creative. This year, I’m kicking off my crafting by have some fun with air dry clay!
Air dry clay is so easy to work with, and it’s cheap to boot. Doesn’t get much better than that when it comes to seasonal crafts! I put together a couple of super simple air dry Halloween crafts this year and I’m sharing them in this post for you. They’re great for a grown up crafting night, but they’re also simple enough that you can do them with the kids.
Air Dry Halloween Craft 1: Tea Light Ghosts
Materials Needed:
- Air dry clay
- Parchment paper
- Rolling pin
- Candlestick (or other tall/skinny object)
- Small ball or round object
- White paint
- Battery-operated tea light candle
How to Make a Tea Light Ghost:
Start by putting your air dry clay between two pieces of parchment paper and rolling it out so it’s flat and approximately square-shaped. You want it to be about 1/4″ thick. Don’t overthink the shape, you want it to feel natural and flowy!
Once you’ve got it rolled out, grab a small ball and a candlestick or a skinny cup. Place the ball on top – this will be your form for the ghost!
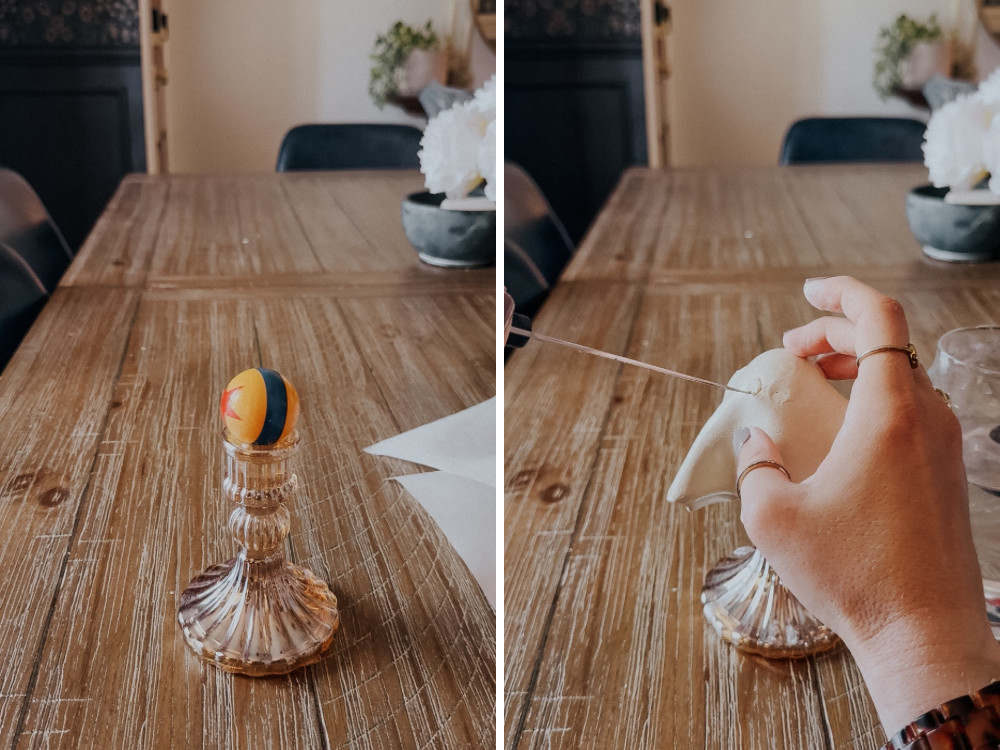
Now, grab your rolled-out clay and lay it over the ball. Gently drape the clay at the bottom so it looks like a ghost shape. You don’t need to work too hard at this – it will naturally fall pretty close to what you want! If you notice any cracks while you work, or if you want to make the clay more pliable, dip your fingers in a glass of water and smooth that over the clay. You can also use a wet finger to help smooth out the bottom edges of the ghost so it looks more like a sheet.
Once you’ve got the ghost shape formed, poke two holes up in the top part for eyes. I used a knife to help me form the holes, but you can use any skinny, sharp object! Just gently poke through the clay and pull out some of it, then use a damp finger (or knife) to slowly form it into a circle. This will be how your light shines through!
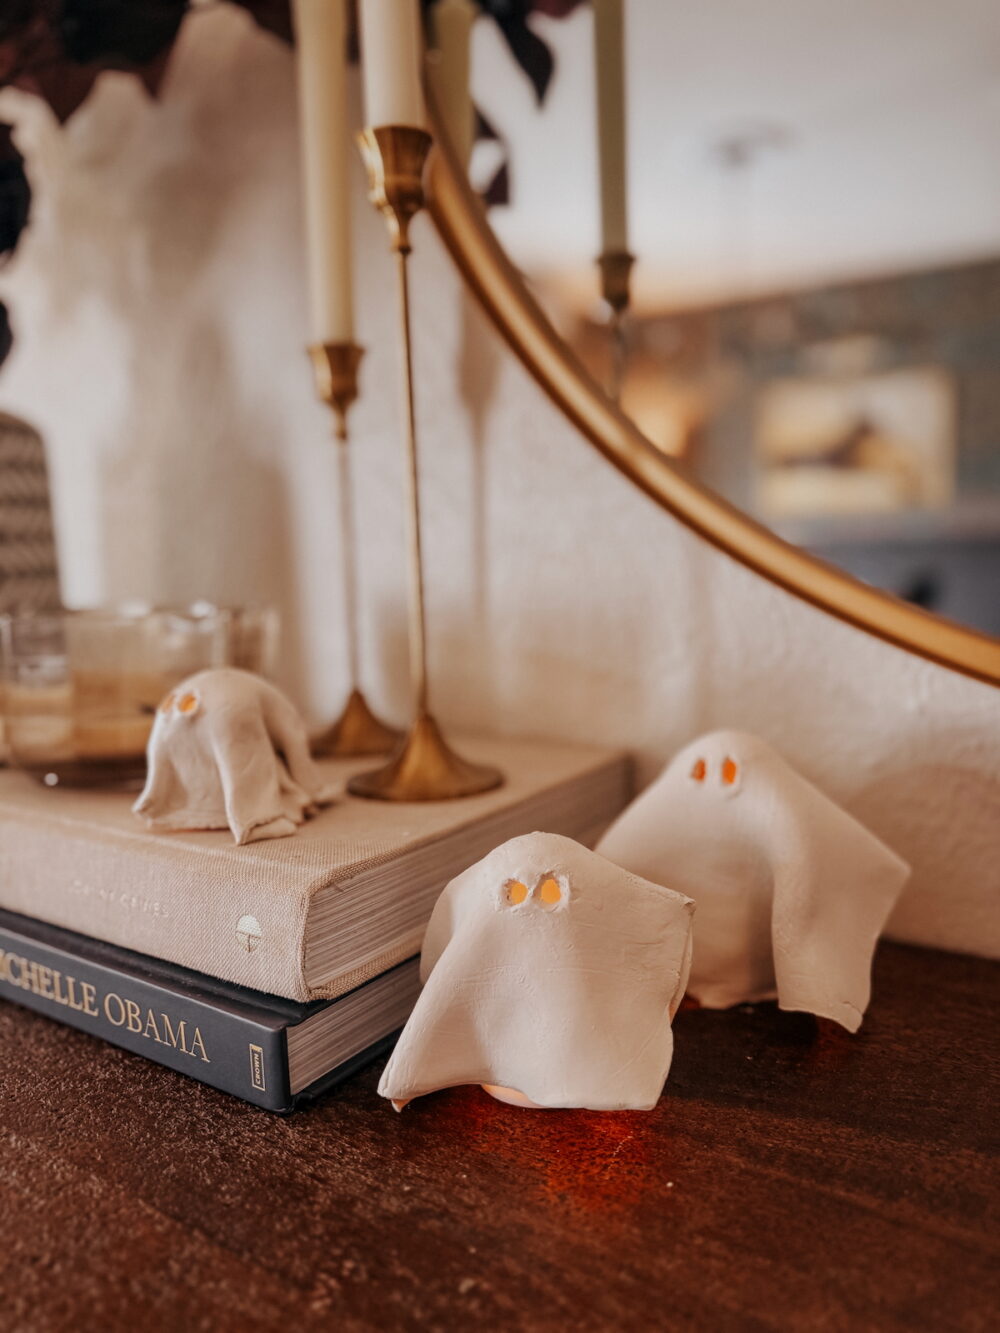
Allow the clay to dry for about 24 hours before removing it from the form. It should separate pretty easily once it’s dry! Then, paint it with acrylic paint or spray paint. Place it on top of your battery-operated candle and you’ve got the cutest little tea light ghost around!
Air Dry Halloween Craft 2: Ghost Pumpkin
Materials Needed:
- Air dry clay
- Parchment paper
- Rolling pin
- Craft pumpkin
- White paint
- Black paint
How to Make a Ghost Pumpkin:
Sandwich a large chunk of air dry clay (I used about 1/4 of my tub) between two pieces of parchment paper. Roll it out in a roughly square shape until it’s about 1/4″ thick. The size you’ll need depends on the size of pumpkin you’re working with. You want it to come about halfway down the pumpkin – you can pull up and test it as needed while you work!
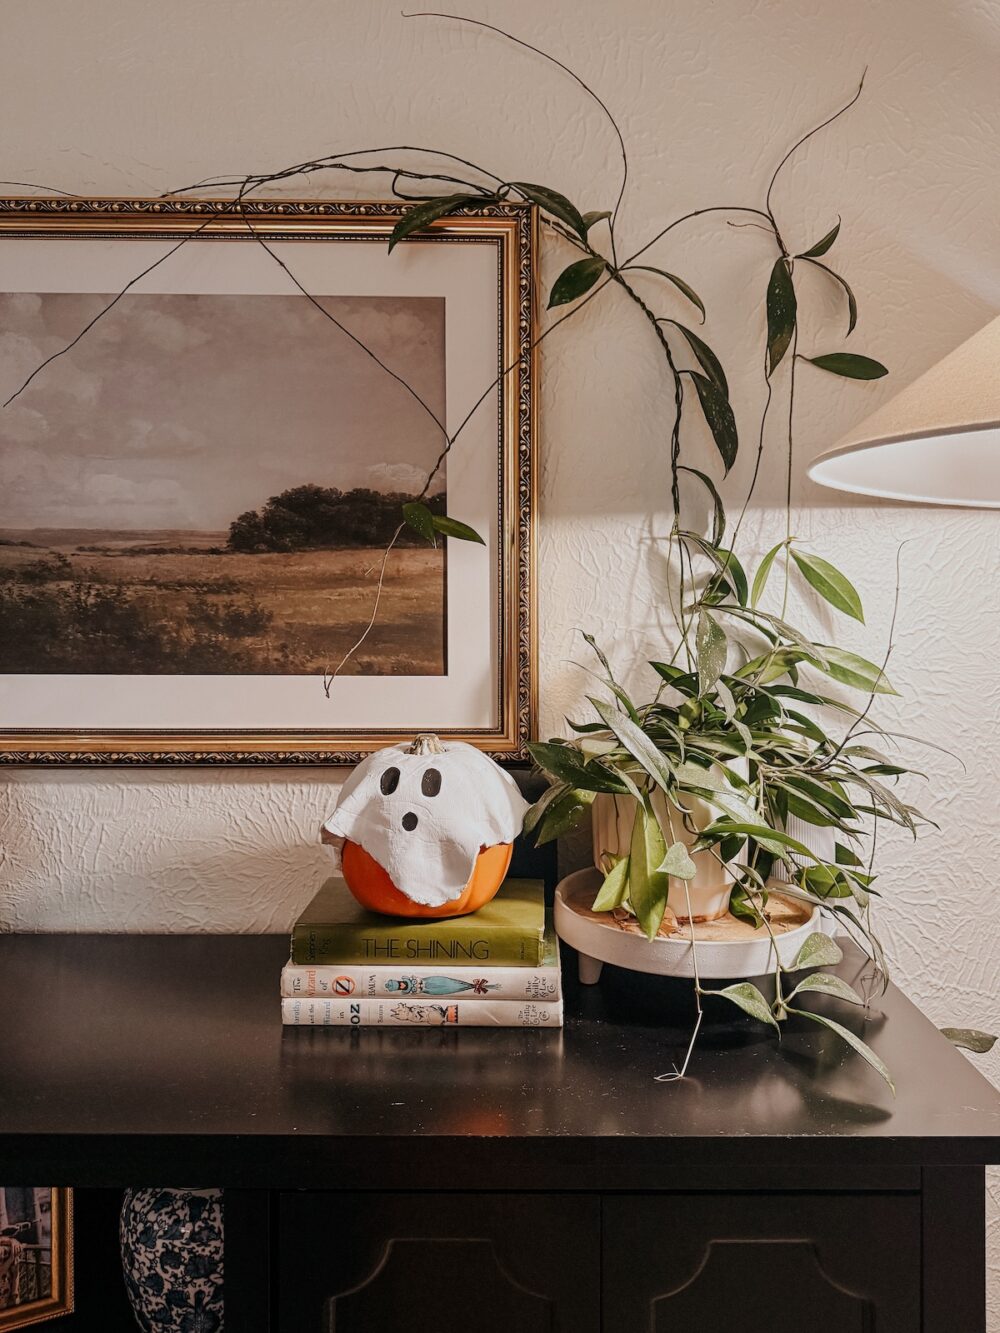
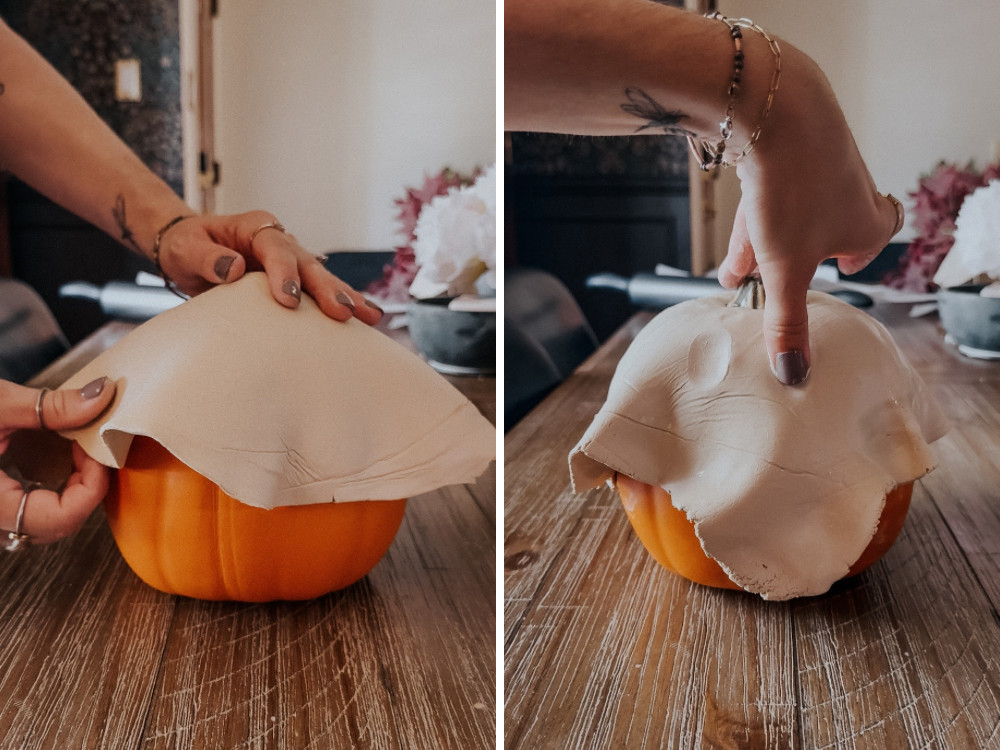
Once you’ve got it to a size you like, drape the air dry clay on top of the craft pumpkin. Use a knife (or your fingers!) to cut a hole for the stem of the pumpkin to fit through. Gently form the clay around the pumpkin to make it look like it’s wearing a sheet. You can use a finger dipped in water to help the clay be more moldable, or to deal with any cracks.
I also used a finger dipped in water to help create small indents where the lines of the pumpkin are – it’s a subtle detail but makes a difference! Before you let the clay dry, use your thumb to make an indentation for two eyes, and a mouth if you want.
After allowing the clay to dry for about 24 hours, you’re ready to paint! If you have any cracks in the clay after it dries (I did!) you can patch it with a small piece of air dry clay, just wet it to help it blend in, then let it dry for a couple of hours before painting. I used plain acrylic craft paint to paint the air dry clay white. Once it’s dry, you can also paint the eyes and mouth black.
If you want to take it a step further, you could cut a hole in the bottom of the pumpkin to allow for a battery-operated candle, then cut holes for eyes instead of just indentations! It would be a bit more complicated and take more time, but would be a fun way to make it glowy and spooky!
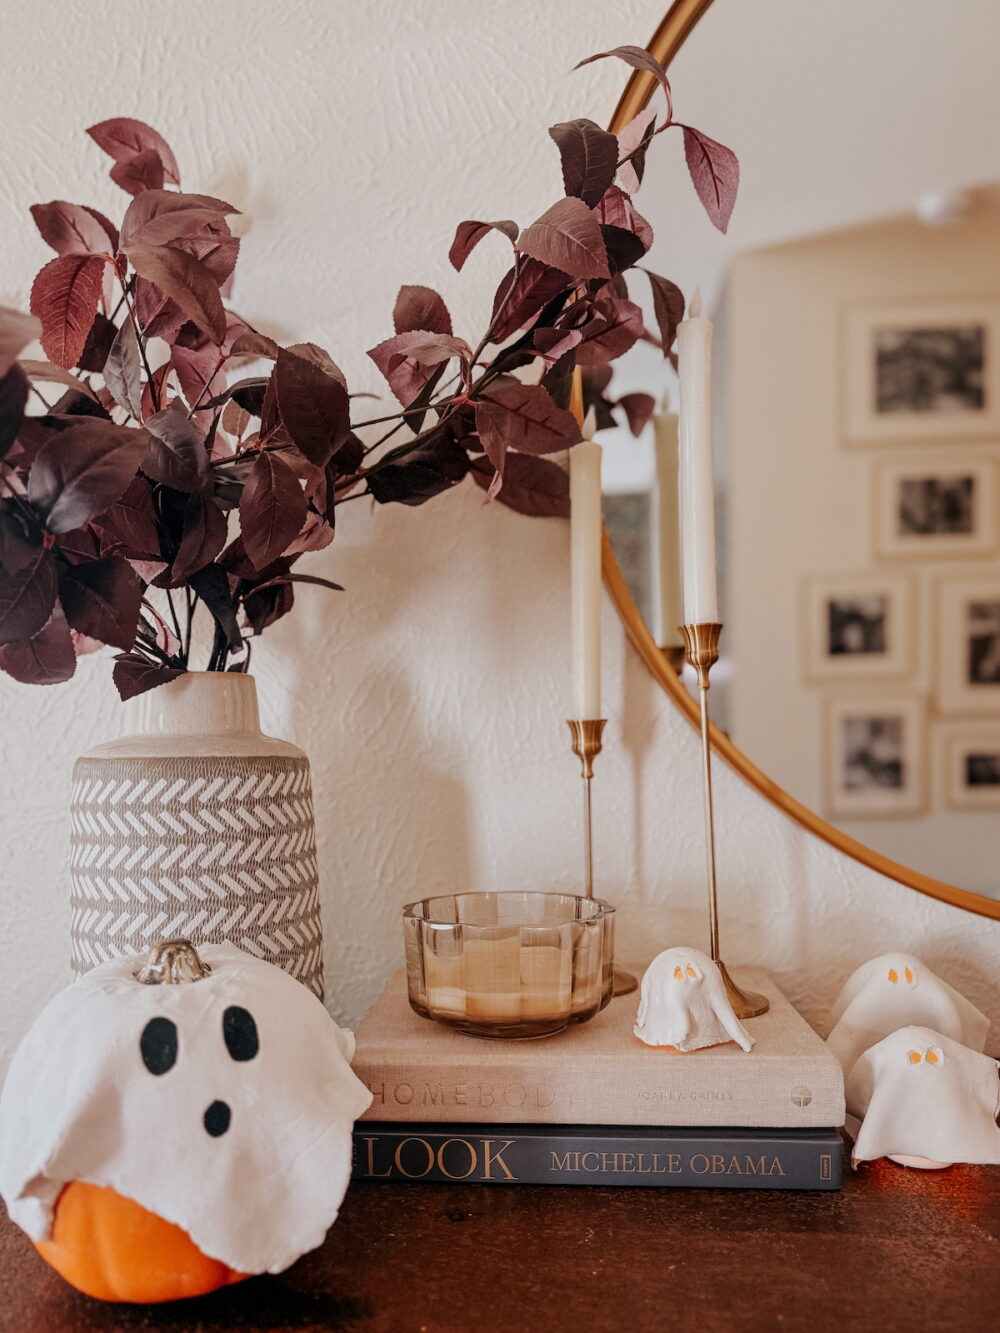
I’m not super talented when it comes to crafts like this, but this was so fun and accessible, and I’m pretty pleased with how it all turned out! These would be perfect crafts for a gathering with friends, or to surprise the kids with for an after-school activity. And they’re going to look so cute sitting out when we start decorating for Halloween!