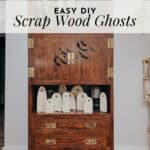
The Cutest DIY Wood Ghost Halloween Decor
Have some scrap wood lying around and looking for a cute DIY project for your Halloween decor? Look no further! These DIY scrap wood ghosts will only take a few minutes to throw together, and they’re pretty darn adorable to boot.
This Halloween, I’ve made it my mission to really have fun with making my own seasonal decor. It’s such a fun (and budget-friendly) way to add to your stash for the holidays, and I always feel so proud knowing I’ve made something myself!
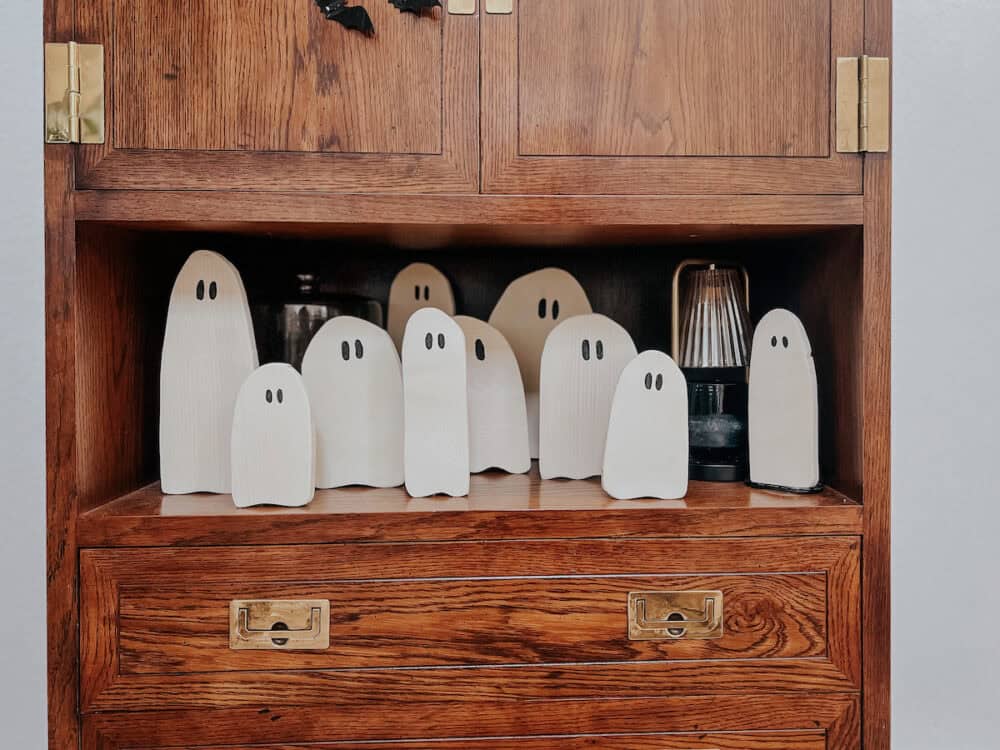
My latest DIY Halloween decor project is a set of ghosts I made out of scrap wood. It hardly took any time, and it was a completely free project because I used scrap wood!
DIY Wood Ghost Halloween Decor
Here’s What You’ll Need…
- Wood! You can use absolutely any type of wood – 1″ thick is probably your best bet. I had some scrap pine in a few different widths, so that’s what I used.
- Jigsaw
- Sander and/or sandpaper
- White paint (I used spray paint)
- Black acrylic paint
- Small paintbrush
Step One: Sketch Out Your Ghosts
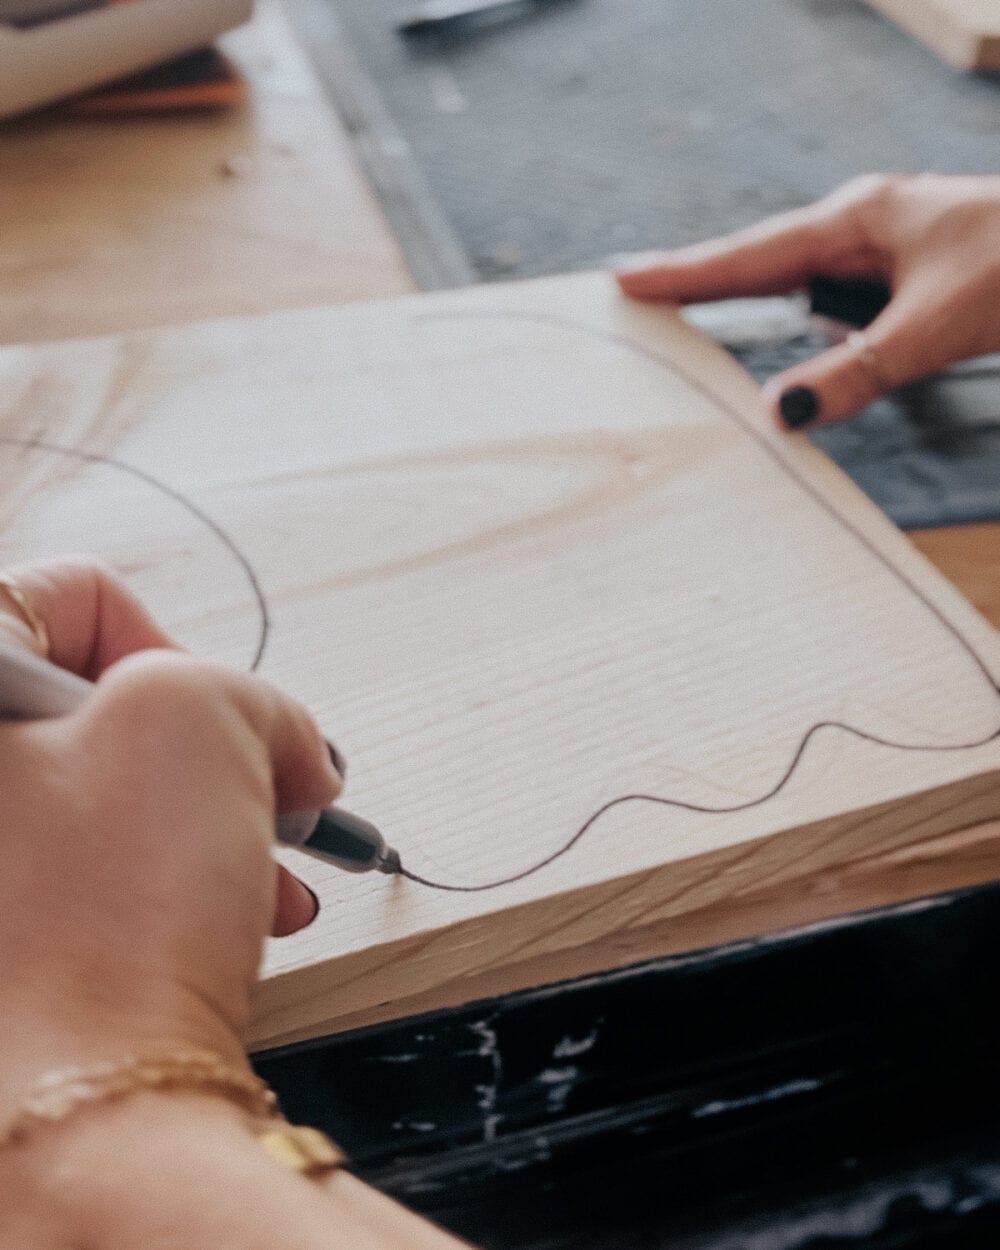
You need to start with a plan. Don’t stress about this part if you aren’t creative – a ghost shape is really easy to draw! I just grabbed a pencil and sketched out a few different ghost shapes onto my scrap wood. If you’re struggling to figure out what you want it to look like, you can do a quick Google search for ghost graphics to inspire you!
If you want a display like mine, make sure to sketch out a variety of heights for your ghosts. You could also do them all the same size if you’ll be displaying them differently!
Step Two: Cut Your Ghosts Out
Once you’ve got them sketched out and you’re happy with the shapes you have, it’s time to cut them out. I used a jigsaw for this, and it was super quick and easy.
If you haven’t use a jigsaw before, you can find my guide to how to use a jigsaw right here. It’ll walk you through everything you need to know! It’s one of the least intimidating power tools, if you ask me, and it’s very easy to use. Just move slowly and steadily and you’ll be just fine.
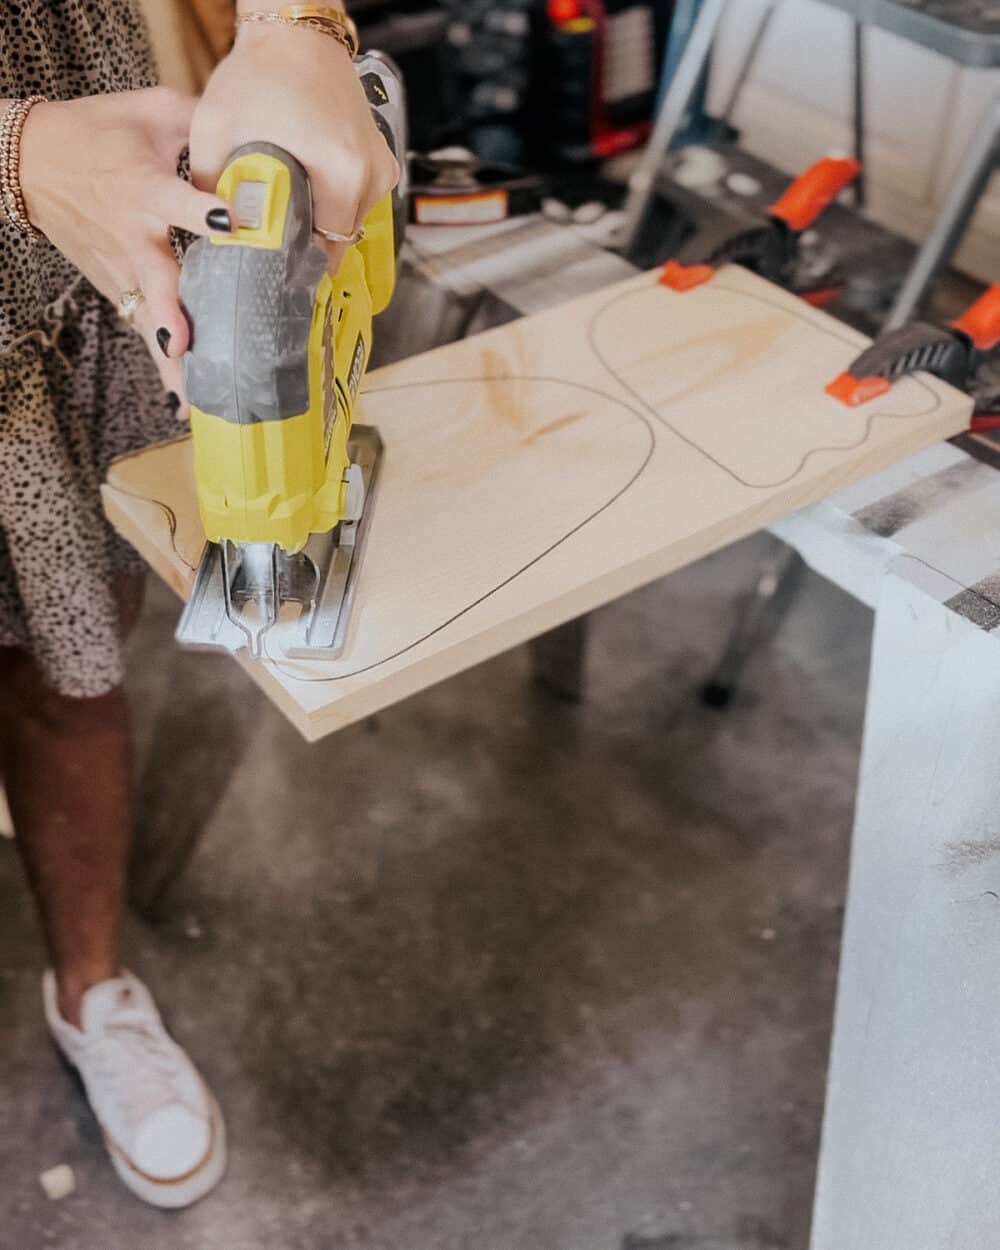
Depending on the thickness of wood you use, you may need to add some support to help the wood ghosts stand up. I cut out some triangular-shaped kickstands for the ghosts and glued them on the back – it worked like a charm!
Step Three: Sand Your Ghosts
Now that you’ve got your wood ghosts cut out, it’s time to sand them so they’re smooth and no one gets any splinters. You may be tempted to skip this (I know that I would have when I was first beginning working with wood!), but don’t! It makes a huge difference in the finished product, and it’s always worth the time to do a really thorough sanding job.
Start with a lower grit (I recommend 120, or even 80-grit sandpaper) and thoroughly sand the ghosts. Then, move up to a higher grit (220 is great!). If you want a super smooth finish, do another one after that. I find I’m happiest with my sanding jobs when I go all the way up to 400 grit. It gives a super smooth and professional-feeling finish.
I recommend using a power sander for this, simply because it’s much faster and easier. However, if you don’t have one, there’s no need to buy one just for this project! Sanding blocks do the job just fine.
Step Four: Paint the Ghosts
And finally, it’s time to paint them! I just used some white spray paint I had laying around, but any old paint will do. Honestly, this is really where you can get creative and make your ghosts match your style. You can paint them in pastels or neon colors. You could stain them instead of painting. If you like a more rustic look, you could paint them white and then distress them! The sky is really the limit here, so have some fun with it.
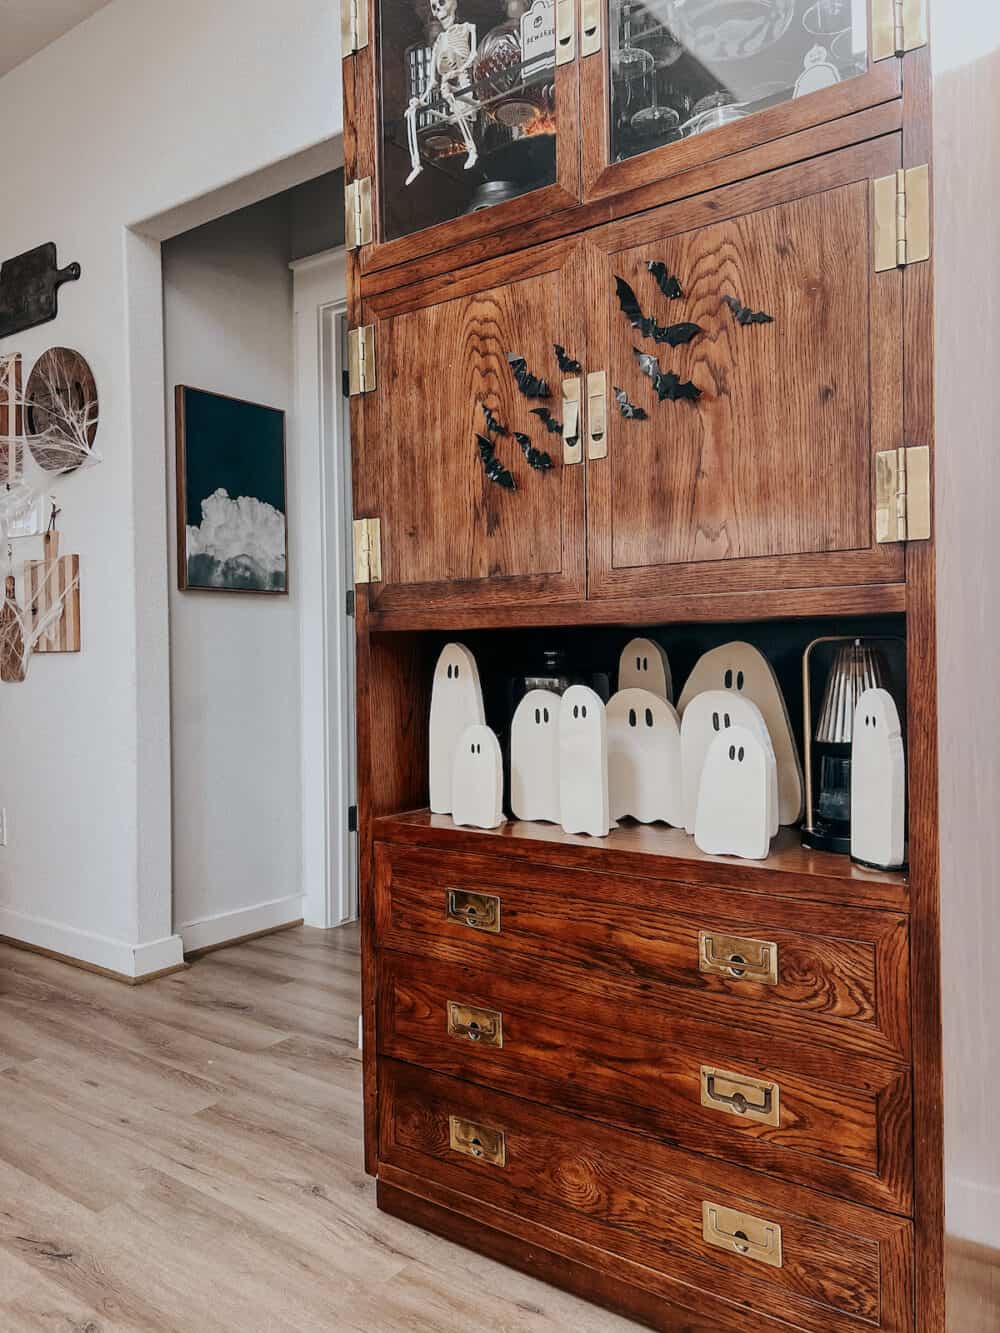
I like a relatively traditional style, so I kept mine simple. Just some white paint, and some little black eyes (painted on with a small paintbrush and some acrylic paint). And that’s all there is to it!
Looking for some more Halloween DIY decor?