
Easy DIY Halloween Icon Glasses For Under $5 Each
I love the Anthropologie icon glasses but at $16 a pop, I just can’t bring myself to buy them. I decided to make my own and, well, it was incredibly easy…and super cheap! Here’s a rundown of how I did it.
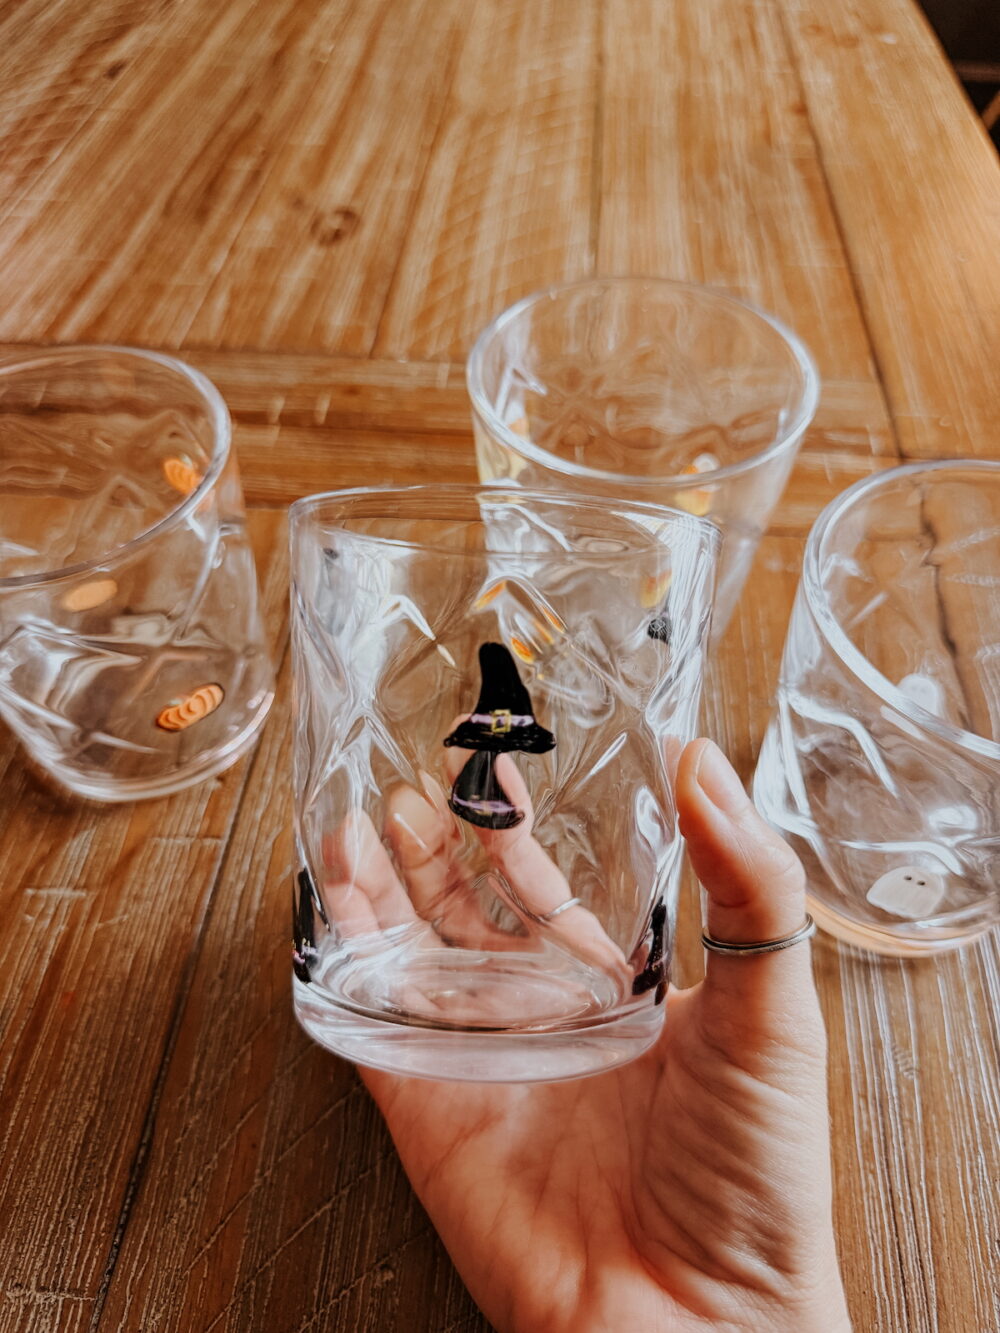
I’ve been slightly obsessed with the viral Anthro icon glasses since the first time I saw them. They’ve kind of become a thing for every season and holiday. You can find knockoffs of them at pretty much every major store that sells home decor and tableware! They’re really gorgeous and I absolutely love all the different takes on them, but it was hard to be willing to spend that much money on glasses. They tend to range from $10 each to $16 each – for something that’s highly seasonal!
I knew it would be pretty simple to make my own version of them, so I set out to figure out how to do it. Turns out, it’s even easier than I thought it would be. And I spent less than $5 each for 4 glasses! The cost per glass will go down every time I make more of them (since I already have the markers now) so I can guarantee you I’ll be making these over and over for each season!
If you want to try your hand at making your own DIY icon glasses for Halloween (or any other season), here’s how I did it:
How to Paint Your Own DIY Icon Glasses
You’ll Need…
- Set of 4 drinking glasses. I got mine from the dollar store for $1.50 each. I recommend choosing glasses with some sort of faceted detail like the ones I have – it makes them feel a little more elevated and will make the designs stand out more.
- Acrylic paint pens. I used this set, but any set of paint pens that is meant for glass will be fine!
Note: If you use a paint made for glass and seal the paint with the oven method below, these should be top rack dishwasher safe, in theory. However, I highly recommend hand washing just to stay on the safe side!
Step One: Clean Glasses
Your first step is to thoroughly wash and dry the glasses! Even if they’re visibly clean, lots of people have probably touched them while they were in the store and they might be dusty. The paint will go on much better if you’re working on freshly cleaned glasses. Be sure to let them dry all the way before starting to paint, to avoid drips or smears.
You can also go over the glasses with rubbing alcohol (and let it dry completely) for an extra step of preparation!
Step Two: Choose Patterns
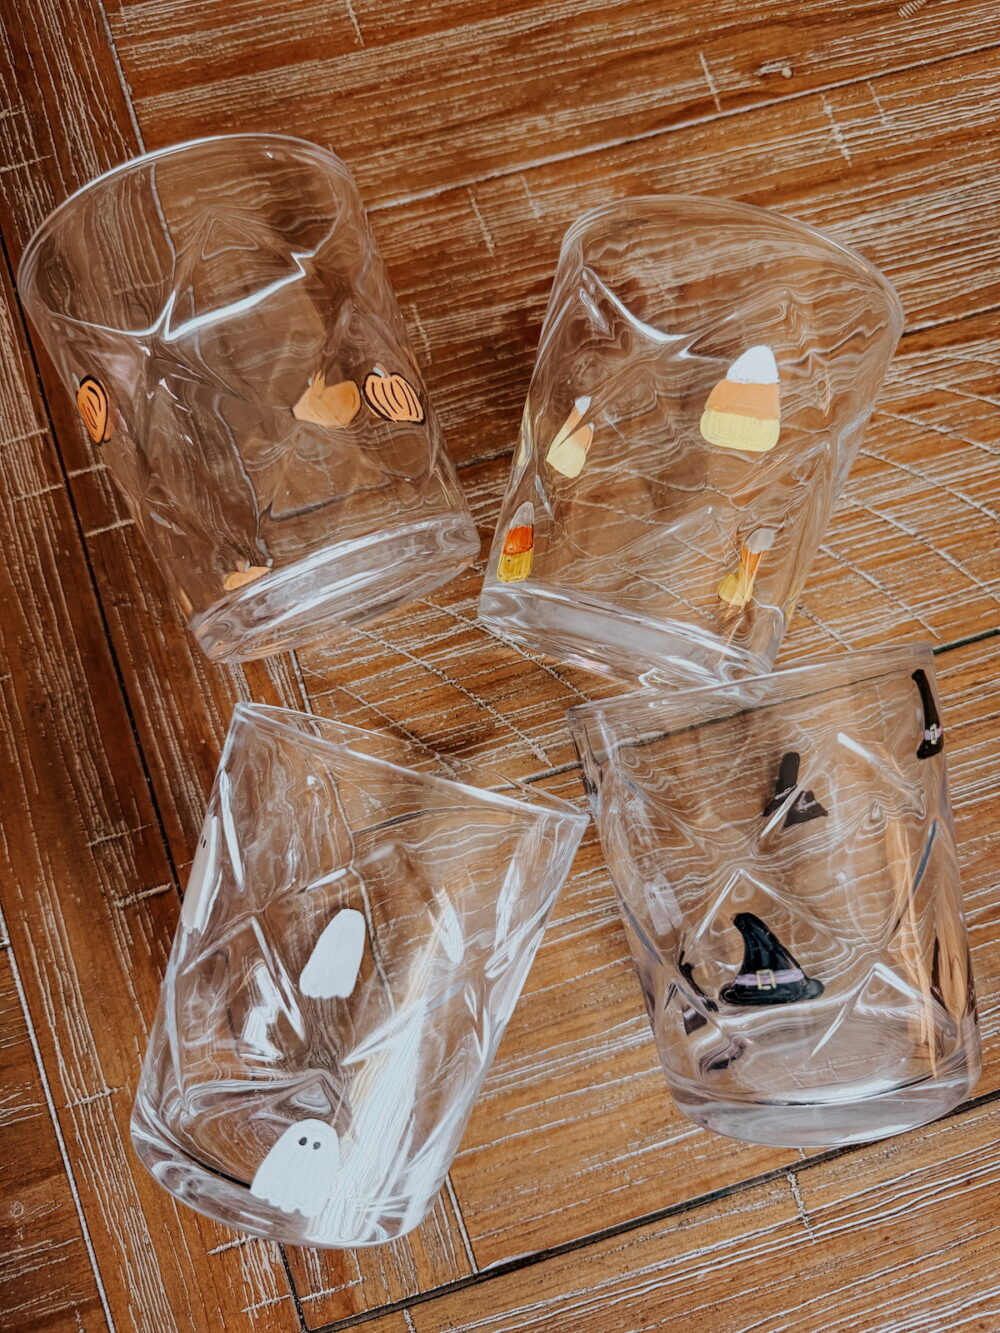
Before you actually start painting, take a second to plan out what icons you want to put on your glasses. For fall, a few fun options could be:
- Fall leaves
- Pumpkins
- Bats
- Ghosts
- Candy corn
- Witch hats
- Monsters
- Fall trees
- Acorns
- Eyes
- Spiders
You get the idea! Have fun mixing and matching however you want! I chose to keep mine on the simple side since that’s my personal preference. But, you could do multiple icons per glass and fill them up all the way if you want!
Step Three: Draw Icons
Once you’ve planned things out, grab your paint pens and get to work! The pens I was working with had two tips – one was fine point and the other is more of a brush style. I used the fine point to outline things and the brush for coloring in. The paint dries really quickly, so I would draw an icon, wait 5 minutes or so, and then do a second coat to deepen the color. If you find that the first layer pulls up when you go to paint the next one, you need to wait longer for it to dry.
If you make mistakes while you work, you can easily wipe off the paint while it’s still wet using your finger or a paper towel. I had a couple of mistakes and was able to fully wipe the icon off and start fresh without any residue left behind. But, once the paint has dried it’s harder to remove! Rubbing alcohol or nail polish remover would make the job easier, if you need to remove any paint after it has dried.
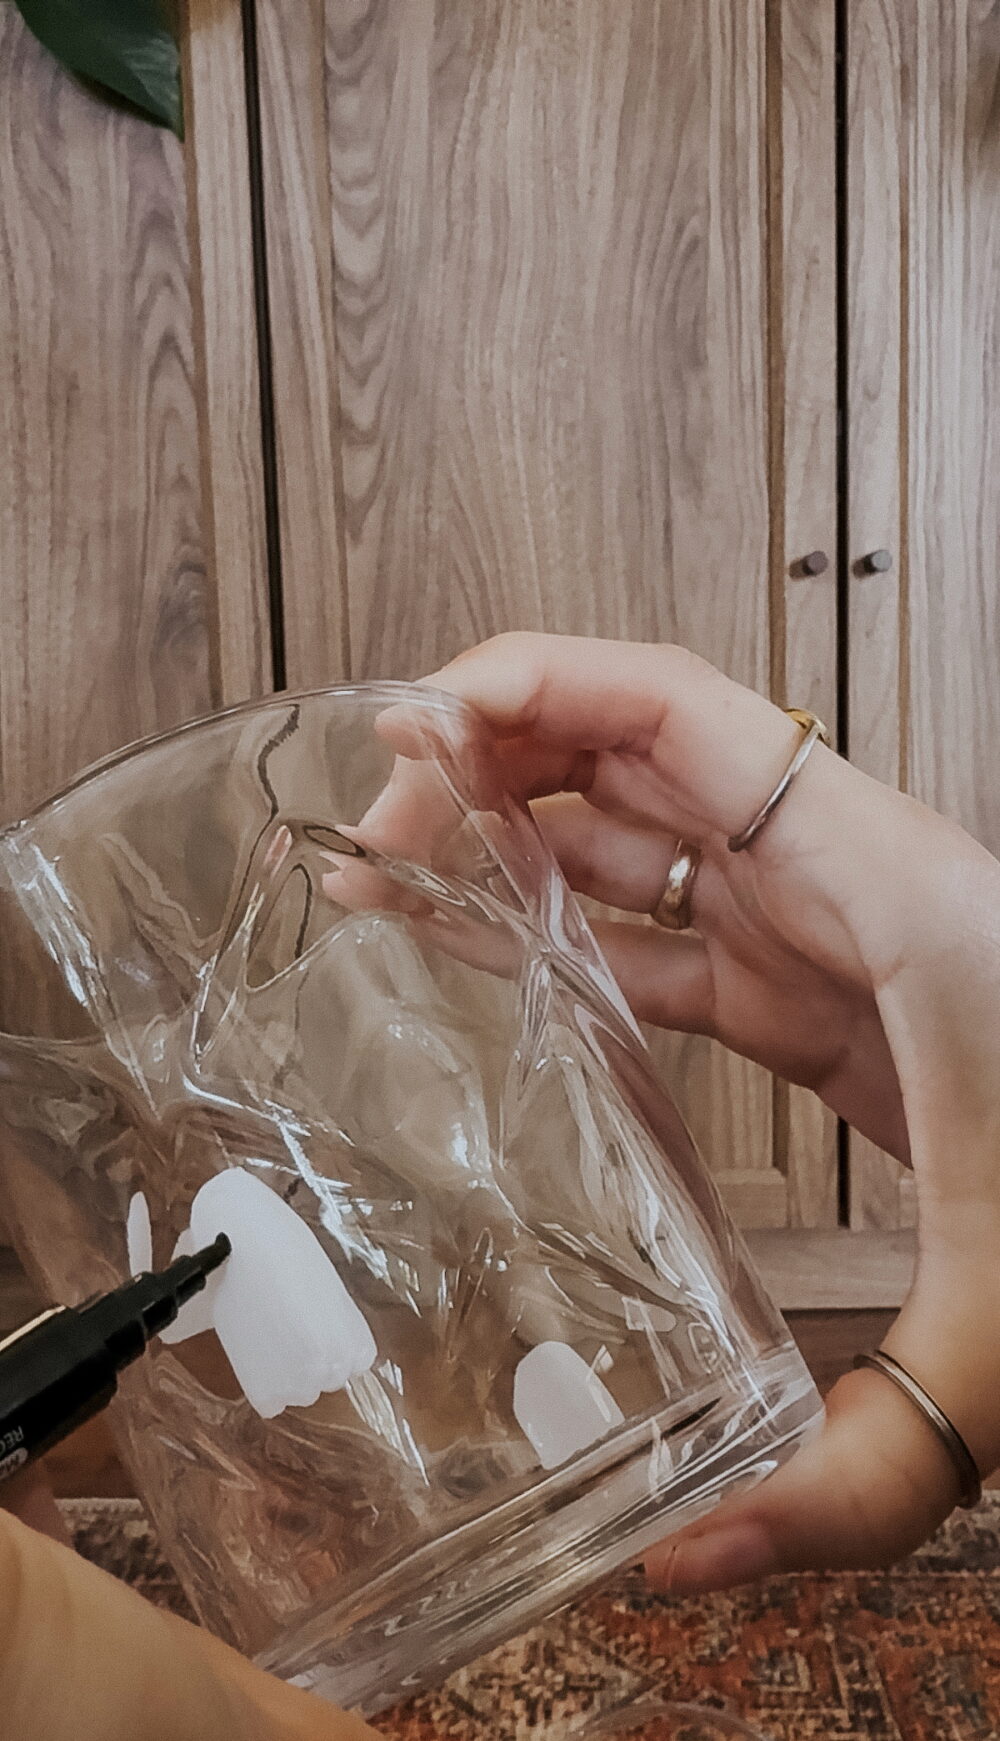
The biggest key here is not to overthink it. You want this to feel hand-drawn and a little whimsical. Not perfect – that’s boring! So, don’t stress if your icons aren’t perfect. Once you get them all on there and look at it from a normal distance, it will all come together.
Step Four: Seal the Glasses
Let the glasses dry fully before you use them, and that’s all there is to it. If you’d like to seal the glasses to increase their durability, you have a couple of options:
- For oven-safe glass, you can put it in the oven at 350 degrees for about 30 minutes. Be sure to put the glass in the oven before pre-heating to avoid shattering. Then, open the oven after turning it off and let the glasses come back down to room temperature slowly. This should significantly help durability!
- Another option is to use dishwasher safe Mod-Podge. This is not food safe, so be sure to keep it away from the rim of the glass where you lips will touch!
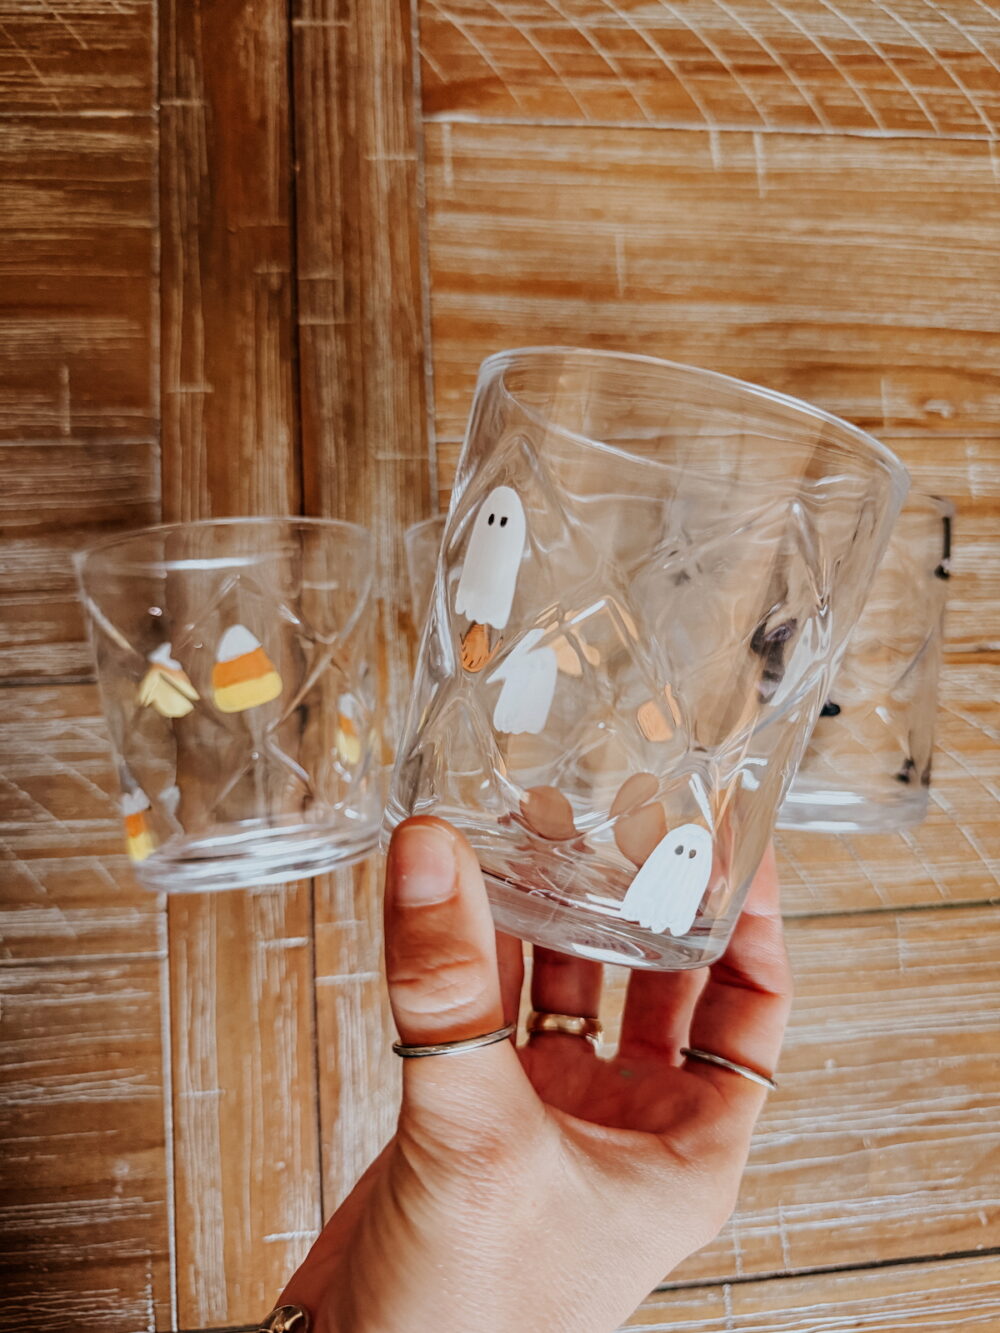
This is easily my favorite fall craft I’ve done so far this year, and I’m already thinking about what version of these I can make for Christmas. Or maybe some pumpkin pie ones for Thanksgiving!