How to Stain Wood {The Complete Guide!}
I’ve been promising this post for some time now, and I’m so excited to finally hit publish on this giant, all-encompassing post about how to stain wood! This post is sponsored by Rust-Oleum.
This year, I committed to bringing you more simple, thorough, super basic posts about how to tackle DIY projects around your house. This post has been a long time in the making, and I think you’ll find it incredibly helpful if you’ve ever had any sort of question about staining wood!
I wanted to be sure to get the best, most accurate information possible and thankfully a couple of incredible representatives from Rust-Oleum were willing to chat with me for this post. You probably already know this, but Rust-Oleum is one of my favorite brands in the world who happens to create my favorite stain products in the world under the brands Varathane and Watco!
My friends at Rust-Oleum were gracious enough to answer aaaaaall of our burning questions and give me a detailed look at some of the products they offer, including which ones are best for beginning DIYers and which ones should be saved for when you have some more experience.
So, grab a cup of coffee, settle in, and get ready to learn everything you ever wanted to know about staining wood!
The Complete Wood Staining Guide
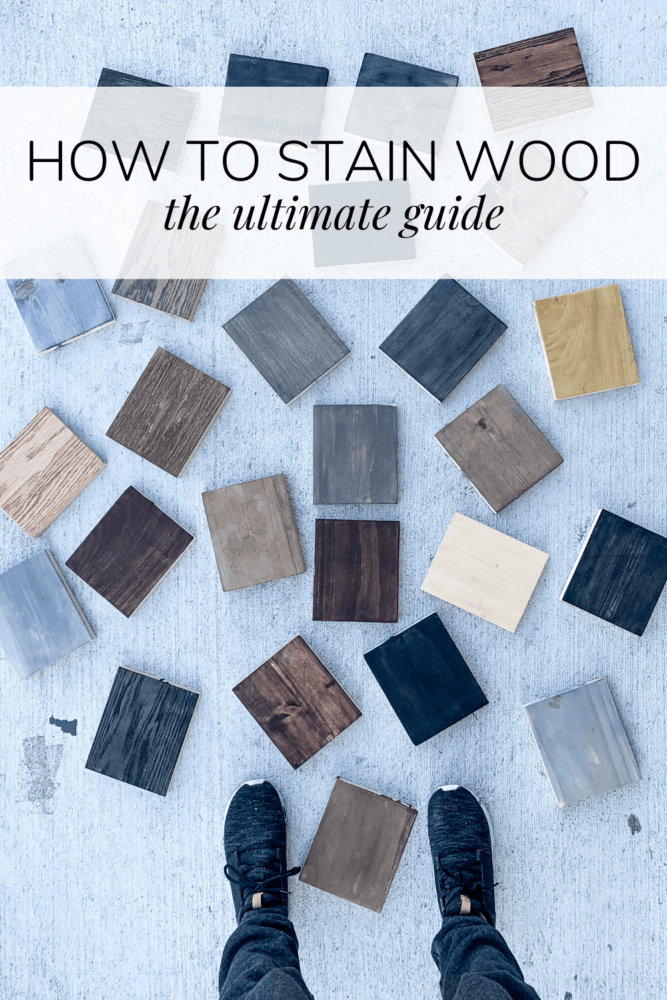
Where to Begin: Choosing a Stain
Before we dive in to the details of how to stain and answer all of the most frequently asked questions, I want to take a moment to chat a little about the different types of stain that Varathane offers so you know where to begin.
There are three different lines of stain and they’re all awesome for their own reasons. But, the awesome brand manager I spoke with really helped it make sense to me when she explained how they relate to your comfort level with DIY! I loved this example because I feel like this information could help even the most nervous, novice DIYer feel comfortable diving in.
For the Nervous Newbie: Varathane Wood Accelerators
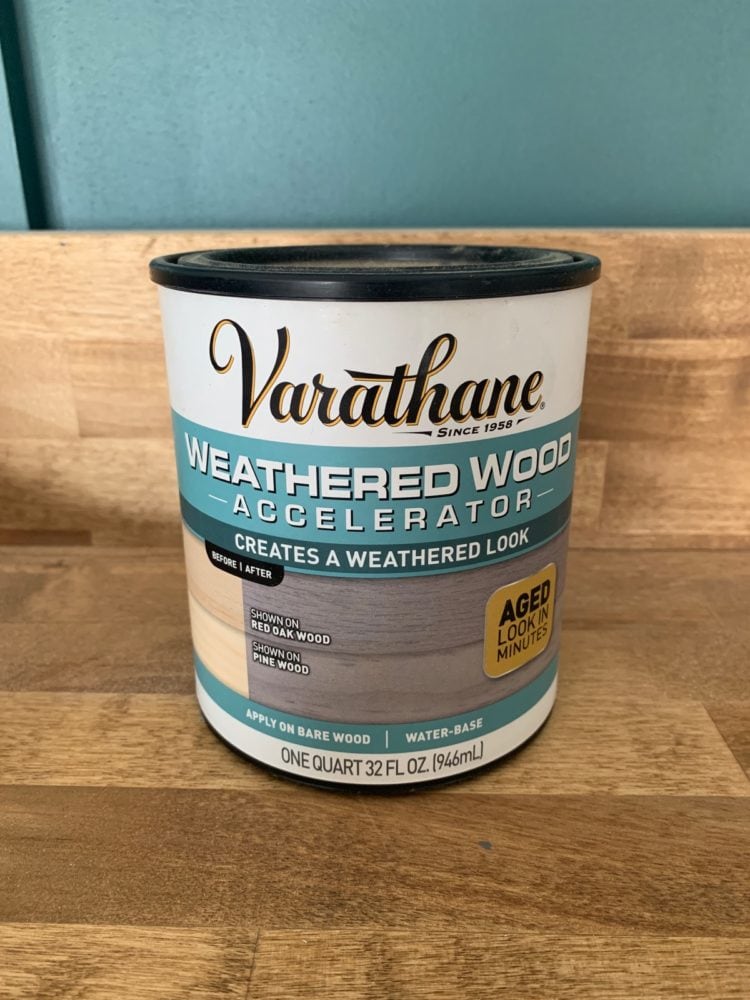
If you’ve never stained anything before and are feeling really unsure about if you’re ready, Varathane’s Wood Accelerator line may be the perfect fit for you!
Of course, it’s also great for those of us who are old pros at the whole staining thing. I can see myself using them aaaaall the time!
Varathane’s Wood Accelerators are water-based and incredibly easy to use. They react with the tannins in the wood to achieve different effects, and they’re so gorgeous. All you have to do is apply the wood accelerator to your piece of bare wood and let it do the work for you. No need to wipe it off!
Because it’s so incredibly simple to apply, this is such a great way to get some confidence with your first staining project and see how satisfying it can be. Currently, Varathane’s Wood Accelerators come in three colors (Weathered Wood, Charred, and Aged Wood).
For the Impatient Amateur: Varathane Premium Fast-Dry Stain
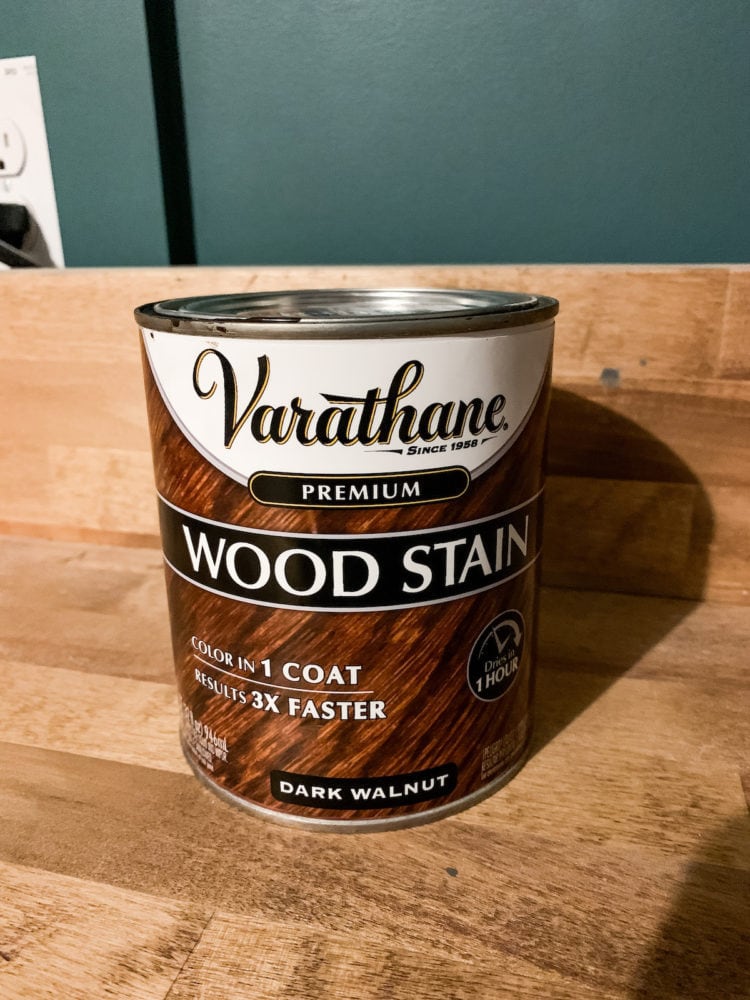
Please know I am raising my hand for this category!
Varathane’s Premium Fast-Dry stains are by far my very favorite line of stain to use. It’s a regular oil-based stain, but the beauty of it is that it is formulated in a way that doesn’t require wood conditioner! It’s perfect for those of us who consider ourselves casual DIYers. It only requires one coat to achieve the color on the label, it dries in one hour, and did I mention you don’t need to use wood conditioner?!
This stain is applied just like any other stain (we’ll get to those details in just a moment, promise!), and doesn’t require any special knowledge or skills. You should be able to achieve exactly the color shown on the label with just one coat, which is so (so!) nice.
For the Seasoned Pro: Varathane Classic Wood Stain
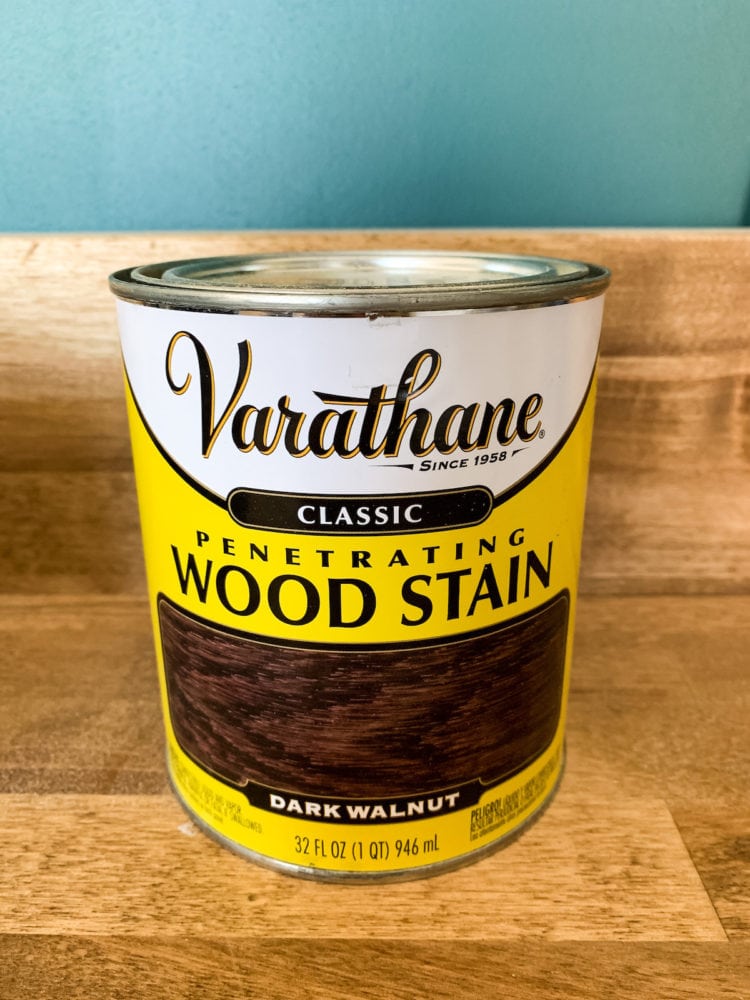
And finally, Varathane’s Classic Wood stain is what you probably think of when you think of a traditional stain. It’s a buildable coverage (which means it typically requires 2-3 coats to see the color on the label). It also takes a little longer to dry, and gives you a little more control over the end result.
This stuff is great if you want a really specific color and want to be able to control how light or dark it ends up, or if you’re mixing and layering stain colors to achieve something specific. It’s not any harder to use than the Fast-Dry wood stain in practical terms. But, it does require a little more finesse and knowledge in order to get to the exact color you want!
Don’t feel like you need to stay away from this line if you aren’t comfortable with staining. I use it all the time and love the control it gives me! But, if you’re nervous about trying it out for the first time, I recommend getting your feet wet with the Fast-Dry line. Then, once you’re comfortable with how staining works, you can try this line out!
How to Stain Wood
Now, let’s jump into the actual specifics of how to stain.
This is one of those processes that I think intimidates a lot of people – but it doesn’t need to! I promise that staining wood is incredibly simple, and I would honestly even argue that it’s easier than painting.
Promise.
Step One: Prep Your Surface
The MOST IMPORTANT thing you need to know about achieving a good finish when staining wood is that you have to sand your wood. A lot.
In fact, I laughed out loud when I read one of the questions y’all submitted on Instagram. It said, “do you really need to sand and sand and sand and sand to get the best results?”
And the answer is, YES. I’m sorry. But yes.
Sanding is absolutely vital to achieving good results with staining wood. You should never start staining until you’ve thoroughly sanded your piece first.
I’ll talk more about sanding in another post, but here are the basics:
- You can always sand by hand, but things will move much faster with a random orbital sander. For smaller projects, a cat sander is fine too.
- You should always start with your lowest-grit sandpaper and work your way up to a high grit.
- If you’re using a hard wood, start at 80-grit. If you’re using a soft wood, start with 120-grit.
- After your first round, move up to 220-grit.
After 220, you should be ready to stain. Though, feel free to keep going up to higher grits for an even smoother finish! After sanding and before staining, make sure you give the wood a thorough wiping with a lint free cloth. This will remove any sanding dust.
Step Two: Stain Your Wood
I recommend using a lint-free rag or a high-quality paper towel for staining wood. I love to keep some lint-free rags on hand at all times for staining projects! But, if I’m running low on rags or am just feeling lazy, I’ll grab one of these paper towels and it works really well too!
You can also use a high-quality brush. But just know that if you cheap out, you may find lots of little brush bristles left in your stain! If you’re working with one of the wood accelerators, you shoudl use a foam paintbrush. Since they’re so thin, it does the best job of soaking up the accelerator and applying it to the wood without making a mess.
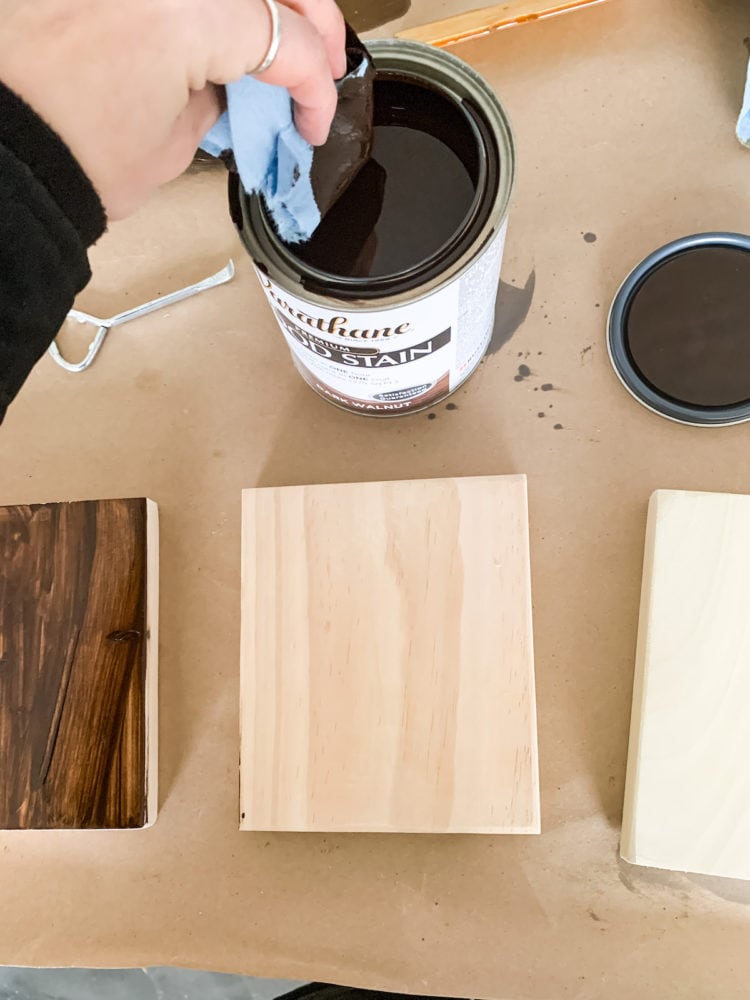
Here are my best tips for staining wood:
- Before getting started, read through your stain application instructions. Some stain can only be gently stirred. Varathane Premium Fast Dry and Classic Wood Stain stain can be stirred or shaken. Mix your material thoroughly at the start and stir occasionally during use.
- Dip your rag (or paper towel!) into the stain so that it’s saturated but not dripping.
- Rub the stain into the wood, following the grain as you go. You want to do nice, long strokes so that you don’t end up with a blotchy finish.
- After the wood is covered with the stain, allow it to sit for 2-3 minutes. Check the back of your can for timing if you’re using anything other than the Varathane Fast-Dry stain. Other stains may require a longer time. The longer you let it sit, the darker your color will get. But, for this particular stain I never recommend letting it sit for longer than 5 minutes. After that, it will be hard to remove the excess.
- After the stain has sat for a couple of minutes, you’re ready to remove the excess. Grab a clean rag and gently rub the excess stain off. Make sure you are moving in long strokes with the direction of the grain.
- That’s it! Add another coat to darken the color if you’d like, and once you’re satisfied with your color and it has dried (according to the time listed on the back of the can), you’re ready to seal it!
Step Three: Seal the Wood
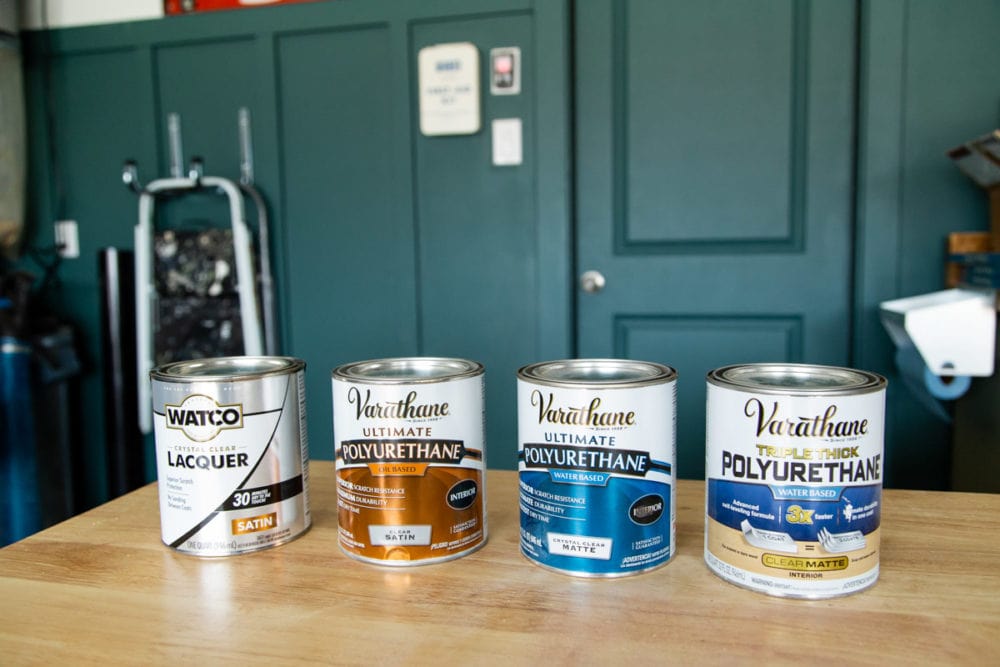
Here’s a basic breakdown of your options when it comes to sealers:
- Polyurethane: I recommend Varathane’s Ultimate Water-Based Polyurethane for most projects. It won’t affect the color of your finish, it’s easy to use, and has a buildable coverage. If you want to try something a little faster, Varathane’s Triple Thick Poly is fantastic and only requires one coat. But, if it’s your first time it’s easy to accidentally put it on too heavy. I recommend getting comfortable with staining and sealing before trying this! Another option is an aerosol polyurethane. It is great for projects that have tricky angles, but also requires a certain finesse and you can end up with drips if you aren’t careful!
- Lacquer: Lacquer is very similar to a polyurethane in what it achieves but has a slightly different chemistry. It’s generally considered easier to apply because it’s thinner and dries very quickly. But, it’s not as durable as poly is. If you’re using the weathered wood accelerator, it’s recommended to use a lacquer aerosol to seal it. The poly can react with the accelerator and affect the color!
- Spar Urethane: Finally, if your project will live outdoors or anywhere that it might be exposed to the elements, you should use spar urethane. I like this Varathane Spar Urethane.
It’s also worth noting that a water-based poly is going to be a better option if you’re sensitive to fumes. Oil-based poly and lacquer will both have stronger fumes!
Water-Based vs. Oil-Based Sealers
One very important thing to know when choosing is that oil based sealers will likely affect the finished color of your product. Oil-based sealers have an amber hue to them. So, if you’ve ever experienced one of your projects yellowing a bit after sealing (especially over a lighter stain color), it’s likely because you used an oil-based sealer. Water-based sealers should not alter the color of your stain and will generally give you a crystal clear finish.
Here’s a peek at the difference between water based and oil based sealers. On the left side of this piece of pine, I used oil-based sealer. On the right, I used water-based.
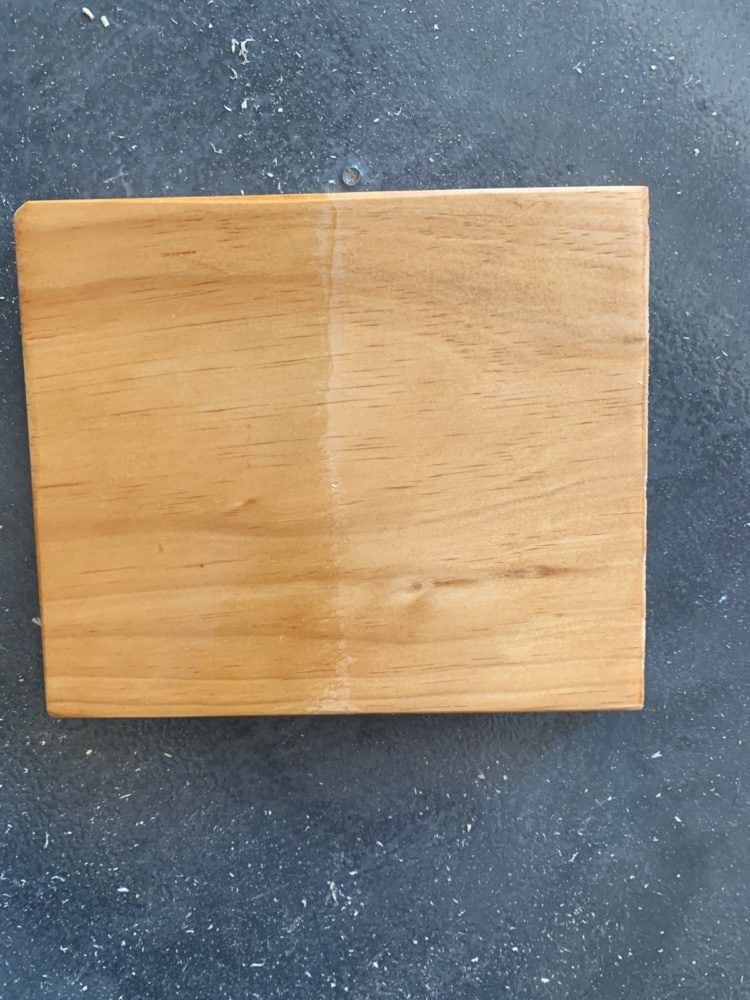
The oil-based sealer is a satin finish, while the water-based is matte. So, you can definitely see a difference in sheen, but you can also tell that the water-based sealer is basically completely clear, while the oil-based has added a more amber hue to the wood, which will continue to deepen over time.
Both of them are gorgeous, but it’s definitely important to keep in mind when choosing a sealer!
Frequently Asked Questions
What About Staining Decks or Fences?
The same basic process applies (though you can use large stain applicators if you’re doing a deck!) here. You’ll just want to make sure to use a spar urethane to seal it!
For outdoor furniture, front doors, and fences I’d recommend Varathane’s Spar Urethane. It’s available in Oil-Based or Water-Based formulas. But, if you are adding a protective top coat to a deck or something that will be walked on you can’t go wrong with Wolman by Rust-Oleum Raincoat Clear Oil-Based Water Repellent Sealer.
Is There a Food-Safe Option?
Generally speaking, stain isn’t considered food safe. If you want to change the color of a wood cutting board, a wooden bowl, or butcher block counters you should use a butcher block oil (Danish oil is a great option too!)
How Do I Get a Smooth Finish? Mine is Always Bumpy!
If you find that you have a rough finish after sealing, it’s likely because you didn’t do a thorough job of sanding in-between sealing coats. You should always lightly sand in-between each coat of sealer, no matter what sealer you’re using. I like to use a 220 grit sanding block.
Don’t forget to sand after your last coat too!
Can I Stain Over a Previously Stained and Sealed Surface?
The short answer? Not really.
Stain is meant to interact with the actual wood surface. You can add stain on top of stain to mix colors, but if the surface has been sealed, it can no longer be sanded without removing the top coat.
What does this mean? Sanding, sanding, and more sanding. You can also use a stripper to remove stubborn finishes. It’s a lot of work, but it’s worth it for a good finish!
However, if you really want to avoid stripping or sanding, hope is not lost. Varathane does offer a 2-in-1 Stain & Poly that can be applied over existing polyurethane finishes without stripping. You just need to lightly sand prior to application. However, this works best if you’re going from a lighter color to a darker color. Some of the lighter colors of the 2-in-1 won’t cover over a dark stain as well, and it does require at least two coats, with light sanding in-between.
My Stain Looks Patchy – What’s Wrong?
If you finish your sanding job and find that the wood looks patchy, there could be a couple of things at play.
- To some extent, the wood you choose can affect this. If you’re using a whitewood with lots of knots in it, there will be areas that are darker than others because that’s just how knots accept stain.
- If you’re using a quality wood without a lot of knots and still having issues, it’s probably because you didn’t sand enough. Give it another go and sand really thoroughly, then try again!
- Finally, it’s possible that you could get a patchy finish if you don’t stir your stain enough before using it!
Can You Stain Wood Veneer or Laminate?
First of all, let’s chat about the difference between veneer and laminate.
- Veneer is made from actual wood. It is a thin layer of hardwood that has been applied over another surface (usually plywood). Because it is real wood, wood veneer can be stained.
- Laminate is a man-made material that is printed to look like wood. It’s actually made of plastic, so it will not accept typical stain. Varathane does offer a Gel Stain that can be used on wood, metal, fiberglass, and other non-conventional surfaces (including laminate!).
And that, my friends, is pretty much everything you ever wanted to know about stain (and then some!). If there’s anything I missed, leave your questions in the comments and I’ll do my best to get to them! Check the links below for more stain tips and tricks.

I got my floors done with the classic stain in the yellow can. It’s so sticky . How do I avoid taking it all up ? What can I put over it to prevent it from being sticky so I can move my furniture back in my bedroom
Hi! I would recommend talking with the professionals who did your floors, if they were professionally done.
I stained a dresser yesterday afternoon with Varatane Premium Fast dry stain in KONA and it isn’t quite dark enough. Can I add a second coat of stain and if so, do I need to sand again?
Yes, you can add another layer! No need to sand!
What about using a sprayer for staining? I have seen some posts that recommend using a sprayer for the poly to avoid brush marks.
Yes, I’ve done this and it works well! I’ve got a blog post about it – I’ll update the post to link it! https://www.loveandrenovations.com/how-to-stain-fence/
Such a helpful article! Thank you!
I’m looking to refinish a red oak dining table. I love the images of the Aged Wood Accelerator on red oak but I’m planning to do some sanding over the stain for a more rustic/farmhouse look. Am I able to use a lighter brown stain under the Aged Wood because I want to limit any of the red from the raw wood coming through when I sand off some of the stain? I am not sure I’d get same look/color if the Aged Wood doesn’t have direct contact with the red oak.
Thanks in advance!!
Hi! The aged wood accelerator reacts with the wood itself, so the look will definitely be different if it’s stained. I’d grab a small piece of red oak from the store and test a few different methods!
Hi! How long do I have to wait before applying a water-based poly (planning to use the triple thick water based) over top of the fast-dry dark walnut wood stain? Usually I thought you had to wait 72 hours going from oil stain to water top-coat but that was with another brand and stain type so wasn’t sure.
I’m planning to do a train table for our kids. Would you recommend instead of the above just doing the Danish Oil in Black Walnut so that it is “food safe” since ya know the kids will be eating snacks while they play, and let’s be honest probably liking it at times ha! Looks like Danish Oil still needs a top-coat so I’d still plan to use the triple thick water based poly? If yes, similarly dry time before applying the topcoat- 72 hours?
I usually wait about 24 hours before a top coat. And I think either option is probably okay – food safe ratings matter most for when you’re actually prepping/cutting things on the table or cutting – if a snack gets dropped or something, it’s no big deal!
Hi,
I recently purchased a white pine potting table with shelves. It’s unfinished, and I like the look… however, given the elements, I want to coat it with a protective finish. Is it ok to skip the stain and just use water-based polyurethane? And if so, can I skip the sanding step as well?
Thanks in advance!
Hey Meg! You should be fine to use poly without stain or sanding for this piece! Generally, when you purchase unfinished furniture it’s going to come sanded and ready for whatever finish you want to use!
Hi!!! I’m staining I’m staining for the first time and your post has been sooooo helpful!!!! I just have a question… I’m using the aged wood accelerator on common pine… and I’m not sure which sealer to use so that the color is NOT affected. I know you said to you the lacquer spray for the weathered gray just not sure if that applies to the aged wood as well. Thank you!!!!
I believe you can use any water-based sealer and you should be good!
Thank you for all this information! Do you have to sand new, untreated wood as well? I bought an unfinished maple vanity and I didn’t think I’d have to sand it, but now Im not sure. Thank you!
If you’re buying it in the form of furniture, it’s likely already been fully sanded and is ready for stain!
I’m using Varathane premium fast dry stain in Vintage Aqua, Weathered Grey, & Ebony on treated lumber. Two questions I did a sample board & loved it but didn’t take into account that I would need to do 2 coats of stain. I’m not layering the stain more like streaking the colors so u can see each individual color. Kinda hard to explain. If I could attach a picture I think you’d better understand what I’m trying to achieve. So how should I apply the second coat and for a top coat I chose Varathane Ultimate Spar Urethane Clear Satin. Will that yellow my stain colors? Thank you
You don’t HAVE to apply a second coat unless you want to deepen the color. But, if you want to, I’d recommend repeating whatever process you did for the first coat if you want the color to stay generally the same! And the spar urethane shouldn’t yellow your colors if it’s water based – oil based might yellow it over time slightly.
The picture at the top of this post has many samples of colored squares in a dark blue (and a pair of blue runners). Is this picture of Varathane Worn Navy or another brand or color? Is the darker blue 3 coats? I am having a hard time finding a good navy blue stain for pine shiplap. Any advice you have would be much appreciated.
Hi! None of these are navy – but the black may be what you’re talking about! You can see a detailed look at all of those colors here: https://www.loveandrenovations.com/stain-colors/