How to Stain a Fence With a Sprayer
Looking for info on how to stain a fence quickly and easily using a paint sprayer? Look no further! I’m sharing the how-to on fence staining, plus answering your questions.
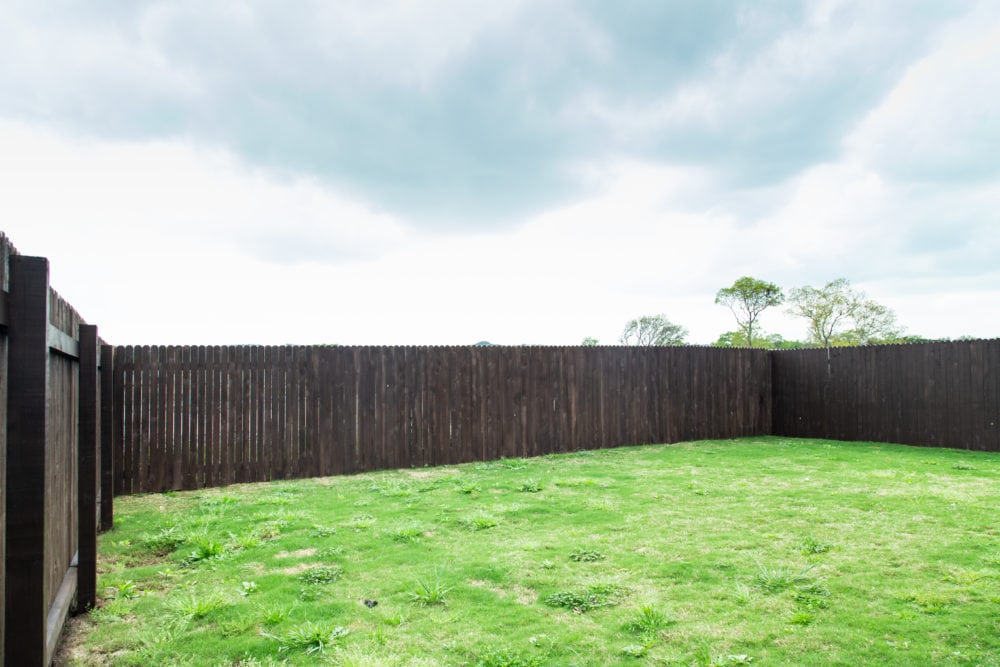
It’s a little hard to believe that this is the third house we’ve owned and the first time we’ve ever stained a fence before. But, here we are!
Staining our fence was one of those projects I knew we had to get done sooner rather than later. But, I really wasn’t looking forward to it. It felt like such an overwhelming project! Plus, I was so worried I’d be unhappy with the final result.
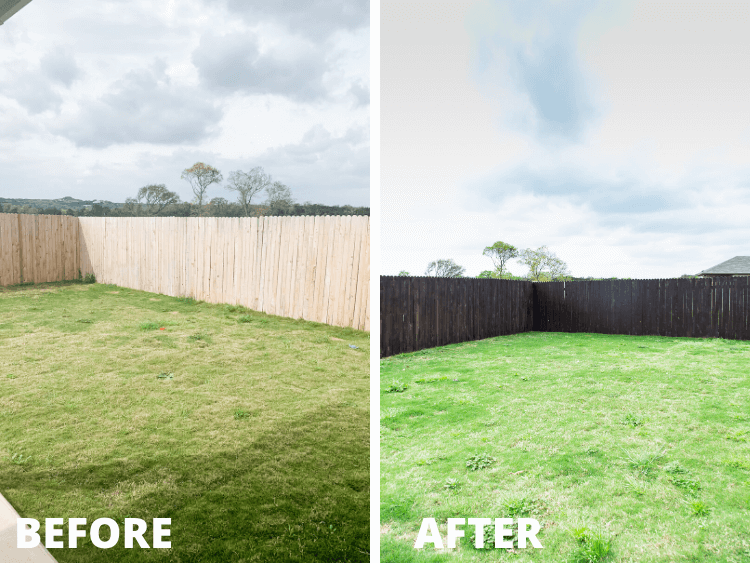
Thankfully, I had nothing to worry about. It is a big project to stain your fence, but with the use of a sprayer it’s totally manageable. And holy cow, does it ever look better than it did before!
I won’t pretend to be an actual expert on this topic because I’ve stained exactly one fence. But I will share what I learned and how I did it! Get ready to learn everything I know about how to stain a fence. Then, you can feel confident to tackle it yourself!
How to Stain A Fence Quickly & Easily (Seriously!)
Why Stain Your Wooden Fence?
Before we dive in, let’s take a quick moment to address the why. An unstained fence is totally open to the elements. The hot sun, the wet weather, and everything in-between! Over time, this can lead to rotting, silvering (where the fence becomes really gray), and wood splitting.
In short, your fence won’t last nearly as long or look nearly as good if you don’t stain and seal it. For that reason alone, it’s always a good idea to stain your wooden fence.
Tools & Materials Needed
- Pressure washer
- Wagner Control Stainer 350 Sprayer
- Fence stain (We used this one)
- Paint roller + roller cover
- Paintbrush
How Much Does It Cost to Stain Your Fence?
This will vary largely depending on the size of your fence. But, here’s a general breakdown:
- The paint sprayer we used costs about $65.
- The stain we used cost about $50 per gallon. Each gallon covers approximately 300 square feet of fencing. I did two coats of stain and needed about 6 gallons for our fence, for a total cost of about $300.
- You can rent a pressure washer (or borrow from a friend), but you can buy one for about $100.
- You should plan an additional $20ish if you need to buy a paintbrush, roller, and roller cover.
Step One: Prep Your Fence
Before you can stain your fence, the first thing you’ll want to do is clean it!
Fences get dirty pretty fast – even if they don’t appear dirty. Things like rain, mowing the lawn, and wind blowing dirt up add up quickly. If you try to stain a dirty fence, you won’t have lasting results. So, the first step is to pressure wash your fence! You can rent a pressure washer from your local home improvement store. But, I think it’s one of those things every homeowner should just have on hand. It’s so useful for tons of different things (see a few ways I use ours here), and you’ll be glad you have it.
Once you’ve washed your fence, you need to let it dry for a solid 24 (ideally 48) hours before you stain.
Step Two: Stain the Fence With Your Sprayer
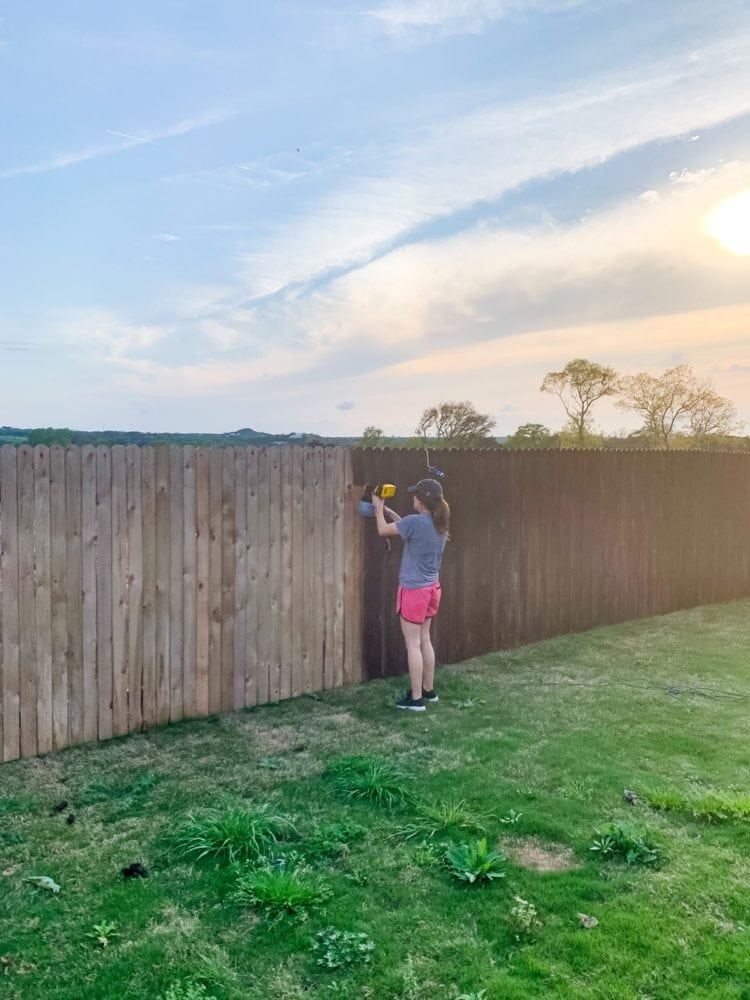
I tried out a new-to-me sprayer for this project. It’s meant for thinner materials like stain and has less overspray than you might get from using stain in a regular sprayer.
If you’re new to using a paint sprayer, you can click here for a full tutorial on how to use one. This is a different sprayer than the one featured in that post, but the mechanics are exactly the same.
You’ll want to play around with the paint flow setting to ensure you’re getting a good amount of material without wasting it. I started off at the highest setting (12) and quickly realized that it was spraying way more than I needed. Having it at a 6 or 7 was the perfect middle ground for me.
I used my paint sprayer for the back fence and the side fences up to the neighbors house. Our lots are pretty small and my side fence is very close to my neighbor’s house on each side. I didn’t feel comfortable spraying that close to their house. So, I swapped over to a roller and paintbrush once I reached their house.
Does the Stain Go Through the Cracks In the Fence?
It depends. In the areas where we had small holes in the fence or the cracks were larger, yes it does a small amount. But, as long as there isn’t anything on the immediate other side of the fence, it should be perfectly fine. Tiny particles of stain on the grass will simply get mowed off the next time your neighbor mows. They’ll likely never even see it.
If they have something sitting near their fence (like a patio, etc.) then I might take some extra precautions. For example, you can just knock on their door to give them a heads up and ask them to move it! Both of our neighbors didn’t have anything sitting near the fence in their backyard. So, I just sprayed as normal all the way up until their house.
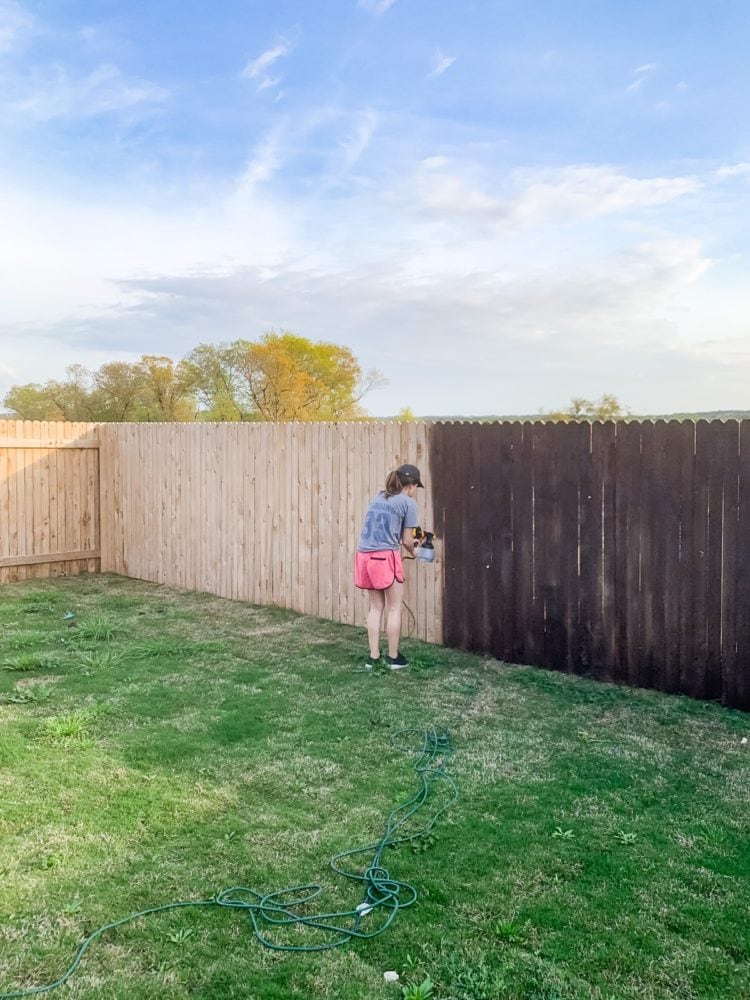
All of this is covered in my post on how to use a paint sprayer, but here are a few reminders for a good staining job:
- Move slowly and steadily – don’t rush it!
- Keep the sprayer no more than 6-8 inches away from the fence at all times. The further away you get, the more likely you are to have overspray!
- Do not bend your wrist as you work. Keep the sprayer parallel to the fence! This helps ensure as much material as possible actually makes it onto the fence.
As you’re working, you should stain one small section (about 5-ish feet of fence) at a time. Then, set the sprayer down and back-roll it using your paint roller. This will help ensure that the stain isn’t splotchy. It also can help the paint get in all the little grooves of the fence.
I found that, despite the stain can saying only one coat was needed, two coats was the way to go for the most even coverage. I waited overnight between coats, but the can said that 4 hours was sufficient. Just be sure to follow the directions on the specific brand you’re using!
Does the Stain Get On the Other Side of the Fence?
Nope! I snuck over to the front of my neighbor’s yard and snapped a picture of what their side looks like. It looked great!
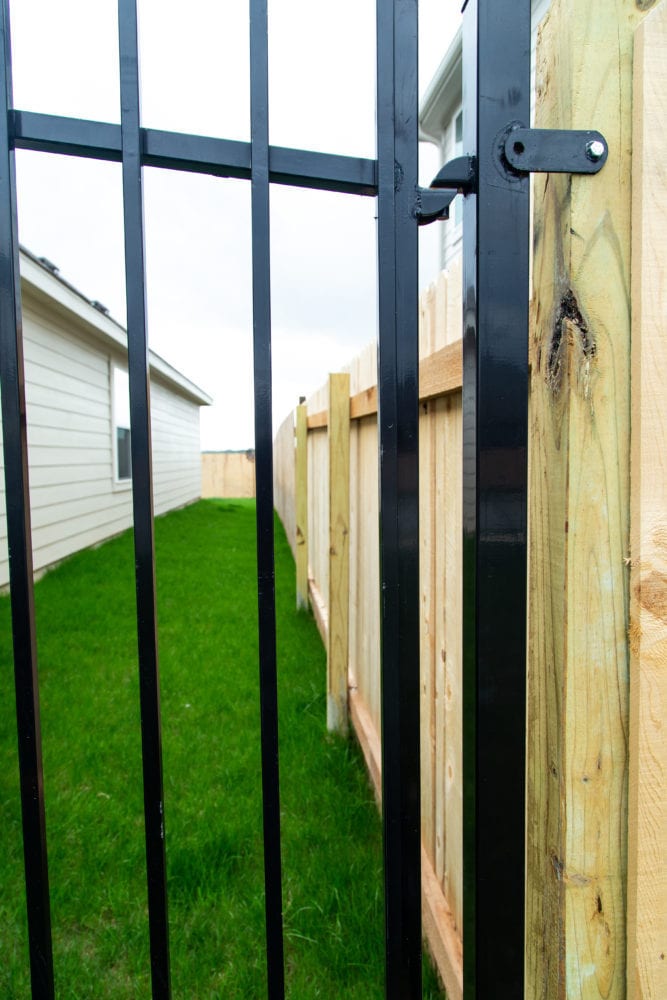
This was, by far, the most common question I got as I shared the process on Instagram stories. I can assure you it’s not something you need to worry about! Honestly, I found myself worrying about getting it on the other side of the fence a lot more when I was rolling and brushing next to the neighbor’s houses. It was so easy for my hand to slip when I reached the top of the fence or as I was working near the cracks!
With the sprayer, as long as you follow the tips I mentioned above (like spraying parallel to the fence and keeping your sprayer nice and close to the fence) there’s almost zero chance of the stain bleeding through or getting on their side of the fence.
Should I Seal My Fence After Staining?
The stain that we chose is a stain + sealer in one, so it’s a one-step process. If you choose a regular stain, you will need to seal afterwards!
Step Three: Clean Up!
I think cleanup is probably the part of the process that’s most intimidating for people who are new to using a paint sprayer. Heck, I use my paint sprayer all the time and I was still a little nervous about cleaning up the stain!
Thankfully, it’s actually a really simple process. Wagner claims that you can clean it from start to finish in less than 8 minutes. I found that to be true!
All you need to do is grab a 5-gallon bucket and dump some mineral spirits into it. Then, take the sprayer apart fully and clean each piece with the mineral spirits. It cleans right up with no issues! I gave it all a rinse with some soap and water afterwards to help make sure it was fully clean. Simple, quick, and easy!
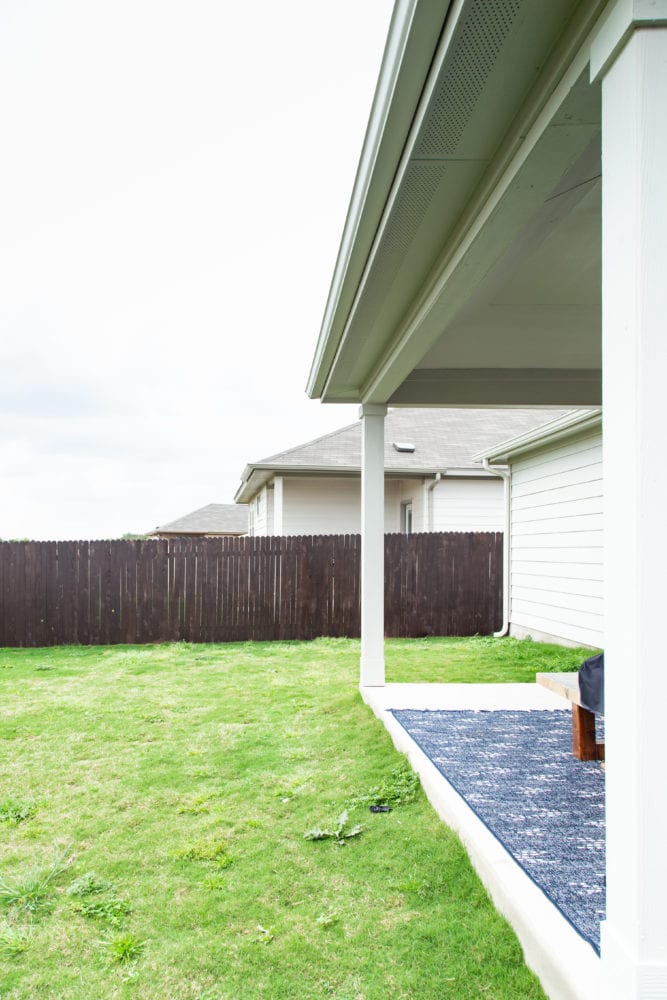
The color isn’t actually what we had originally expected – it turned out a tad darker than we had anticipated. But, I’m really happy with it! I heard from many of you who have dark fences and said that they fade pretty quickly and that we won’t regret going with a darker color. I love how it seems to disappear in the evenings when the sun starts to go down. And when we start planting some things, back here I think we’ll really appreciate how it makes things pop!
I’m so relieved to have this project done, and so glad it didn’t end up being as intense as I thought it would be. Now that it’s out of the way, I really need to spend some time focusing on taking care of all the weeds (!!) in our yard and prepping for some spring projects. I have about a zillion ideas, and I’m excited to see how cozy we can make this little space!


May I ask why you only did one side?
We only own one side of the fence. The other side belongs to our neighbors!
Your fence looks great. I love the color, would mind sharing the brand and color with me?
Thank you! This is October Brown by Valspar!
Great tutorial, as usual!