
How to Clean Your Shower (The Lazy Girl’s Method!)
Does your shower need a deep clean? I’ve got you covered. Here’s my comprehensive guide to how to clean a shower, including details on dealing with mold and mildew, cleaning the grout, and keeping it clean without tons of scrubbing.
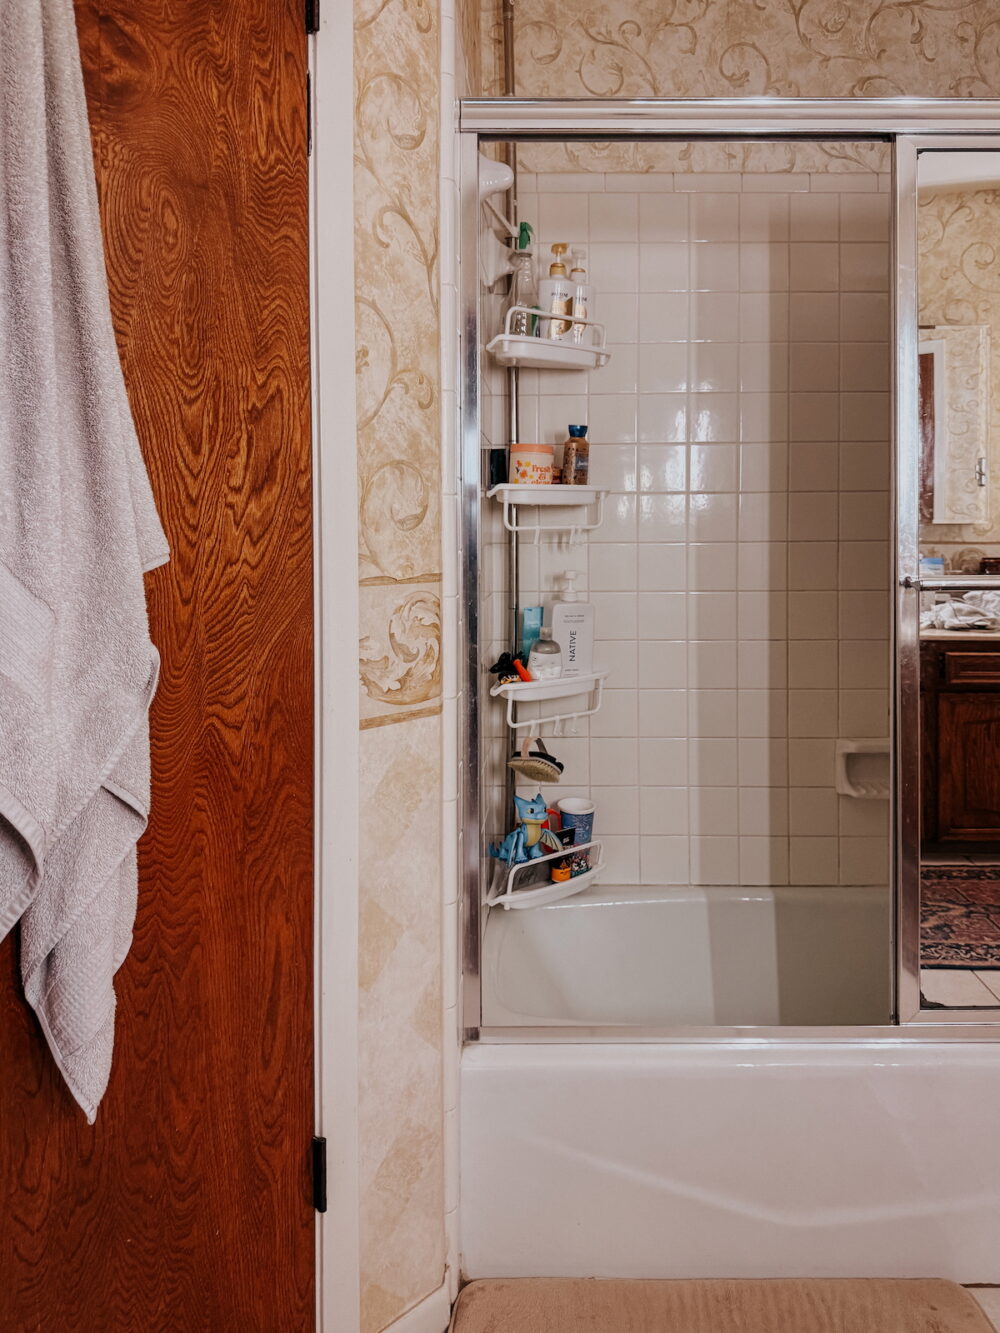
I’ll be blunt: cleaning the shower is probably my least favorite cleaning task in the entire house. It’s wet, it’s awkward, and somehow it always feels like it takes longer than it should. I hate it with my entire heart and soul and I avoid it for as long as humanly possible.
I mean, it’s the place I go to get clean. It cleans ME. I shouldn’t have to clean it. Right?!
The good news is that it doesn’t have to be a huge project. With the right tools and a simple routine, you can get your shower clean in less time, and with a lot less scrubbing. Promise – I’m going to make this as painless as possible.
This is the process I use to clean our shower, including the cordless electric scrubber that does most of the hard work for me. You know I love a good cleaning hack!
What You’ll Need to Clean Your Shower
Before you get started, gather a few basic supplies:
- Your favorite bathroom cleaner (this is mine)
- Grout or mold cleaner (if needed)
- Microfiber cloths
- An old toothbrush or small detail brush
- Electric scrubber
- Squeegee (optional)
My Favorite Shower Cleaning Tool
If there’s one thing that’s made the biggest difference in my bathroom cleaning routine, it’s my cordless electric scrubber.
Instead of kneeling down and scrubbing tile by hand, I can let the scrubber do most of the work. It’s especially helpful for cleaning shower floor tile, grout lines, and the lower portions of the shower where soap scum tends to build up.
If you struggle with back pain, hate scrubbing, or simply want to make the job faster, it’s absolutely worth considering. It obviously works on plenty of things other than the shower, but that’s where I tend to use it the most!

How to Clean Your Shower the Easy Way
We’ll get into specifics on things like soap scum and mildew and mold, but first let’s do a quick rundown on the basic steps to cleaning your shower. Regardless of what cleaners or tools you use, this is the general process. It’s obvious and a little basic, but we never make assumptions around here about what you might (or might not) already know!
In fact, we’ll kick things off with a video tutorial because I know a lot of y’all are more visual learners.
Shower Cleaning Video Tutorial
Step 1: Remove Everything
Start by taking shampoo bottles, razors, loofahs, and any other accessories out of the shower. This gives you access to all of the surfaces and makes it easier to see where dirt, soap scum, and mold may be hiding.
Step 2: Rinse the Shower
Use warm water to rinse down the walls and floor. This helps loosen surface dirt and prepares the shower for cleaning products.
Step 3: Spray Down the Walls and Tile
Apply your preferred bathroom cleaner to all shower surfaces, including:
- Shower walls
- Tile
- Grout
- Fixtures
- Tub or shower floor
Allow the cleaner to sit for a couple of minutes. Giving the cleaner time to work is one of the easiest ways to reduce how much scrubbing you’ll need to do later!
Step 4: Scrub the Tile and Grout
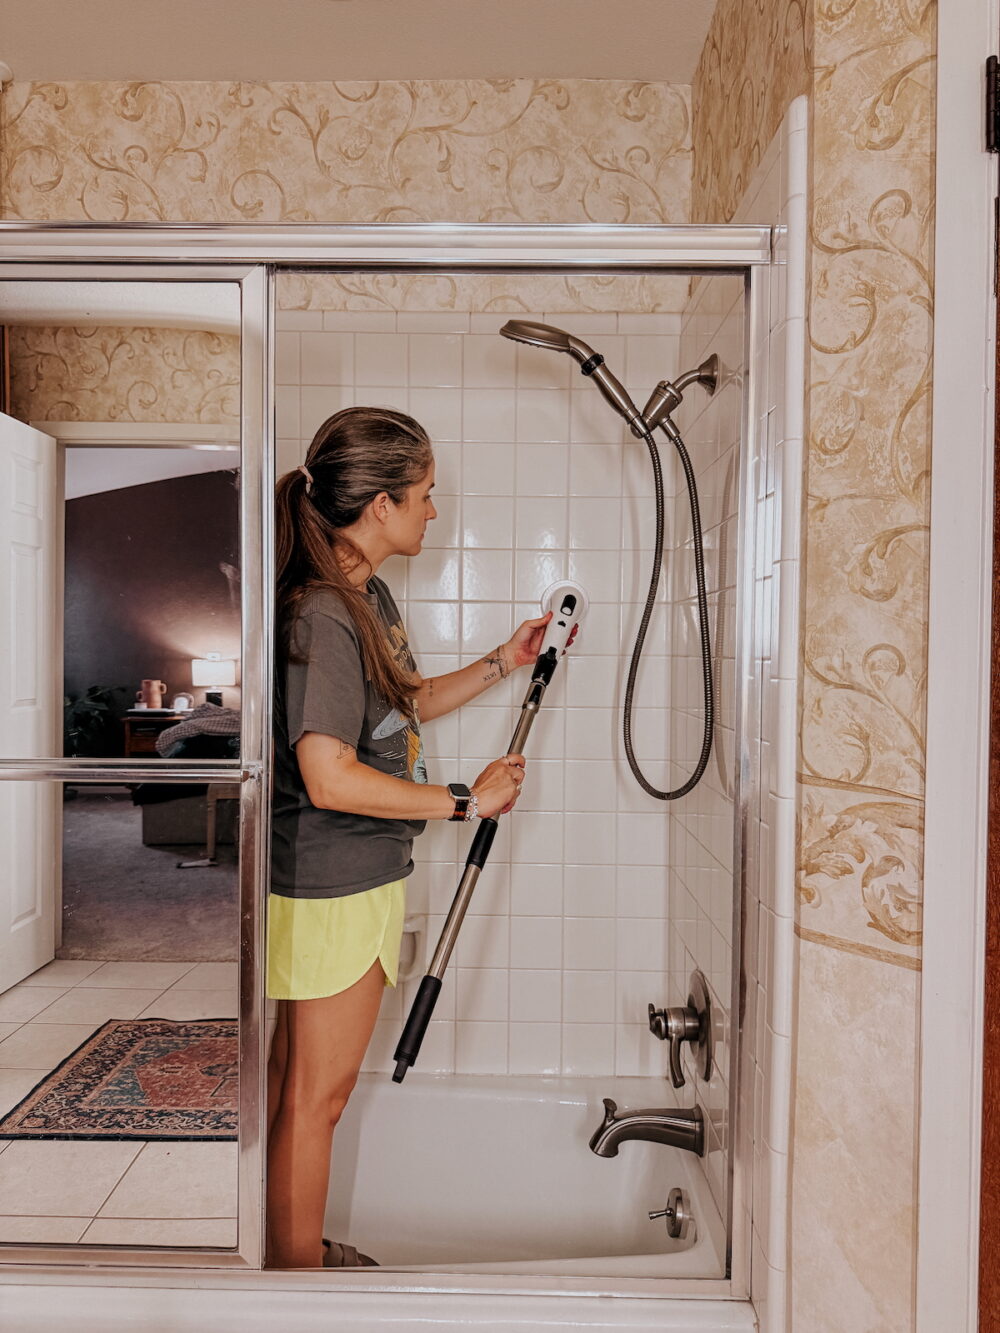
Once the cleaner has had time to sit, use your electric scrubber to clean the tile and grout lines. If you don’t have the scrubber, a regular scrub brush or a microfiber cloth works too. Just a little more effort on your part.
Pay special attention to:
- Corners
- Grout joints
- Areas around shelves and niches
- The shower floor
Step 5: Clean the Fixtures
Don’t forget the faucet, handles, and shower hardware. These areas often collect hard water spots and soap residue! A microfiber cloth and bathroom cleaner are usually enough to restore their shine.
Step 6: Rinse Everything Thoroughly
Once you’ve finished scrubbing, rinse all surfaces with warm water. You’ll want to take a few minutes to ensure all cleaning products have been removed from tile, grout, and fixtures. If you don’t rinse thoroughly, you’ll end up with a filmy surface at the end and nobody wants that!
Step 7: Dry the Surfaces
You don’t have to do this, but since you’ve already put all this work in, you should grab a microfiber cloth to wipe down fixtures and remove excess water. This helps prevent water spots and leaves everything looking cleaner. It would be so annoying to do all this cleaning and then come back a few hours later to find water spots all over your freshly-cleaned shower, you know?
How to Clean Shower Tile
Now, let’s dig a little more into the details of some typical shower issues. We’ll start with the shower tile. Shower tile tends to collect soap scum, hard water deposits, and body oils over time. For regular cleaning, a quality bathroom cleaner and scrub brush are usually all you need.
However, if buildup has accumulated over several months, you may need a stronger cleaner designed specifically for soap scum removal. If you’ve got buildup on your shower tile, this is a time when I’d highly recommend busting out that electric scrub brush! I promise, if you pair it with a soap scum cleaning product, it’ll make your life way easier.
The key here is consistency. Cleaning your shower tile regularly is much easier than dealing with months of buildup later. I hate that this is true, but it is.
How to Clean Shower Mold + Mildew
Bathrooms naturally create the perfect environment for mold and mildew growth. It’s the worst and so annoying, but thankfully it’s not that hard to deal with.
As you clean, you should check common trouble spots like:
- Grout lines
- Caulk around the tub or shower pan
- Corners
- Areas with poor airflow
If you notice small amounts of mold or mildew, spray the affected area with an appropriate mold-cleaning product and allow it to sit before scrubbing. I recommend using something like this!
For stubborn mold in grout or caulk, you may need multiple treatments.
A special note: If mold continues returning or covers a large area, it may indicate a ventilation or moisture problem that should be addressed separately.
How to Clean Shower Grout
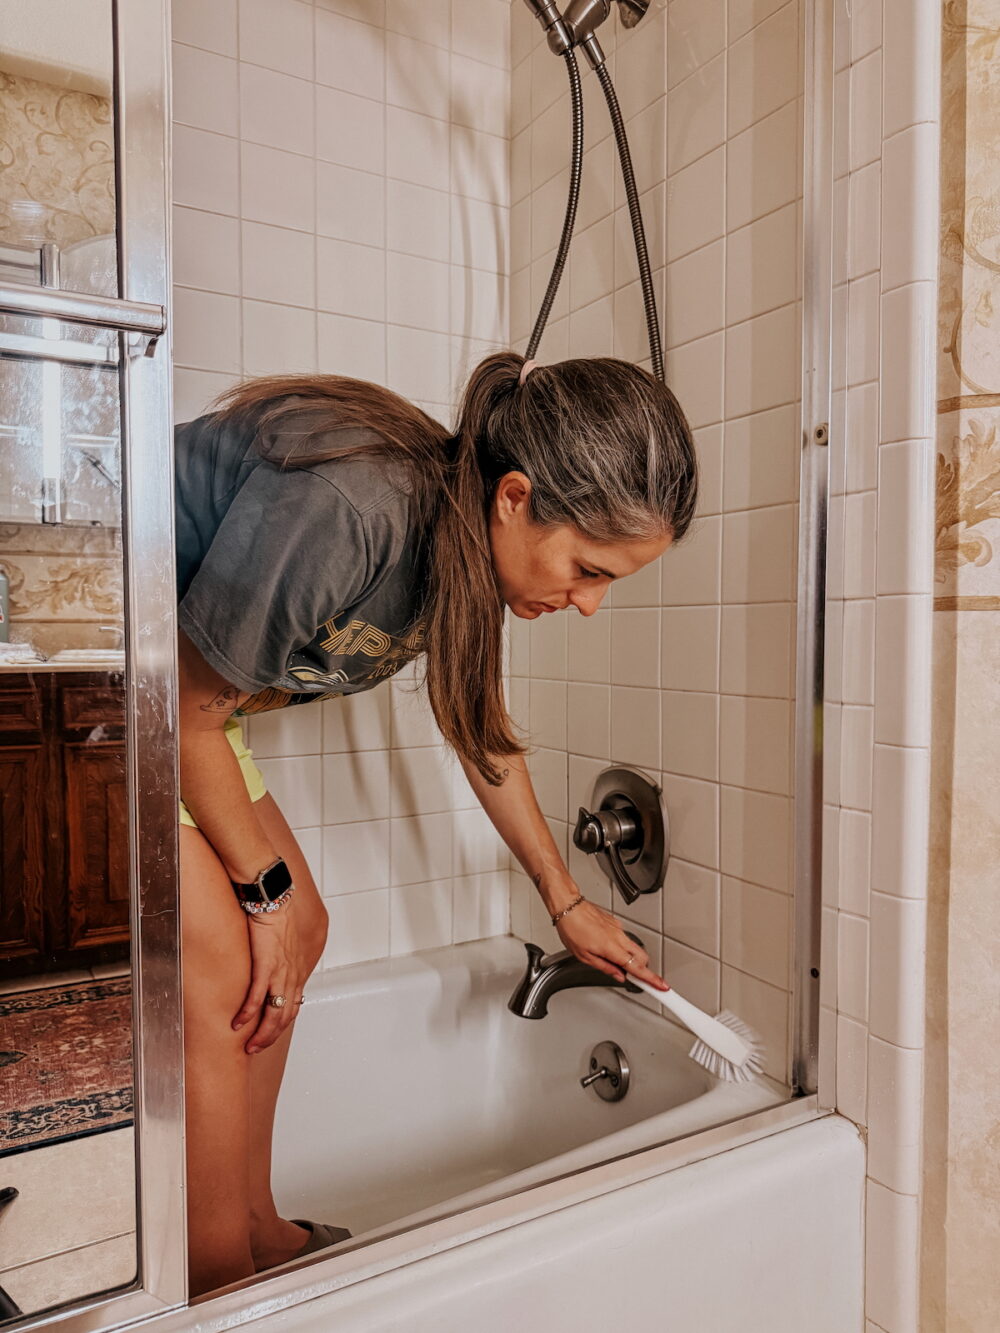
Grout tends to be one of the first places in a shower to start looking dirty. Because it’s porous, it can trap soap scum, hard water deposits, dirt, and mildew much more easily than the surrounding tile. But, most grout stains can be removed with a little patience and elbow grease.
For routine cleaning, spray the grout lines with your bathroom cleaner and allow it to sit for several minutes. Then use a small scrub brush or an electric scrubber with a detail attachment to work the cleaner into the grout.
Focus on areas that stay damp the longest, including:
- Corners
- Along the shower floor
- Around shelves and niches
- Near the shower door
Once you’ve cleaned, rinse it with warm water. If you’re cleaning regularly, this should be plenty to keep the grout looking nice. However, if you’ve got some buildup or problem areas, read on…
How to Clean Heavily-Stained Shower Grout
If your grout still looks dingy after regular cleaning, you may be dealing with deeper staining from mold, mildew, or mineral deposits.
In that case, you’ll want to get a specific grout cleaner. Apply it to the problem areas and allow it to sit for the recommended amount of time before scrubbing. I recommend scrubbing with an old toothbrush or a small cleaning brush for this, just so you can apply some really concentrated pressure.
You may need to repeat the process several times if the buildup has accumulated over a long period.
The biggest thing I’ve learned is that letting the cleaner do the work is often more effective than scrubbing harder. Giving it a few extra minutes to sit can make a huge difference.
How to Keep Shower Grout Clean
Because grout is porous, prevention is often easier than deep cleaning.
To keep grout looking its best:
- Run the bathroom exhaust fan during and after showers
- Use a daily shower spray to reduce soap scum buildup
- Fix any areas where water tends to pool
- Clean the shower regularly before stains have a chance to set in
A quick cleaning every week or two is much easier than trying to restore heavily stained grout months later.
What About Cleaning Shower Glass?
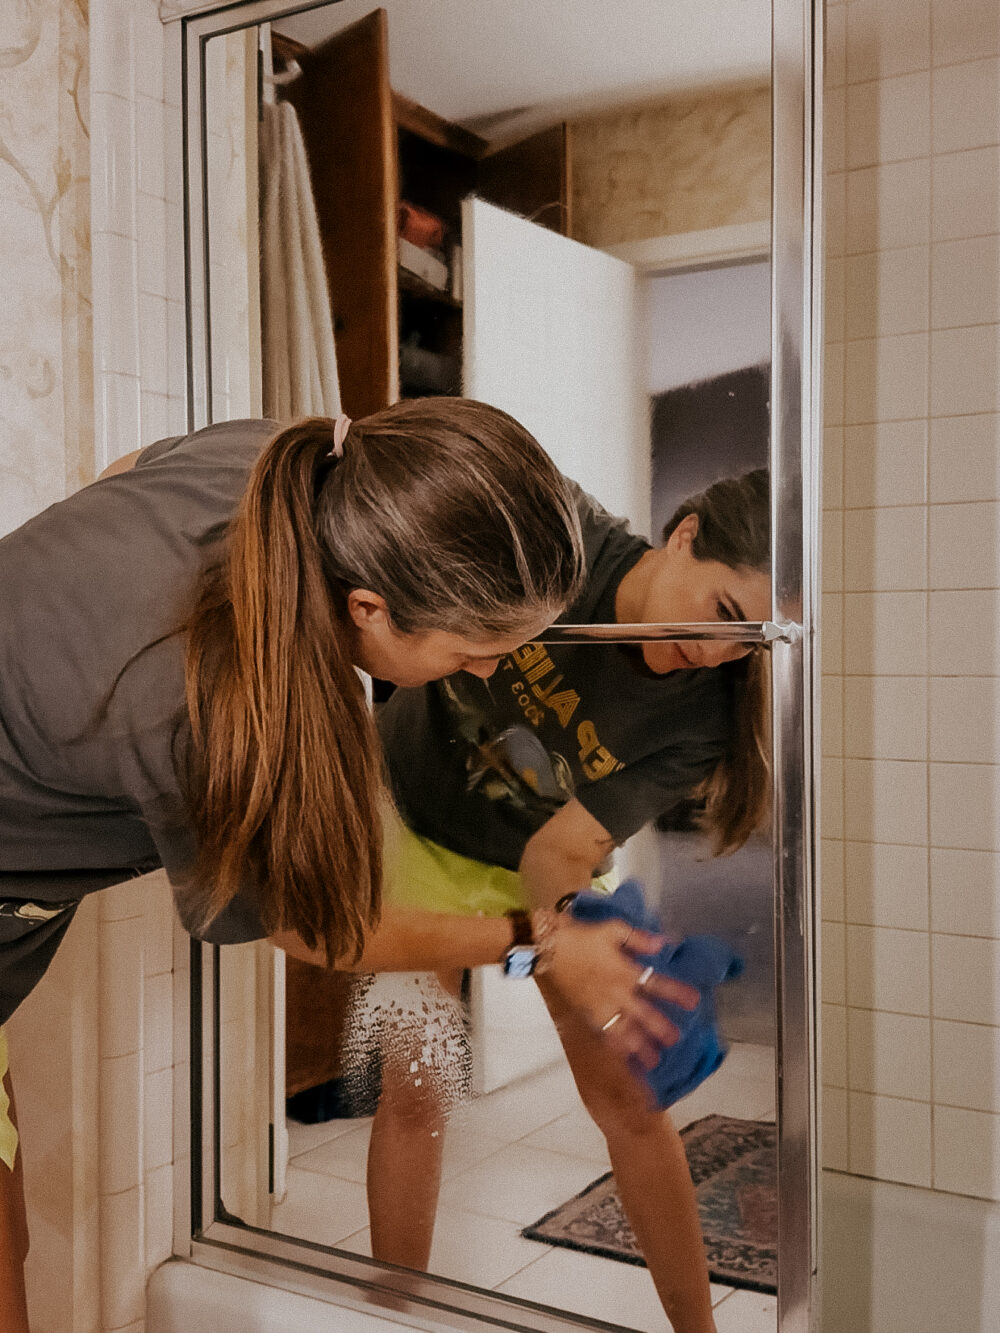
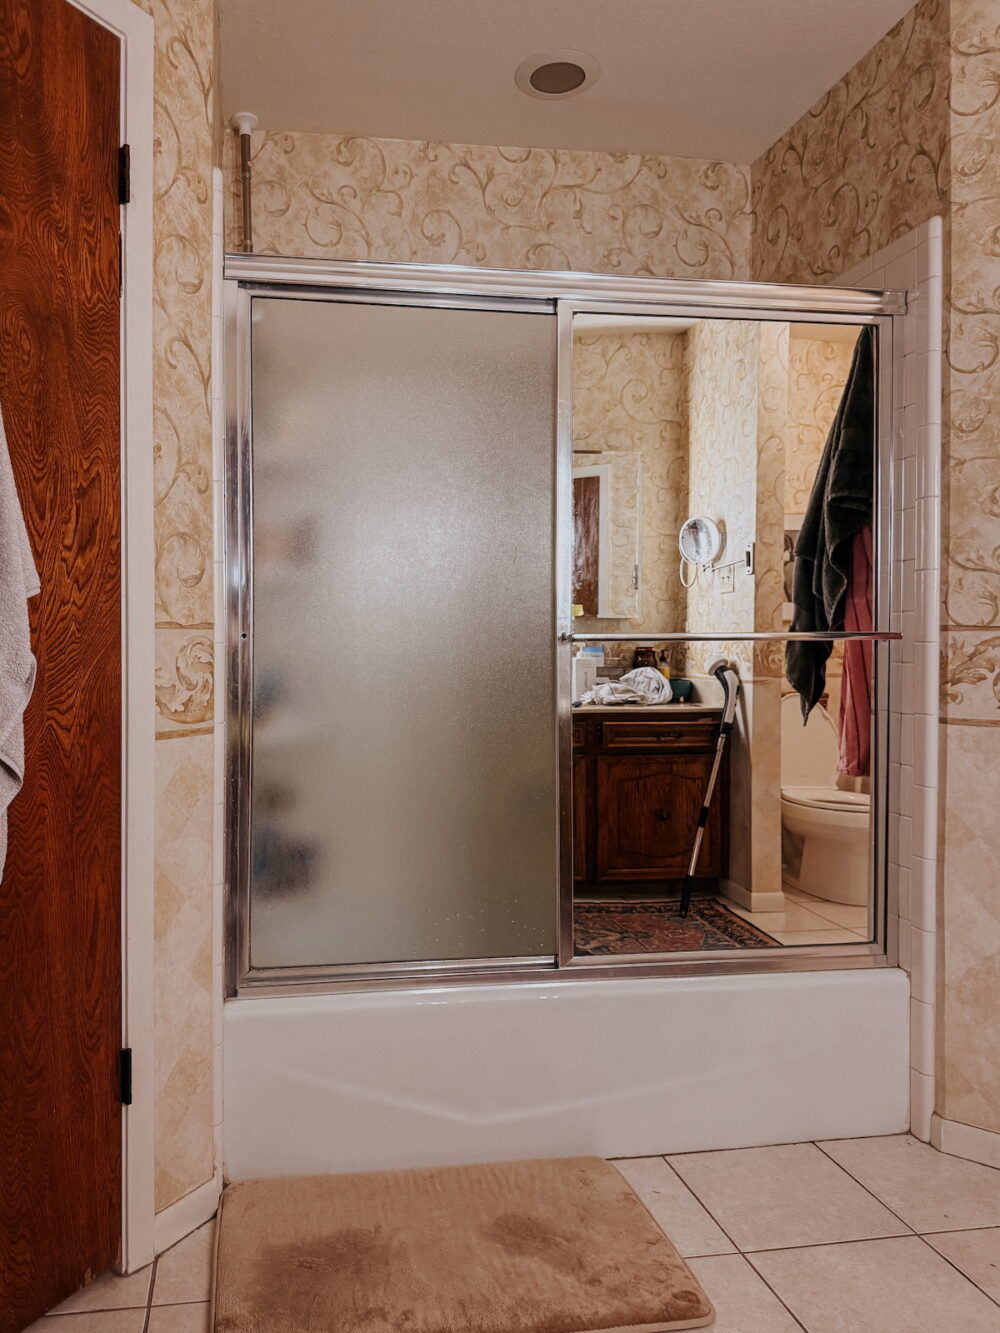
If your shower has glass doors, you’ll want to clean those separately. Glass tends to develop hard water spots and mineral buildup that require a slightly different approach than tile and grout.
Check out my complete guide on how to clean shower glass for detailed instructions.
How to Keep Your Shower Clean Longer
The easiest shower to clean is one that never gets very dirty in the first place. Wouldn’t that be magical? Of course, that’s not possible. Your shower WILL get dirty. But, with a few simple habits in place you can dramatically reduce the buildup from soap scum, mold, and mildew, and keep things looking nice for longer.
Here are my top tips for keeping your shower clean in-between deep cleaning sessions.
Use a Daily Shower Spray
One of my favorite low-effort cleaning habits is keeping Method Daily Shower Spray right in the shower. After the last shower of the day, give the walls and glass a quick spray and walk away.
It helps reduce soap scum buildup and extends the time between deep cleanings. I’ve also had good luck with this Wet & Forget Shower Cleaner – use it weekly and it’ll help keep things looking great!
Improve Ventilation
Run your bathroom exhaust fan during and after showers whenever possible. Reducing moisture helps prevent mold and mildew growth.
Keep Surfaces Dry
Using a squeegee on shower glass or quickly wiping down wet surfaces can significantly reduce water spots and mineral deposits. I am the worst about remembering to do this, but when I kept a squeegee in our shower and took the extra time to do this every day, it truly made a big difference!
Frequently Asked Questions
How often should you clean a shower?
A quick weekly cleaning is usually enough to prevent buildup. Most showers benefit from a deeper cleaning every few weeks depending on usage.
What is the best thing to clean shower tile with?
A bathroom cleaner designed to remove soap scum works well for routine cleaning. Pairing it with an electric scrubber makes the process much faster.
How do you remove mold from a shower?
Use a mold-removal product designed for bathroom surfaces, allow it to sit according to directions, and scrub thoroughly. Persistent mold may require repeated treatment or replacement of affected caulk.
How do you prevent mold from growing in a shower?
Proper ventilation, regular cleaning, and reducing moisture are the best ways to prevent mold growth.
A clean shower makes the entire bathroom feel so much better, but it doesn’t have to be an all-day project. If you put on a good audiobook or some music and hunker down, this can be a quick part of your weekly (or, let’s be honest, bi-weekly) cleaning routine and you’ll feel more like a real grown up with a freshly cleaned shower. Promise.