
How to Install a Ceiling Light Medallion
If you want to add a little bit of drama and visual interest to your ceiling light, you can install a ceiling light medallion in just a few minutes! Here’s a quick tutorial for how to install one.
Our dining room makeover is the first big room we’ve tackled in our new house. While I’ve worked, I have been thinking a lot about how this space sets the tone for everything else. I really want our home to feel cozy and moody, traditional and timeless, but also welcoming and a little whimsical. So, as I’ve been planning this room, I’m spending a lot of time focused on the small things and trying to make sure this space fits the vibe I want for the whole home. It’s a lot of pressure to put on one room!
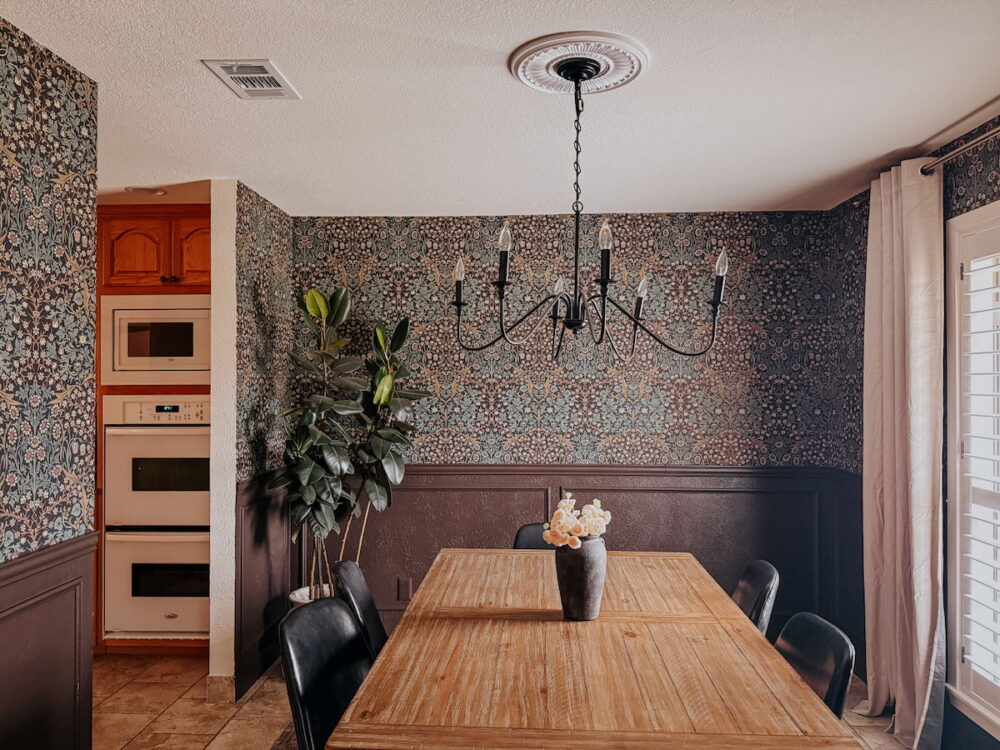
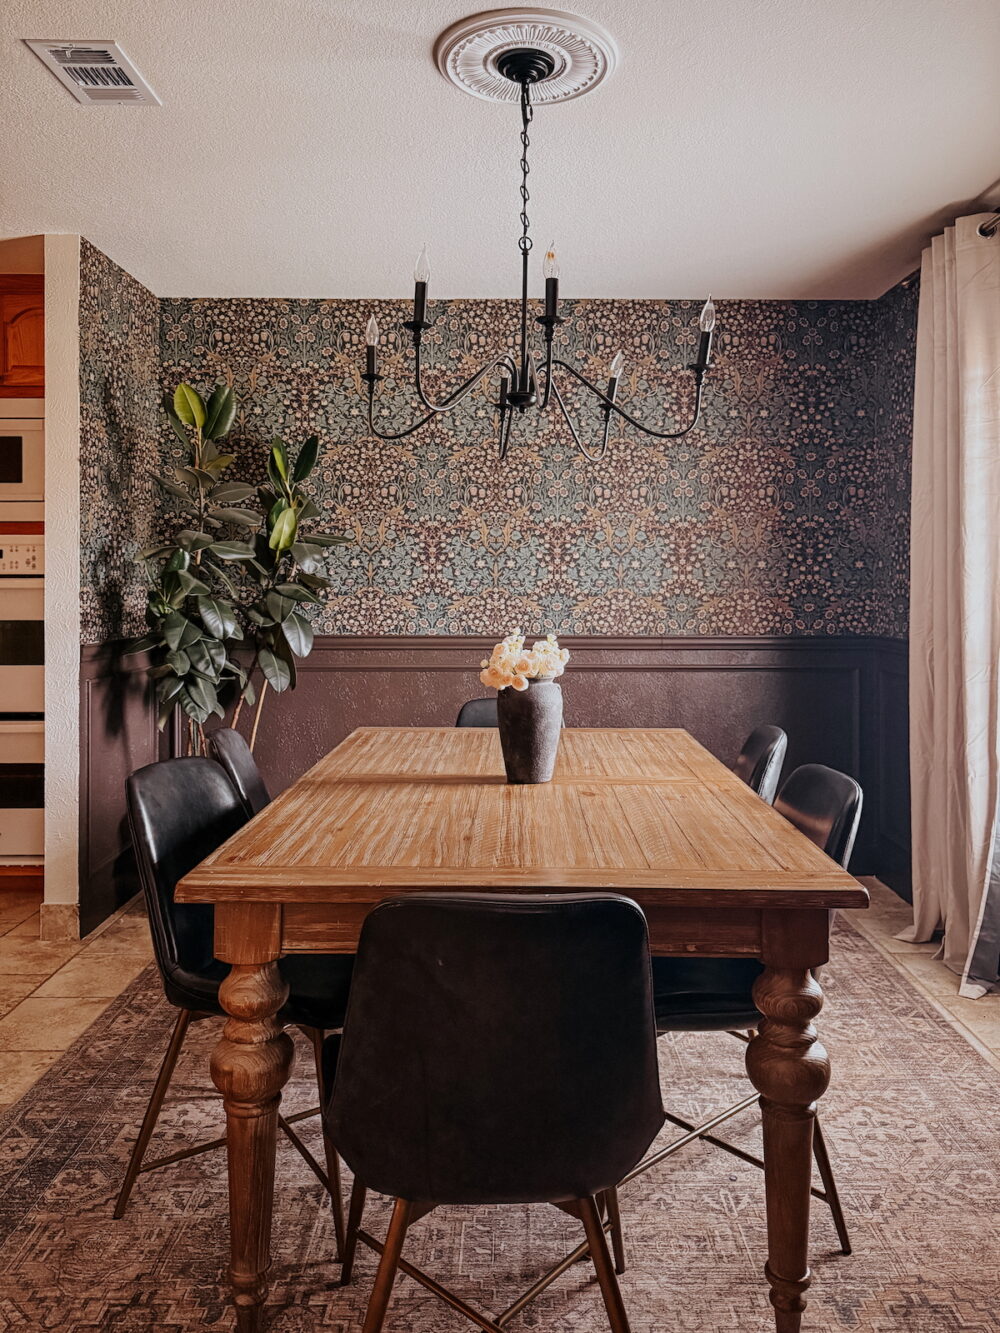
But, things are really coming together. We smoothed out the textured walls, added trim and wallpaper, and now we’re onto the details! One thing I’ve known I want from the very beginning is a ceiling light medallion. I love the look of a super traditional ceiling medallion, especially when it’s paired with a more modern light fixture! I think it can really add a lot to an otherwise simple space, and it’s such a cheap and easy detail.
How to Install a Ceiling Light Medallion
Materials You’ll Need
Prep Work
The most annoying part of the process is having to remove (and then reinstall) the current light fixture. But, in order to get that ceiling medallion up on the ceiling, you have to do it!
Another piece of prep work you’ll need to do is painting the ceiling medallion. You might be tempted to skip this step (they usually come primed, so they’re already white), but I promise it’s worth the time to knock it out. It’ll look more polished and hold up better over time if it’s painted! I recommend painting it the same color as the ceiling, but if you want to go for a bold option you can also always paint it a fun accent color!
Attach Medallion to the Ceiling
Once the ceiling medallion has been painted and dried, you’re ready to attach it. It takes just a couple of minutes – apply your construction adhesive generously to the back of the ceiling medallion, then press it up to the ceiling.

You might want to use some pin nails to help hold the medallion in place while the construction adhesive sets, but you also can simply add some painter’s tape for a couple of hours while it all dries! I did both, just to keep the medallion nice and tight to the ceiling while the glue dried.
Once the construction adhesive has fully set you can remove the painter’s tape (or add some caulk to fill in the nail holes, if you went that route).
Caulk Edges + Reinstall Light
Your final step is to apply some caulk around the edges of the ceiling medallion. This helps make it look fully flush with the ceiling, and also helps hold it in place too! You can learn how to use caulk here, if you need some help!
Once the caulk has dried, re-install the light fixture and you’re done!
It’s kind of hard to believe that this $20-ish project makes such a huge difference, but it really does add a little something extra to the space. I am so glad I decided to take the time to do this, and I love how it turned out. It’s kind of wild that this is our fourth home and my first time adding a ceiling medallion!
This was the last detail I wanted to add to the space before we dig into the accessorizing and other details in here, so stay tuned for the big reveal soon! I’m going to be adding curtains, art, and a few other little details around the room and I can’t wait to show you how it all comes together.