
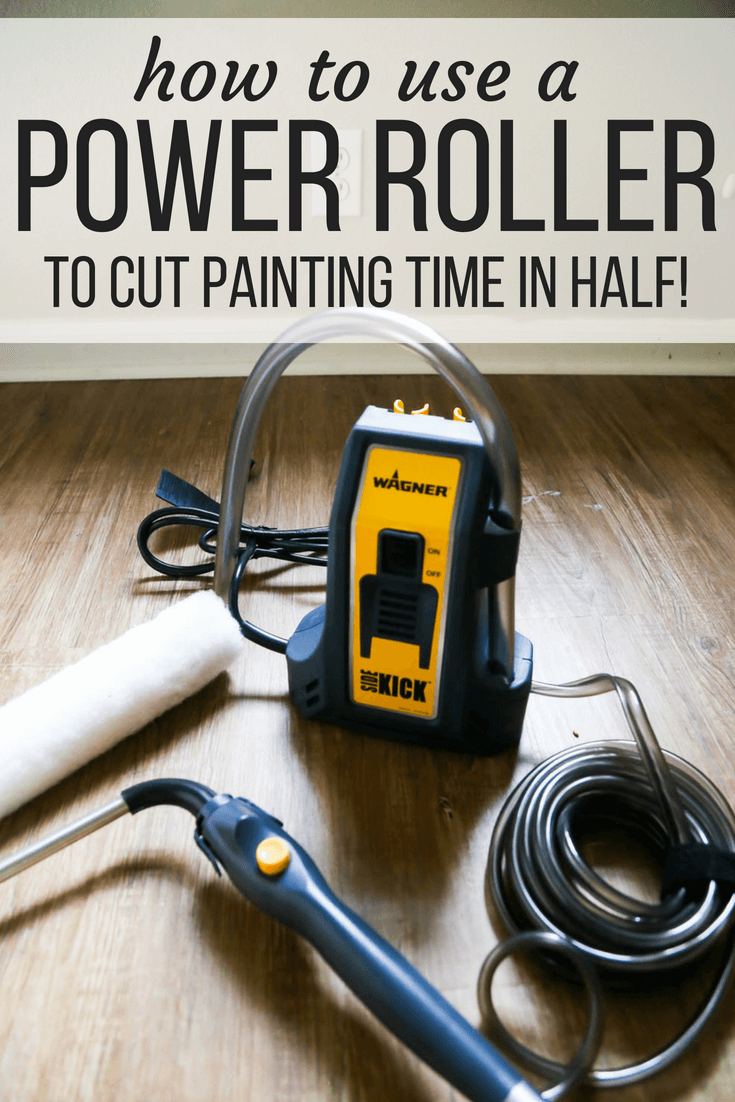
Power Tools for Beginners: Wagner SMART Sidekick Power Roller
Last updated on May 13th, 2024 at 11:04 am
Today we’re going to be chatting about one of my very favorite tools – the Wagner Sidekick Power Roller. If you hate painting and are looking for a way to make it a little faster and easier, this is the post for you!
Oh hi. It’s been a little while since we’ve done a Power Tools for Beginners post, hasn’t it?
Well, the series is back and (hopefully) better than ever. I’m really excited to dive back into it with one of my veeeeeeeeeeery favorite power tools in the whole wide world.
Seriously, this tool will never leave my possession. You’d have to pry it out of my cold dead fingers. I’d give up just about anything else in my workshop before I gave this up. I love it more than chocolate chip cookie dough.
Okay, maybe that last one was a bit much.
Ahem.
Many of you have asked tons and tons of questions about my Wagner Power Roller ever since I first shared about it back in December. I’m so excited to say that today is finally the day I compile all of the answers into one place and teach you how to use this life-changing tool.
Get ready. Get excited. Hold onto your butts. This is gonna be fun.
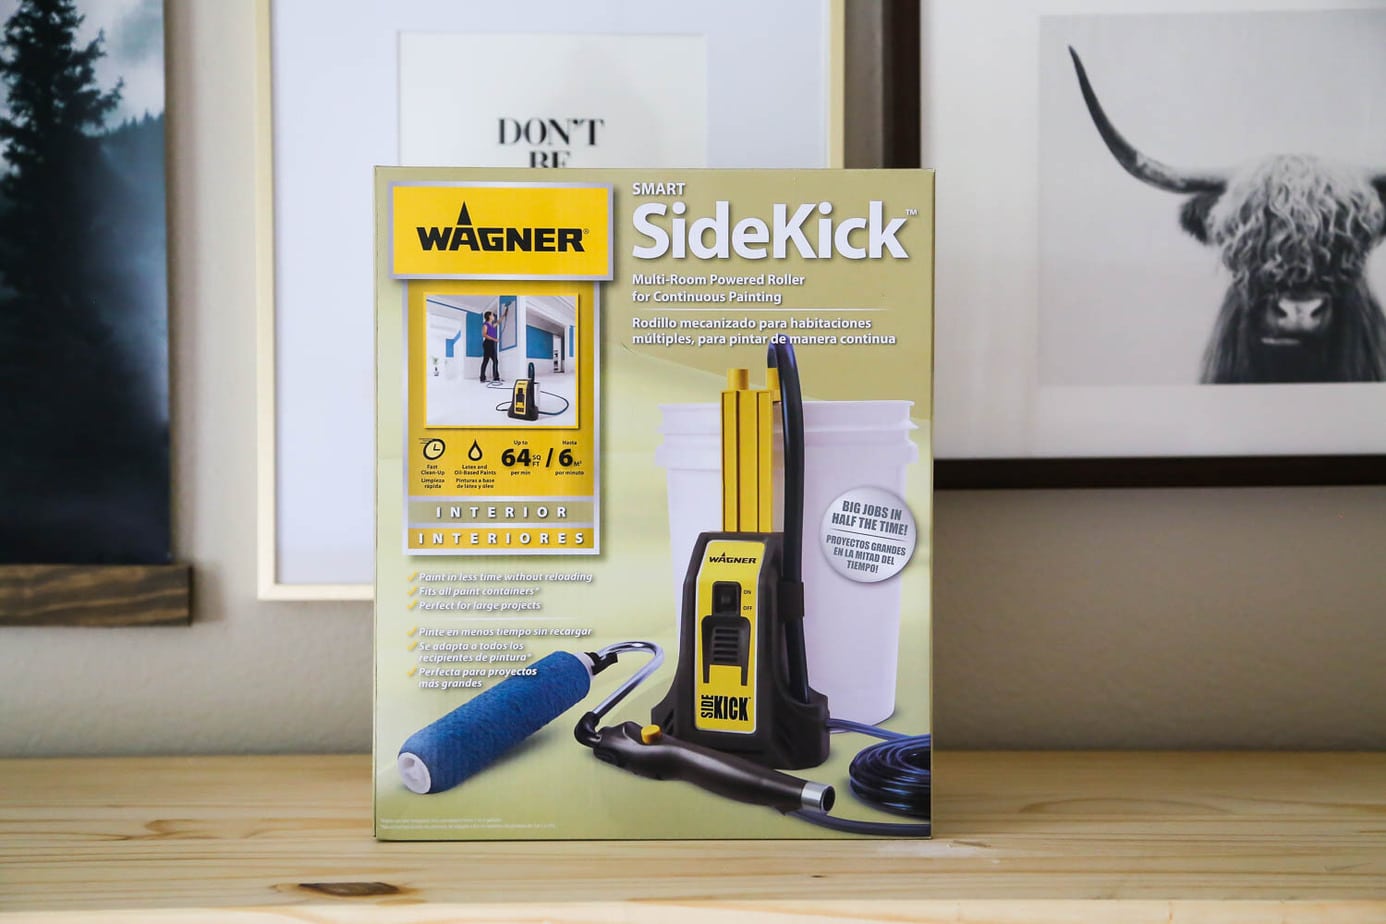
What is the Wagner Sidekick Power Roller?
If you’ve been living under a rock, you may not have seen me rave about this tool every single time I’ve painted a room in the last 6 months. For those of you who don’t know, allow me to explain. A power roller is essentially a paint roller on steroids. It’s a tool that automatically feeds paint into your paint roller for you. You can dispose of the paint trays and the mess and get your room painted faster. And with less back pain.
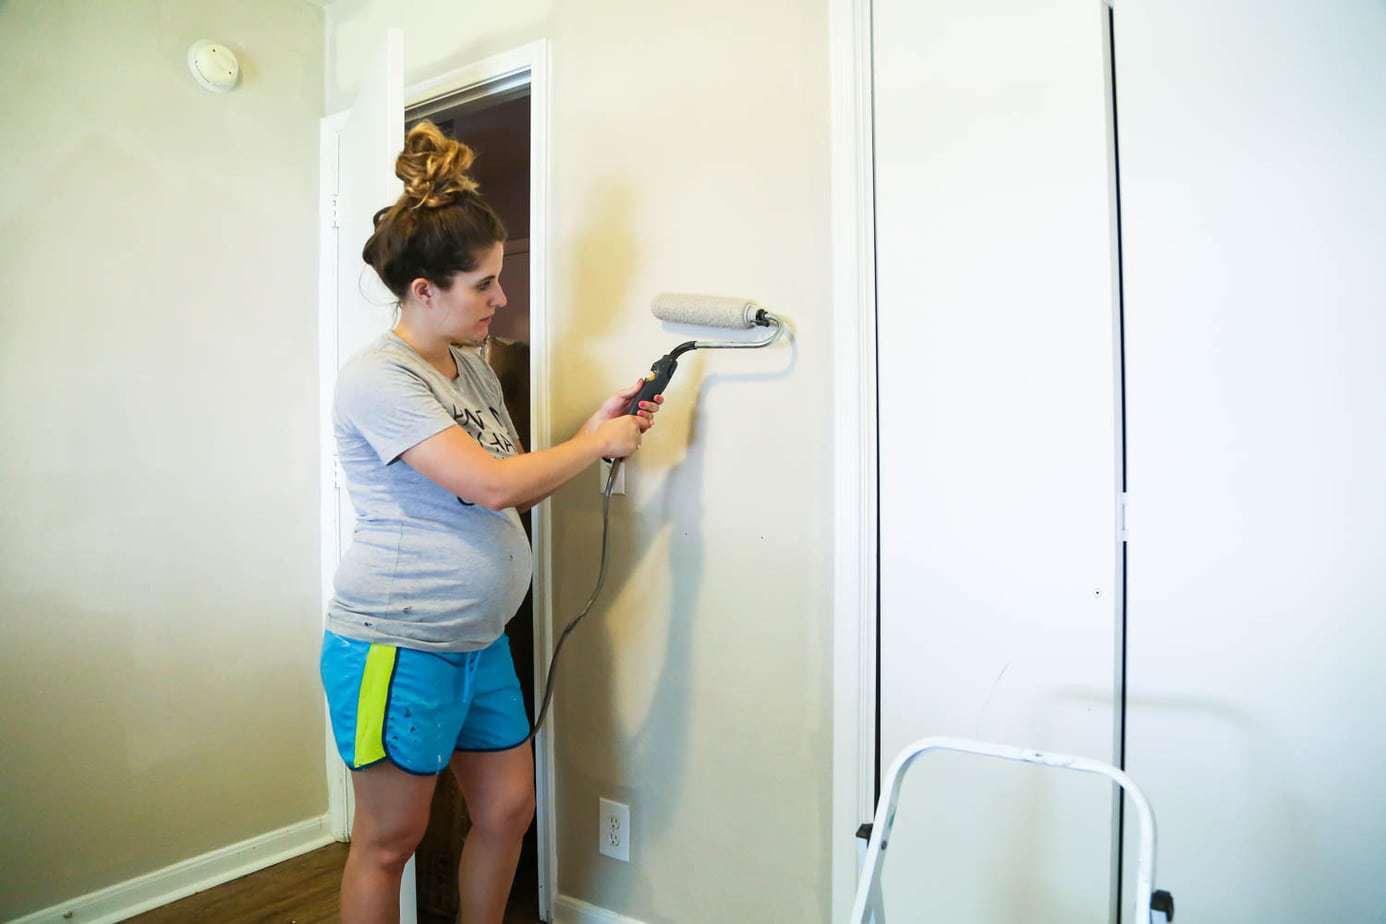
I don’t think I need to point out that it’s perfect for those of us who are 7 months pregnant and tend to become sore after a large sneeze, much less painting an entire room.
I first fell in love with the Sidekick when I used it to paint our bedroom. Immediately, I declared that I’d never paint another room again without it. And I’ve kept that promise. We used it on the entire main living area of our house, in Jackson’s room, and now in the nursery.
Now that you know what it is, let’s talk about how it works.
How to Use a Wagner Sidekick Power Roller
Video Tutorial
First up? A quick video showing you all of the details of how to use this tool. If you’d prefer to watch it on YouTube, just click here to see it over there.
Frequently Asked Questions About the Wagner Power Roller
How Do I Set the Sidekick Up?
The Sidekick attaches directly to your paint can, making it easy to get a whole room painted without having to lug a paint tray around. I still bust out the paint tray when I’m just painting one wall or if I’m working in a really small area. But, this is perfect for those larger areas or full rooms. Basically, anywhere you just want to get it over with as quickly as possible!
Start by sliding your paint can onto the ledge on the Sidekick. Insert the suction tube and push it all the way to the bottom. Then click it into place and push down the yellow clamp so that it’s holding your paint can in place. You’re ready to get started!
Of course, I’ll make the note that you should always reference the directions before you get started and while setting up. Wagner products always come with incredibly helpful and detailed directions. It’s one of my favorite things about them as a brand! So, the instruction manual will definitely answer any questions you might have. I’ll also note that you should be careful when transporting the paint around the room. The hose is long and in many rooms you won’t even need to move your paint. For example, in this 10X10 room, my paint was able to stay in one place while I worked around the entire room. But, if you do need to pick it up, be sure to use two hands and pick up both the paint can and the Sidekick. It’s pretty sturdy, but it’s not meant to be carried by just the paint can!
How Does It Actually Work?
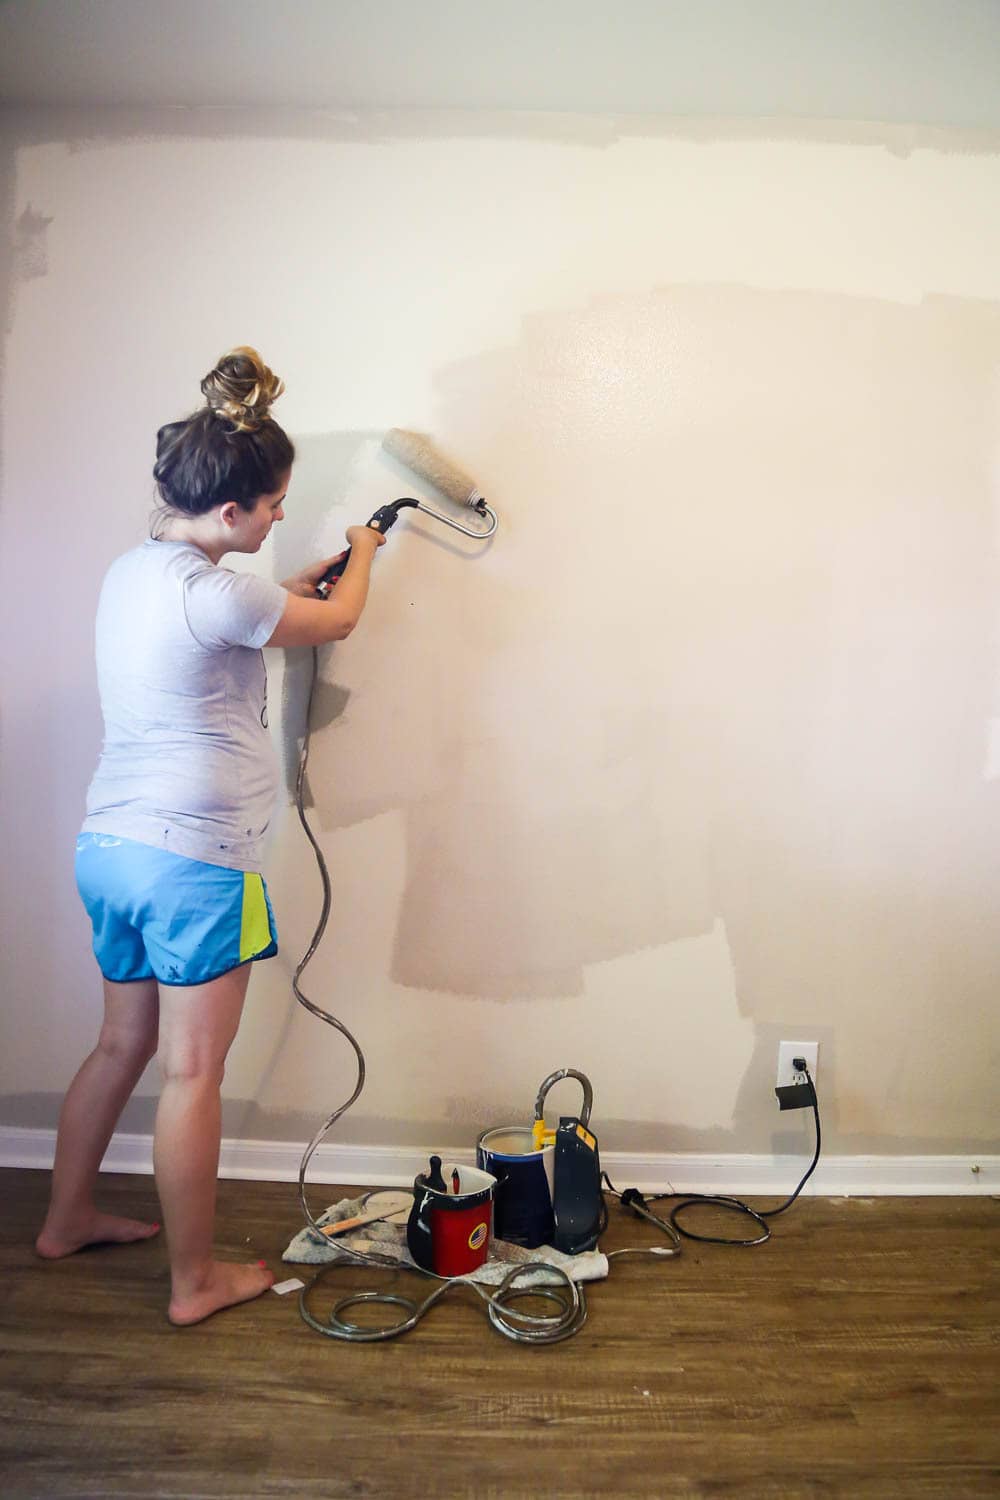
Once you turn your Wagner Power Roller on, there’s a small button on the handle of the paint roller that activates it. If you hit the button, you’ll notice that the suction tube in your paint can will begin pulling paint up. It will trail through the (long) hose attached to the roller. Once the paint goes all the way through the hose and reaches your roller, it will slowly begin to saturate the roller. If you’re just getting started, you’ll want to place your roller on the wall and begin moving it back and forth as soon as you start to see dots of paint on it. If you wait too long, the paint will start dripping!
Move the roller back and forth on the wall (just like when you’re actually painting). Keep going until you notice that it’s fully saturated and no longer giving you splotchy coverage. Then, you can just hit the button on the handle again to stop the paint flow. Now that your roller is loaded up, you can paint in the room until you notice that you’re out of paint. Then, simply hit the button again until the roller is saturated! It goes much faster after that first time – just a few seconds! Then, keep on going.
The beauty of this is that it means you never have to stop painting to re-load your roller. No bending over, no dripping paint, no sore back. With the press of a button, you can fully load up your paint roller and never actually stop working. The other amazing thing is that you’ll find that you get significantly better coverage using the Sidekick than you would with a regular old roller. Your paint roller is always fully saturated when you’re working! Because of that, I find that I need fewer coats of paint. It’s amazing how smoothly the paint goes on, and it can cut your work time in half – or even more.
But, Clean-up Is a Nightmare, Right?
No! It’s not! I promise!
If you’re concerned about clean-up, I highly encourage you to watch the video. It will give you a thorough look at what the process is. But, I’ll give you a quick overview here as well. I feel like it’s my mission in life to educate people on how easy it actually is to clean the Sidekick Power Roller! I’ve heard from so many people who have tried similar products and basically threw them away after the first use because they couldn’t get them clean. I’ve used this in four separate spaces with four different paint colors and have had zero issues. And, if you’ve been reading here for any length of time you’ll know that I’m not particularly fastidious when it comes to cleaning up after myself in paint jobs!
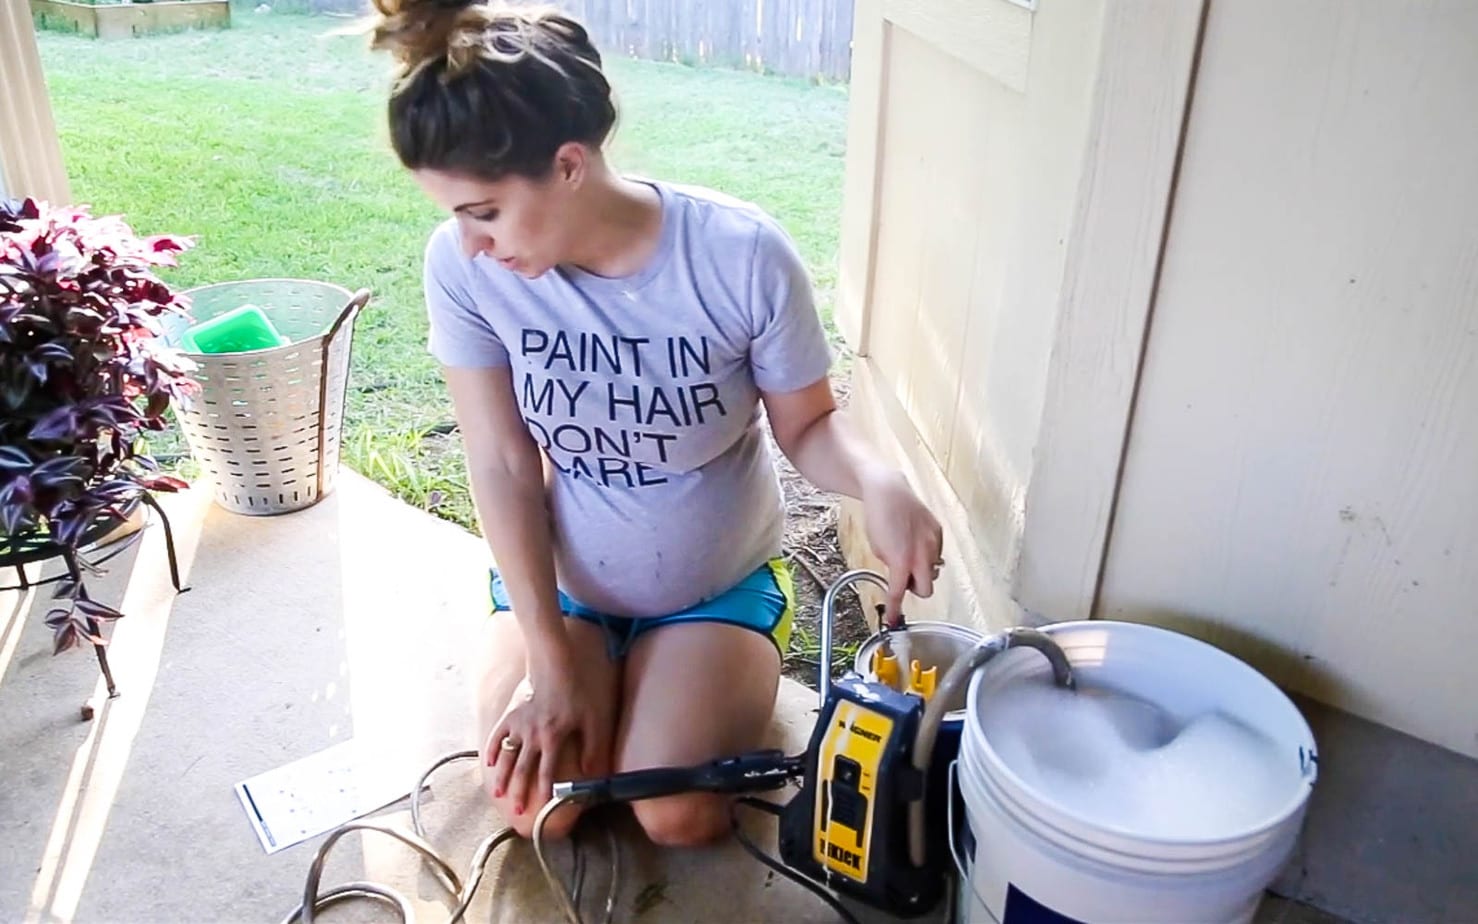
Here’s a quick rundown of what the clean-up process looks like:
- Grab a 5-gallon bucket and fill it with warm, soapy water.
- Pull the suction tube out of the paint can and insert it into the bucket. Pull the roller cover off of your handle and toss it in the bucket as well. There’s a button to press so you can do this mess-free! Toss the now-empty roller handle back into the paint can. Run the Sidekick for 15 seconds to return any paint that’s left in the hose to the paint can.
- Grab the roller handle out of the paint can and put it in the warm, soapy water along with everything else. Turn the Sidekick on and allow it to run for 10 minutes. This circulates the soapy water through the hose and back into the bucket.
- Grab a drink. Scroll through Instagram. Take a quick catnap.
- Once your 10 minutes are up, you can choose to repeat the process for another 5 minutes. I always dump my water and get fresh water to do this because I’m obsessive about keeping this thing in good working order. But, it’s only required if you used oil-based paint. If you’re in a hurry you can be done with that part! Pull out the suction tube (leave the roller handle in!). Run the Sidekick for another couple of minutes to empty the hose of any lingering water.
- Pull out your roller cover assembly and take it apart. I typically just take the plastic pieces over to my kitchen sink and rinse them off. Then, I toss the roller cover. They’re super cheap to replace!
- DONE! Find a corner of your yard to dump your soapy water. We always toss ours behind our little storage shed where there’s no grass and no one hangs out. Then, you’re ready to put your Sidekick away!
That’s right – the entire process takes me no more than 20 minutes or so. And that’s with running the water through twice. Plus, more than half of that time is me scrolling through my phone while I let the Sidekick do the work.
Needless to say, clean-up is not a pain at all.
What Else Do I Need to Know?
Honestly, this tool is very easy to use. I think that it’s actually even better for people who are super new to DIY. I know it can be intimidating to add a new tool to your arsenal if you aren’t very comfortable with painting in general. But, this guy will make every painting job faster, less messy, and way easier for you. I tell everyone I know that they need to buy one. I have convinced more than one real-life friend to go purchase one of their own. And then they subsequently rave about it and wonder how they ever lived without it.
I love that this tool is so straightforward and easy to use, and I love that it takes a job I used to dread and turns it into something I don’t mind doing at all.
Basically, you need one. That’s just the bottom line!
I hope this post helps clear up some of the questions you’ve had about this tool and how it works. And, I hope that those of you who were on the fence about trying it will give it a shot! I truly think you’ll love it. You can buy one right here on Amazon, or at your local home improvement store. As always, let me know in the comments if you have any questions that I didn’t cover.

The first time I used my Sidekick (house exterior) it dripped a lot more than I thought it should, right at the point where the roller clips onto the handle. Still worked, but I had to be really careful not to have that side down. After taking a close look at the assembly schematic, I realized Wagner had failed to include the grey seal that goes on the handle arm at this spot. Bought 2 seal/gromet sets from eReplacement Parts, which completely fixed the problem. I also bought the 3″ trim roller attachment, which works great.
Overall, I’m (now) really happy with this tool. However, keep in mind that it’s a little heavy with a roller and 16′ hose both loaded with paint. Even so, it made the house siding job go quicker than constantly going up and down the ladder. Well worth the price.
It’s definitely a good workout, haha!
Hi, I’m new to your blog, and I love this series! Also, congratulations!
I do have a question. When do you cut in around trim, ceilings, baseboards, etc.? Do you roll a wall then cut in, or roll all the walls then go back with a brush after?
Thanks.
I am assuming you cant put a pole on this? Is that correct?
You actually can! There’s a spot on the end of the handle that accepts standard extension poles. The hose enters the handle through the side, so a pole wouldn’t affect it at all.