
The Easiest Napkin Decoupage Pumpkins for Fall
This is a really fun and simple fall craft that is perfect for non-crafty people! Learn how to decoupage with a napkin to create the cutest patterned pumpkins to display.
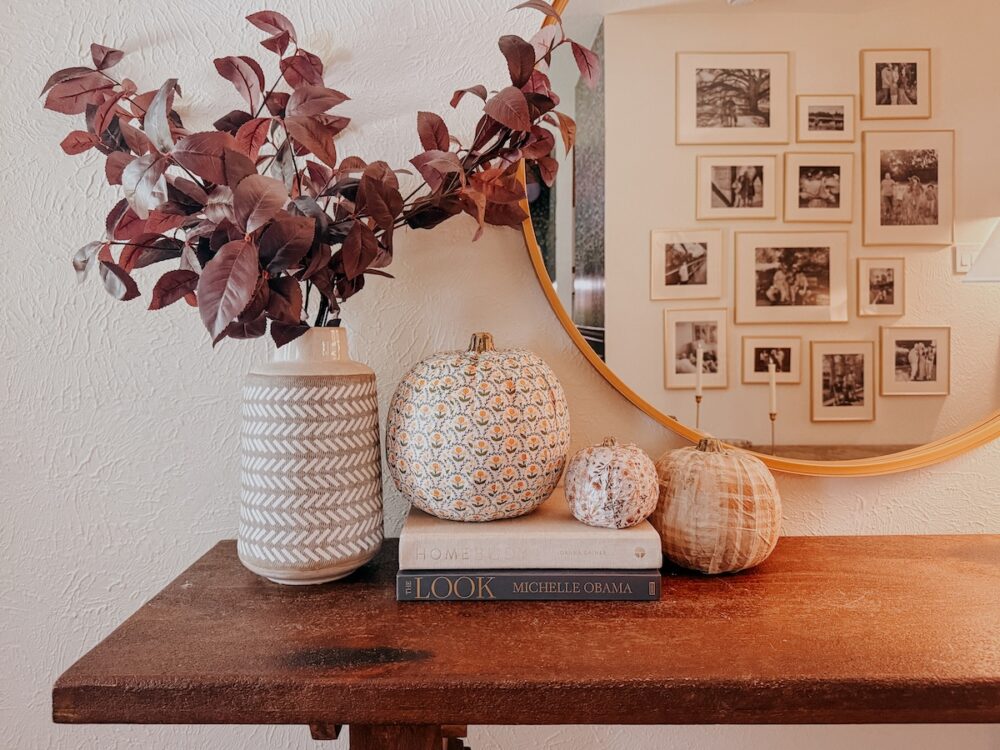
I’ve been having a blast with DIY fall crafts lately, and this is the one I’ve been the most excited to try. I’ve been seeing people use paper napkins to decoupage just about everything lately. Since it’s fall, it only felt right to try my hand at decoupaging a pumpkin! I’ve never really tried anything like this before (I’m more of a “renovation” girl than a “crafty” girl), but it was so simple! I had a ton of fun with it, and it’s a perfect project for beginners. And, it’s my favorite kind of craft because it only requires a few materials.
Ready to learn how to decoupage a pumpkin (or honestly, anything) using a paper napkin? Let’s do it!
How to Make Patterned Pumpkins: DIY Napkin Decoupage
I filmed a bit of my work as I was going, and put together a quick video so you can see how it comes together. If you’re a visual learner, just hit play on the video so you can see what the process looks like before you read on!
Materials You’ll Need:
- Craft pumpkin
- Decorative paper napkins (I found mine at Home Goods)
- Mod Podge
- Craft paintbrushes
Prepping Your Paper Napkins
Your first step is to prep the napkins. They’re layered, and only the top layer of paper actually has a print on it. So, you’ll need to separate that out and that’s the only part you want to attach to the pumpkin! Most paper napkins have a textured border around the edges – that’s what holds the layers together. So, cut that part off so that you’re only dealing with the smooth, middle part of the napkin. Then, use your fingernail to help separate out the layers. Most of the ones I’ve worked with have three layers of paper – you’ll only need the top one.
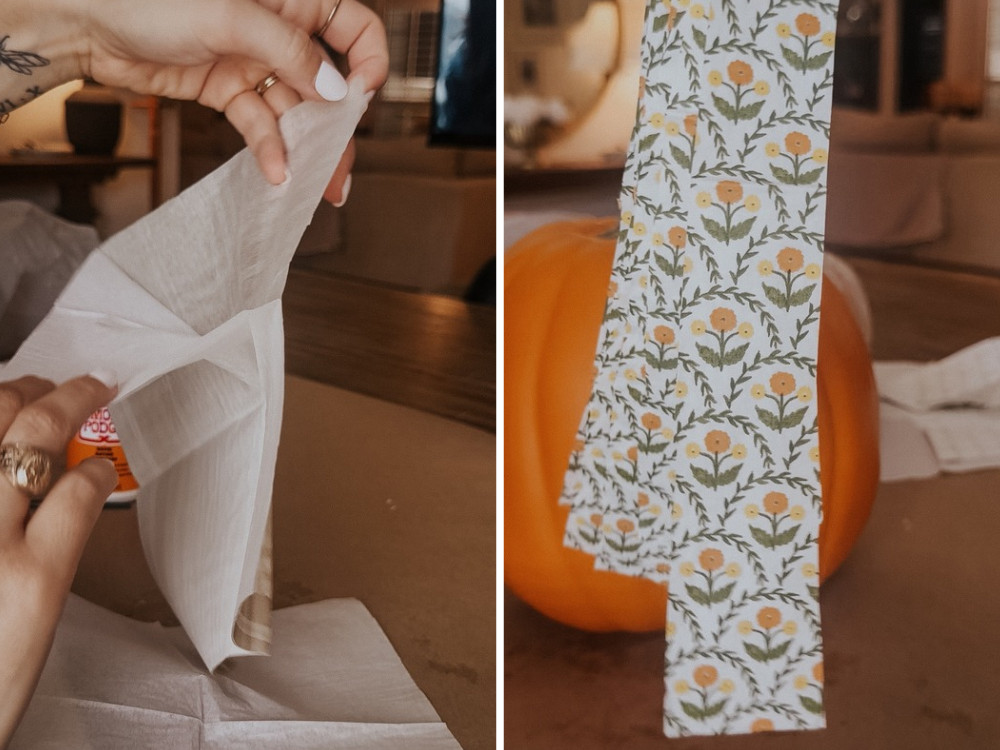
Once you’ve separated the top layer, cut it into long strips. This isn’t a requirement – some people prefer to put the whole napkin on the pumpkin. But I find it’s easier to work with that way. For each of the larger pumpkins, I used about 6 napkins, so go ahead and prep a big ol’ stack of napkin strips before you start attaching them.
Attaching the Napkins
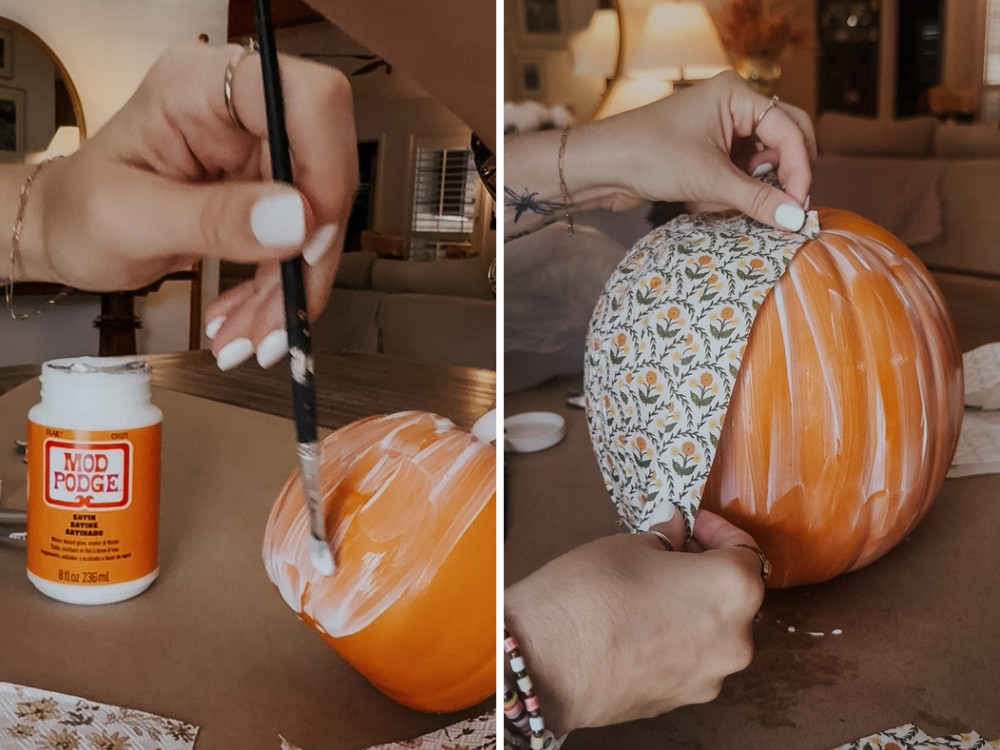
Use your craft paintbrush to paint a layer of Mod Podge on a section of the pumpkin. I did about 1/5 of the pumpkin at a time. Place the strips running up and down the pumpkin, smoothing them out as you go and overlapping them slightly. You may need to add some Mod Podge on top to help the edges stay down. I found it was easier to work on the larger pumpkins, so keep that in mind as you’re shopping – the little ones are cute but were, surprisingly, harder to decoupage!
Continue working your way around the pumpkin until the entire thing is covered. Once you’re done, go back over any areas that are poking up with the Mod Podge to help them stick down.
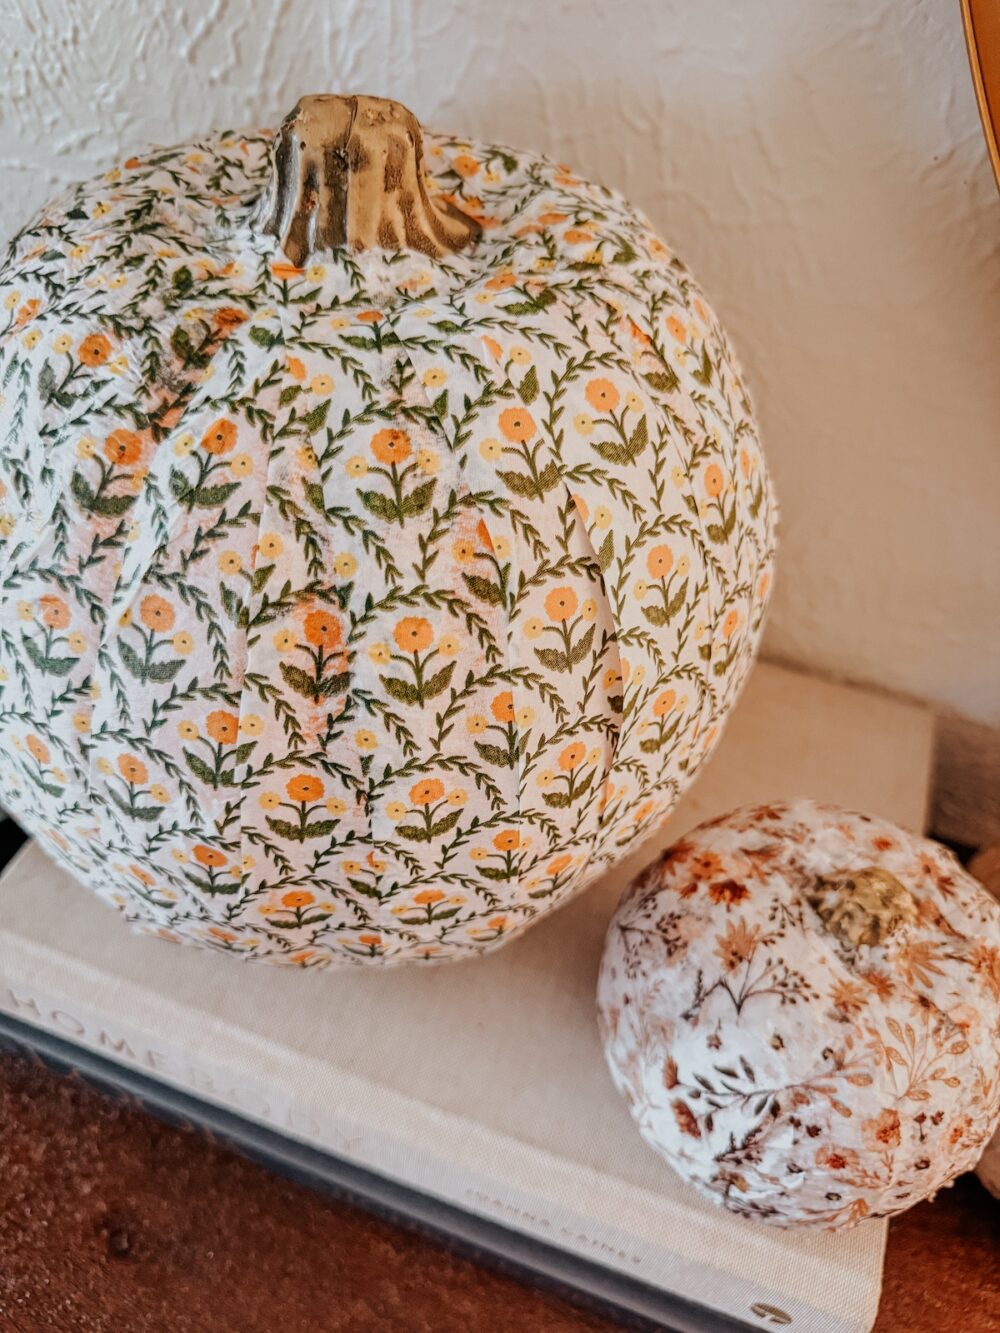
Let it dry for about 30 minutes and then, if necessary, you can add a second layer of napkins. On my large pumpkin, it looked great with just one layer so I left it alone. But on the other two, it looked a lot better with two layers!
And that’s all there is to it! Let your decoupaged pumpkin dry fully before you display it, and if you want to you can seal it with a clear sealant to help prevent any damage. These look really cute by themselves or grouped together on a table. It would be really fun to make some Halloween-themed ones with spooky napkins, too!
Love this simple fall craft? I’ve got a ton of other ideas in the archives – just explore below for more easy fall DIY ideas.