How to Repair Scratches on a Wood Table
Have a wood table that has seen better days? Here are some quick tips for making it look great again!

This post is sponsored by Mohawk Consumer Products.
You’ve heard the story of our dining room table, right?
You know how we bought it right after we bought our first house, loved it dearly for many years, and had to sell it when we moved to our second house? And you know how we magically managed to get it back when we moved here two years later?
It’s easily the most special piece of furniture we own, and I am grateful for it every single day. It’s almost a decade old, and it has seen many years of game nights, dinner parties, dogs climbing up it to get leftover food, and children climbing on it just because they can.
This table makes our house feel like home and I will never ever ever get rid of it.
But, with all that it has seen over the years, this table was starting to look a little rough. I honestly love the dents and scratches on it because it reminds me of all the life we’ve lived with this table, but I also don’t want it to look junky or like we aren’t taking care of it. So, I recently set out on a mission to show our dining room table a little bit of love and get it looking a little bit cleaner and more well-kept.
I mean, I love a rustic table but there’s a fine line between well-loved and not-loved-well-enough, you know?
The first place I always look when I have some furniture to repair or clean up is Mohawk Consumer. They’ve got everything you could possibly need to repair wood furniture and I know I can trust them to never steer me wrong.
I’ve used them to repair an IKEA tulip table that was all scratched up…
…I’ve used them to clean our old leather ottoman and our Crate & Barrel sofa…
…I’ve used them to repair a damaged wood dresser and some damaged wood veneer…
…and I’ve used them for tons of quick fixes around the house (like squeaky drawers and water marks on tables).
Basically, they’re the best and if you’ve got any furniture that needs some help, they’re the place you want to look.
But, let’s talk about my table.
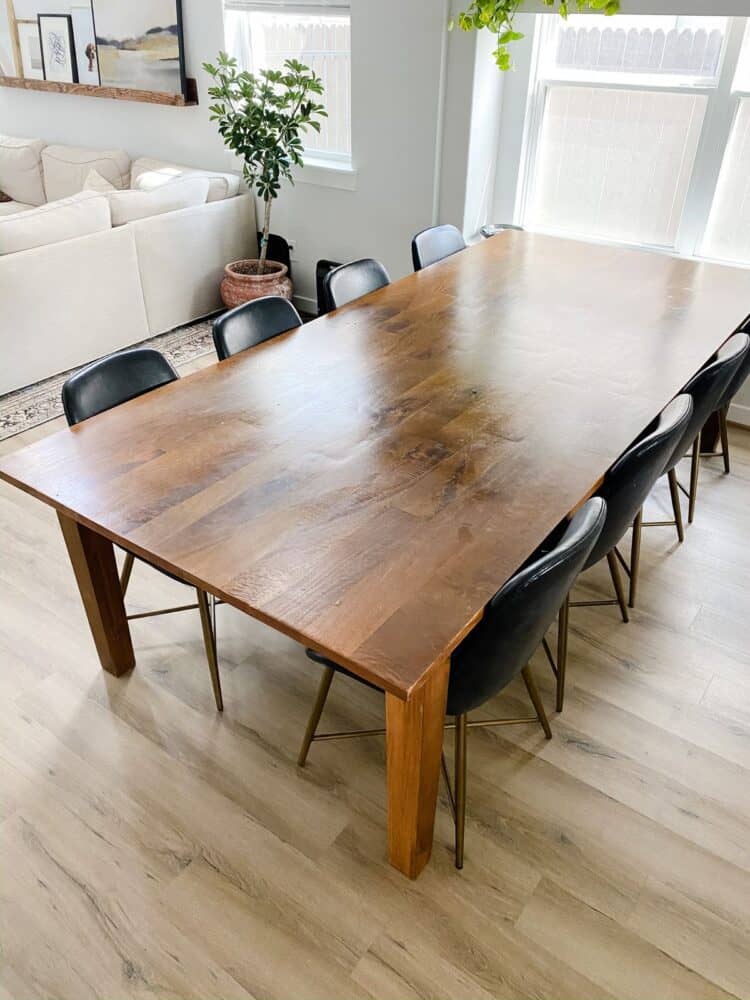
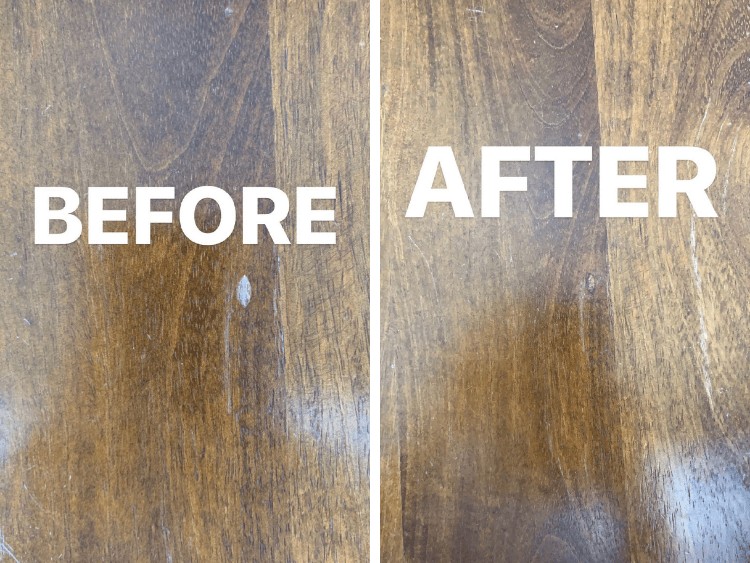
Honestly there wasn’t ever anything hugely wrong with the table – but there were plenty of scratches, dents, and worn spots from years of love and use and it was really reaching a point where I felt like something needed to be done to keep it from looking like we had just picked it up off the side of the road.
Here are some close ups of a few of the places that were bothering me in particular:
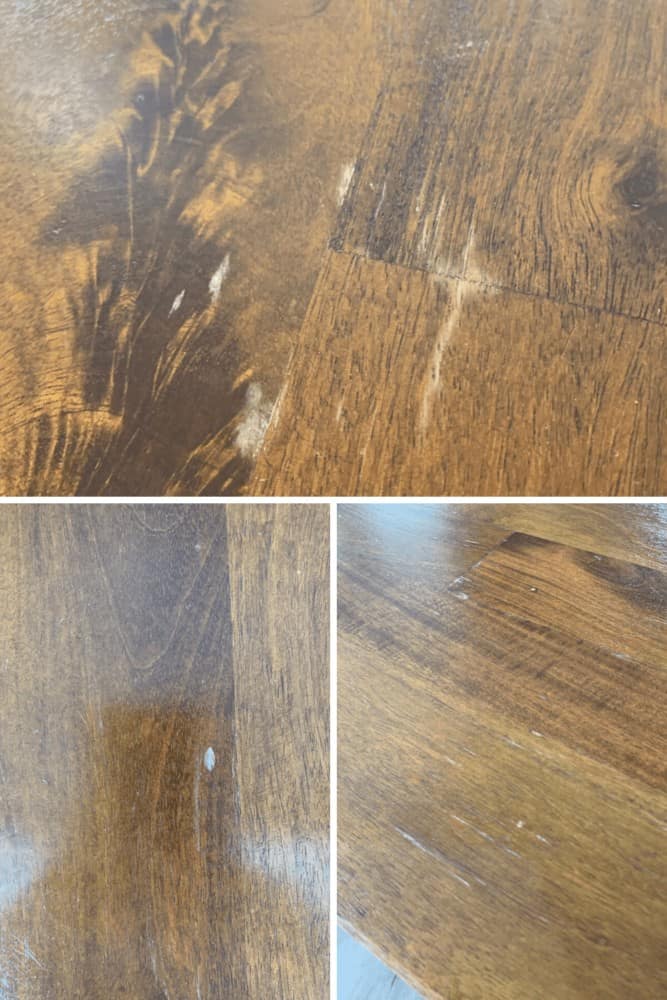
Again – nothing major, but enough to make me cringe a little sometimes when I walked by.
Thankfully, I had some experience with a few Mohawk Consumer products that I knew would take care of the issues really easily. Let’s jump right into the details, shall we?
how to repair scratches on your wood table
materials needed
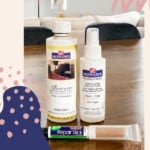
- Mohawk Consumer 3-in-1 Repair Stick (I used the Honey color)
- Mohawk Consumer Scratch Off
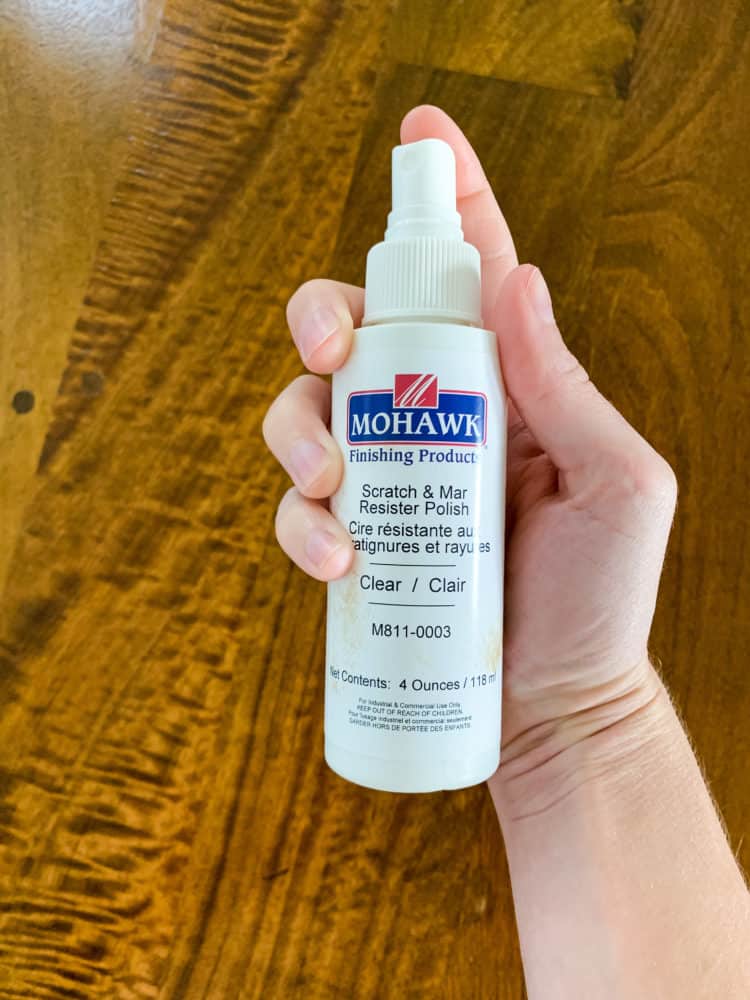
- Mohawk Consumer Scratch & Mar Resister Polish
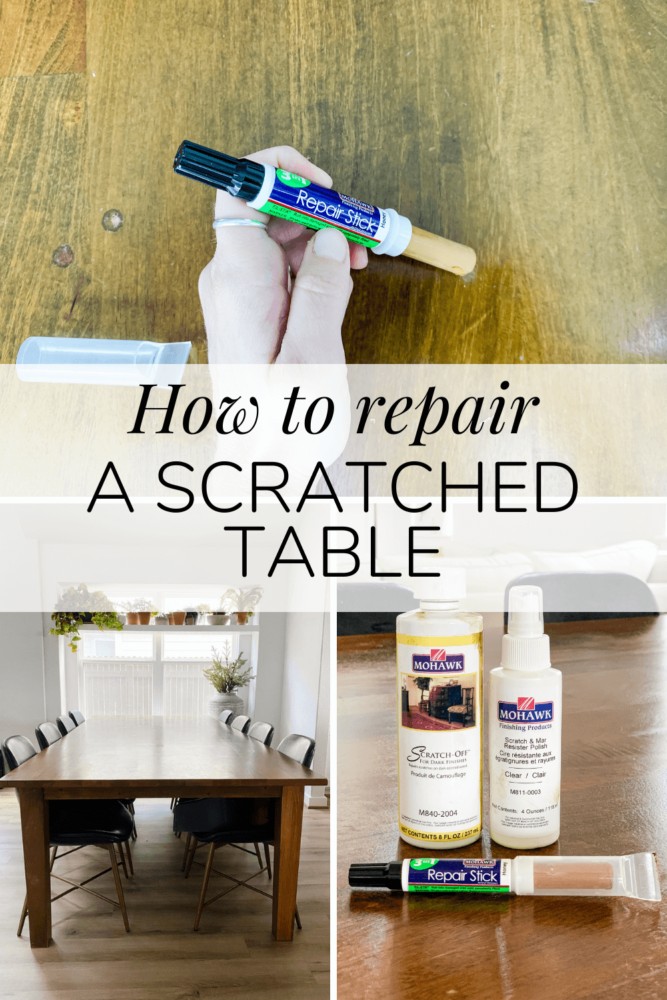
If you’re more of a visual learner, I detailed the entire process of cleaning off this table on my Instagram stories! Click here to watch how it all went down!
repairing dents and gouges
Probably the most satisfying part of the process is fixing all of those little dents and gouges in your table using the 3-in-1 Repair Sticks. I love that these come in so many different colors (they’ve even got one that’s perfectly color matched to IKEA’s white furniture!), and they do such a great job of making the issues way less noticeable.
You’ll start by using the FilStick side of the tool – simply rub the wood filler into the dent until it’s completely full.
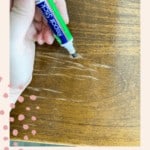
Once your dent is full of the filler, use the leveling cap to remove any excess filler. You can stop there, but I like to also use the marker on the other side to blend in the filler a little better. The finished result is pretty impressive!
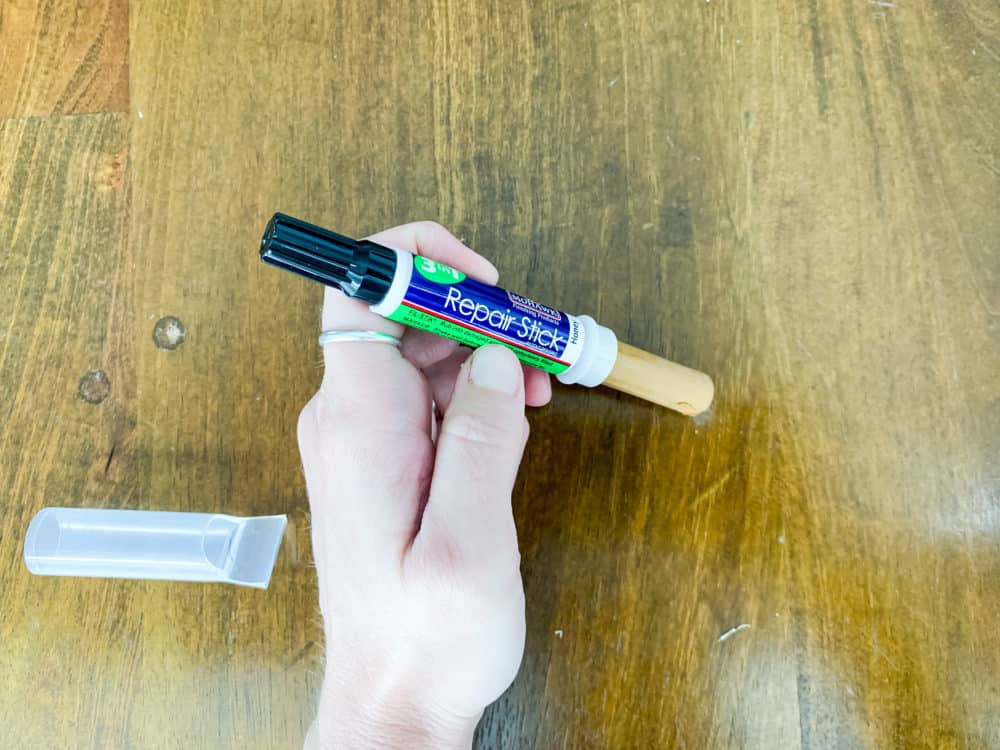
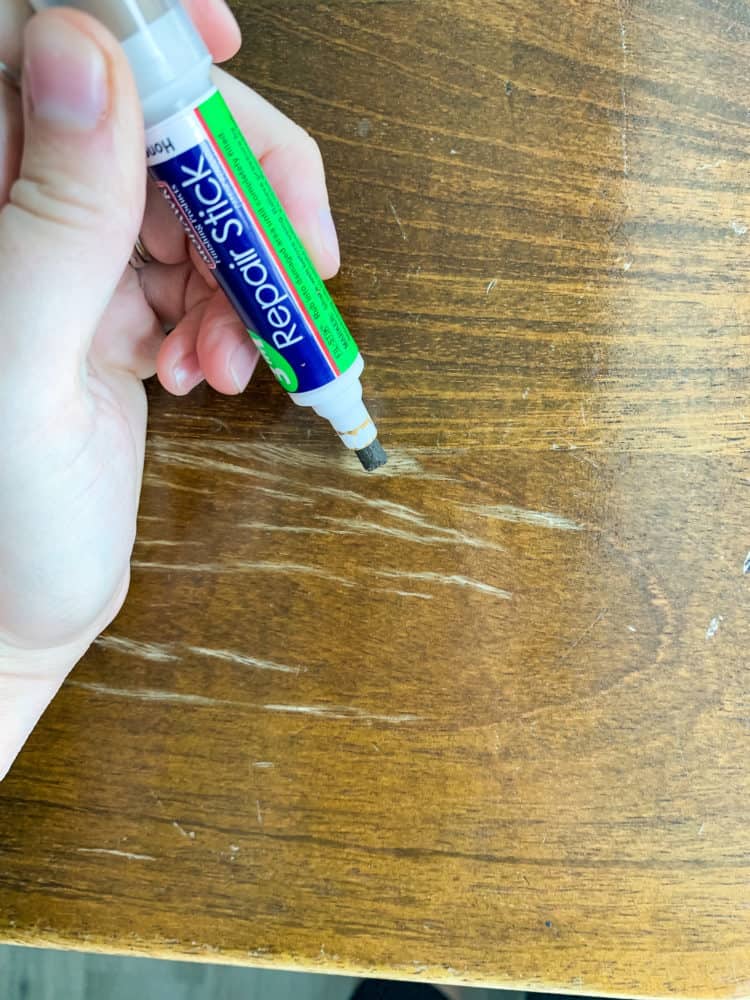
You can also use the marker alone to color in scratches and dings – just fill in the scratch using the marker and use your finger to gently blend it in. Let it dry, and you’re good to go!
removing light scratches
Next up, I used Mohawk’s Scratch-Off to blend in and remove some of the really light scratches on the table. This isn’t meant for really deep scratches, but it’s awesome for covering up surface-level scratches and things like fingernail marks or other small blemishes.
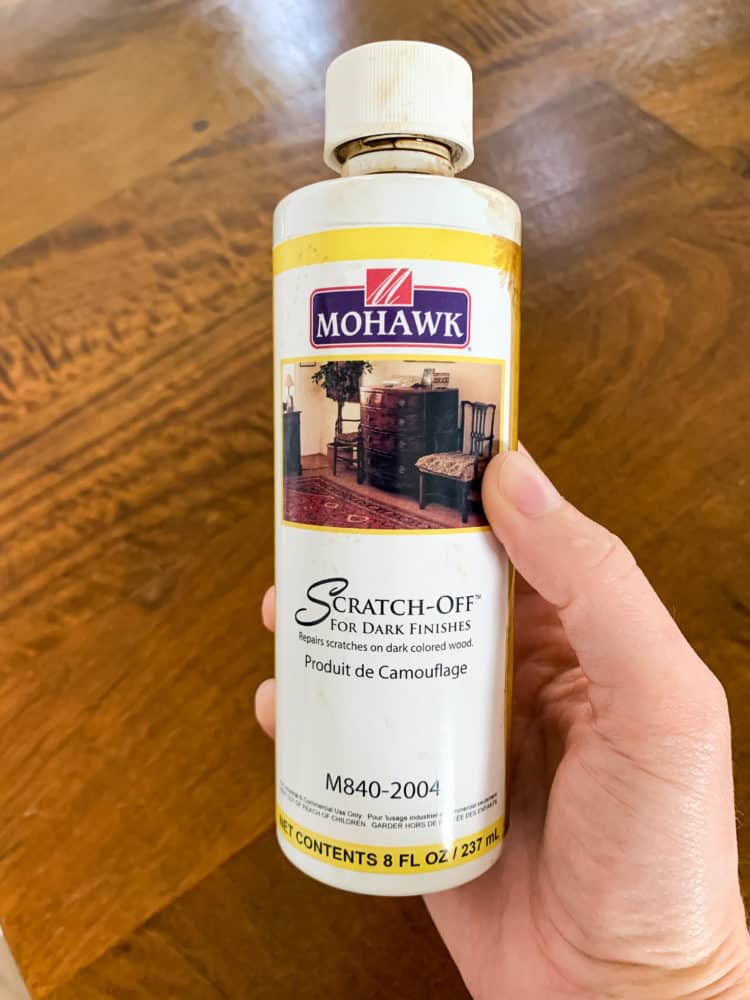
All you need to do to use it is apply some Scratch-Off to a lint-free cloth and rub it into the entire surface of the table. Let it sit for a minute or two, then rub off the excess with a clean cloth. It just takes a minute, and it does a really beautiful job of evening up the finish!
protecting from future scratches
Finally, the last step I took was to add some Scratch & Mar Resister Polish to help make sure that the table stays protected.
This stuff is (say it with me now!) really easy to use. You just need to make sure the surface of your table is really clean, then spray it on and rub it in with a dry cloth. And just like that, your table is has some protection from all of the chaos life is going to throw at it.
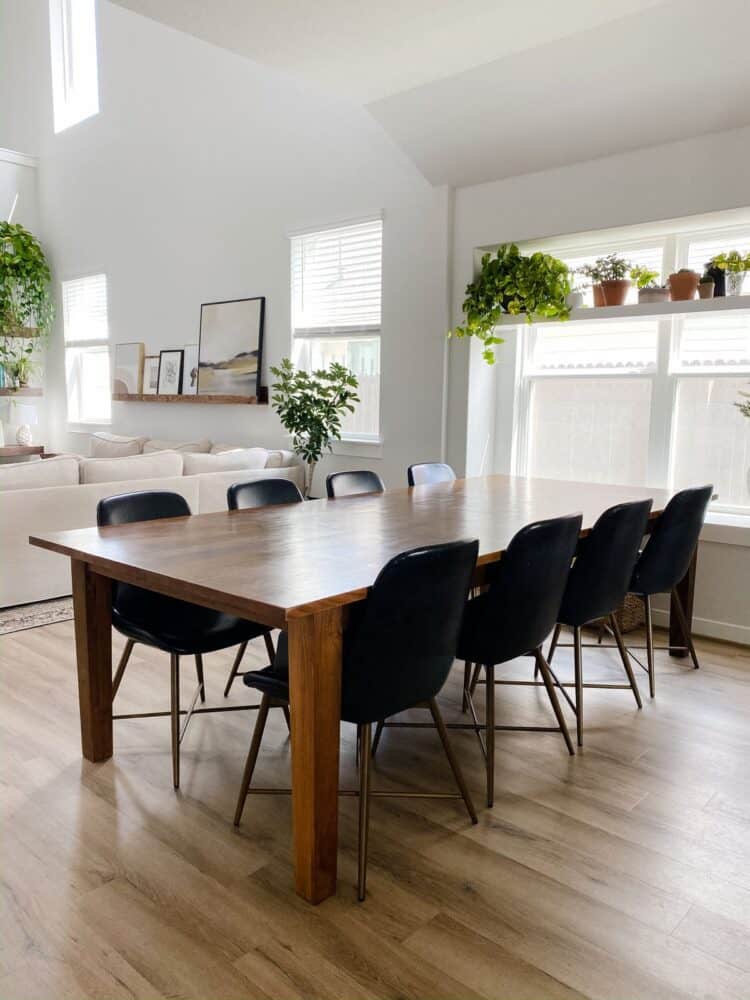
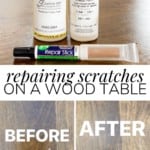
The before and after here isn’t anything jarring – but that’s exactly what I wanted! I wanted to keep some of the character our table has (because I’d probably cry if we actually got rid of all of the scratch marks our dog left on the table over the years!), but I also wanted it to look a little more taken care of. Annnnd I think it’s safe to say mission accomplished – the table looks notably better than it did before, but it’s still my table with all the wear and tear that makes me smile.
All of the products I used here can be used on more than just a table – they’re great for any wood furniture, and the 3-in-1 Repair Sticks can also be used on wood flooring as well!
Right now is really the perfect time to be catching up on some of these little maintenance tasks around the house – if you’ve got any wood furniture that could use a little love, I highly recommend you check out Mohawk Consumer’s line of wood care products to get you started!

